
 admin
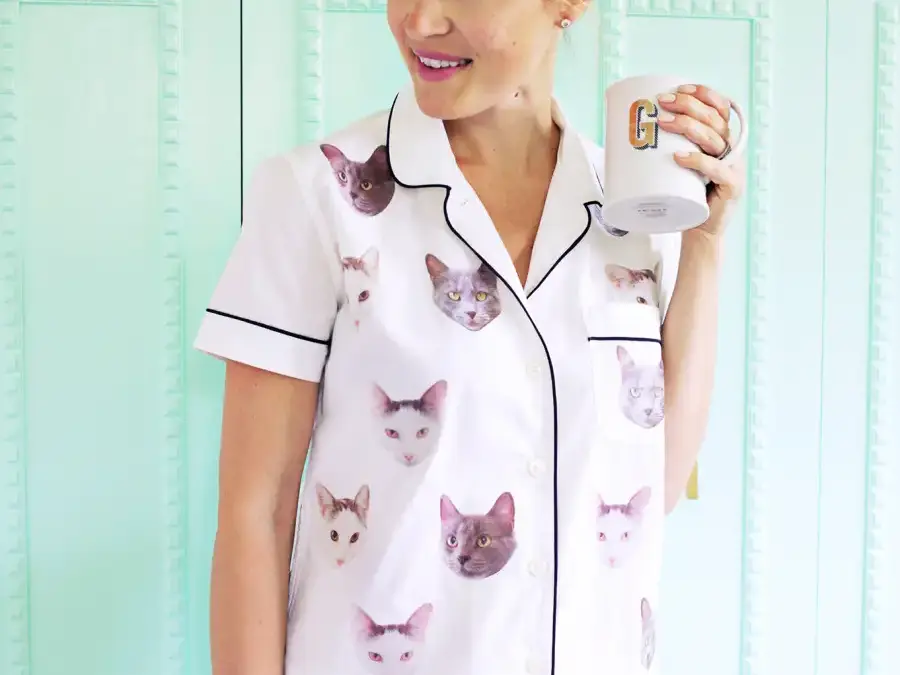
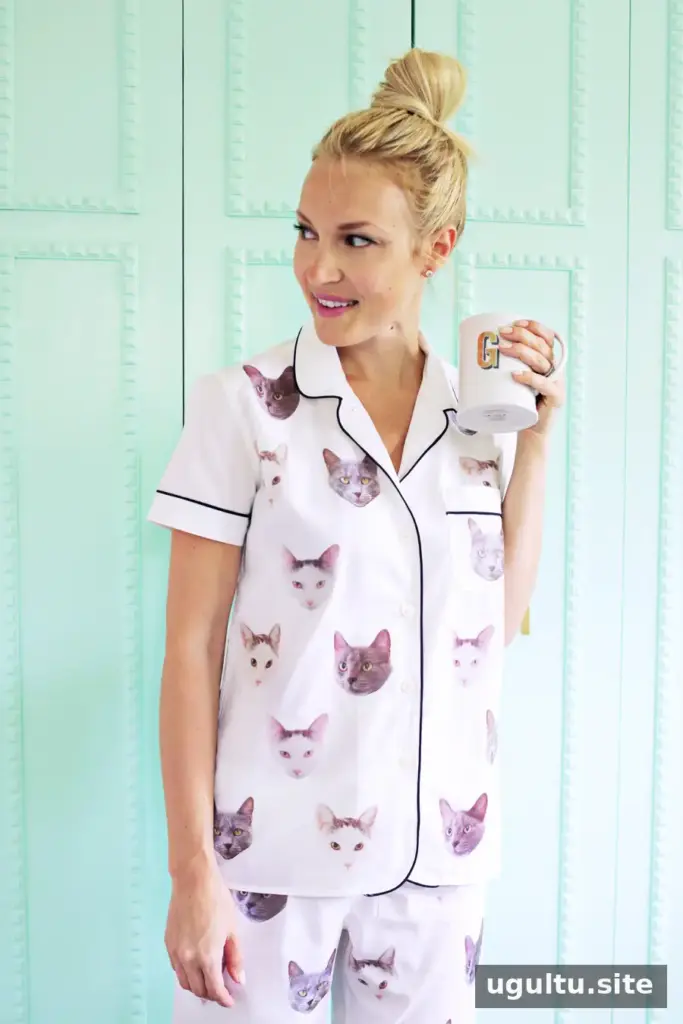
DIY pet photo pajamas are a fun way to bring favorite pet pictures into a simple clothing project. With plain pajamas, printable iron-on transfer sheets, and a photo printer, you can arrange pet portraits on sleepwear at home. Choose transfer sheets that match the color of the fabric, and read their instructions before printing or ironing.
What You Need for DIY Pet Photo Pajamas
Gather the supplies before you begin so the printed images can be applied soon after preparation. You will need:
- Iron-on transfer sheets suitable for light or dark fabric, depending on the pajamas
- A household iron
- Plain pajamas
- A photo printer
- Scissors
Check the transfer-sheet packaging to confirm that it is compatible with your printer and fabric. The product instructions also provide the appropriate printing and ironing guidance.
Prepare and Print the Pet Photos
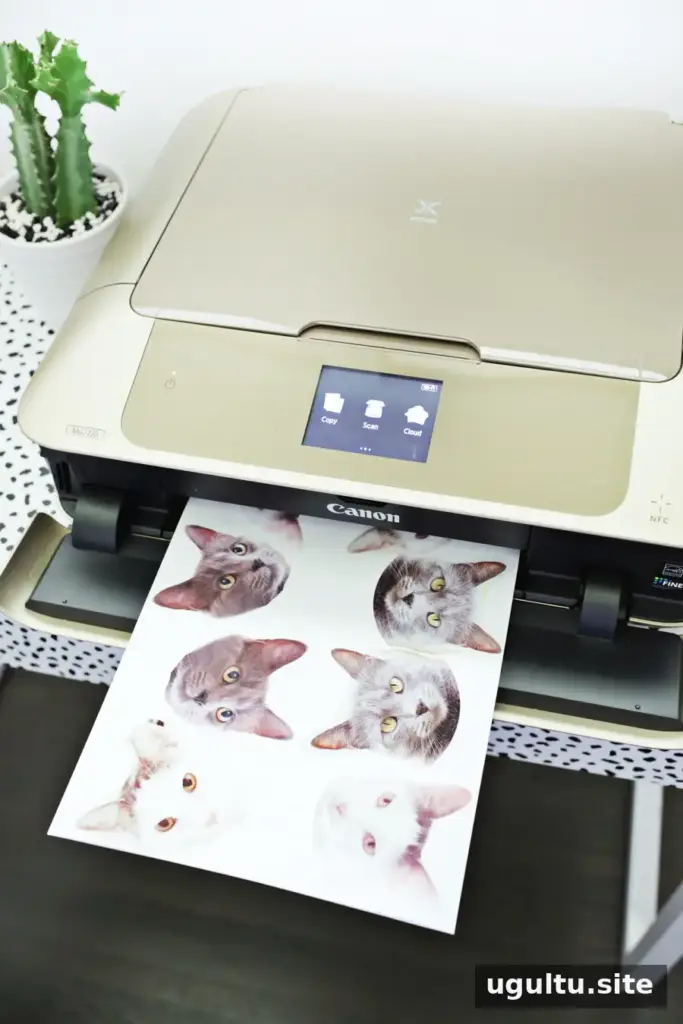
Select clear photos in which your pet’s face is easy to recognize. Front-facing images work well for a portrait-style design. Crop each photo close to the face using an image-editing tool, then arrange copies on a page to make efficient use of the transfer sheet. You can include several expressions or repeat the same portrait for a coordinated look.
Before printing, check whether the transfer paper requires a mirrored image. Many iron-on designs need to be reversed so they appear the right way around after application, but follow the instructions for your specific sheets. Confirm the page layout and print settings before using the transfer paper.
Cut Out and Apply the Transfers
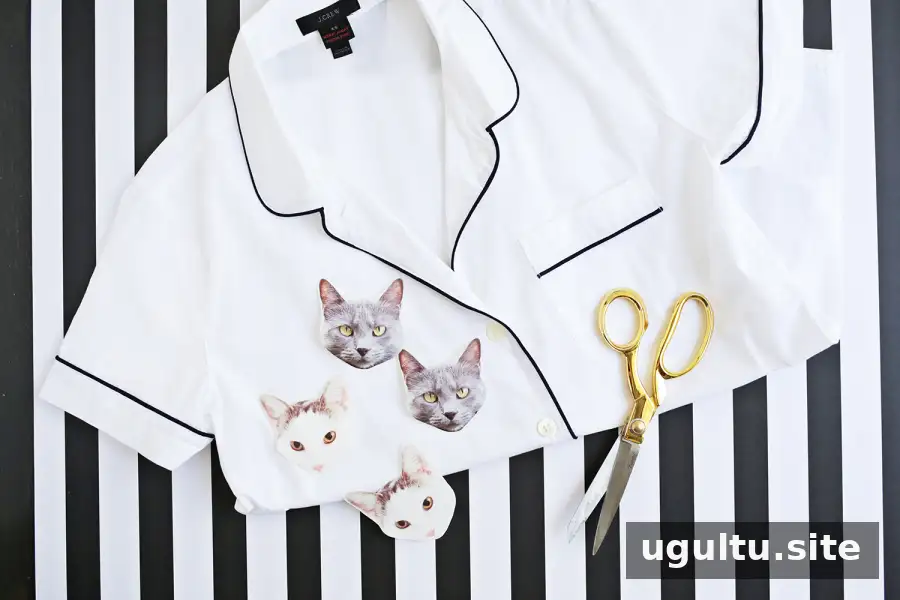
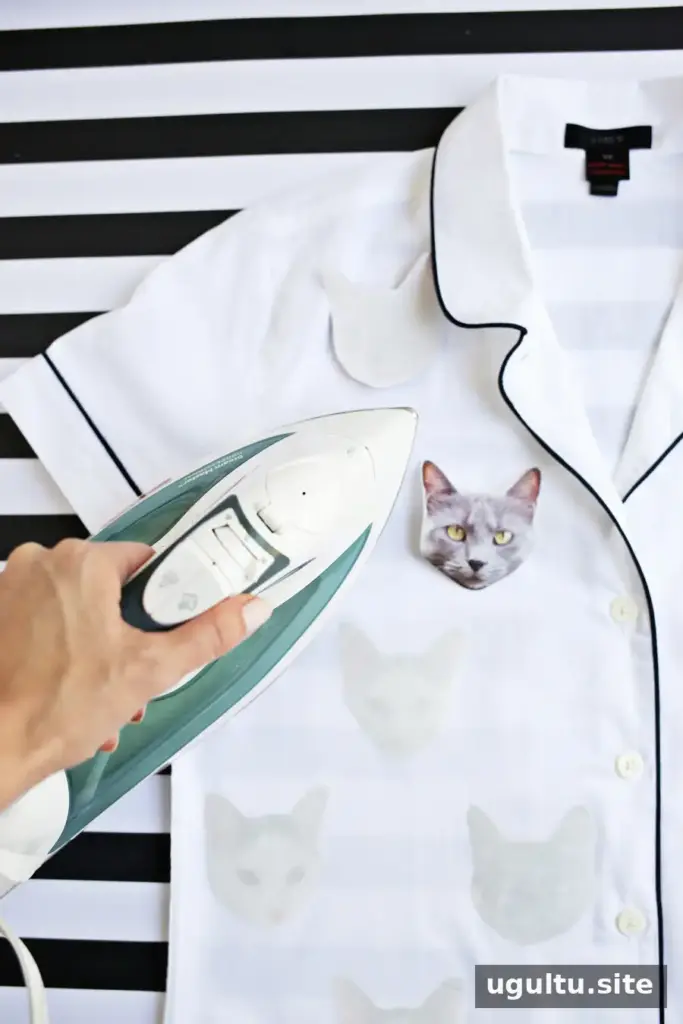
Carefully cut around each printed face. Leave a small, even margin if the transfer instructions recommend it. Arrange the pieces on the pajamas before ironing so you can decide where each portrait should go. Keep the garment flat and smooth, and make sure the images are positioned as intended.
Place each transfer ink-side down if directed by the product instructions. Use the iron according to the packaging, including its guidance for heat, pressure, and pressing time. Avoid guessing at the settings: transfer materials and fabrics can require different treatment. Keep the iron moving or in place as instructed, rather than applying heat beyond the recommended time.
Cool, Peel, and Care for the Pajamas
Allow the transfers to cool as specified before handling them. Peel away the backing slowly and carefully; if the image begins to lift, stop and check the transfer-sheet directions before continuing. Once the backing is removed, inspect the edges to see that the designs have adhered evenly.
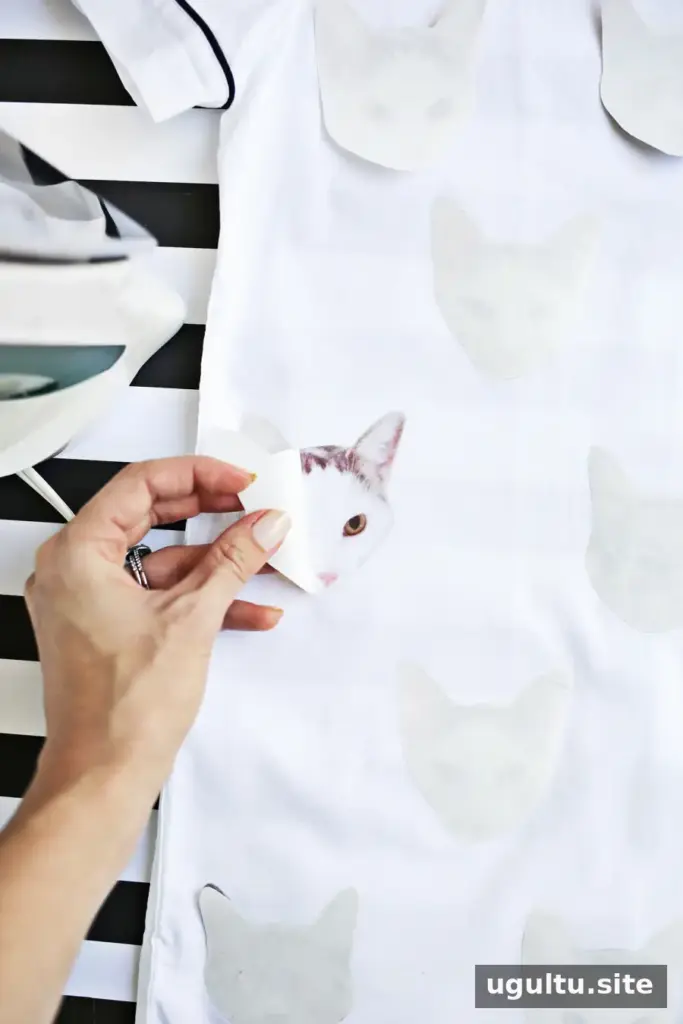
Follow the care instructions supplied with the transfer sheets when washing the finished pajamas. Waiting before the first wash may be recommended for some products, so check the packaging. Proper care can help keep the printed faces looking neat.
A Personal, Wearable Pet Project
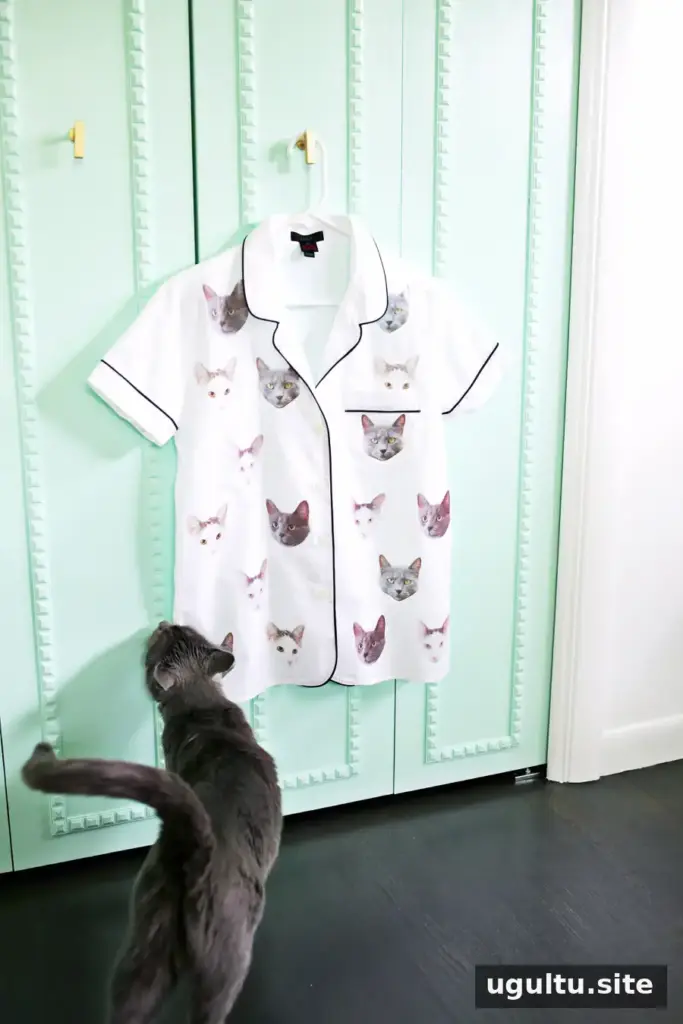
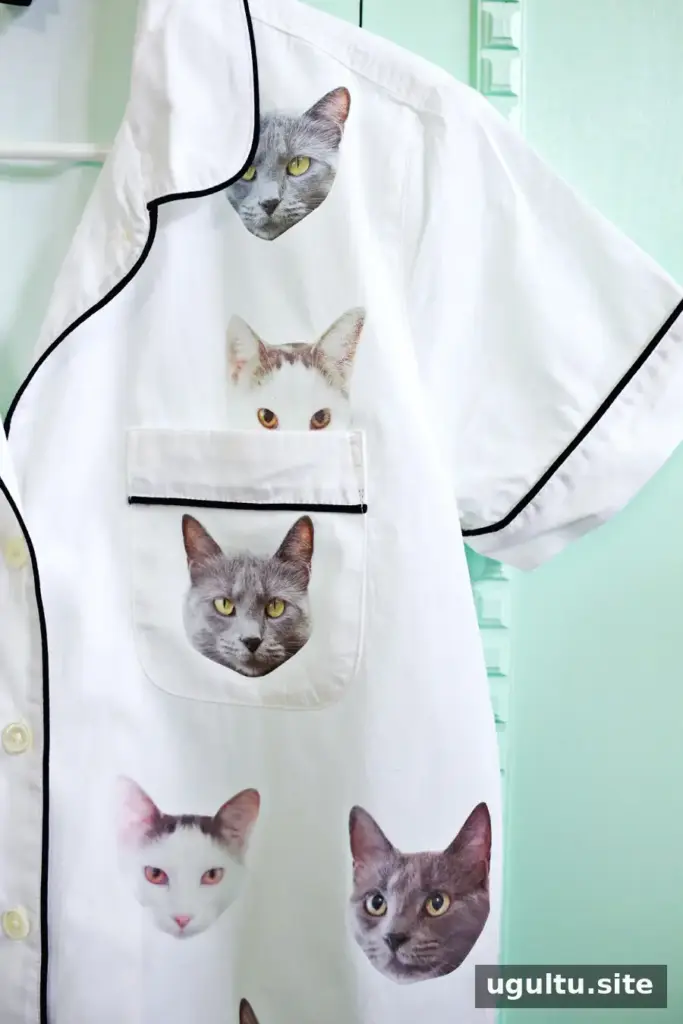
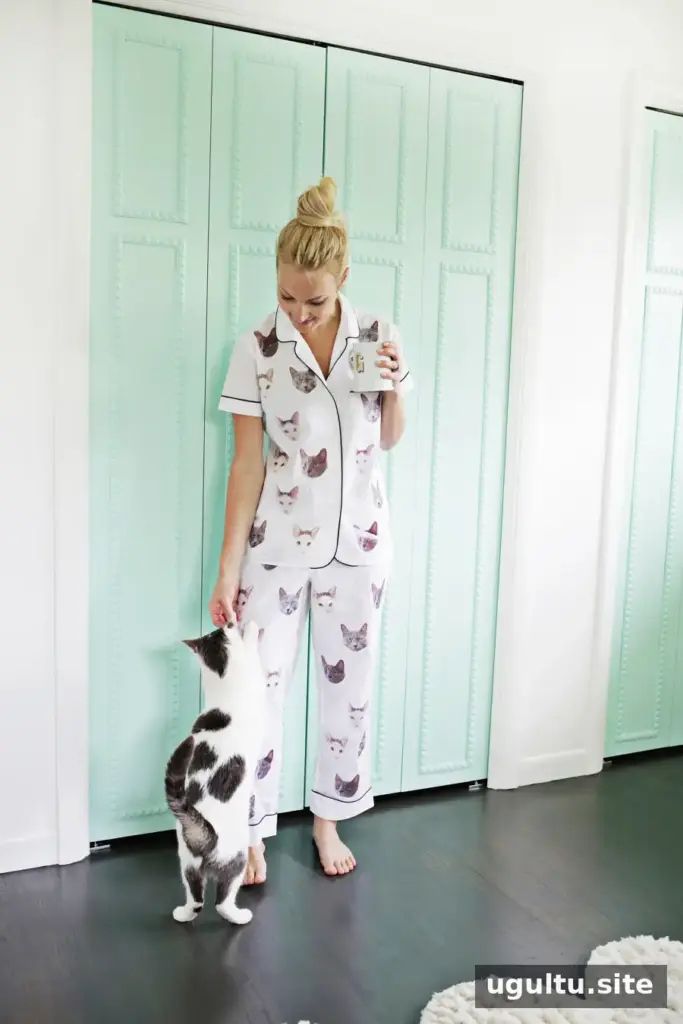
The finished pajamas turn familiar pet portraits into a playful, personal design. Whether they are made for relaxing at home or as a thoughtful gift for a pet lover, the key steps are choosing suitable transfer paper, checking the image orientation, and following the product’s heat and care instructions. With a little planning, DIY pet photo pajamas can make a cozy project feel uniquely yours.
— Laura


