
 admin
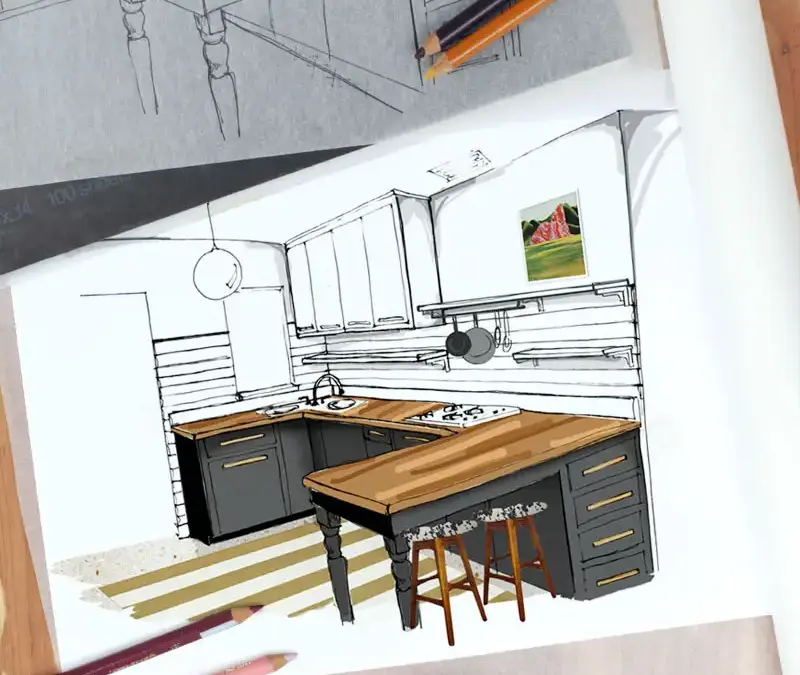
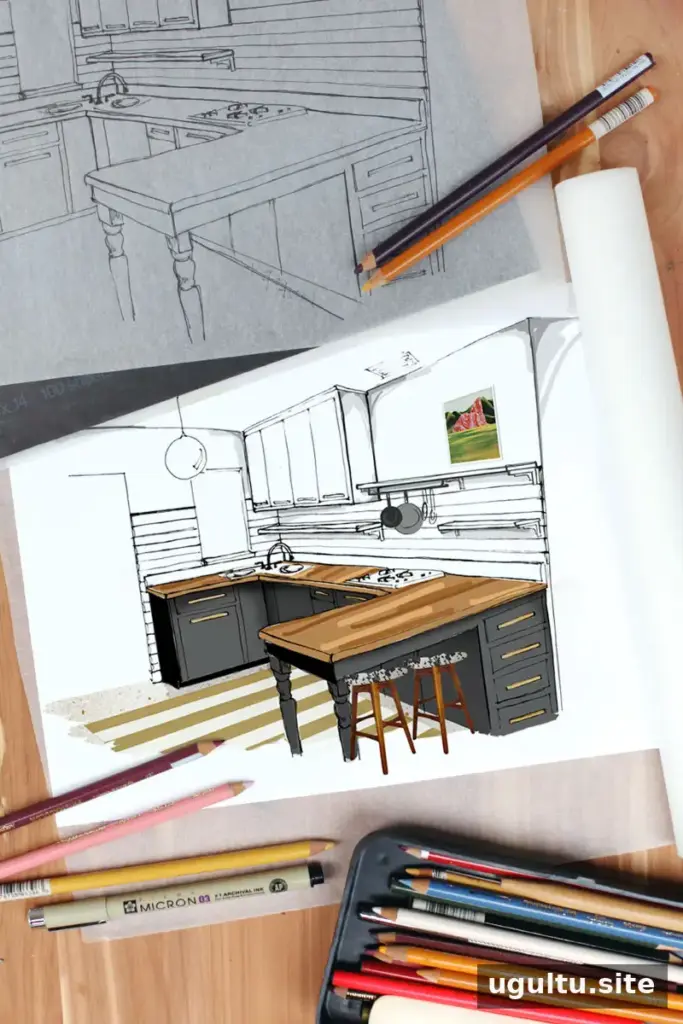
A budget kitchen renovation can make a busy, well-used room brighter and more functional without requiring a complete remodel. The most useful first step is to decide how much you can spend, then shape the design around that limit. Collecting ideas, checking measurements, and pricing materials before work begins can help turn a wish list into a realistic plan.
Kitchen updates can cost more than expected, even when the work seems straightforward. A written budget and a clear list of priorities make it easier to compare options and avoid rushed purchases. If you are unsure what the project will cost, start by sketching out the improvements you want, estimate each item, and then adjust the plan to fit the amount available.
Plan a Budget Kitchen Renovation Around Your Priorities
Gather inspiration from magazines, saved images, or a digital mood board. Look for recurring details you can adapt to your own space, such as colors, textures, open shelving, or simple paneling. Focusing on a few specific elements can help you create a consistent look without changing the room’s layout or architecture.
Before buying anything, sort ideas into essentials and optional upgrades. This makes it easier to protect the parts of the project that matter most when estimates come in higher than expected. A practical tip is to note the material, quantity, and estimated price beside every item in your plan.
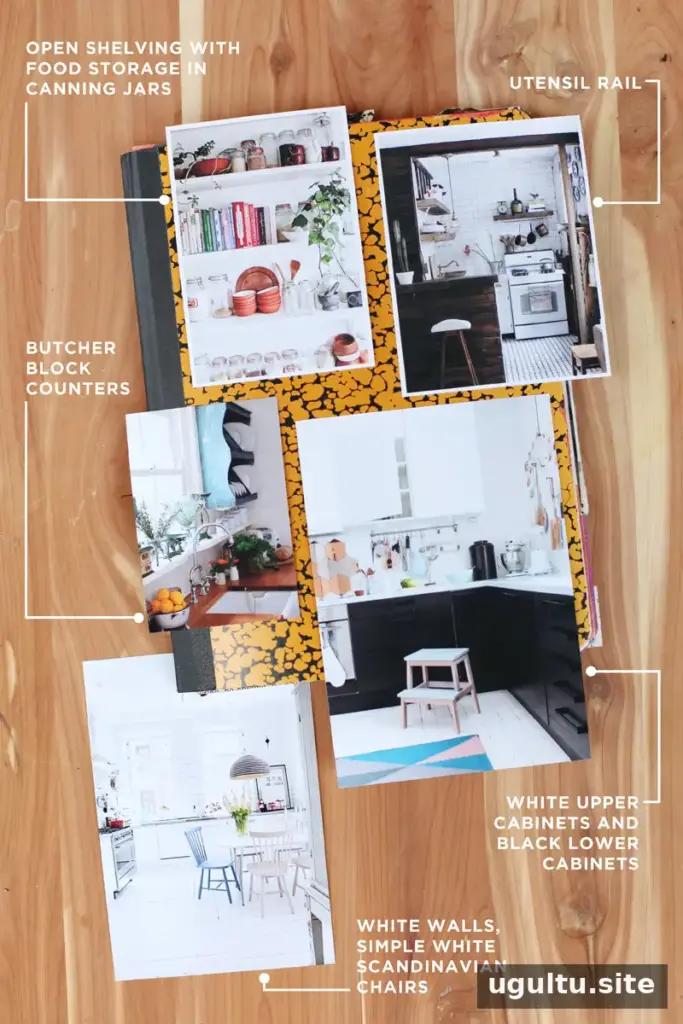
Build a design direction
Choose Finishes That Fit Your Home and Budget
A kitchen should feel connected to the rest of the home while also working for the people who use it. Aim for finishes that suit your daily routine and are likely to remain appealing over time. If you may sell within the next 5-10 years, consider keeping distinctive choices to easy-to-change details such as paint colors, cabinet hardware, and light fixtures.
More expensive features—including cabinets, countertops, and tiled backsplashes—are harder to replace. Trend-led choices in these areas may also look dated sooner. If you like an unconventional feature such as open shelving, consider combining it with existing cabinets so you retain some closed storage.
Check typical kitchen dimensions before changing the layout. Major circulation paths are commonly 36-48 inches wide, countertops are generally 32-36 inches high, and upper cabinets or shelves are often placed 18 inches above the countertop. These are standard measurements, not universal requirements; the right dimensions depend on the room and its users. Confirm plans with a qualified professional when changes involve structure, plumbing, or electrical work.
Also consider the value and character of your home when choosing materials. High-cost upgrades may not be worthwhile if they substantially exceed what is typical for the property or neighborhood. Keeping sound existing cabinets and choosing more affordable finishes can free up money for repairs or other improvements.

Make a measured plan
Visualize the Room Before Work Begins
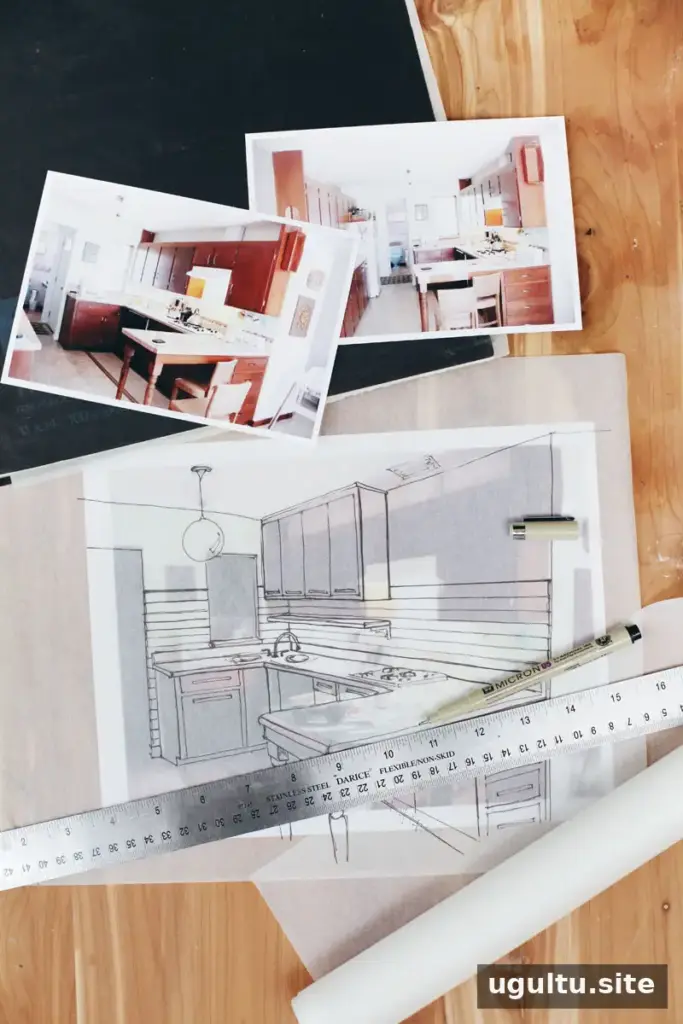
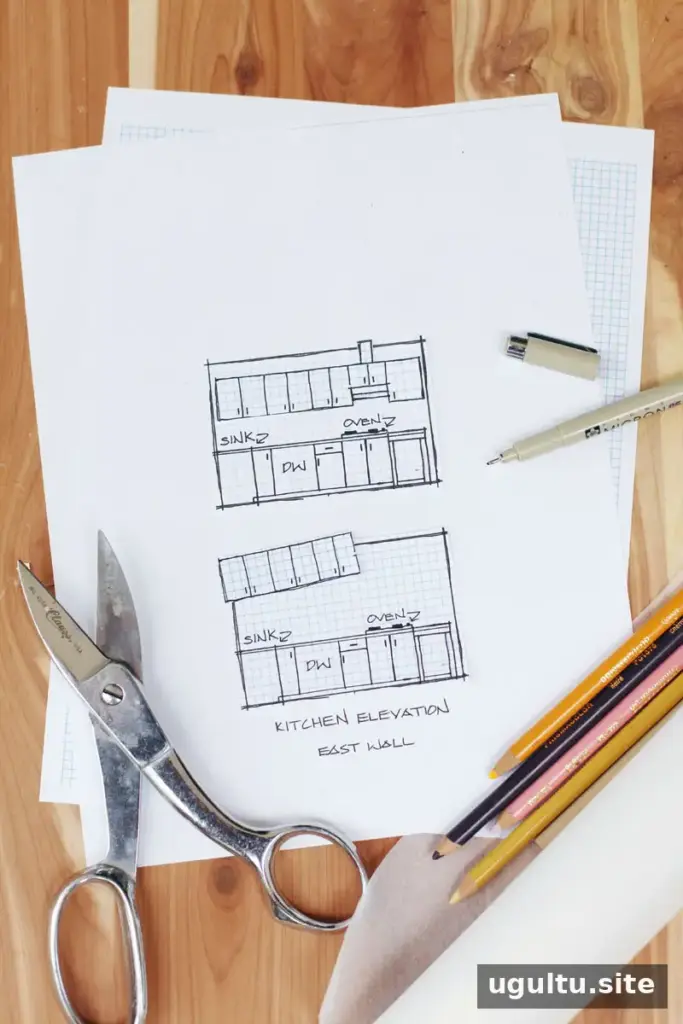
A simple elevation drawing—a to-scale, two-dimensional view of a wall—can help you plan cabinet placement, appliances, windows, and shelving. Measure the space, then use graph paper where each square represents 3 or 6 inches. Drawing items on separate pieces of paper makes them easier to move around while testing different arrangements.
You can also sketch the proposed changes over a photograph of the kitchen. This can help you picture details such as cabinets extended to the ceiling or a section replaced with shelves. Check clearances and measurements against the actual room before ordering materials.
Prepare a cost sheet
Estimate Every Item in the Renovation
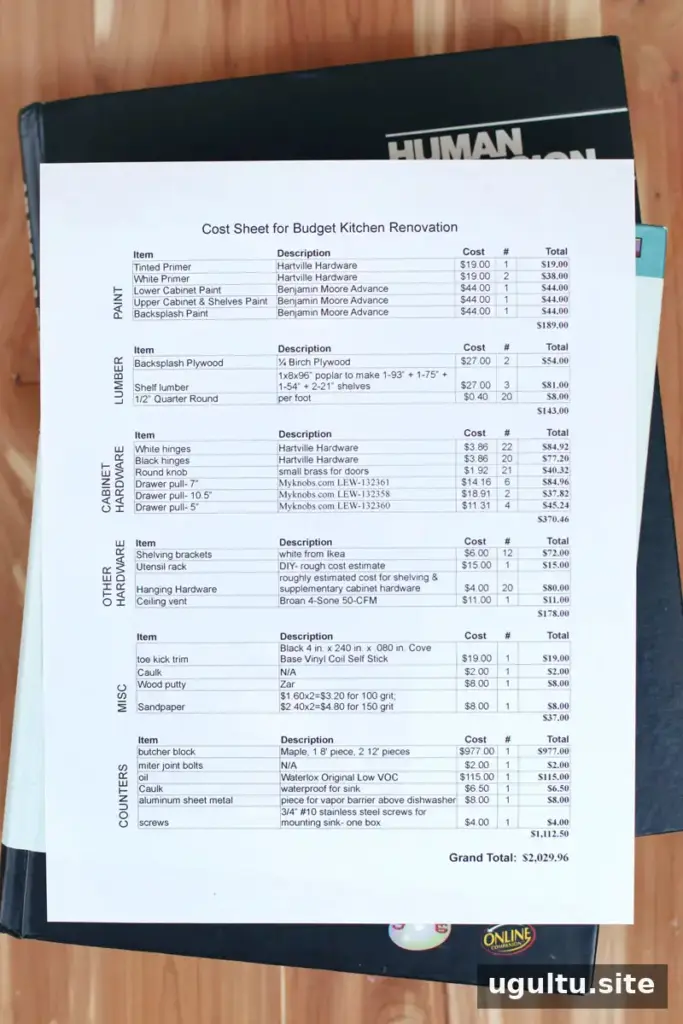
Once the plan is clear, list the materials needed for new features and updates to existing ones. Include small supplies as well as major purchases: paint, shelf brackets, wood filler, sandpaper, hardware, and fasteners all contribute to the total. A spreadsheet makes it easier to revise quantities and compare prices.
One hardware estimate in the original project reached $660 for cabinet knobs and pulls alone. That figure showed why it is important to price details early, before committing to the full design. Review the estimate item by item and decide which features are worth their cost.
Use Design Compromises to Reduce Costs
When a preferred material is too expensive, identify what you like about it and look for a less costly way to achieve a similar effect. For example, butcher-block countertops were chosen instead of solid-surface or quartz counters. They cost less than half as much in that project, but require gentler use and more maintenance. Consider both the upfront price and the care a material will need.
Mixing hardware styles can also reduce costs while keeping a coordinated appearance. In one example, long brass drawer pulls priced at $22 each would have brought the hardware total to $660. Smaller matching pulls were used on drawers, while knobs costing around $2 each were selected for cabinet doors. The revised total was $40 for door hardware and $168 for drawer pulls, or $208 overall—a saving of $452.
Apply the same approach to other items on the wish list. If the appealing feature is a light’s shape rather than its finish, look for a simpler, lower-cost option. If the goal is a bright, textured backsplash, painted paneling may be an alternative to tile, provided it is suitable for the location. Refinishing and painting existing cabinets may also cost less than replacing them.
Allow for overlooked costs
Budget for Unexpected and Easily Missed Expenses
Small purchases and extra supplies can push a project beyond its initial estimate. Add a 5-10% contingency to the expected project cost for mistakes, additional materials, or other unforeseen needs. Build a checklist before work starts, and confirm that the chosen materials are appropriate for each task.
General project costs
- Shipping charges and taxes
- Ear plugs for work around air compressors or other loud equipment
- Electrical nuts and electrical tape for light-fixture changes
- Outlet covers and switch plates to coordinate with new paint
- Suitable bolts and screws for sinks, cabinets, countertops, and shelves
- Masonite or plywood for templates, such as a new sink opening
- Fresh saw blades and rental fees for spray guns, air compressors, or other equipment
Demolition and repair supplies
- Tarps and duct tape for dust protection
- A dust-collection system for drywall sanding
- Quick-setting and finishing-grade drywall compound, mesh, and tape
- Drywall spatulas and chisels for removing old tile
- Respirator masks and protective eyewear
- Several grades of sandpaper and sanding screens, plus wood filler
- Ducts and adapters for ventilation changes
- Quarter-round or other molding, cabinet toe kicks, and caulk or construction adhesive as needed
- Clamps for saw guides or joining pieces of wood
Cleaning and painting supplies
- Appropriate cleaners for walls or heavily stained floors, along with chemical-safe gloves
- Sponges, brushes, and scouring pads
- Extra brushes, rollers, trays, and painter’s tape
- Brush cleaner for oil-based paint
- Sawhorses and lumber for supporting cabinet doors while they dry
- Wax paper to place beneath painted items that have not fully cured
A successful budget kitchen renovation starts with a spending limit, a measured design, and a complete cost sheet. Prioritize improvements that make the room work better, compare alternatives before purchasing, and leave room for unexpected expenses. With careful planning, you can make considered updates while keeping the project aligned with your budget.
—Mandi


