
 admin


A porch swing can make an outdoor space more comfortable and inviting. This guide explains how to build a porch swing from 2x4s and hardwood plywood, with slats held together by U brackets. Review the materials and diagrams before cutting, and plan the hanging location early so you can confirm that the structure and hardware are suitable for the finished swing.
Materials and tools for a DIY porch swing
Materials
- Four 2x4s
- 3/4-inch hardwood plywood (one 4′ x 4′ project panel is enough)
- 5/8-inch wood screws
- Twenty-six 1 1/2-inch U brackets
- Chain or rope. If using rope, select one with a substantial weight rating; the rope used for this project was rated for over 600 lbs.
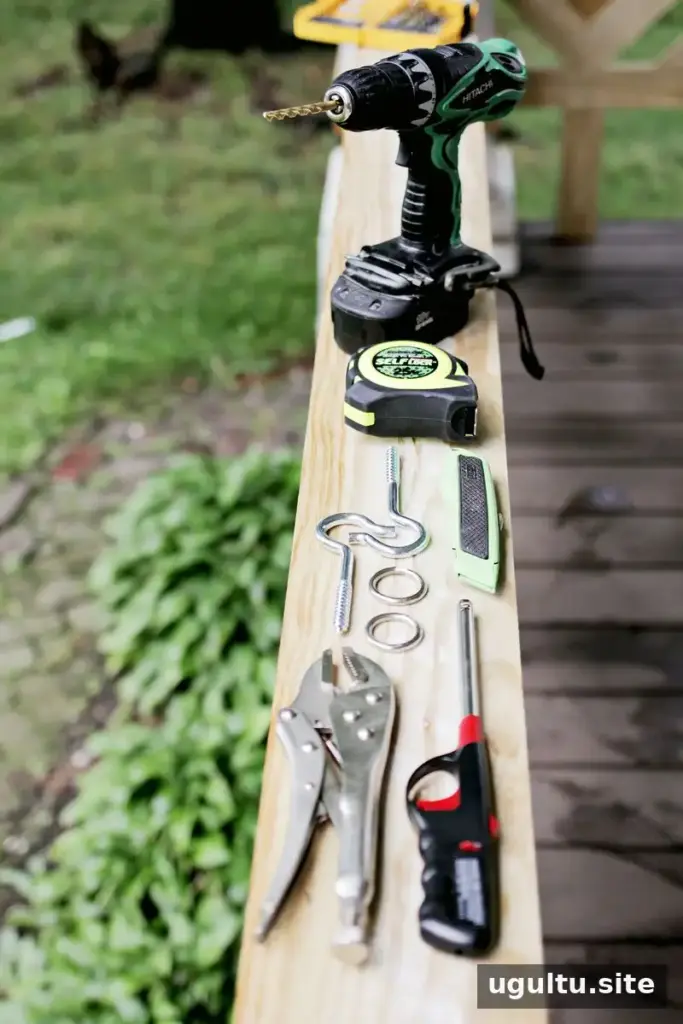
- Two heavy-duty screw hooks
- Two 1/4-inch welded rings
Tools
- Circular saw
- Jigsaw
- Miter saw
- Table saw
- Pocket-hole jig
- Drill
- Measuring tape
- Circle compass
- Ruler
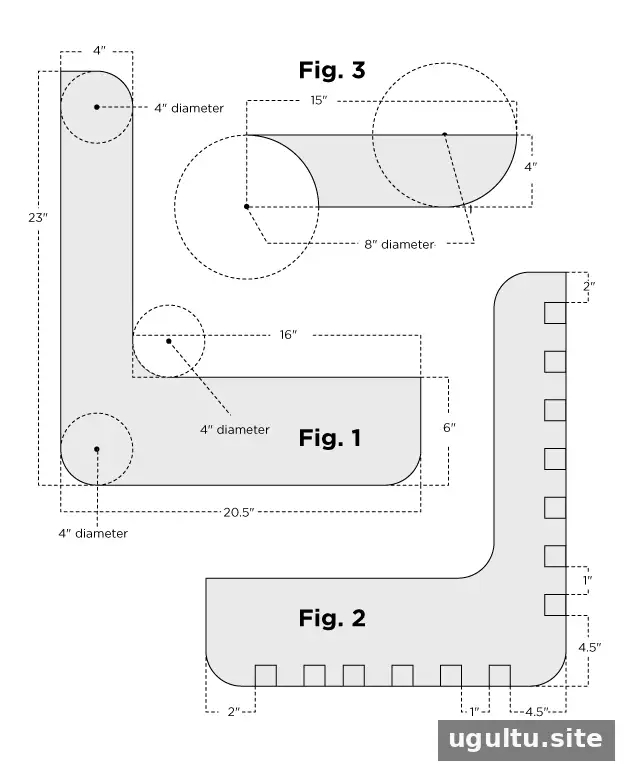
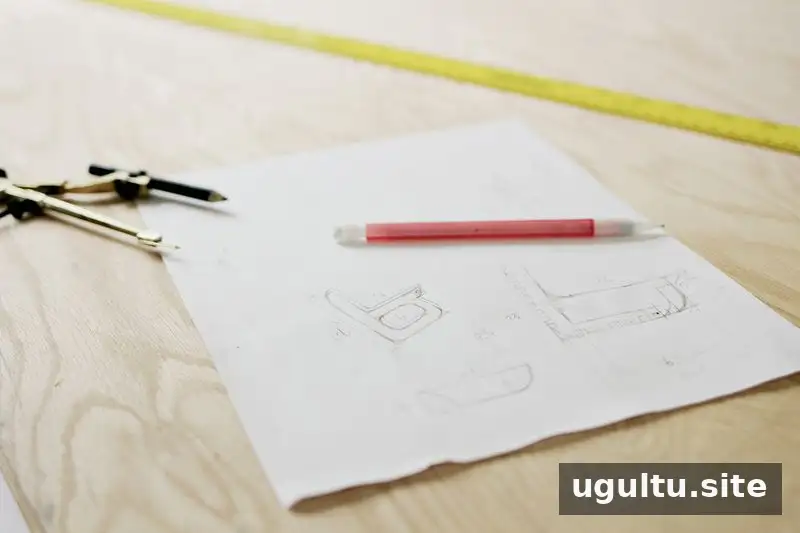
Lay out the parts and check the measurements against the project diagrams before making cuts. Accurate marking helps keep the two sides aligned and makes assembly easier.
How to build a porch swing
Step 1: Prepare the wooden pieces
Rip the 2x4s into pieces measuring 1 1/2 inches by 1 1/2 inches. The cuts in this project retain the curved edges of the original 2x4s on both resulting pieces. Then cut the stock into 4-foot lengths; you will need 13 lengths in total. Use appropriate eye and hearing protection, and keep hands clear of the blade while cutting.

Step 2: Mark and cut the swing components
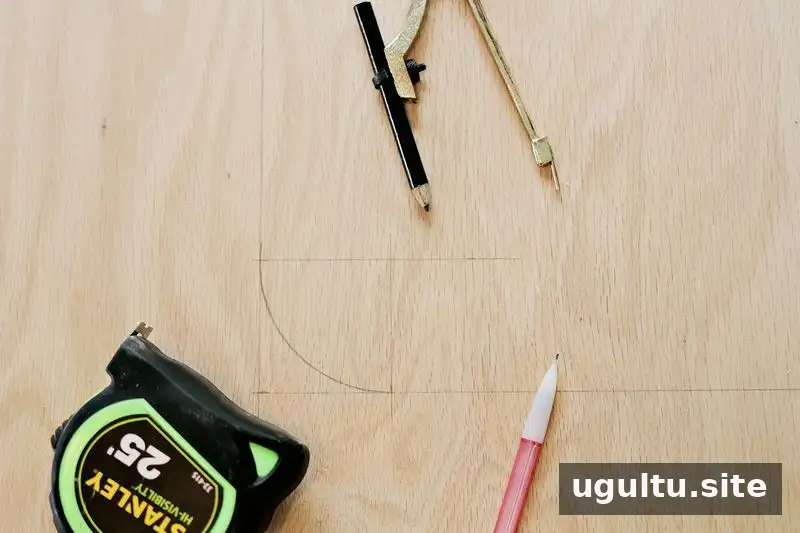
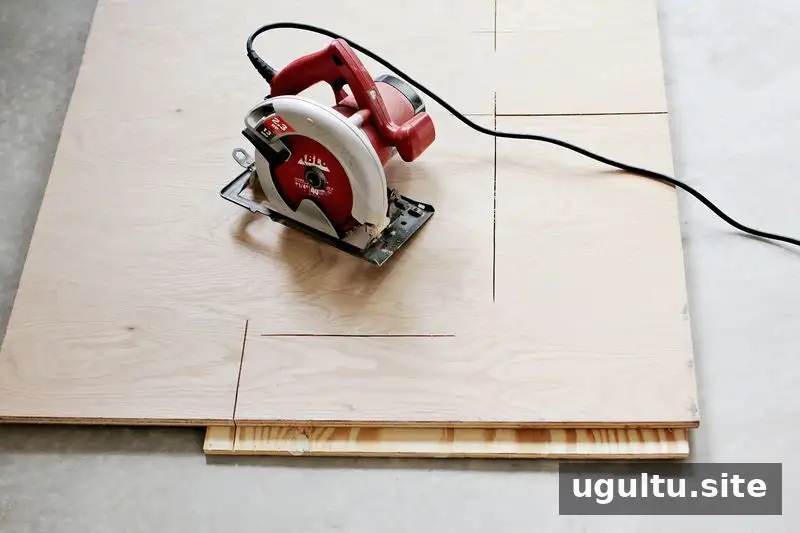
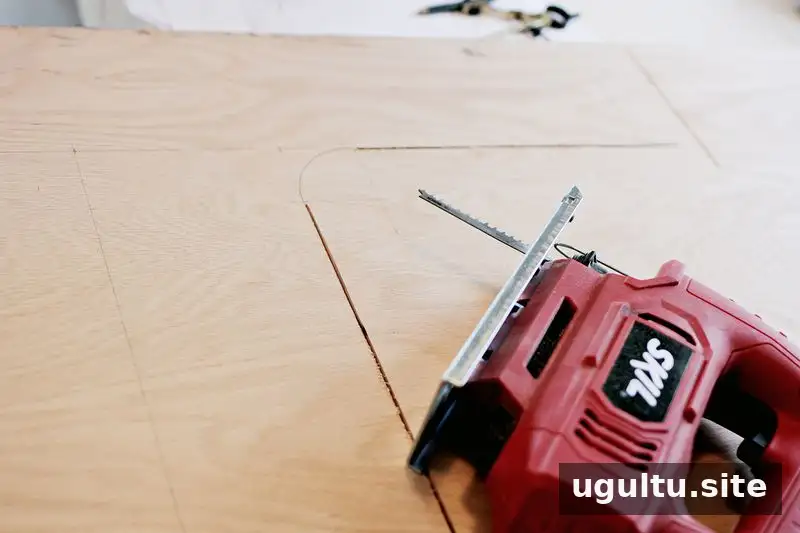
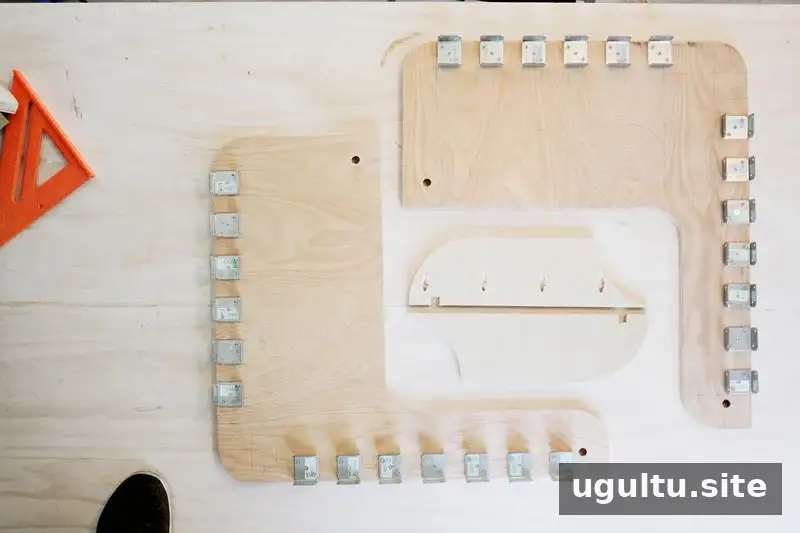
Take time to measure and mark each cut as accurately as possible, following the diagram shown above. A jigsaw can be used for the cuts; a circular saw may help make straighter cuts where appropriate. Sand the cut pieces, then mark the side pieces to show where the U brackets will attach, referring to Figure 2. Check that matching parts are mirrored and aligned before moving on.

Step 3: Install brackets and prepare holes
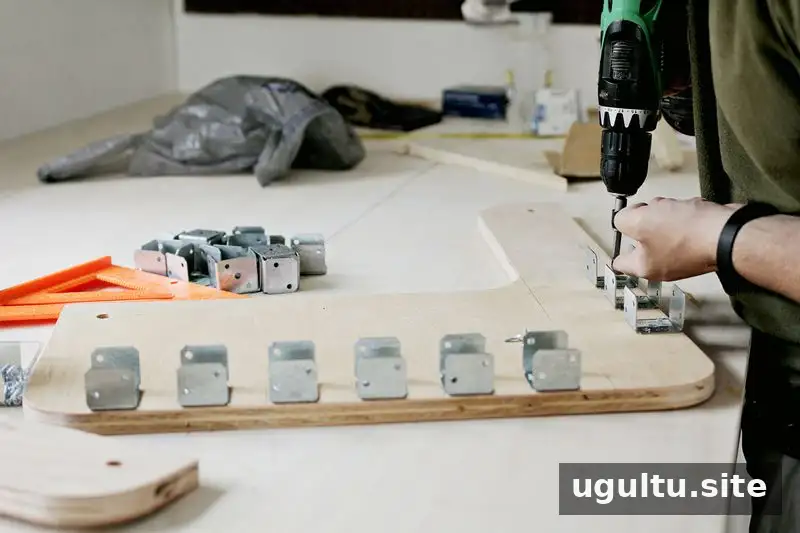
Attach the U brackets in straight, evenly aligned rows. At this stage, drill the rope holes, make the pocket holes, and cut the notches in the armrest pieces. Measure the locations on both sides before drilling so the swing hangs evenly. Sand any rough edges that could catch on rope or clothing.
Step 4: Fit and secure the slats
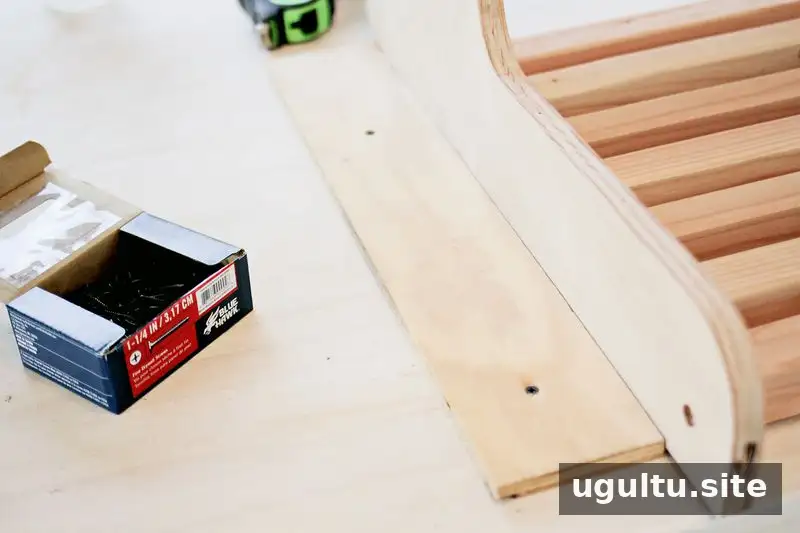
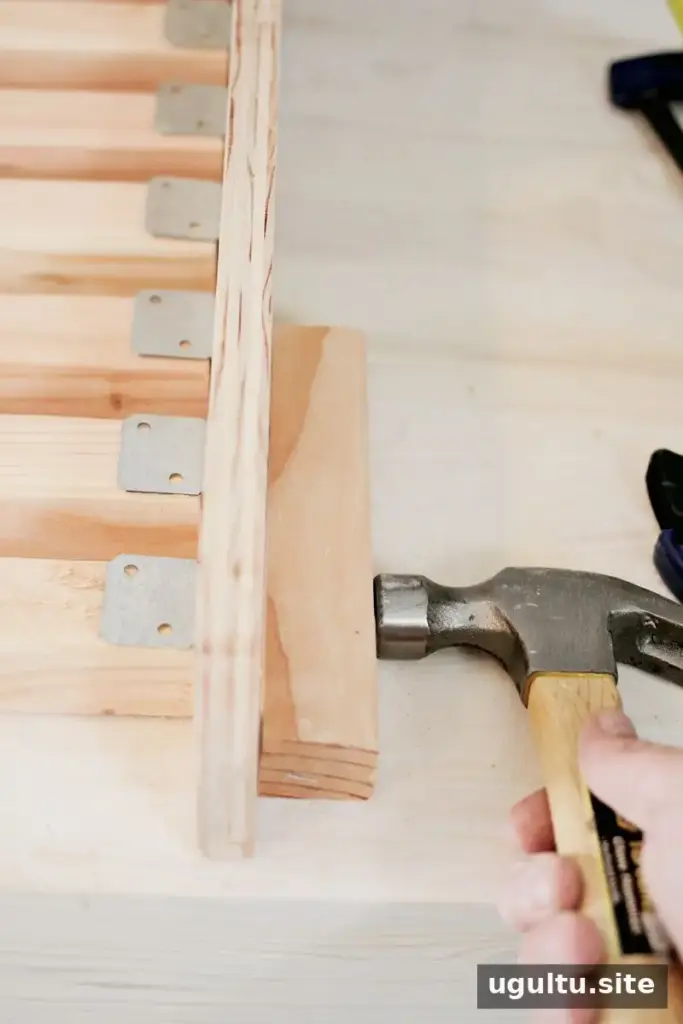
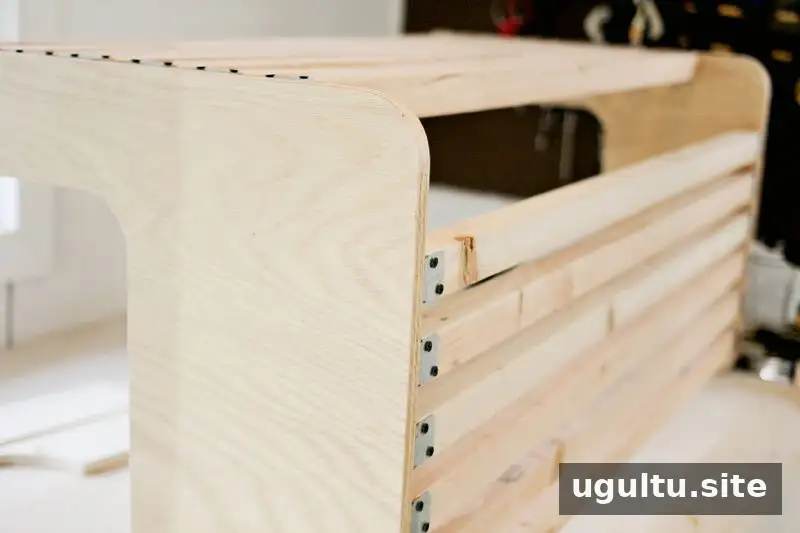
Insert all the wooden slats into the brackets before fastening them with screws. The fit may be snug. A piece of scrap wood secured to the end of a workbench can act as a stop while you gently tap the assembly into place. Avoid striking the finished wood directly, since that can leave dents or damage an edge.
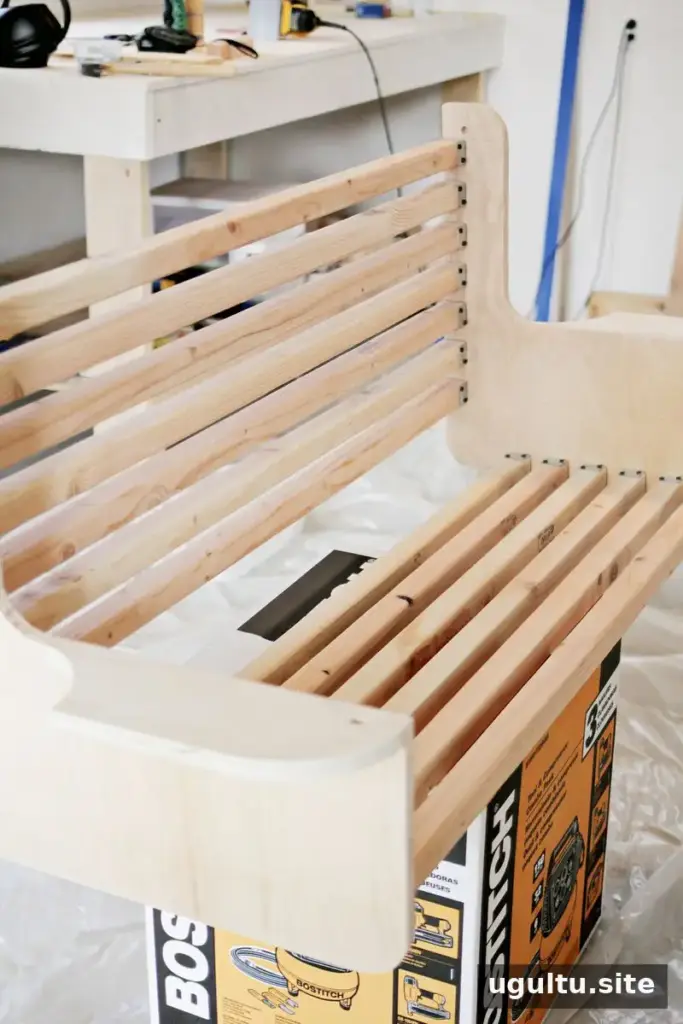
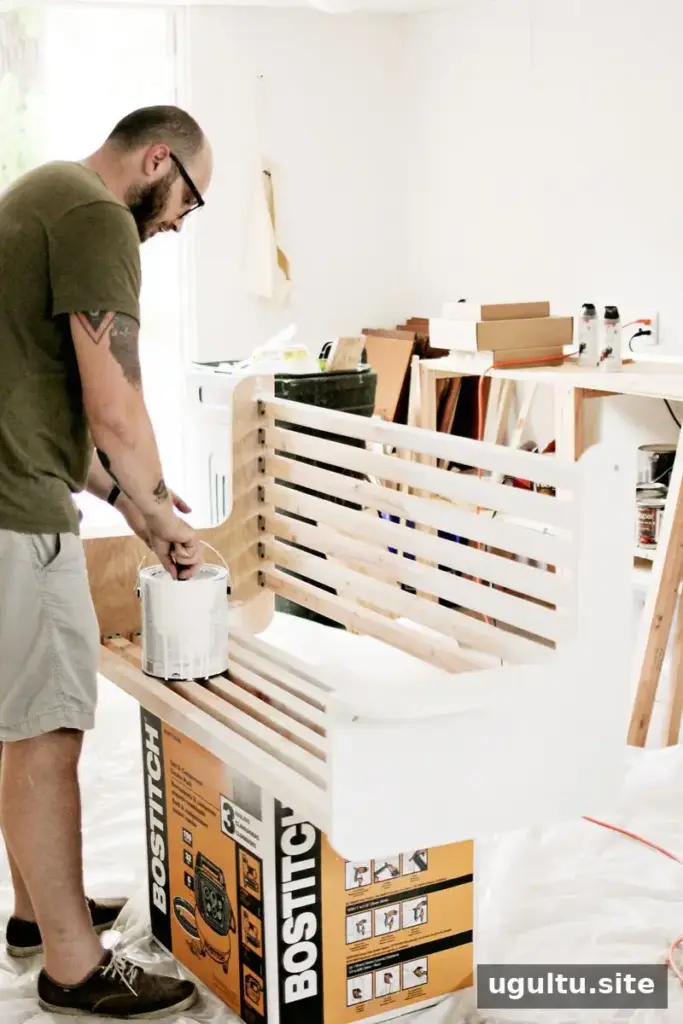
A stable support can make sanding and painting more manageable. Keep the swing securely supported while working, and allow any finish to dry according to its product instructions before hanging or using the bench.





Step 5: Hang the swing carefully
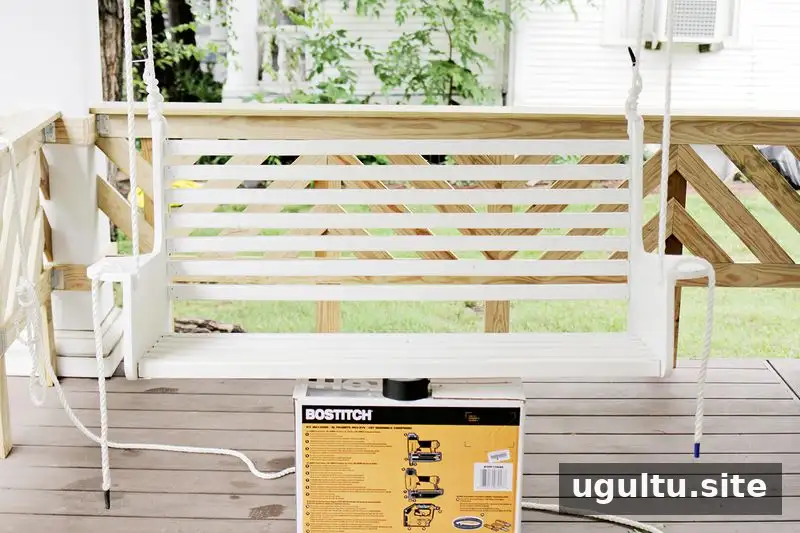
Choose the hanging location before lifting the swing. The screw hooks must go into sturdy structural framing, not just ceiling boards or other unsupported material. Pre-drill holes with a bit several sizes smaller than the screw being used, following the hardware instructions. If you are unsure whether the framing or attachment method is adequate, consult a qualified professional before hanging the swing.
Set the swing at the desired height and angle while it is supported. Cut enough rope to reach the hooks and tie the required knots; in this project, about 10 feet was used for each side. The example used several square knots, with around five knots per end, but knot choice and rope attachment must be suitable for the rope and load. Do not assume that a rope’s stated rating alone determines the safe capacity of the complete setup: the hooks, rings, knots, swing, and supporting structure all matter.
- Tie the rope to the back of the swing. Tape the cut ends temporarily to help prevent fraying while working.
- Place a metal ring on each hook so the ring, rather than the rope, contacts the hook.
- Tie a length of rope from the back of the swing to the ring, keeping it as taut as possible.
- Use the remaining rope to attach the front of the swing, keeping the rope taut and the bench level or at the intended angle.
- Secure loose rope ends appropriately. The original setup began with zip ties and then used outdoor tape; these should not be treated as load-bearing connections.
Final checks before using your porch swing
Inspect every bracket, screw, knot, ring, and hook, and confirm that the swing is balanced and does not rub against nearby surfaces. Test the setup gradually while keeping people clear of the area, and stop using it if any component shifts, loosens, or shows damage. Recheck the connections periodically, especially after weather exposure.
With careful measurements, secure assembly, and a suitable support structure, this project can add a practical place to relax outdoors. Use the diagrams to guide the cuts, and make safety checks part of the build as well as the finished installation.



—Josh


