
 admin


A Pyramid Light Stand offers a simple way to display a lightweight lamp using wooden dowels and a handmade frame. This project uses basic materials and tools, with optional finishes to suit your space. The instructions below cover cutting, assembling, painting, and fitting the light assembly. Work carefully, and make sure the finished stand is stable before use.
Materials and tools for a Pyramid Light Stand
Materials:
- Six 48-inch-long, 1/2-inch dowels
- A light assembly
- Crafting wire or twine
- Leather strips, optional
Tools:
- Saw
- Measuring tape
- Drill
- Wood glue
- Nailer, optional
Check that the light assembly is suitable for the intended setup before starting. Measure and mark the dowels carefully; consistent lengths help the stand sit evenly.

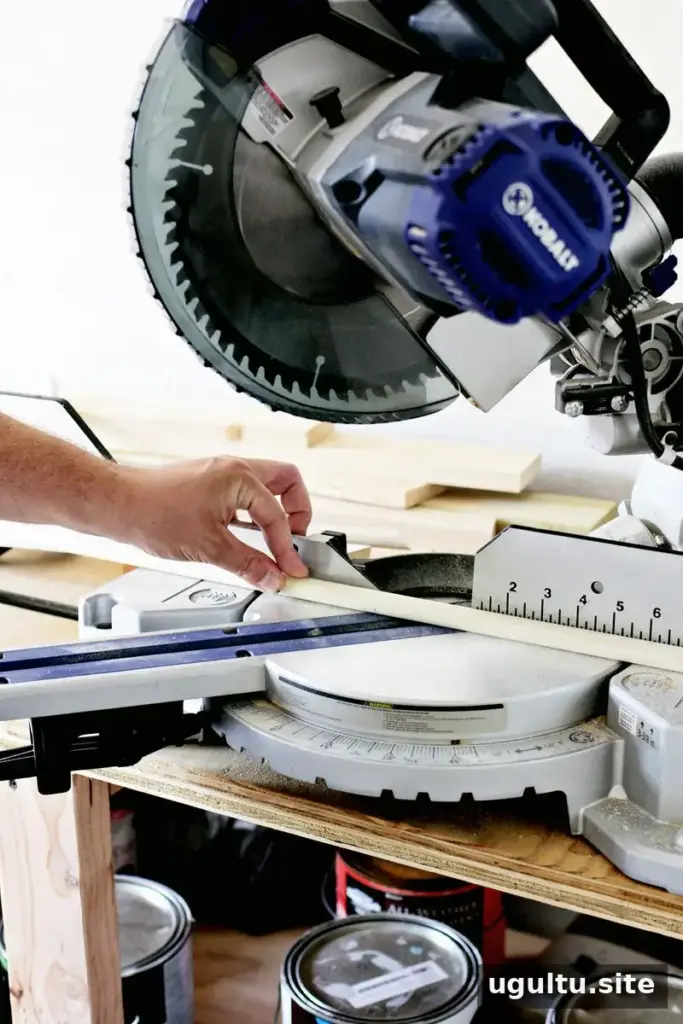
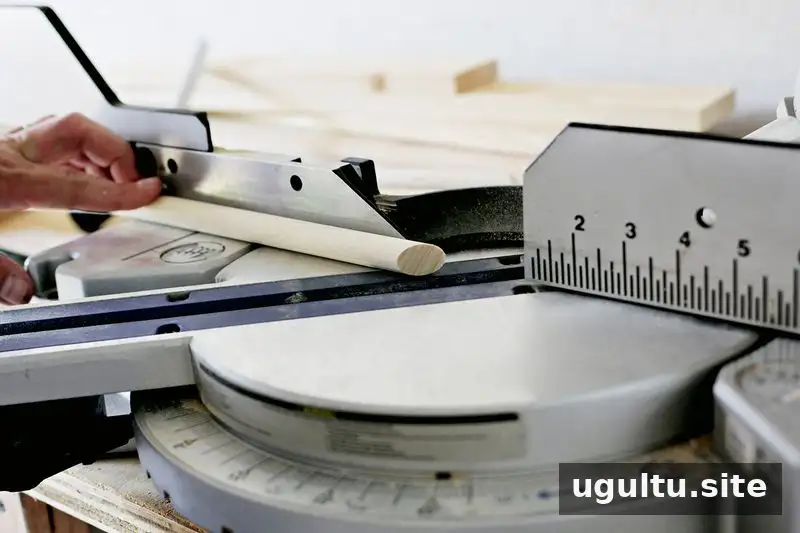
Step 1: Cut the dowels
Keep the vertical pieces at 48 inches and cut the base pieces to 18 inches, with 45-degree ends. For a more tailored fit, you can also cut an angle of about 10 degrees from one end of each rod. Measure twice before cutting, and sand rough edges to make assembly easier.
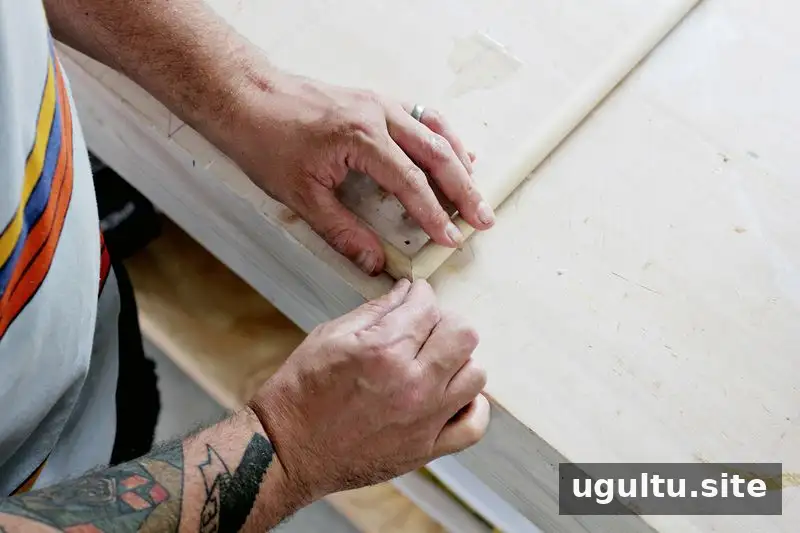
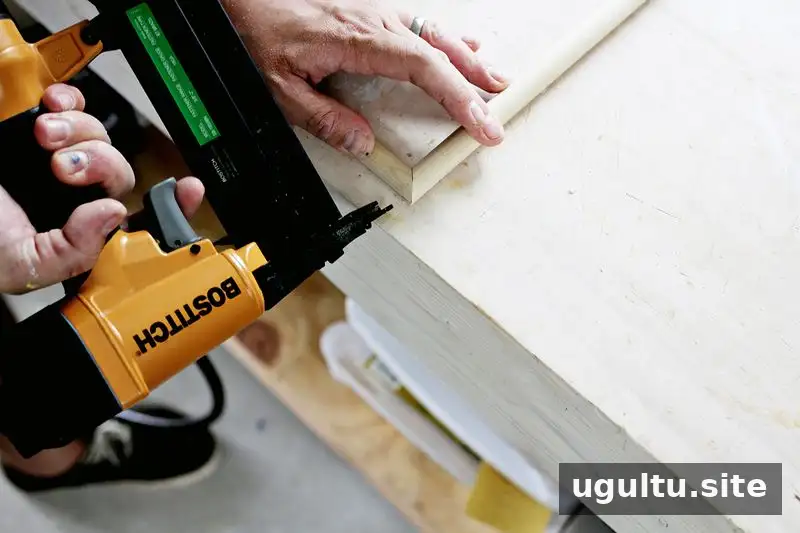

Step 2: Assemble the base
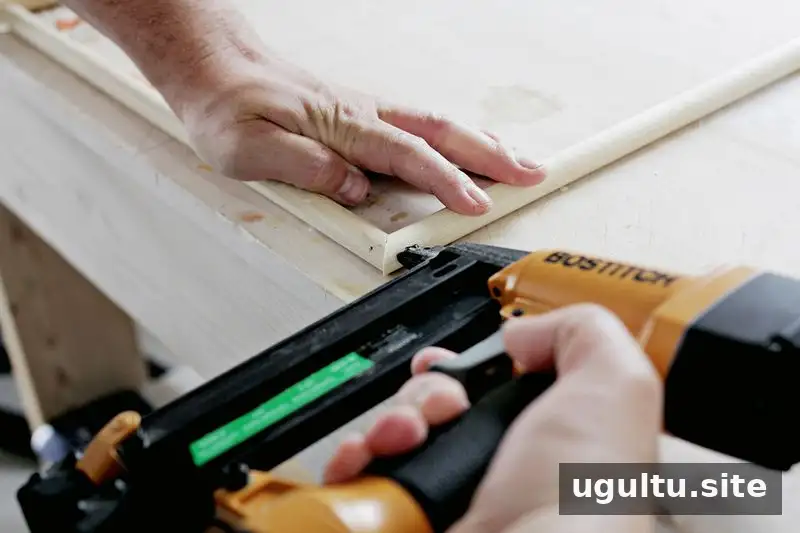
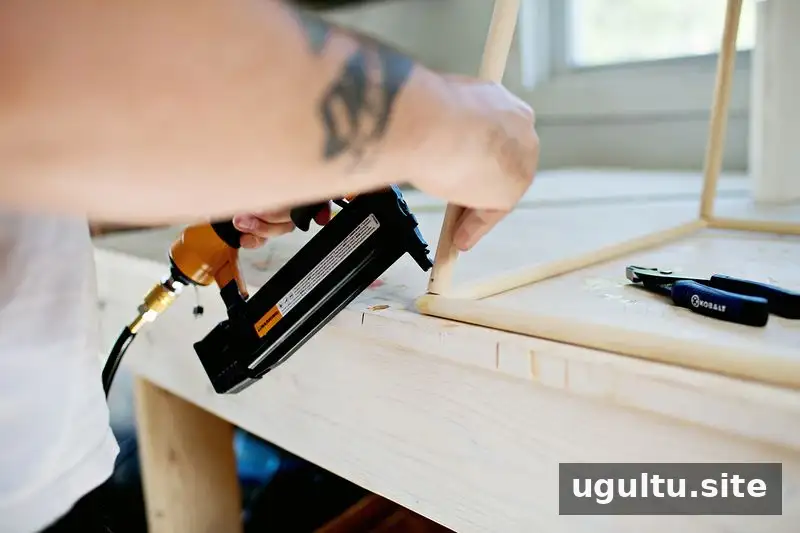
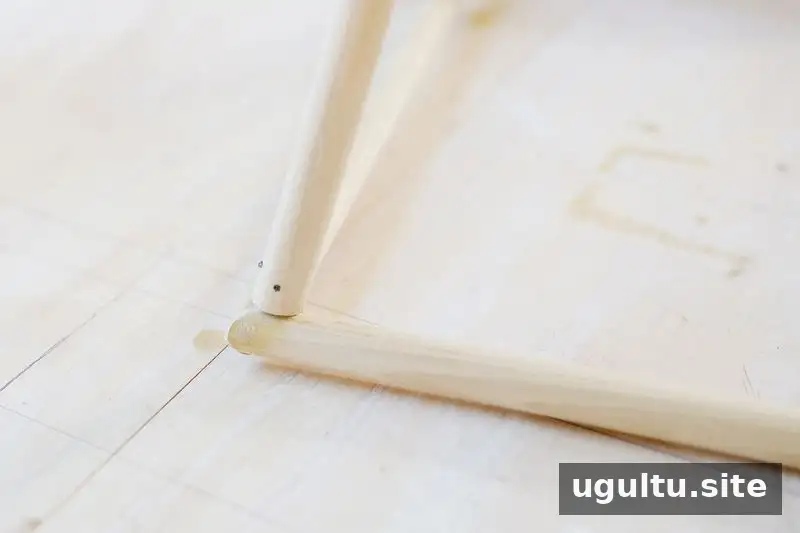
Join the base pieces to form the stand’s footprint. A nailer can make this step quick, while wood glue or hot glue may be an option for this lightweight design. The light assembly weighs less than one pound, but the base still needs to be firmly joined and stable. If you use nails, fill the holes with wood filler and let it dry before sanding.
Step 3: Attach the vertical pieces
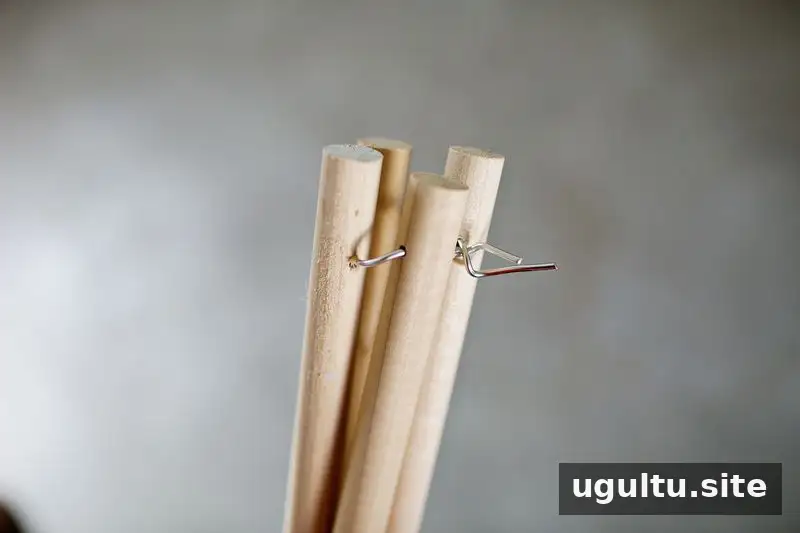
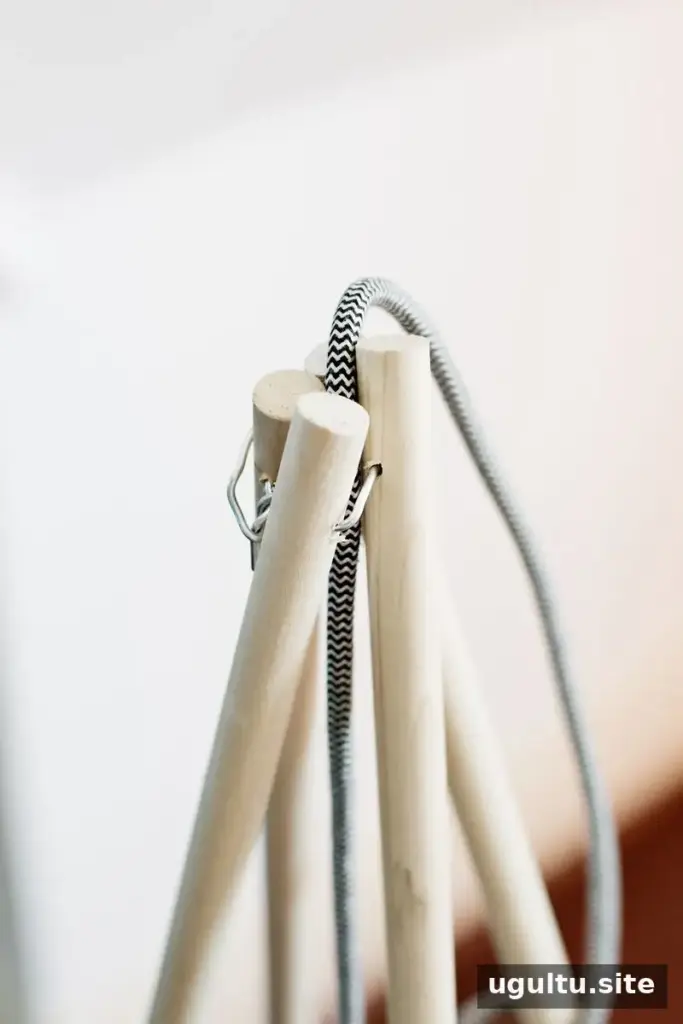
Sand any dried filler before moving on. Drill a hole about 2 inches from the top of each rod, then thread crafting wire or twine through the holes. Keep the tie loose enough to adjust the rods while positioning their lower ends at the corners of the base. Attaching the wire or twine first can help hold the legs upright during assembly. Secure the legs with nails or an appropriate adhesive, and allow adhesive to fully dry before continuing.
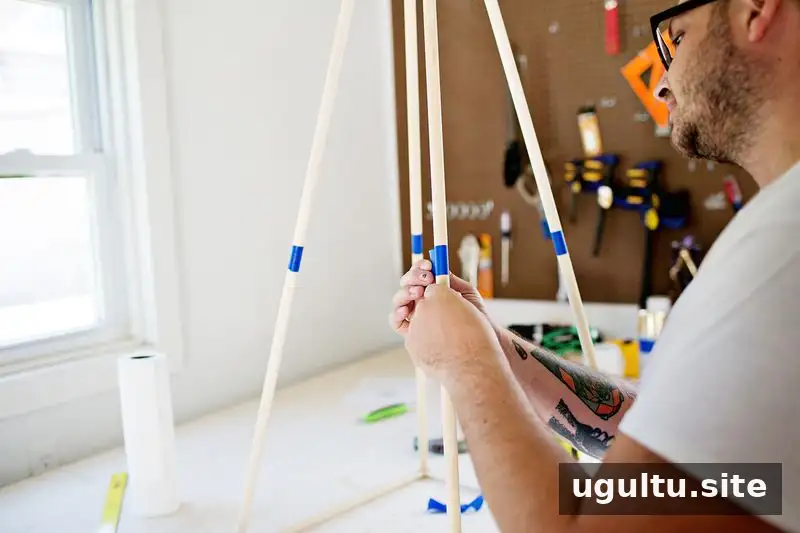
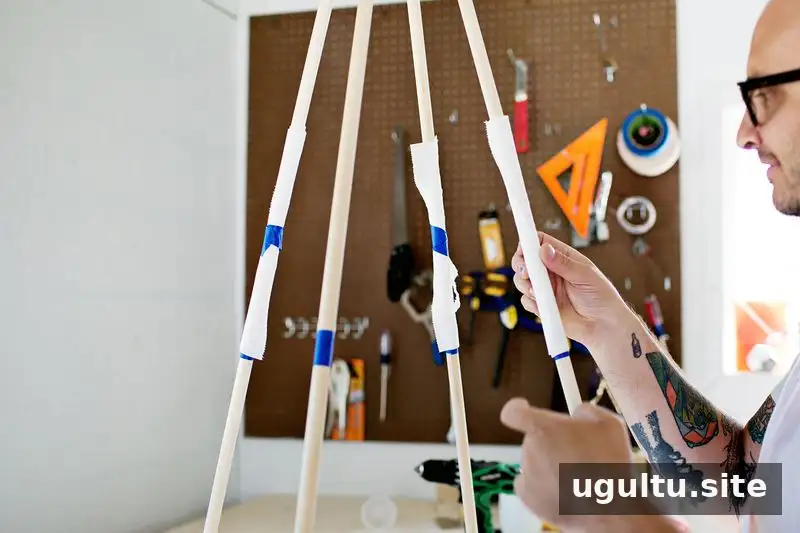
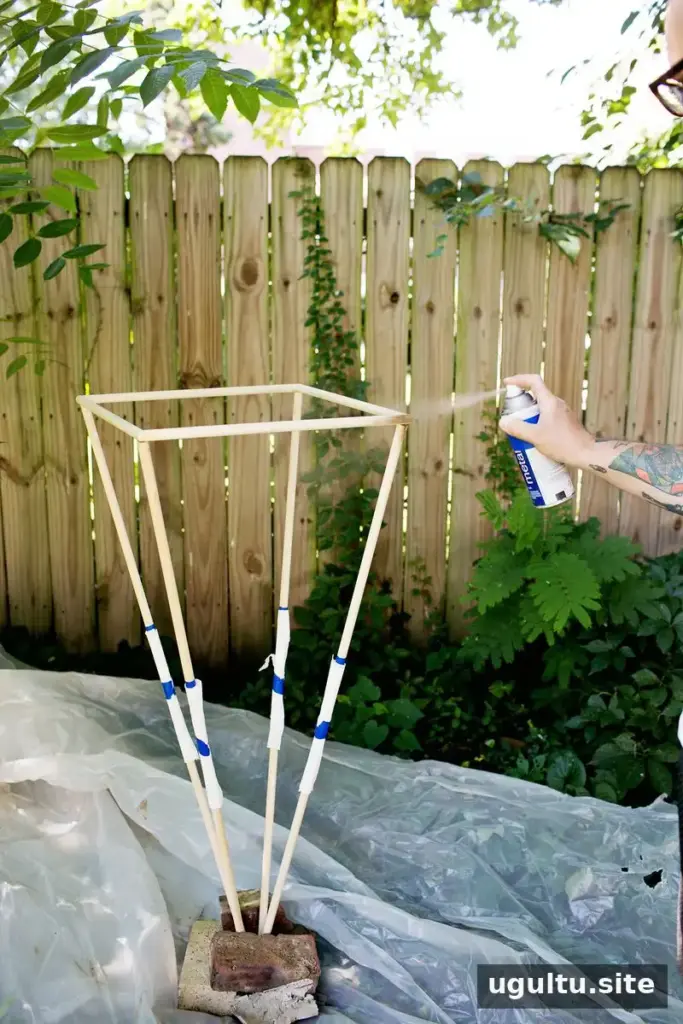
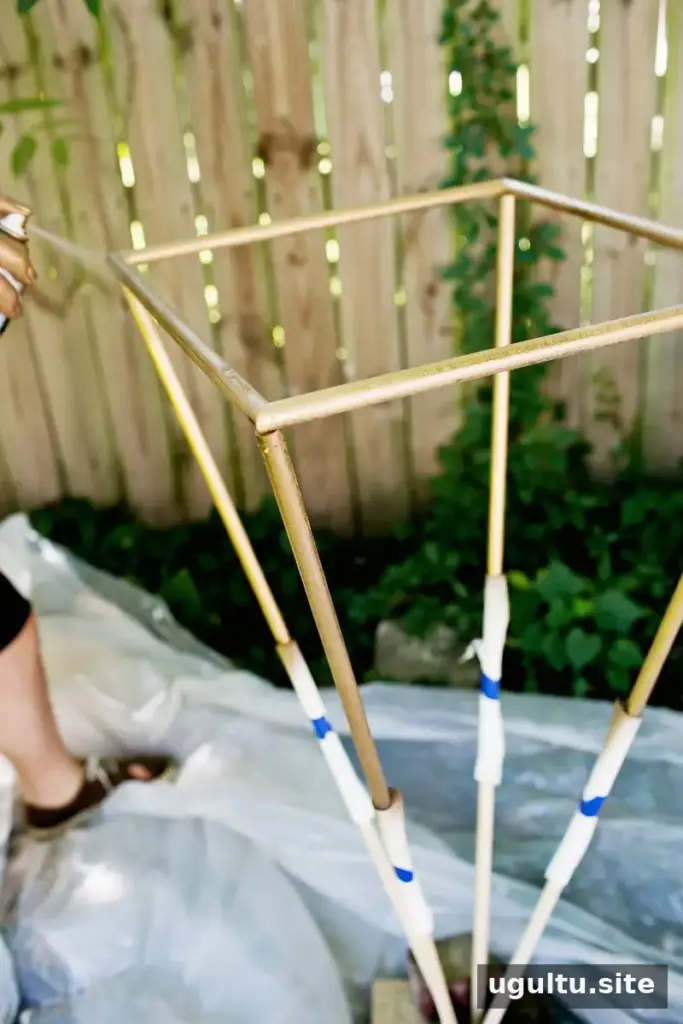
Step 4: Paint or finish the stand
For a dipped-in-gold effect, mask the areas you want to keep unpainted and cover the surrounding surfaces before spray painting. You can also paint the entire stand one color or choose another finish. Follow the paint manufacturer’s directions, including any drying time, and work in a suitable ventilated area.
Step 5: Add the light assembly
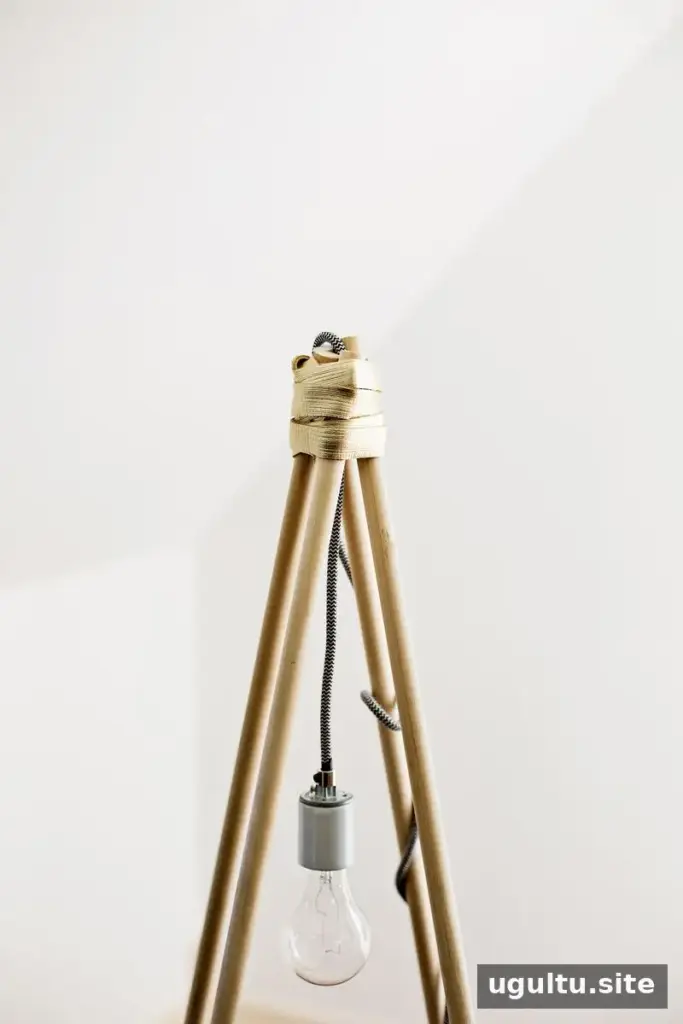
Pass the cord through the center of the legs and tighten the wire or twine to hold the frame in position. Wrap the light cord around the top, or cover the joining area with a leather strip. Excess cord can be wrapped around one leg to keep it organized, but do not place it where it could be pulled or create a tripping hazard. Unplug the light while fitting or adjusting it, and keep the finished lamp away from children and pets. If the frame wobbles or the electrical arrangement seems unsuitable for your home, do not use it.
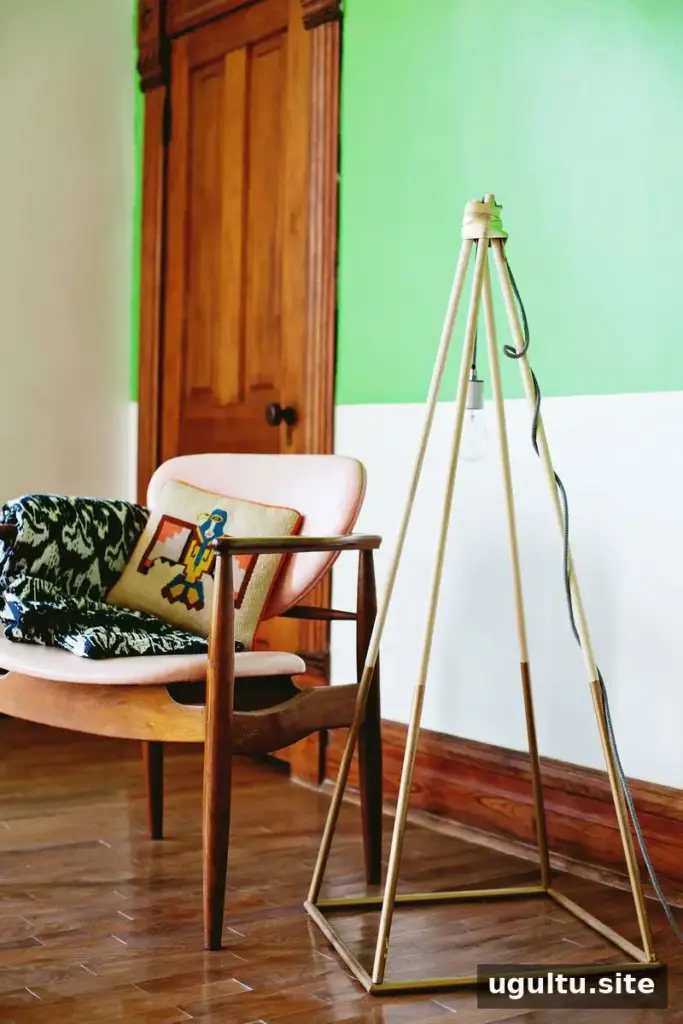
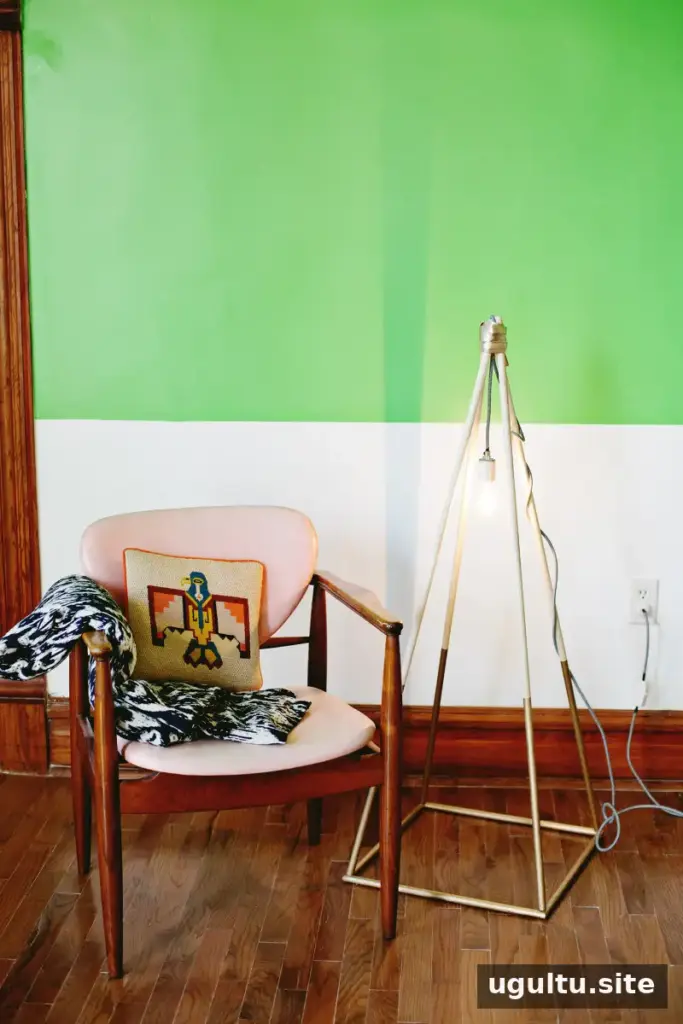
The completed Pyramid Light Stand can be personalized with different colors or decorative details. Before switching on the lamp, check that the base rests evenly, all joints are secure, and the cord is not strained or damaged. This project was created by Josh and Sarah.


