
 admin
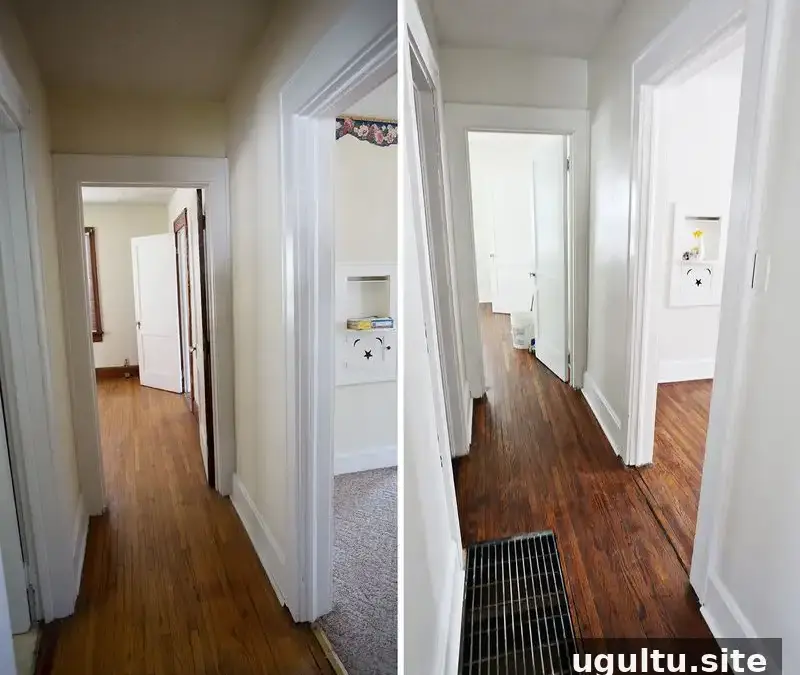
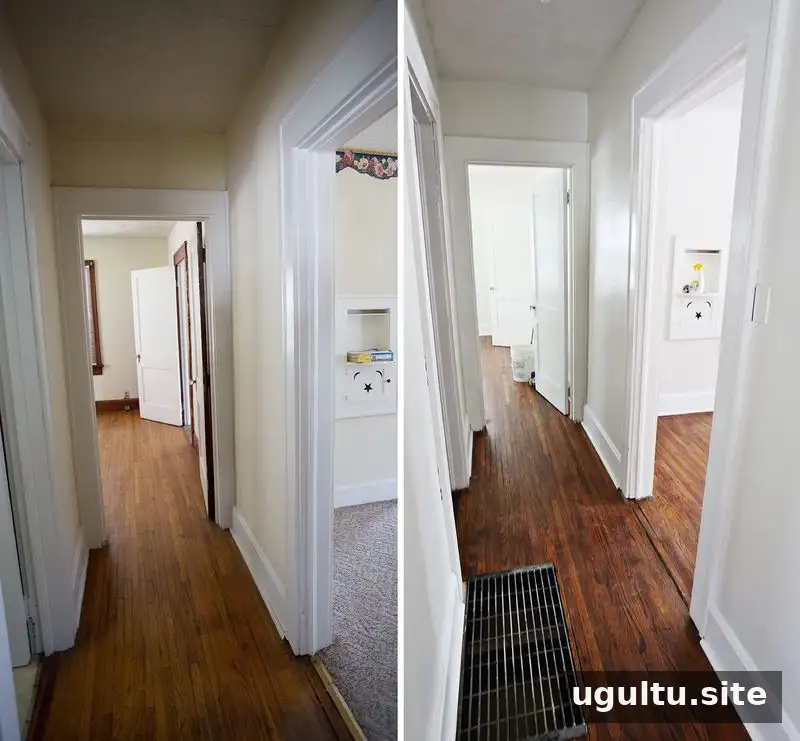
Refinishing old wood floors can reveal attractive timber hiding beneath worn carpet, paint, or a faded finish. In this project, removing the carpet exposed older hardwood in usable condition, so the floors were added to the renovation plan. The work was completed as a DIY project to keep costs down and build practical skills. The steps below describe the process, equipment, and costs, while offering guidance for planning a similar job.
Preparing the floors for refinishing
Wood-floor refinishing methods vary depending on the floor’s condition and existing finish. Before renting equipment, inspect the boards for loose or damaged sections, protruding nails, and deep stains. If a home or its old coatings may contain hazardous materials, get appropriate advice or testing before sanding. Sanding creates dust, so use suitable protective equipment, keep the work area controlled, and follow the equipment and finish manufacturers’ instructions.
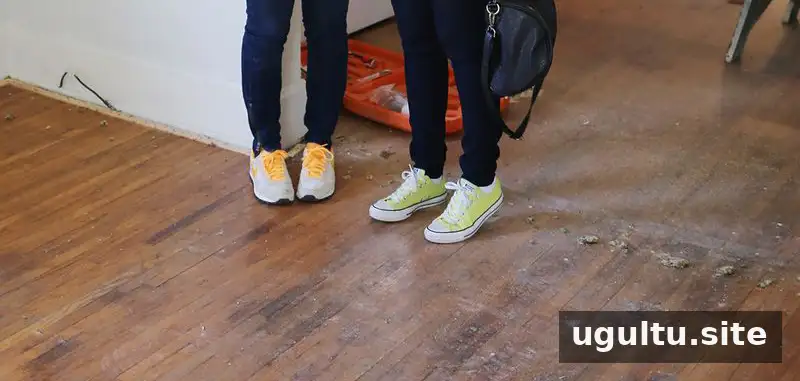
After the stained carpet was removed, the floor was swept and vacuumed throughout the house. Some paint had splashed onto the wood during earlier work. Since sanding was planned, it was left in place until the sanding stage. A thorough initial cleanup helps reveal the floor’s condition and keeps loose dirt from interfering with the work.
Choosing sanders for refinishing old wood floors
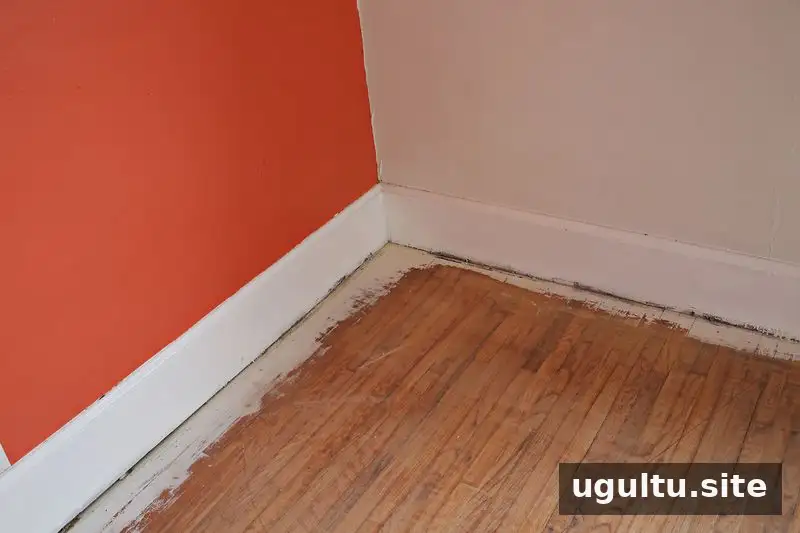
A square-buff floor sander was rented first, based on recommendations from friends and the rental counter. It removed much of the paint and made the color look more consistent, but it did not take the old floor down to bare wood. This experience showed that the right machine depends on the floor and the finish being removed; a tool suited to one job may not be effective for another.
A heavy-duty orbital sander was then used around the edges. It removed dirt, paint, sealer, and stain effectively, although it required strength to control. The edge work was taken from the baseboards to about a foot into the room. Because a drum sander cannot reach all the way to the walls, plan the edging carefully; renting both machines at the same time can make the workflow more efficient.
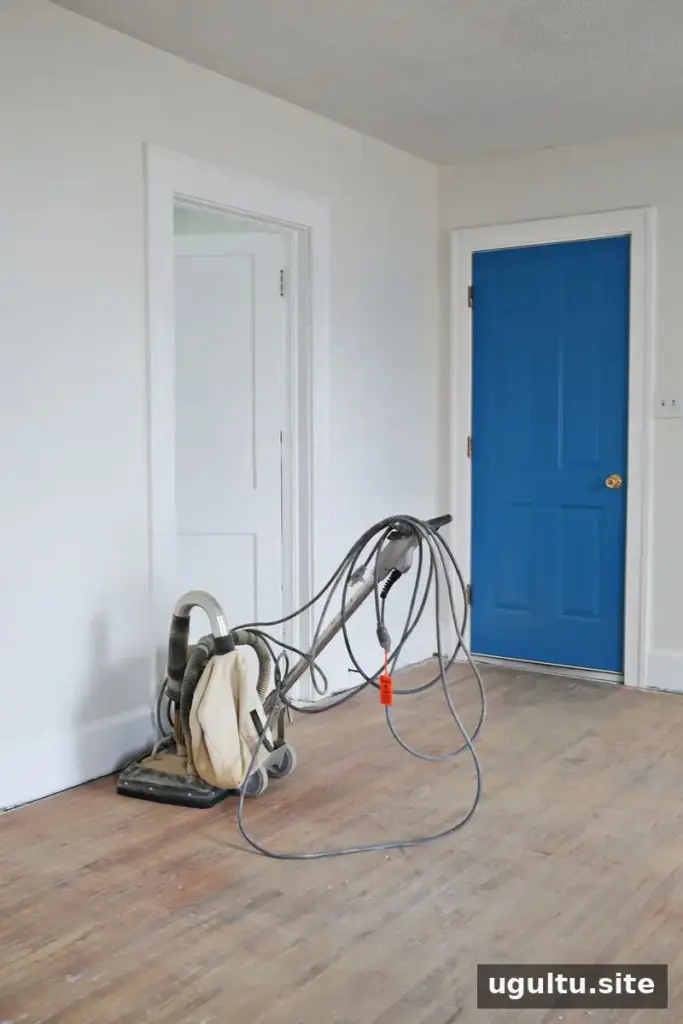
A drum floor sander was used to sand the main floor area down to bare wood, which took a couple of hours. Follow the rental instructions for starting, moving, and stopping the machine. Keep it moving while the sanding drum is engaged, since leaving it in one spot can create an indentation. Work methodically and avoid rushing, especially when learning to handle unfamiliar equipment.
Some water stains remained, particularly near the door and kitchen sink. In this project, removing them completely would have required replacing hardwood boards, which was outside the planned scope. Assess stains before starting so you can decide whether sanding and stain will be sufficient or whether repairs are needed.
Staining and sealing the wood
After sanding, Special Walnut stain was selected as a medium shade between the raw wood and the darker water marks. It helped reduce the contrast between the stains and the rest of the floor. The stain was applied by hand with a lambswool applicator and a rag. For a larger area, choose an application method that suits the product directions and the size of the room.
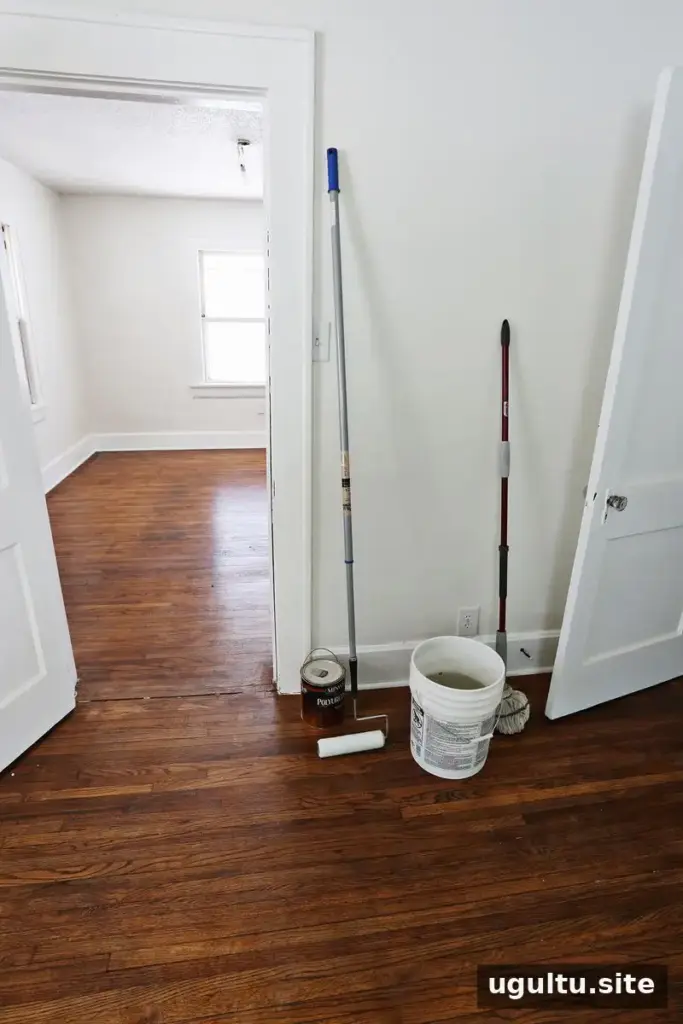
The stain was left to dry overnight. Before sealing, the floor was swept again to remove dust and particles. Polyurethane was rolled on, working from the back room toward the front door. Watch for air bubbles as you apply the finish, and follow the product label for application, ventilation, and drying requirements.
Two coats of sealer were applied. The first coat dried overnight, then the surface was sanded with a pole sander intended for drywall sanding before the second coat went on. Use the finish manufacturer’s guidance for sanding between coats and for how long to wait before walking on or placing furniture on the floor.
Project cost and final result
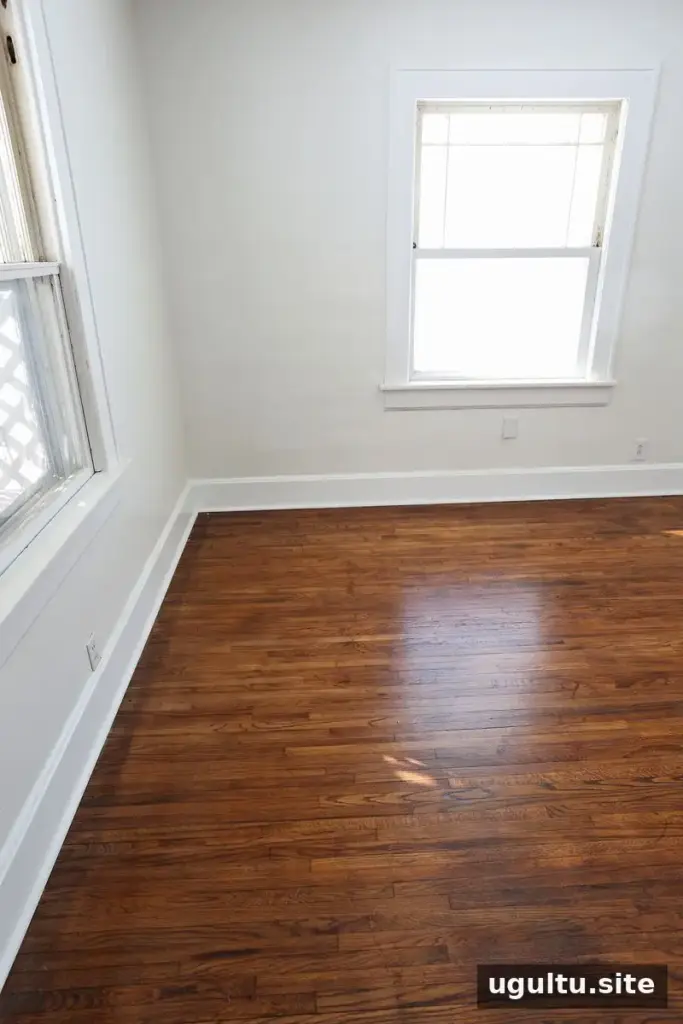
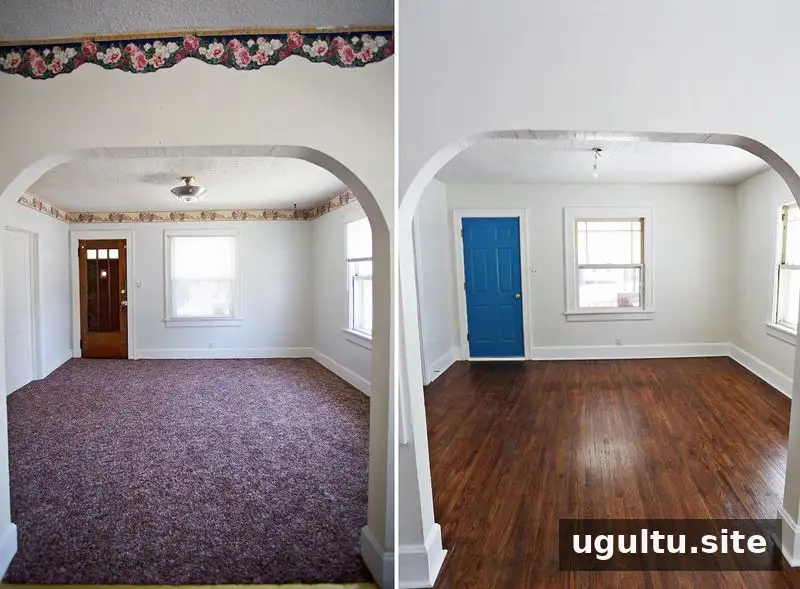
The project cost about $350 for equipment rentals, sanding pads, stain, and sealer. The square-buff sander could have been omitted. Removing and replacing the old quarter-round molding cost about $165, bringing the overall cost to approximately $500. The finished floors looked close to new, though some water staining remained.
For anyone considering refinishing old wood floors, the main takeaways are to assess the floor first, choose equipment suited to the existing finish, and work carefully with sanding machines. Build cleanup, drying time, and protective measures into the schedule as well as the budget. — Josh


