
 admin
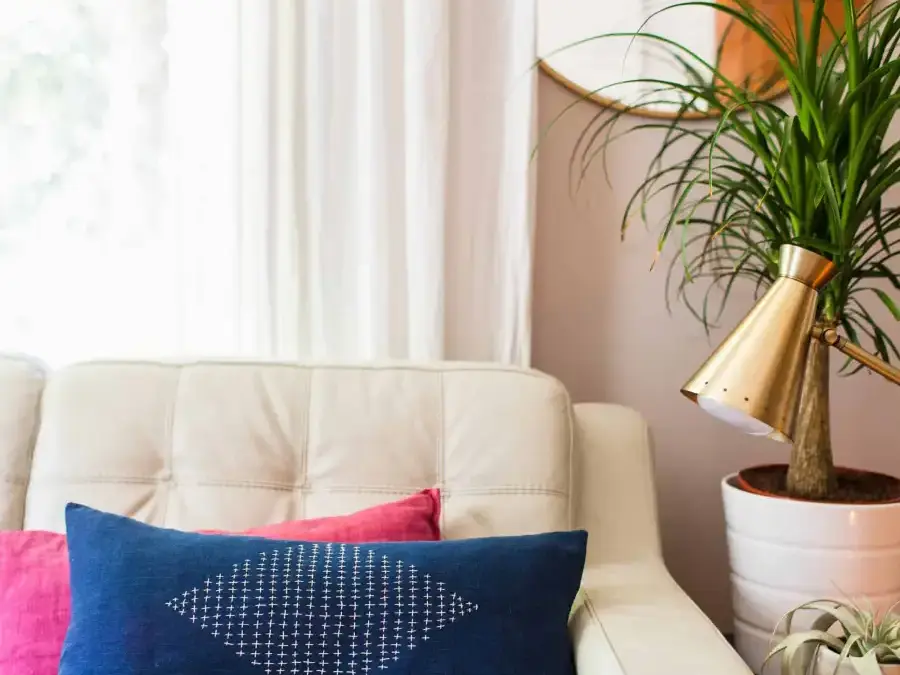

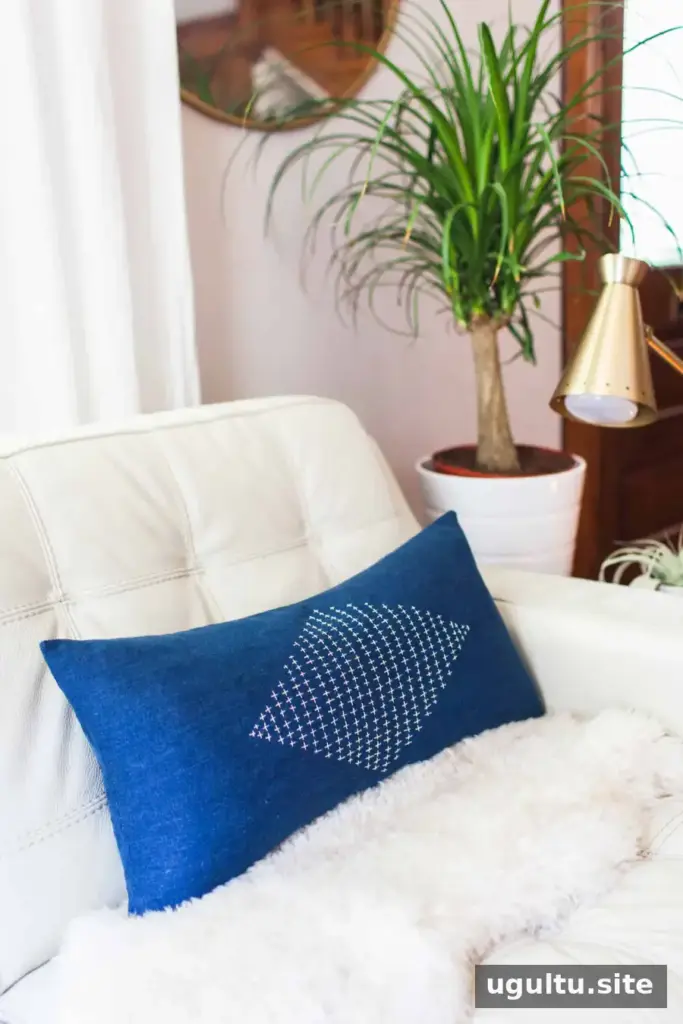
A Sashiko embroidered pillow is a practical way to explore Japanese-style decorative stitching while giving sturdy leftover fabric a new purpose. Sashiko is a hand-stitching tradition whose name is often translated as “little stabs.” Its repeating running stitches can form waves, diamonds, squares, or simple parallel lines. This project uses a straightforward diamond pattern on denim, with tailor’s chalk helping keep the lines even—so it’s approachable even if you’re new to embroidery.
Use firm, non-stretch denim or cotton canvas for a pillow cover that can hold its shape. The project uses fabric measuring 24″ x 24″, cut into two 12″ x 24″ rectangles. A thimble can make stitching through heavier denim more comfortable, especially when working with small, close stitches.

Supplies for a Sashiko Embroidered Pillow
Gather these materials and tools before you begin. A rotary cutter and ruler make it easier to cut straight edges, but scissors can be used if needed.
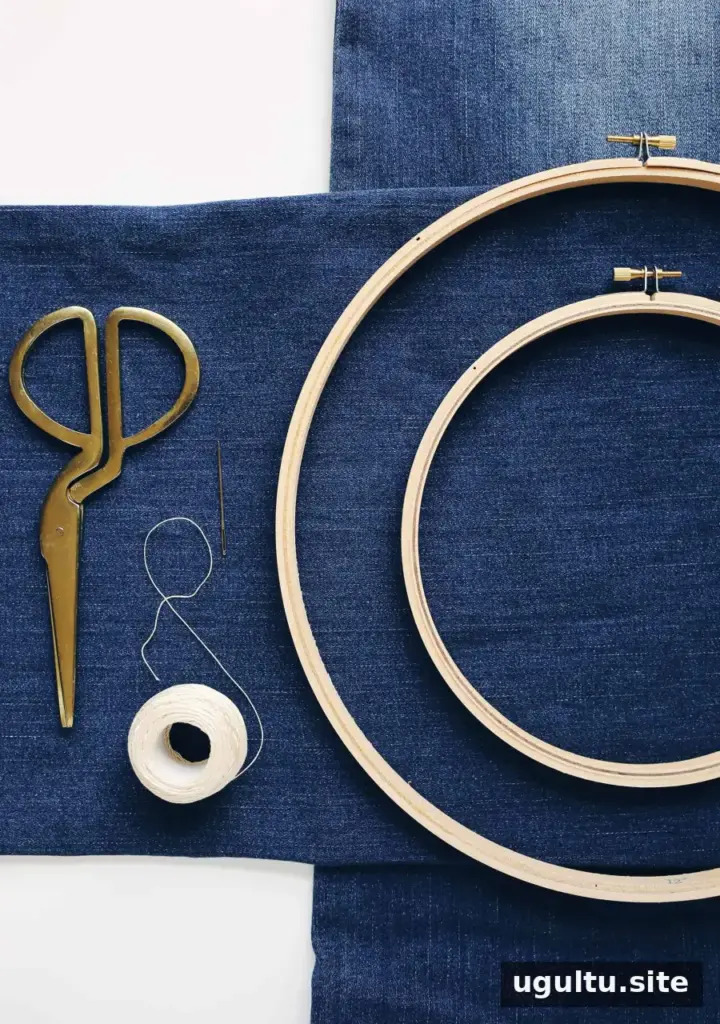
- Sturdy denim or dyed cotton canvas, measuring 24″ x 24″; avoid stretch denim
- 12″ embroidery hoop
- Cotton embroidery thread
- Embroidery needle
- Polyester fiberfill or similar stuffing
- Cutting mat, acrylic ruler, and rotary cutter
- Thimble
- Tailor’s chalk
- Scissors and sewing machine
How to Make the Sashiko-Style Pillow
1. Cut and mark the fabric
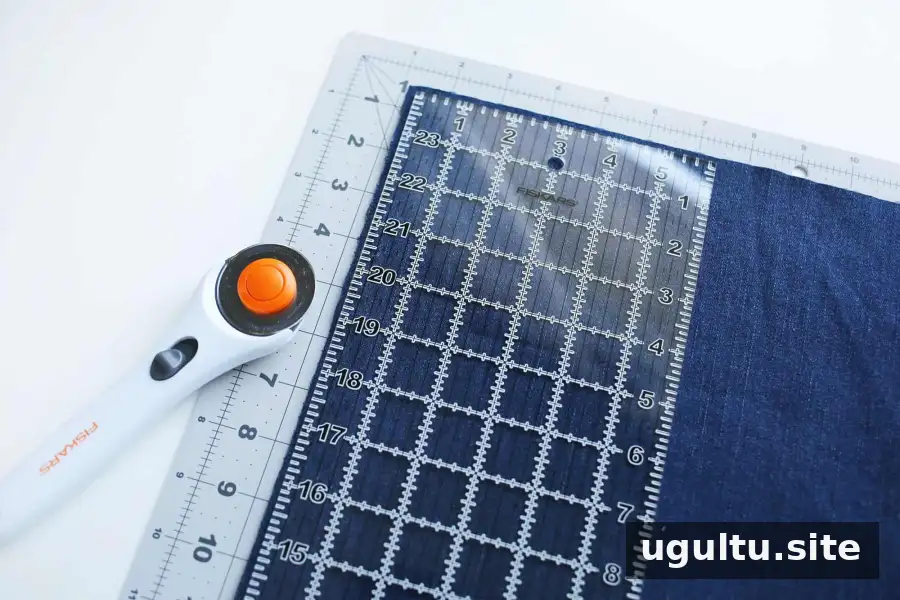
Use a cutting mat, acrylic ruler, and rotary cutter to cut the fabric into two rectangles, each about 12″ x 24″. Set one piece aside; it will form the back of the pillow.
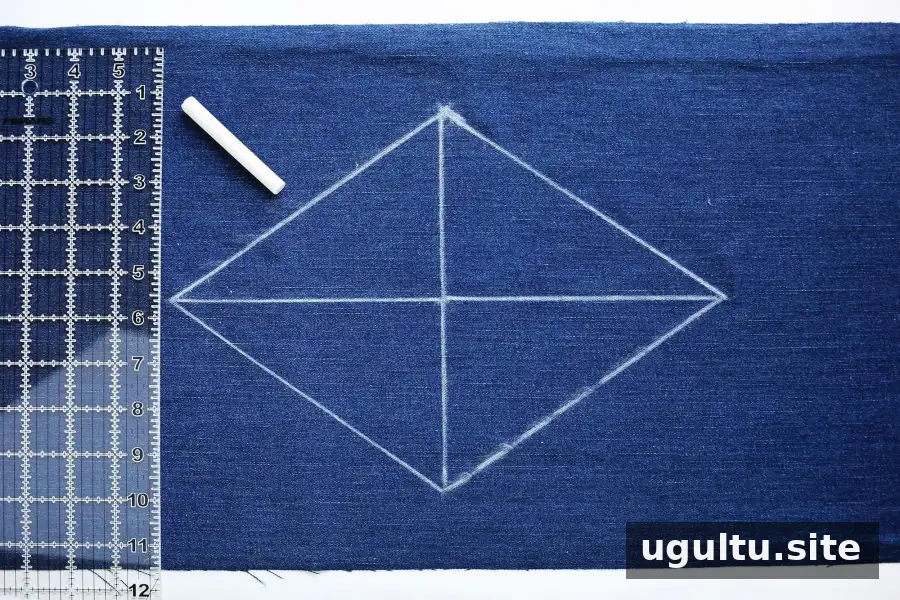
On the other rectangle, mark its center with tailor’s chalk. From the center, measure 5″ upward and 5″ downward, then draw a straight line between those points. Measure 7″ to the left and 7″ to the right of the center and mark those points. Connect the four outer points to make a diamond. Check that the marks are centered before stitching so the finished pattern sits neatly on the pillow.
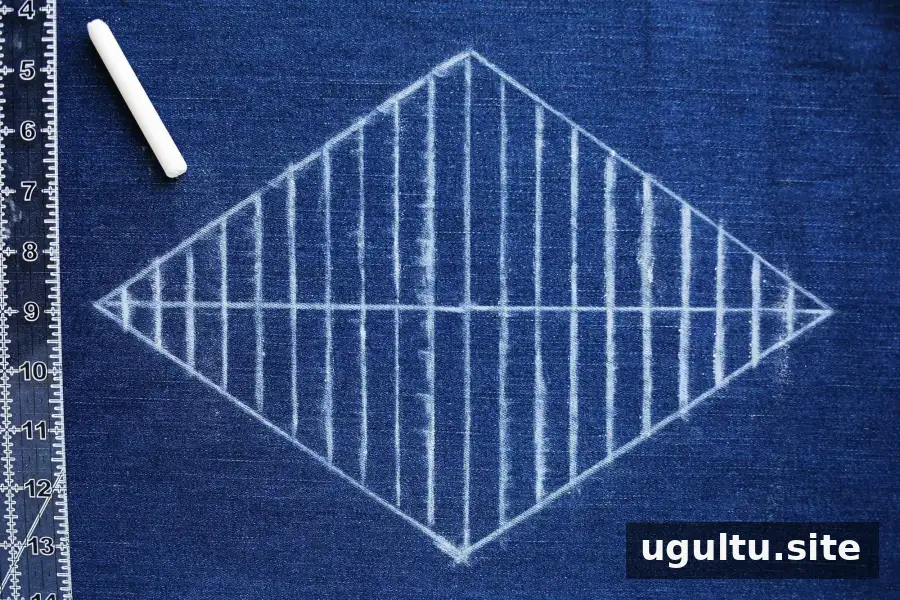
Starting at the center vertical line, mark additional parallel lines about 1/2″ apart on both sides. Place the fabric in the embroidery hoop, keeping the marked area roughly centered. If your hoop is smaller, reposition the fabric as you work rather than trying to stitch the entire design at once.
2. Stitch the pattern
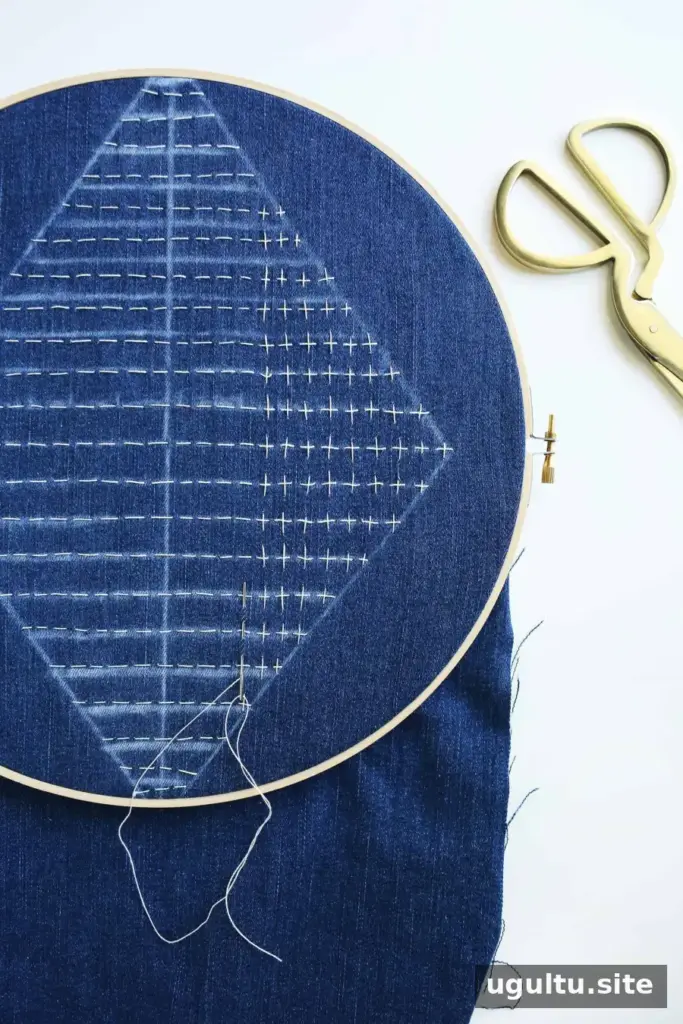
Cut a 3′ length of thread and knot one end. Thread the needle, leaving a 6″ tail, and begin from the back of the fabric. Make four or five short running stitches close together. For more consistent spacing, load several stitches onto the needle before pulling the thread through.
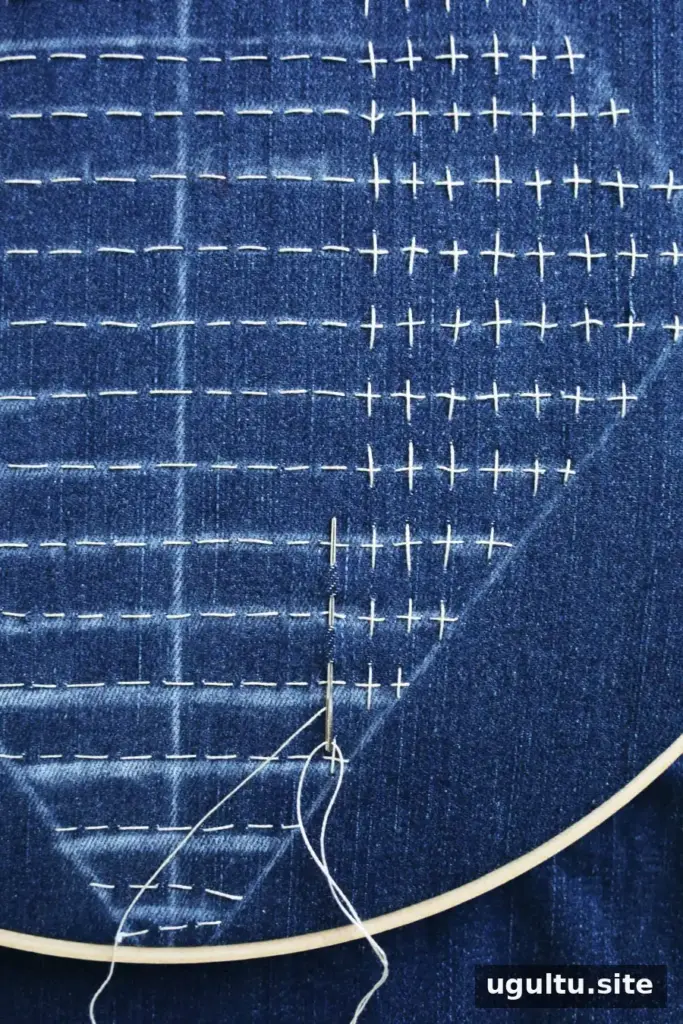
Follow the chalked vertical guides first, then stitch the horizontal lines across them. The crossing stitches create the diamond effect, so a separate outline around the perimeter is not necessary. Keep the stitches as even as you can, but small variations are part of the handmade look.
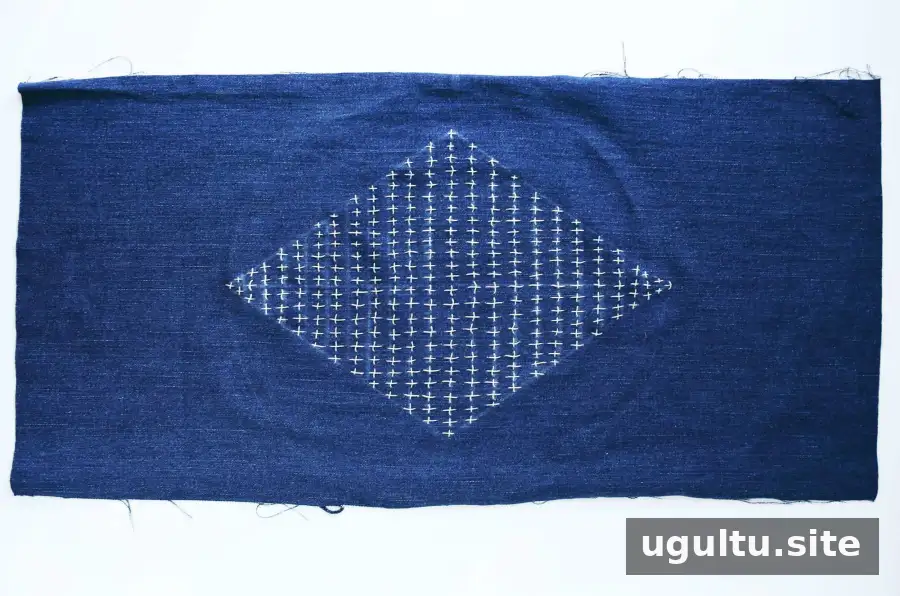
When a length of thread runs low, secure it on the back with a double knot and start a fresh length from the back as well. Once the embroidery is complete, remove the hoop and gently smooth the fabric. Rinse the marked area under running water to remove the chalk, then let the fabric air-dry completely before sewing.
3. Sew and stuff the pillow
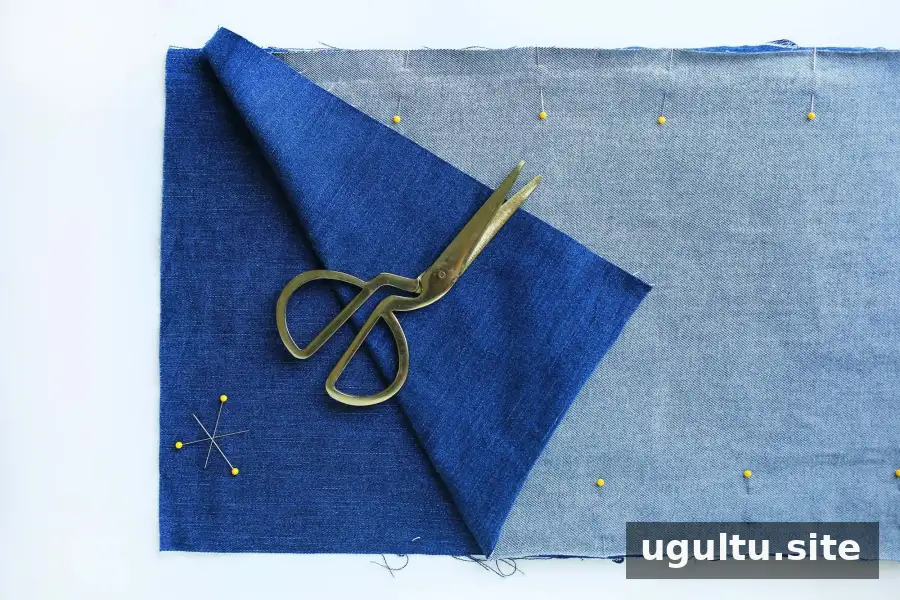
Place the embroidered piece and the remaining rectangle with their right sides facing each other. Pin around the edges about every 4″. Machine-stitch around most of the perimeter, leaving a 5″ opening; backstitch at both ends of the opening to reinforce it. Remove the pins and turn the cover right side out through the gap.
Fill the cover with stuffing, distributing it into the corners and along the length so the bolster has an even shape. Avoid packing it too tightly, which can put strain on the seams. Fold the raw edges of the opening inward and close it by hand with a blind stitch.
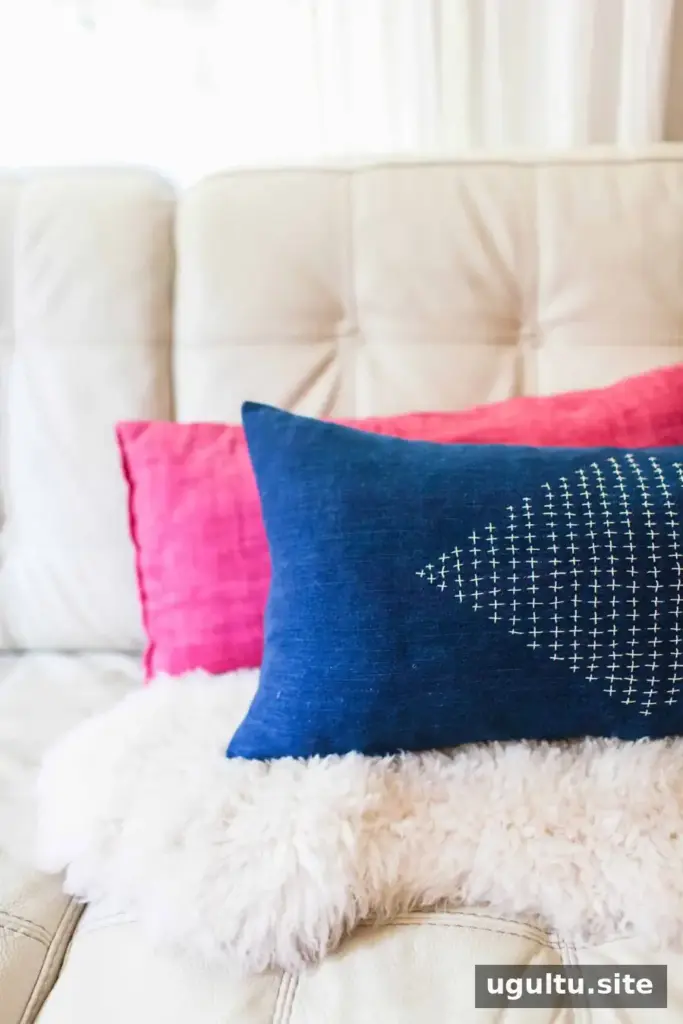
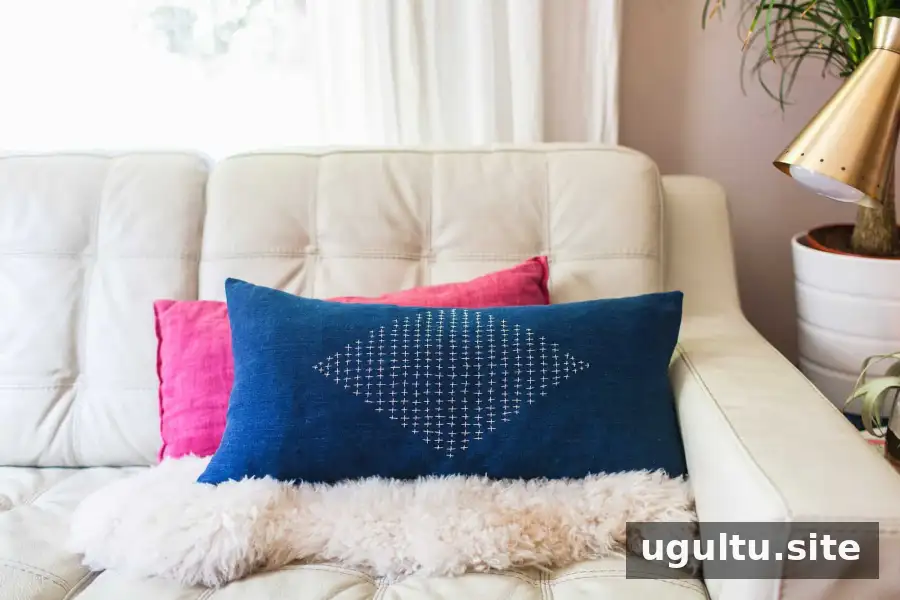
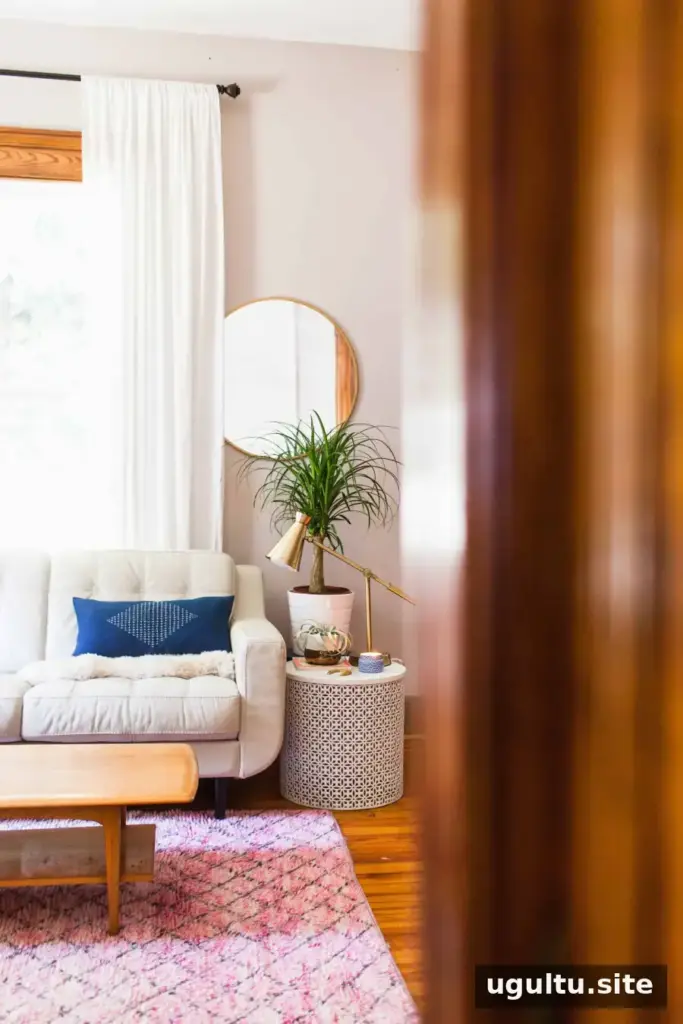
Fluff the finished pillow and adjust the filling until it sits evenly. The Sashiko embroidered pillow combines simple running stitches with upcycled fabric for a useful, handmade accent. Project by Rachel. For further study, see Katrina Rodabaugh’s work or The Ultimate Sashiko Sourcebook by Susan Briscoe.


