
 admin
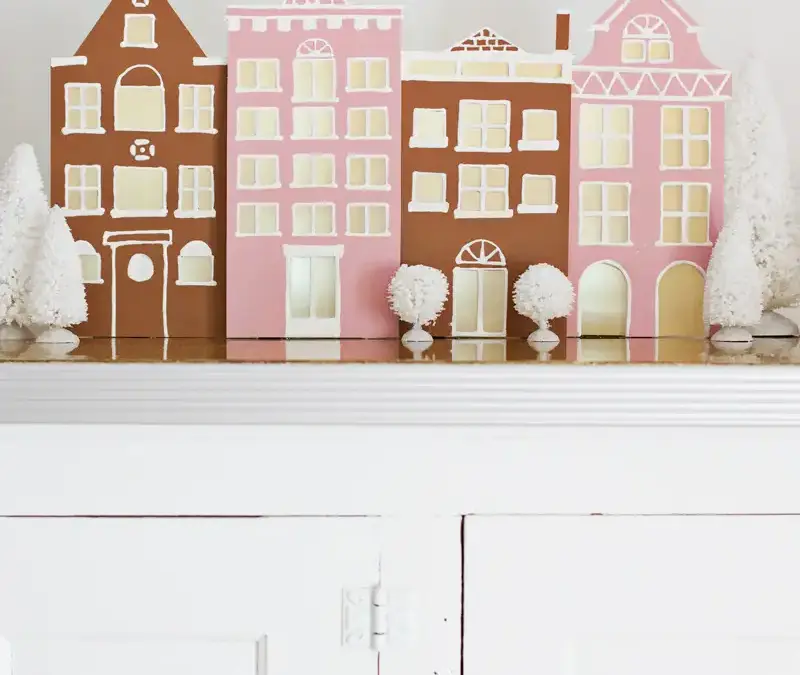
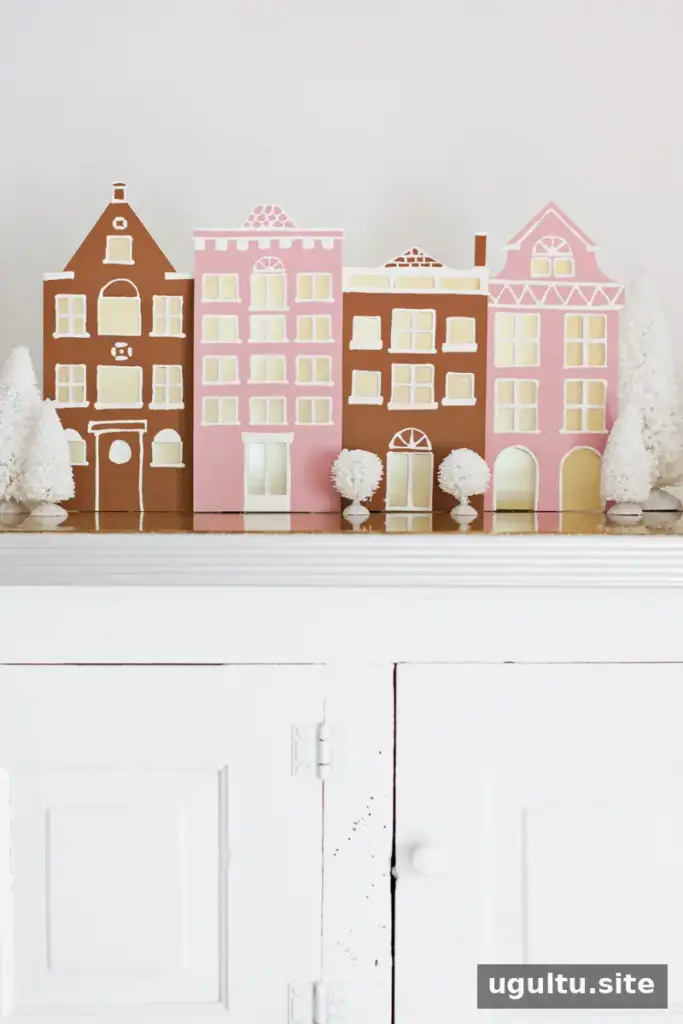
A simple winter village DIY can bring a cozy, nostalgic touch to holiday decorating without requiring ceramic buildings or a large collection of supplies. This project uses lightweight foam-board facades, vellum windows, and LED lights to create a small display that can suit a shelf, mantel, or tabletop.
The buildings are designed as flat fronts rather than three-dimensional structures, so they are easy to arrange and store. Add bottle brush trees or other small seasonal decorations to give the scene more depth. Choose foam-board colors that work with your room, or cover plain board with colored paper.
Materials for a Simple Winter Village DIY
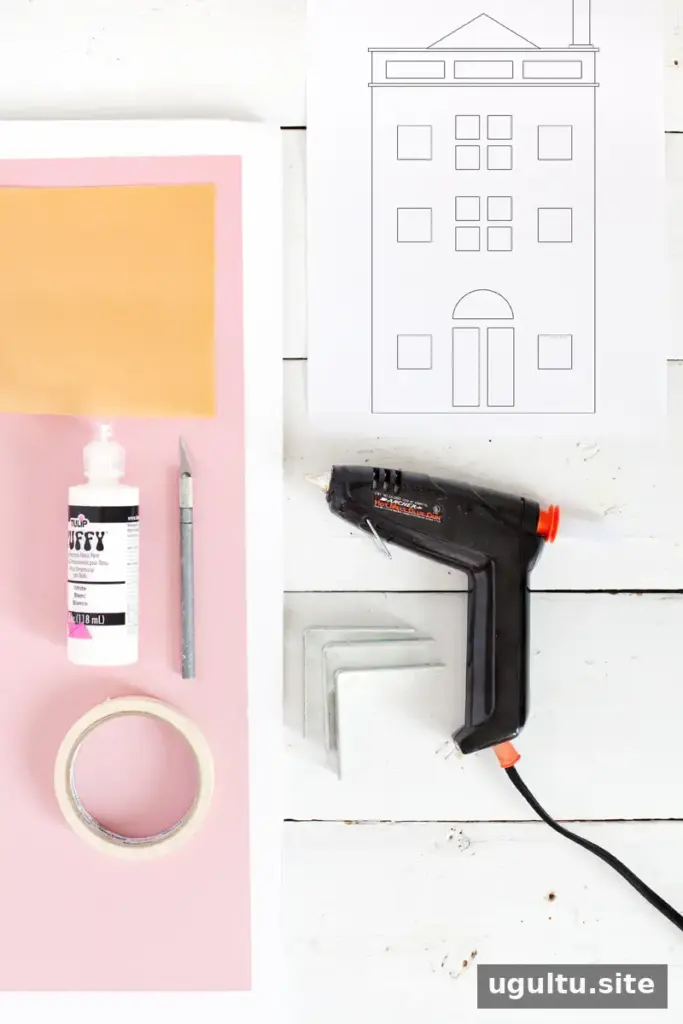
Gather the materials before you begin. Having a sharp blade and a suitable cutting surface helps make the building shapes easier to cut cleanly.
- Building templates, printed on 8.5″ x 11″ sheets
- Colored foam board, or plain foam board with colored paper or paint
- Gold or white vellum
- Small L-brackets
- Craft knife and spare blades
- Drafting tape or painter’s tape
- Hot glue gun or another suitable adhesive
- Puffy paint
- LED spotlights, optional
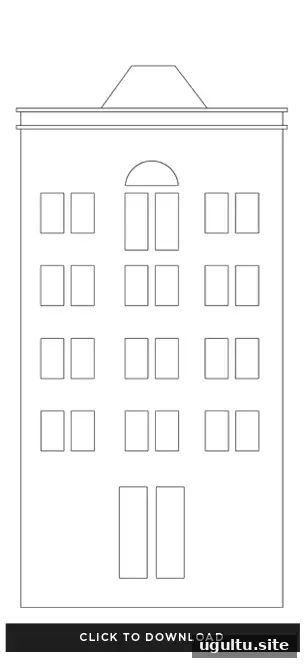
To prepare the templates, print the designs on standard 8.5″ x 11″ paper. The printer margins have been taken into account, so scaling should not be necessary. Check the printed page against your foam board before cutting to confirm the design fits as expected.
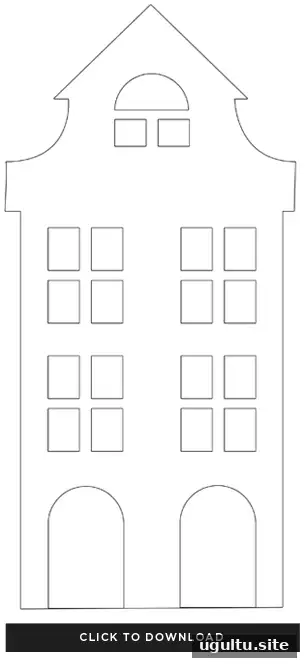
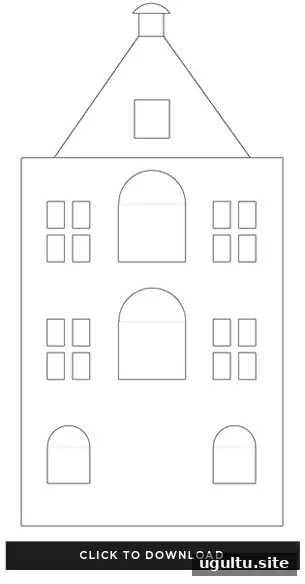
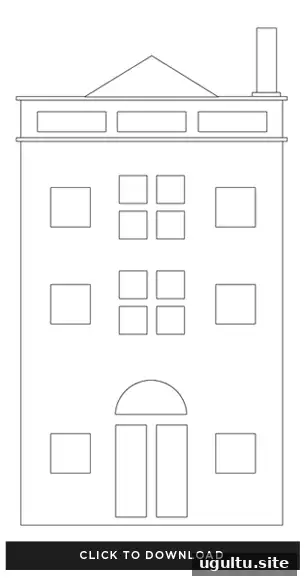
How to Make the Village Buildings
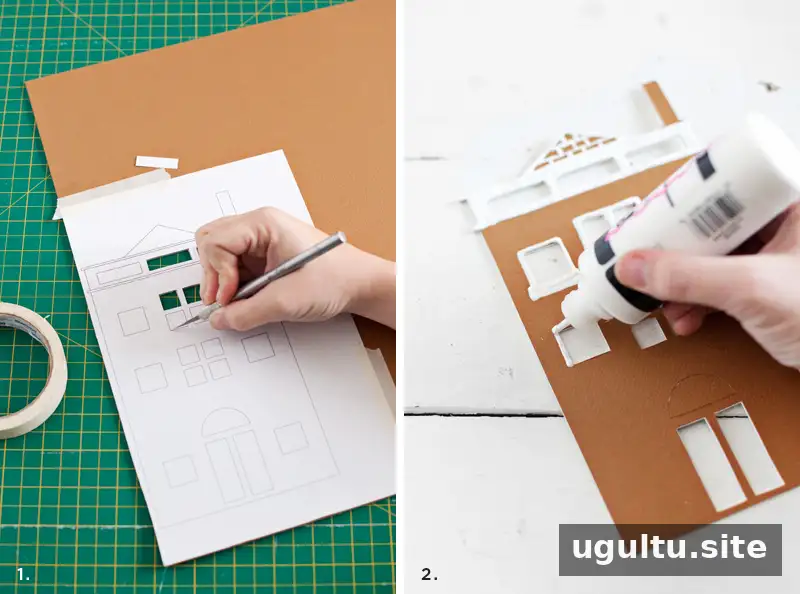
Step 1: Cut out the facades. Secure a template to the foam board with drafting tape or painter’s tape. Use a craft knife to cut around the building and open the windows. Make several light passes instead of forcing the blade through in one push; this helps prevent torn edges and reduces the chance of snapping the blade. Work on a protected cutting surface and keep your hands clear of the cutting path.
Foam board is a practical choice because it is stiff yet relatively easy to cut. Mat-board-style artist’s board can be more difficult to cut through, so test a small offcut first if you are using a different material.
Step 2: Add decorative details. Use puffy paint to outline the doors and windows. You can also add details such as roof shingles, brickwork, or a small wreath. Keep raised decorations away from edges that need to sit flat against a surface.
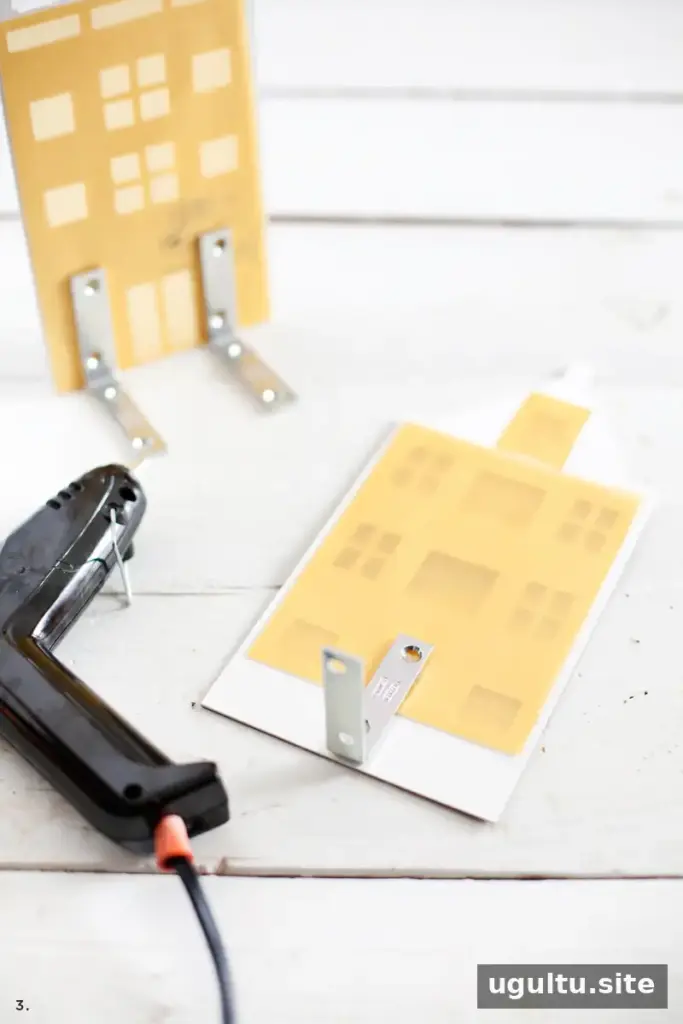
Step 3: Add the vellum and supports. Wait until the puffy paint is completely dry and firm. Turn each facade face down, then glue vellum over the window openings. The vellum softens the light passing through the windows. Attach one or two L-brackets to the back of each building, taking care not to cover a window or doorway.
Lighting and Display Tips
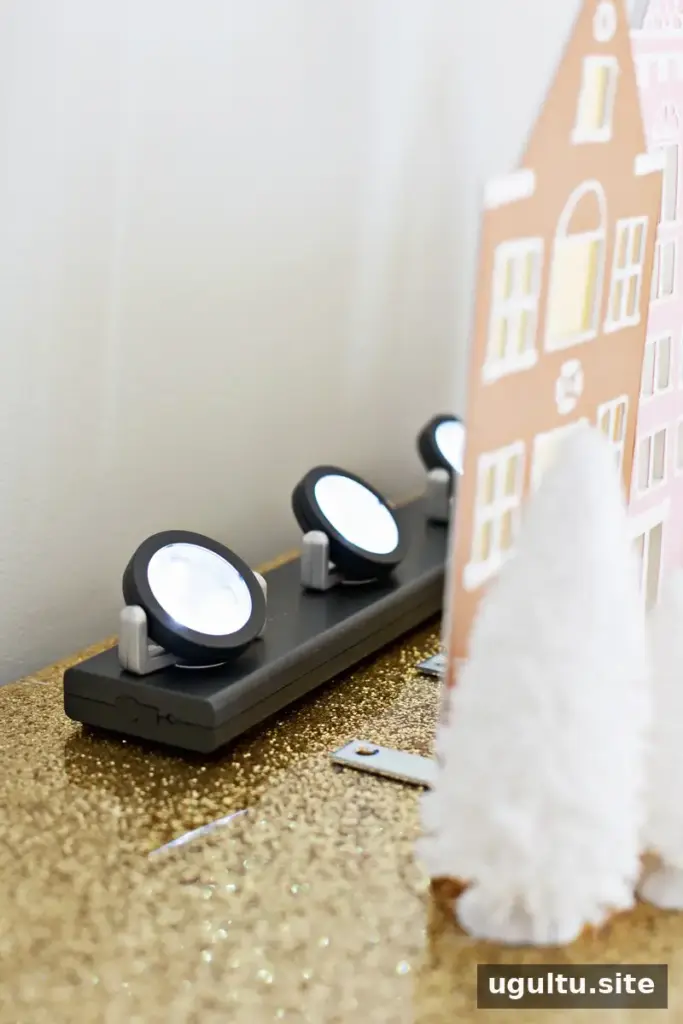
A strip of LED spotlights can illuminate the facades from behind. Position the lights so they line up with the buildings, and check that the display is stable before switching them on. Battery-powered lights can help avoid visible cords, while optional spotlights can be left out if you prefer an unlit display.
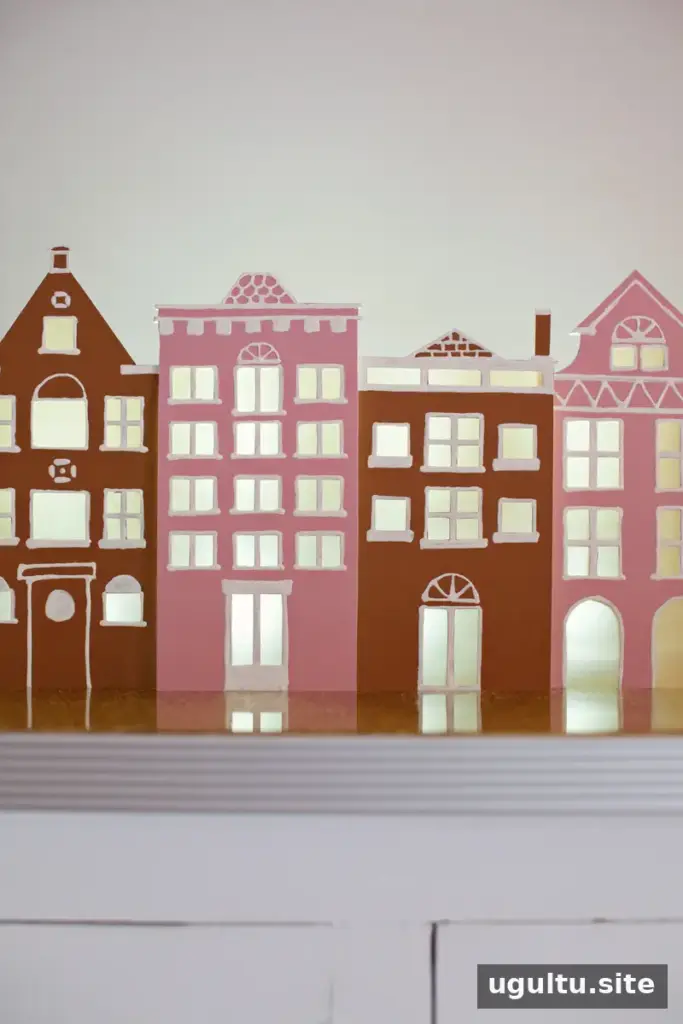
Arrange the buildings at slightly different distances from the front edge of the display to create depth. Bottle brush trees can fill gaps between facades and help the scene feel complete. This set of buildings takes inspiration from Amsterdam, while the raised puffy-paint details can also suggest the look of gingerbread houses.
Finishing Your Simple Winter Village DIY
Once the pieces are dry and the lights are positioned, adjust the spacing until the village looks balanced. Store the facades flat between seasons to help protect the details. A simple winter village DIY is easy to adapt over time: add new building shapes, such as a cathedral or school, or change the trees and lighting to create a different holiday scene.
—Mandi


