
 admin
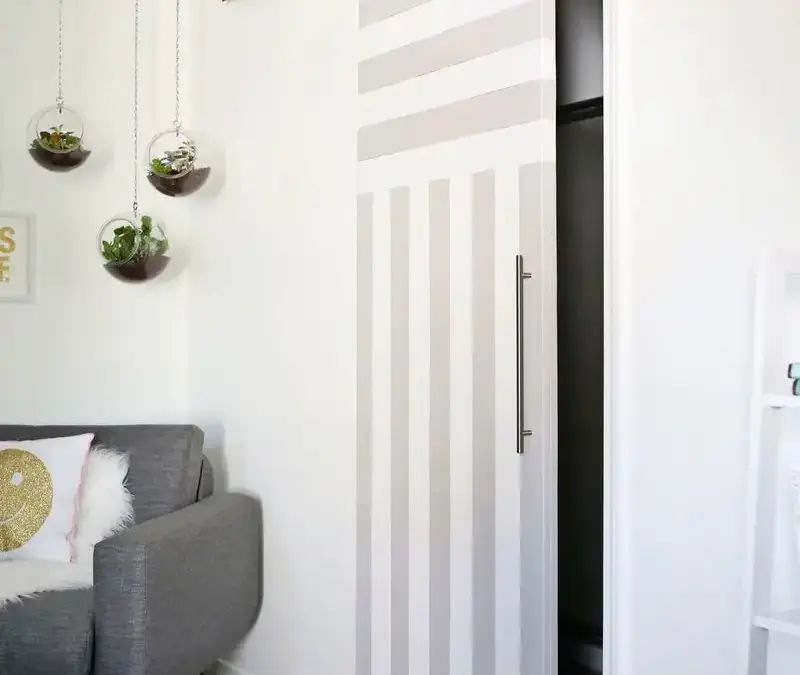
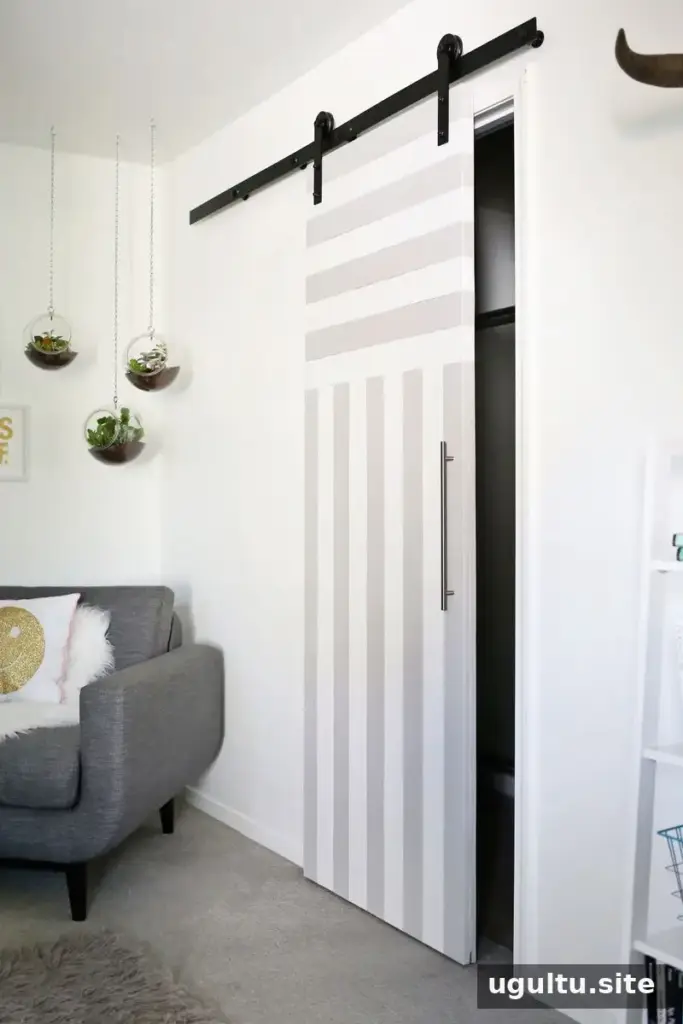
A swinging door can take up valuable room in a narrow bathroom, kitchen, or other compact area. A sliding door for small spaces moves alongside the wall instead, helping keep the doorway clear and making tight rooms easier to use. This DIY barn-style design uses plywood, pine boards, and sliding-door hardware to create a practical feature without the wall work required for a pocket door.
Why choose a sliding door for small spaces?
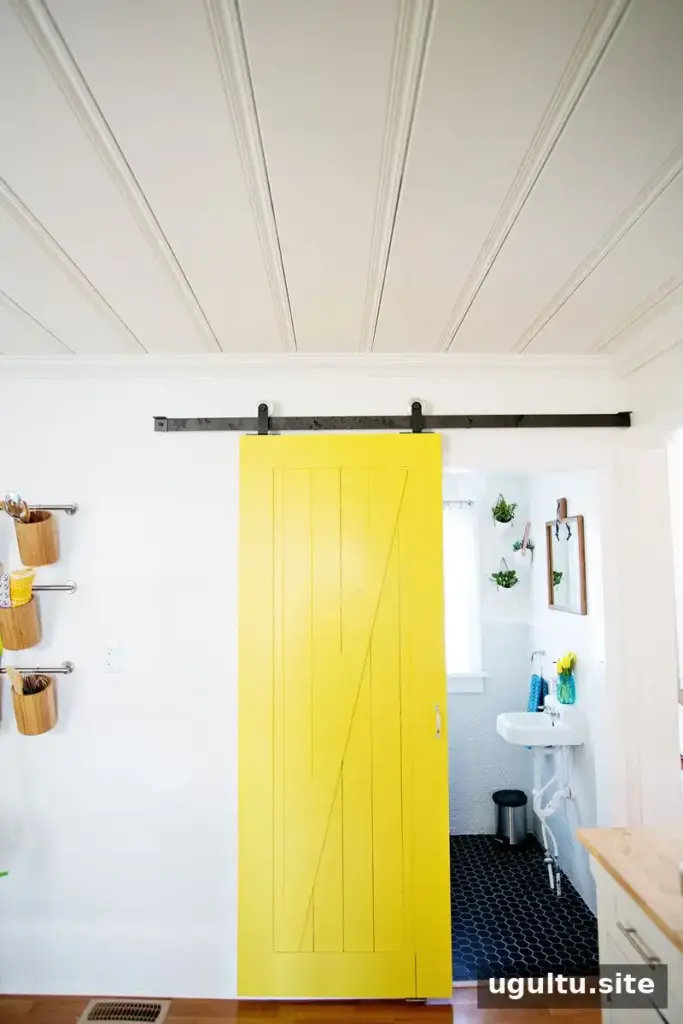
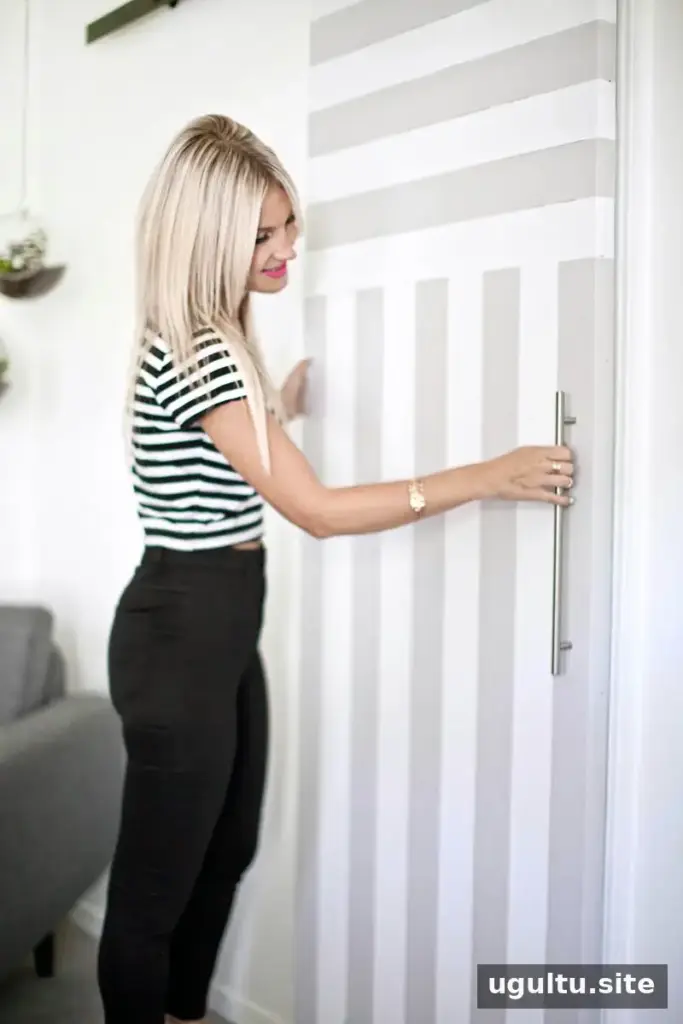
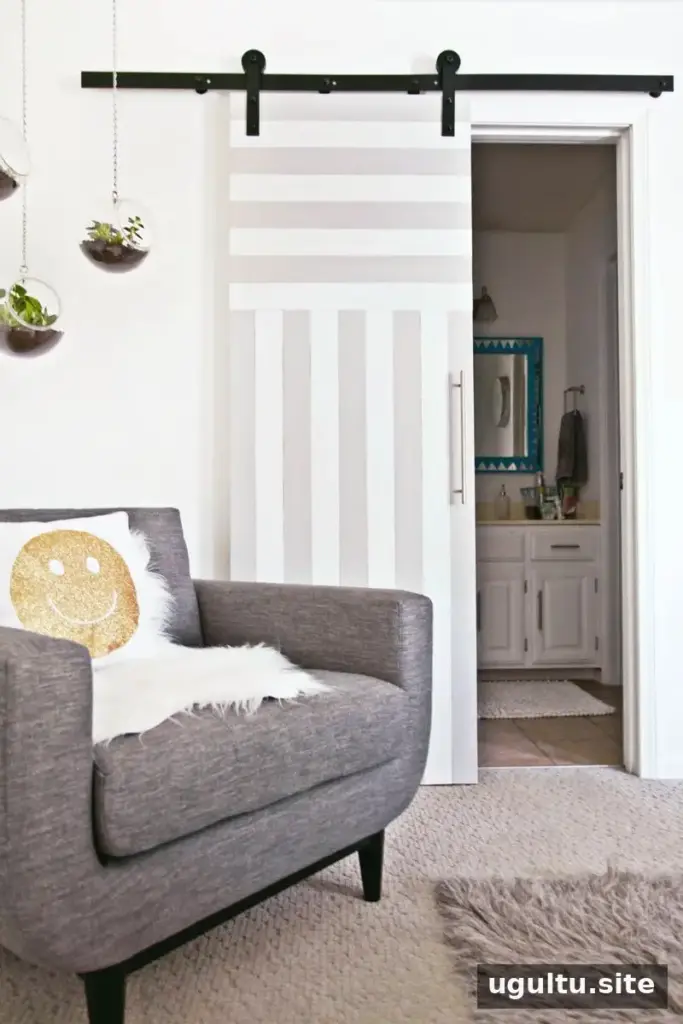
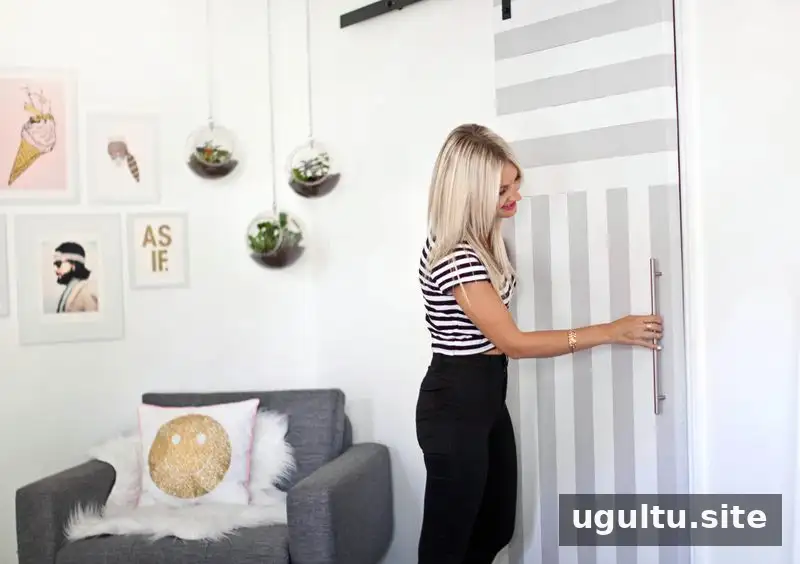
A swinging door can make an already small room feel more cramped and restrict where furniture or fixtures can go. A wall-mounted sliding door avoids that inward or outward swing. A similar door at the studio solved a comparable layout problem, though its open position extended into the living room. The design described here slides along the wall, keeping the small bathroom or kitchen area clear.
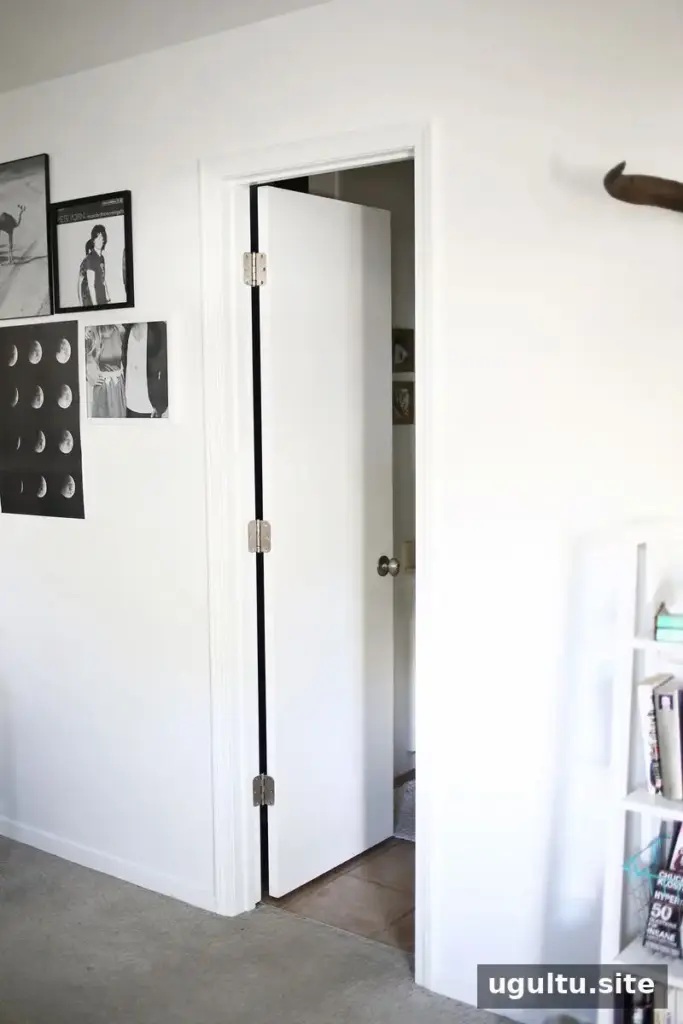
A pocket door is another space-saving option, but it retracts into the wall. Installing one usually involves opening the wall and can require a contractor, which may add cost and complexity. For this project, Laura designed a striped door, and Josh built it to fit the opening. The materials for this door cost about $80. Comparable doors with a similar look can cost $800–$1,000, while simple ready-made options were around $400.
Materials and tools
Gather the supplies and tools before cutting. Confirm the opening and available wall space first, since the finished door size and hardware position need to work together.
Supplies
- About 9 pine boards, each 1″ x 4″ x 8′
- One 4′ x 8′ medium-grade plywood sheet; oak plywood was used for this project
- Wood filler and paint
Tools
- Table saw, miter saw, and circular saw
- Tape measure and straight edge
- Nailer and sandpaper
- Painter’s tape
Measure and build the door
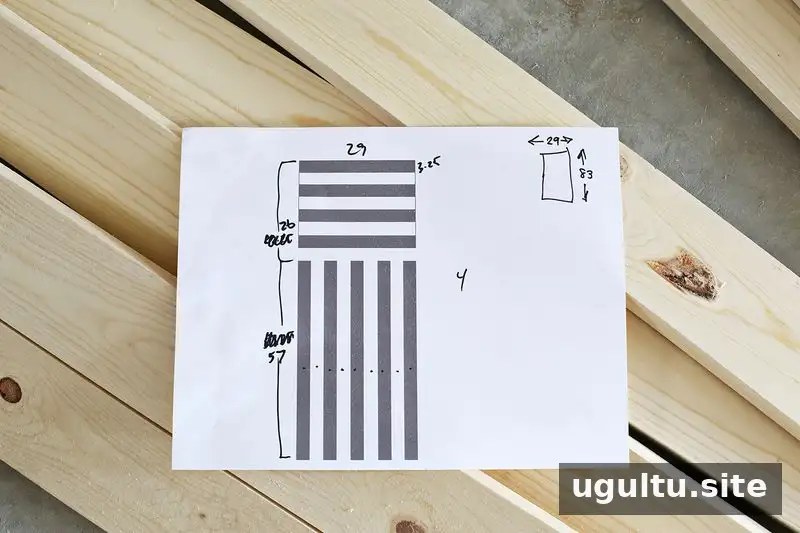
Start with a plan based on the doorway. The opening for this project was narrow, so the finished door measured 29″ wide by 93″ high. It was sized to cover both sides of the molding when closed. Measure your own opening carefully and adjust the dimensions to suit it; also check that the door has enough wall space to slide open.
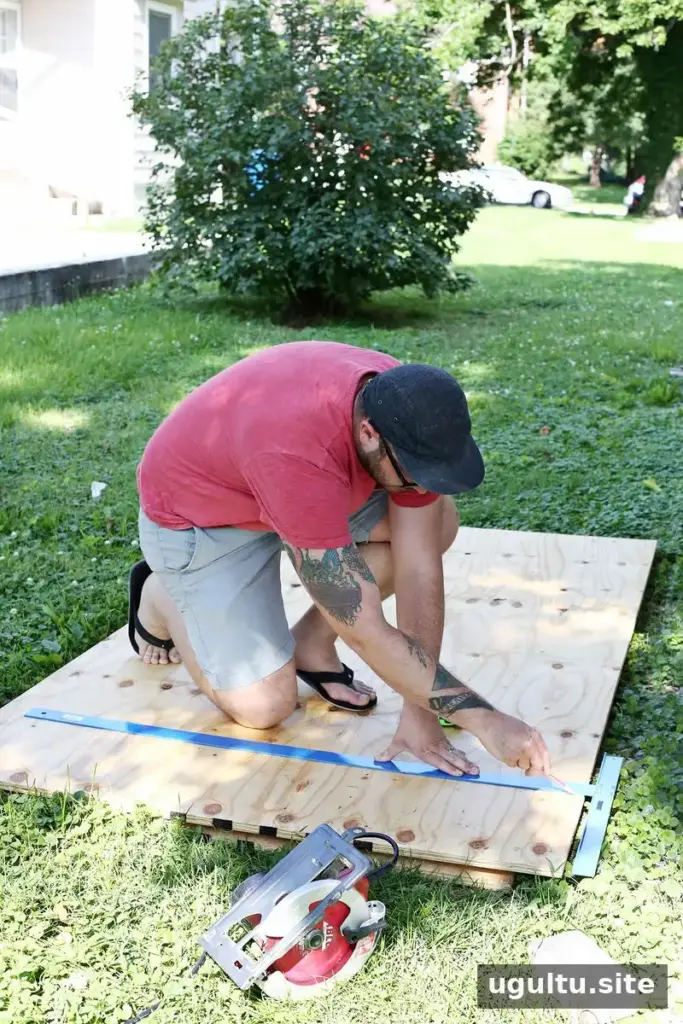
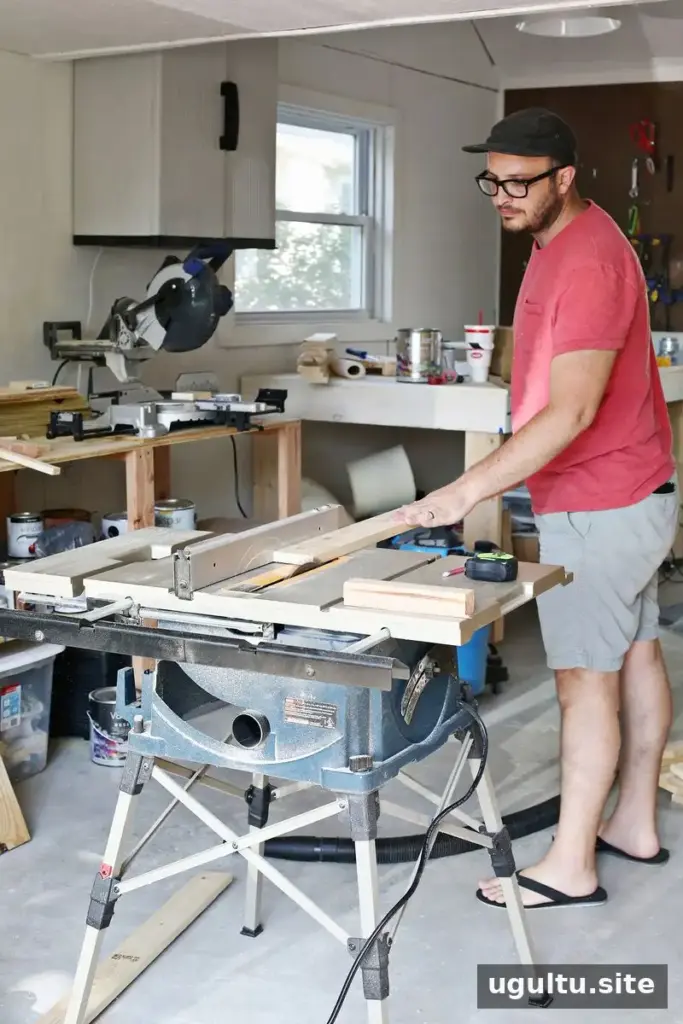
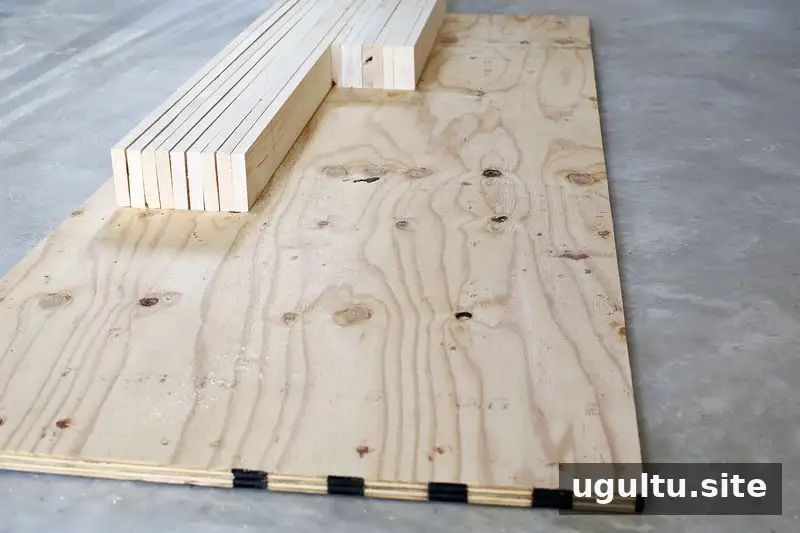
Cut the plywood to 29″ x 93″. To fit the design onto the panel, rip the pine boards to 3 1/4″ wide, then cut them to the required lengths. Sand the pieces and arrange them on the plywood before attaching anything. A dry layout makes it easier to spot fit issues and adjust the pattern before glue is applied.
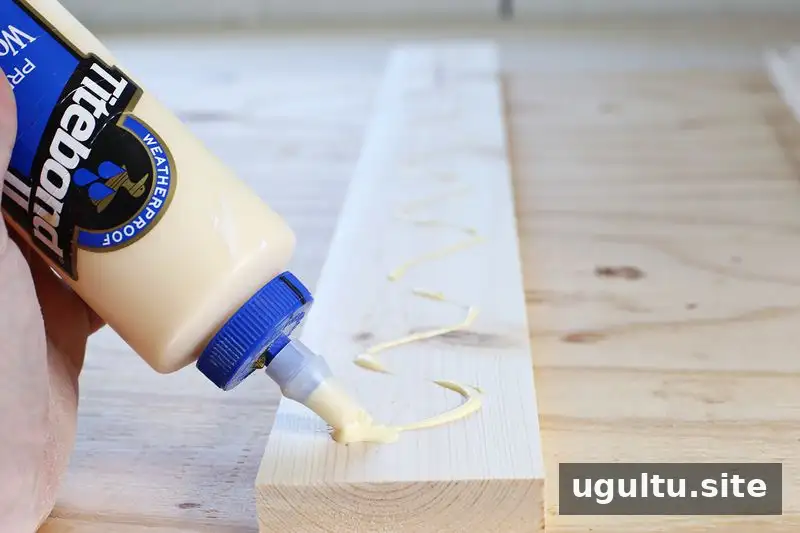
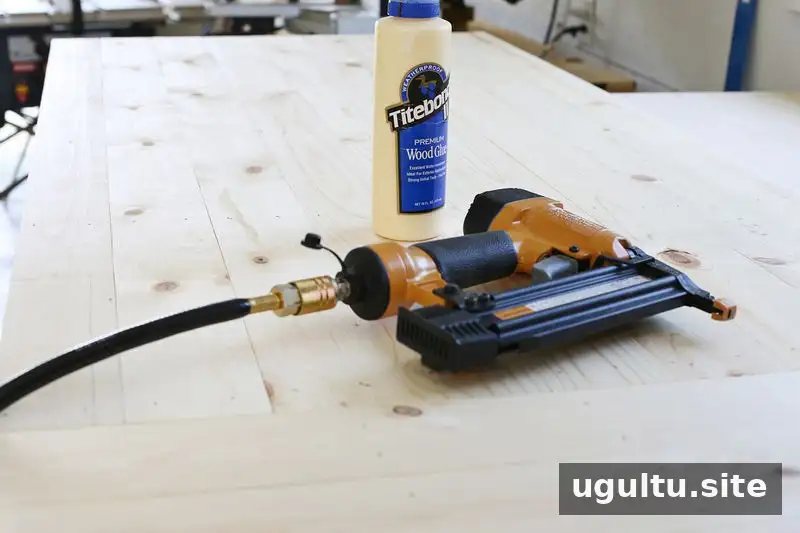
Once the pieces fit, glue and nail them to the plywood. Attach the horizontal boards first, then add the vertical pieces, pressing the boards closely together. The build used 1.25″ 18-gauge galvanized nails. Use appropriate eye and hearing protection when operating saws and nailers, and follow the tool manufacturers’ safety instructions.
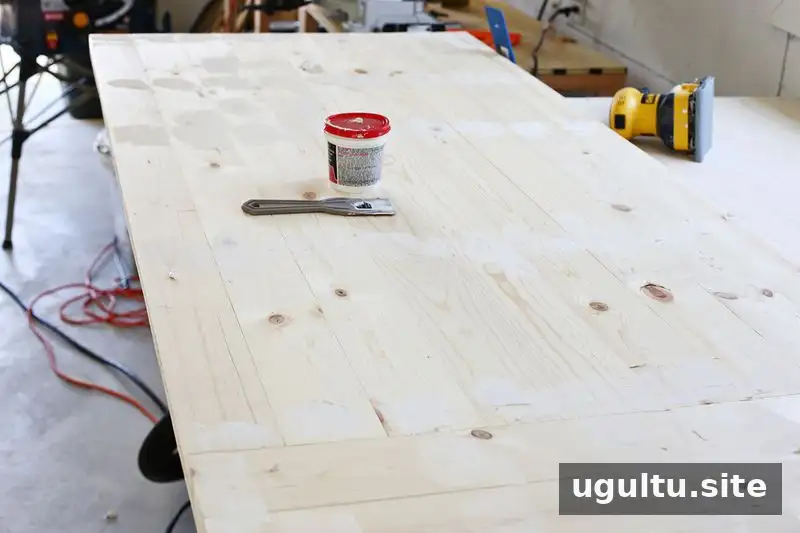
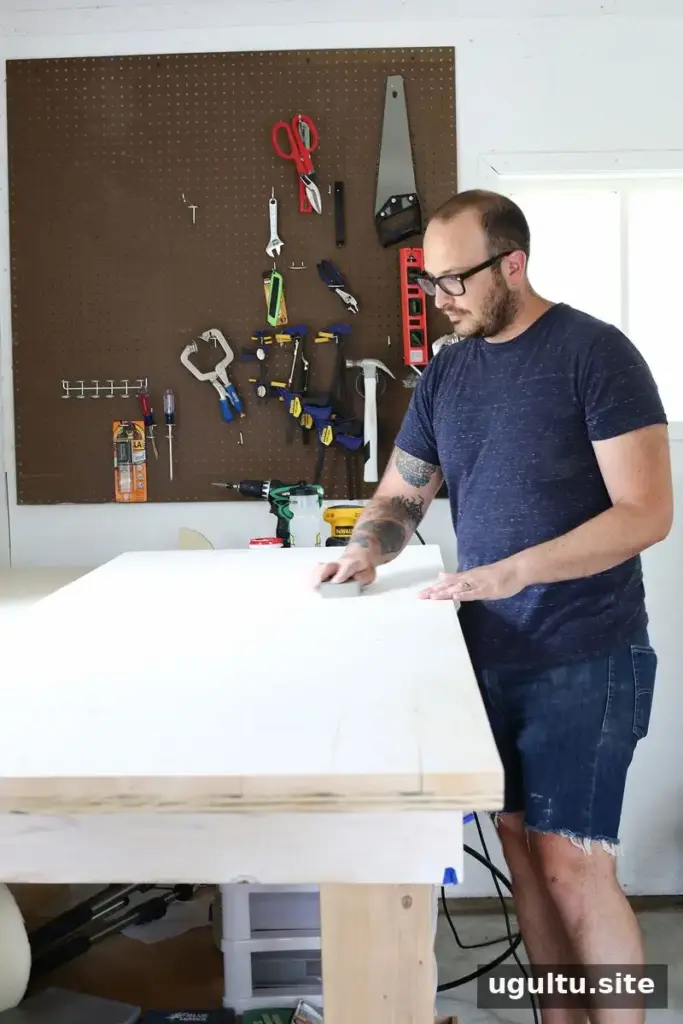
Fill the nail holes and other visible imperfections. After the filler dries, sand the surface with 120-grit sandpaper, then finish with 220-grit. Careful sanding helps create a smoother painted finish and makes the assembled surface look more uniform.
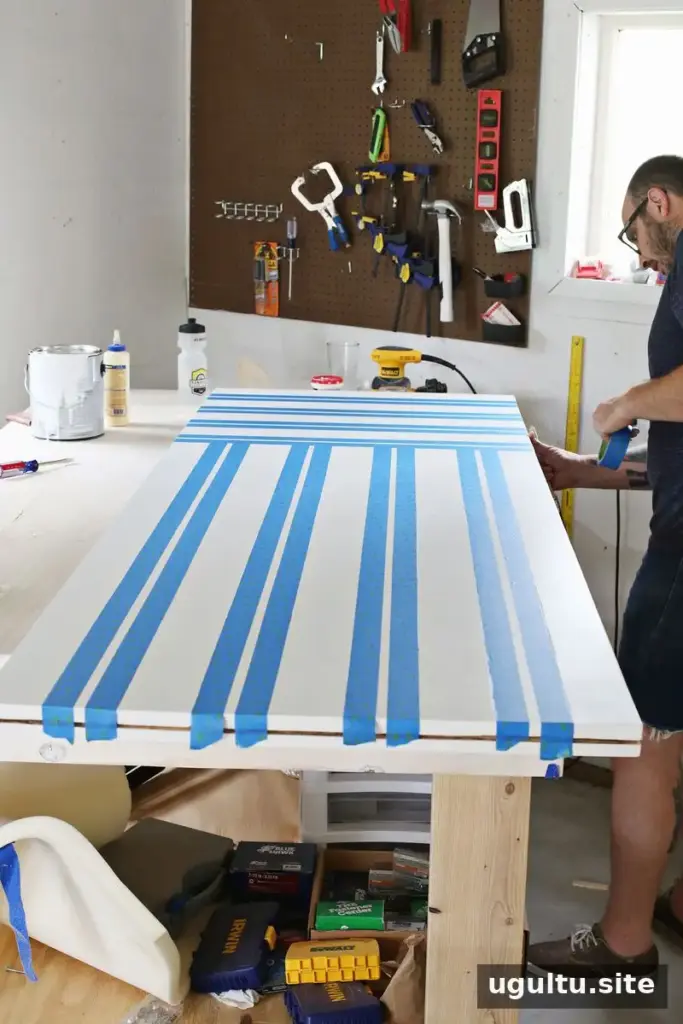
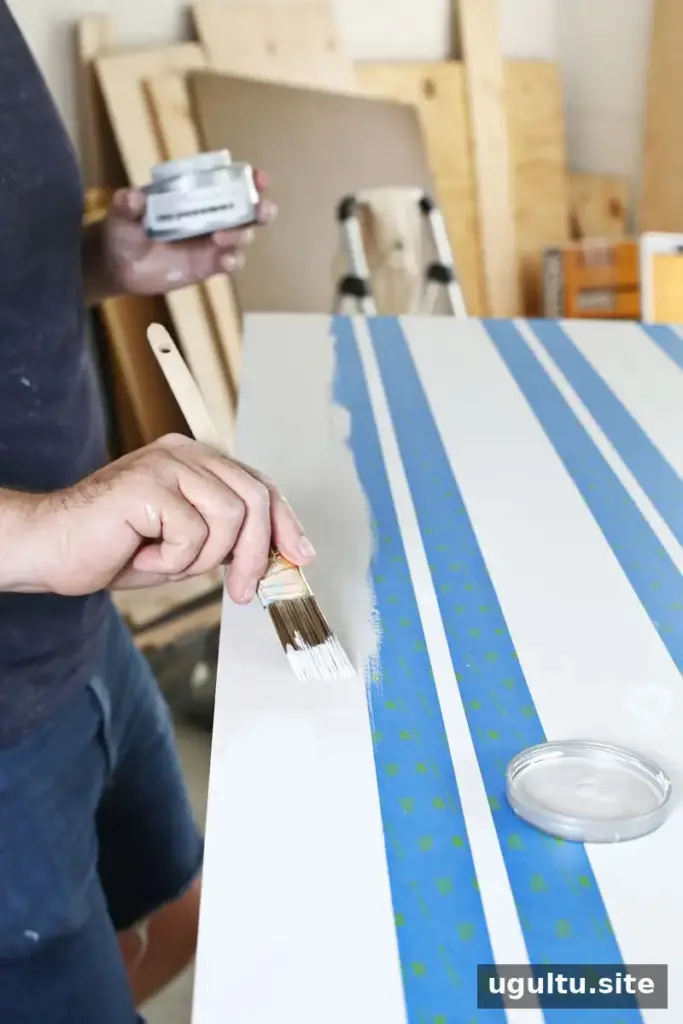
For the handle, drill holes from the back of the door and pass the screws through to attach the handle at the front. Fill the screw holes with wood filler if they will be painted over. Tape the edges carefully, then apply three coats of each color, lightly sanding between coats. The build took about a day, with painting taking the longest.
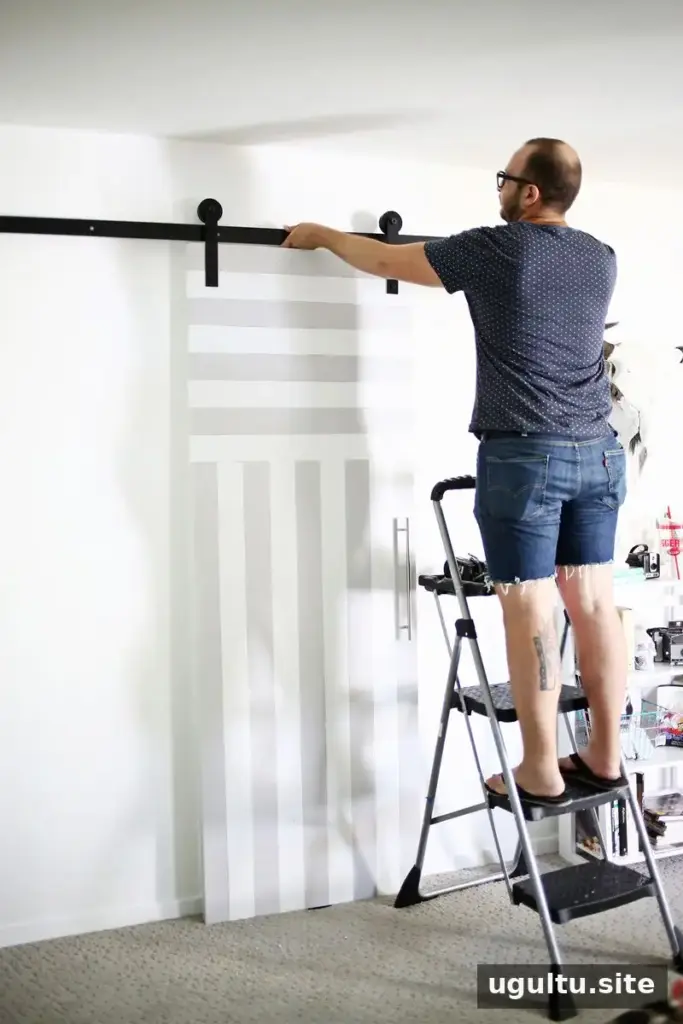
Install the sliding-door hardware
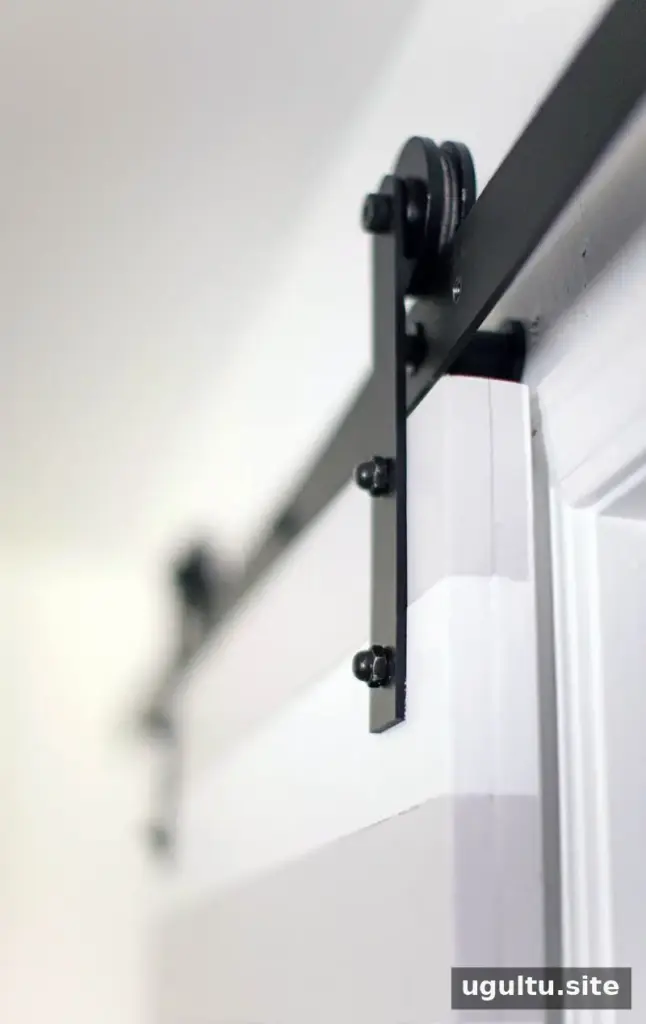
Install the door using the instructions supplied with the chosen hardware, since installation steps vary between systems. Before mounting, check that the wall can support the door and hardware and that the track is positioned to clear the molding. If you are not comfortable with the installation or the wall support, have a qualified professional handle that step.
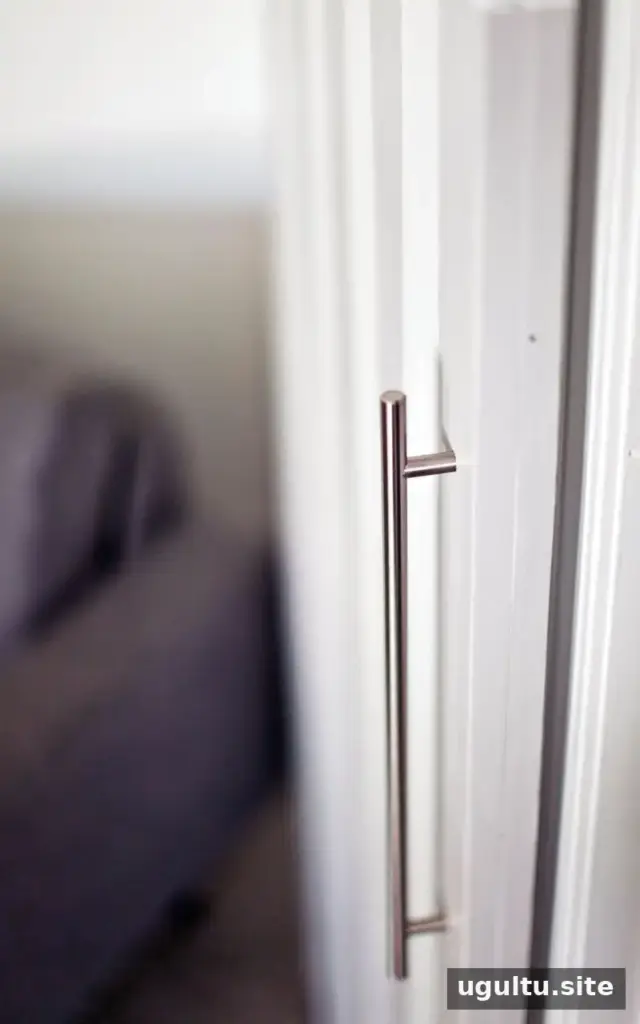
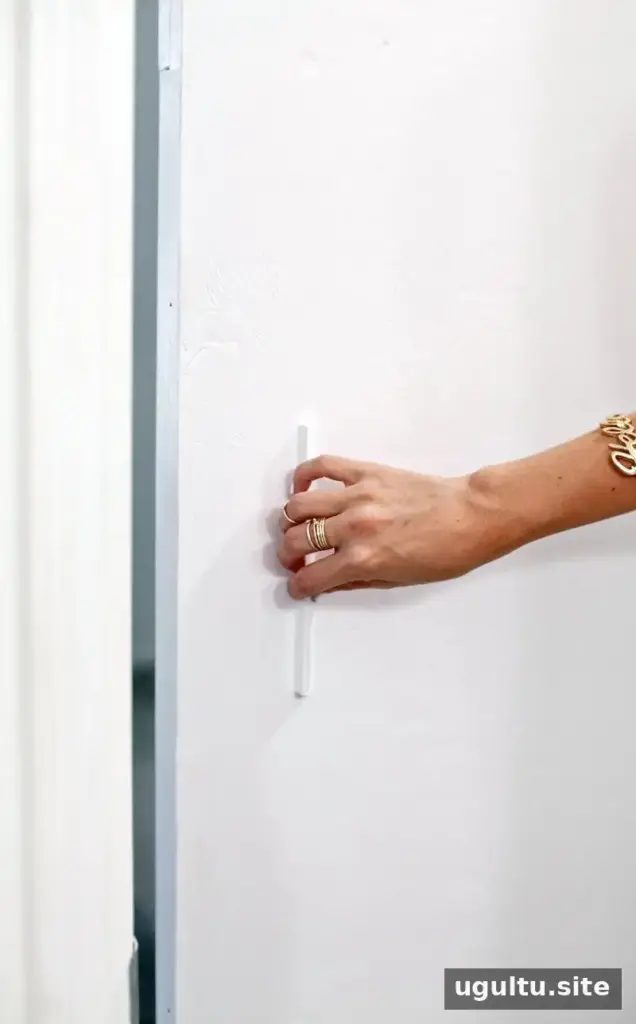
For the inside pull, a 1/2″ piece of quarter round was cut to 7″ long, painted white, and glued to the door. Its low profile helps the door open fully in a narrow doorway, where preserving as much clearance as possible matters.
Final considerations
This sliding door for small spaces can free up room that a swinging door would otherwise occupy while adding a striped detail to the wall. Measure the opening, plan the door’s travel path, and select hardware suited to the installation before beginning. With those details in place, the DIY build offers a customizable alternative to a pocket door or a more expensive ready-made option.


