
 admin
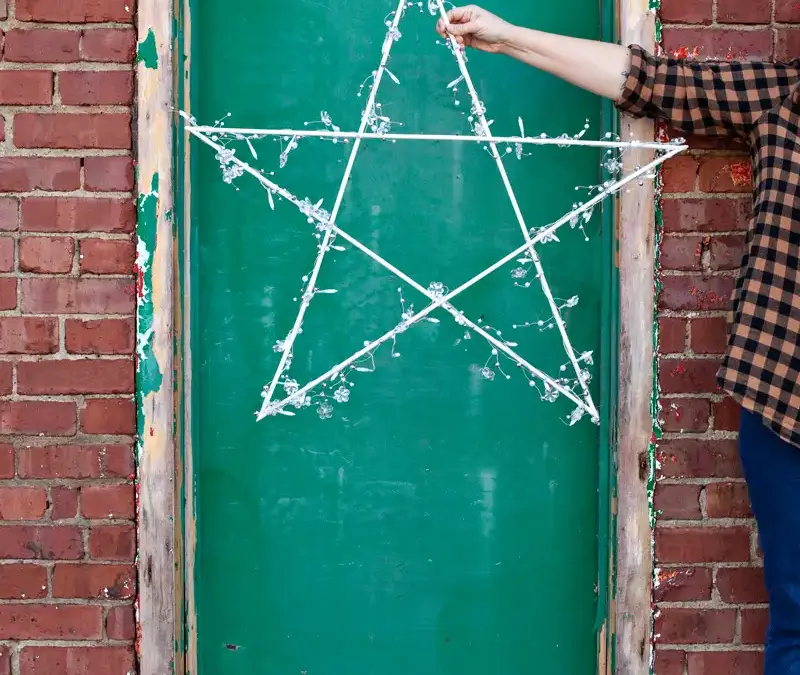
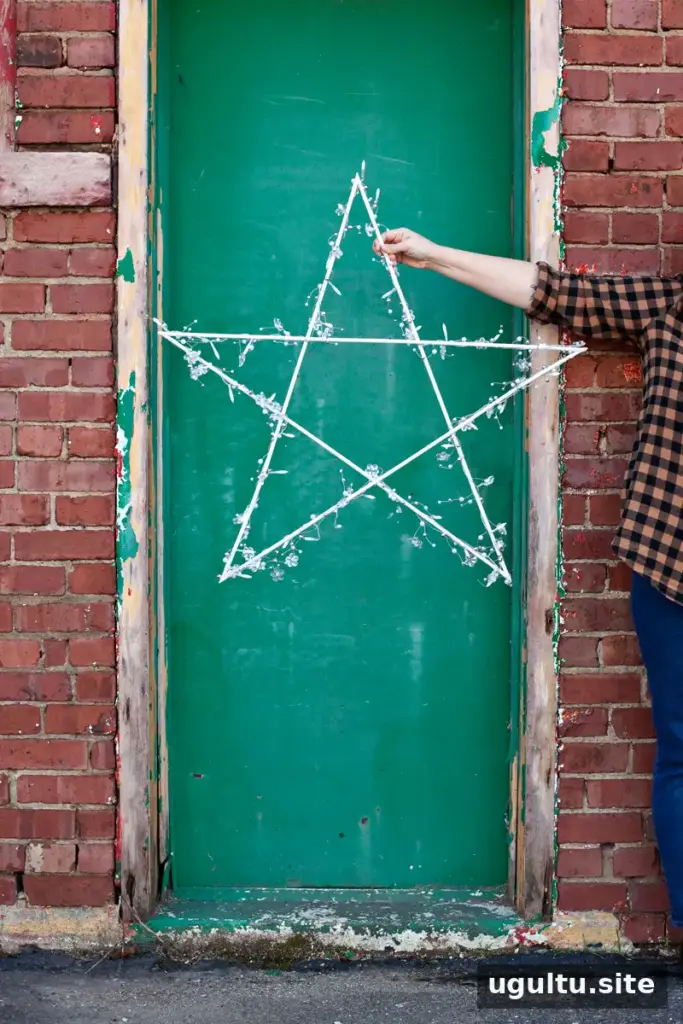
A holiday star light is a simple, adaptable decoration that can bring a festive touch to a mantel, wall, or shelf. Made from five dowel rods and wrapped in garland, this project can be styled to suit many kinds of holiday decor. Add string lights for extra glow, or leave them out for a simpler look.
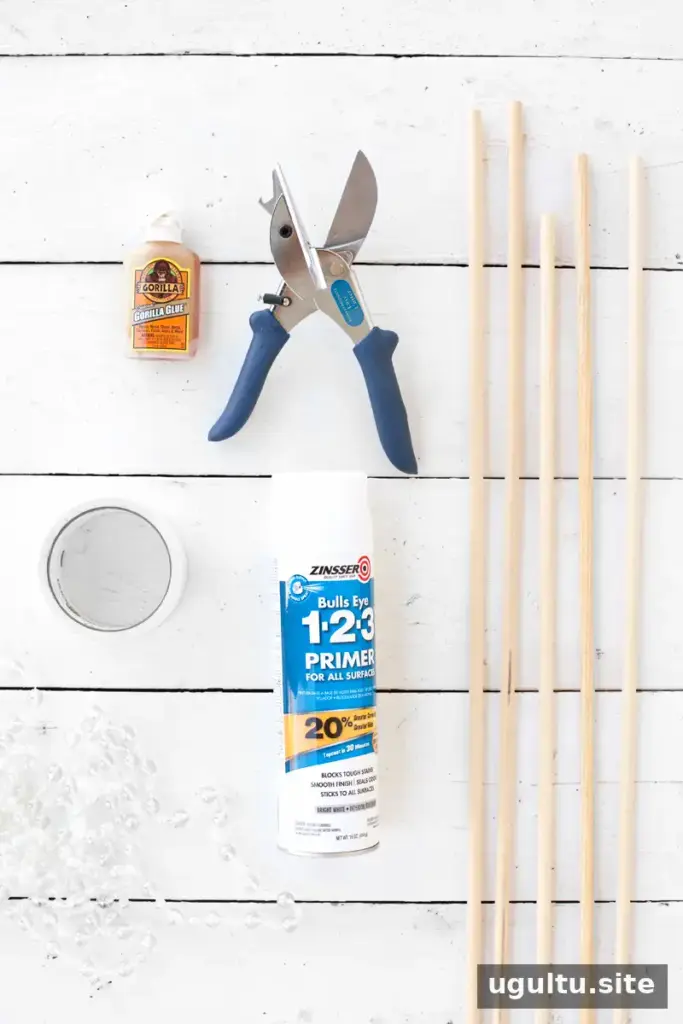
Supplies
- A hand cutter suitable for dowels or a miter saw
- 5 dowel rods; choose the size and type that fit your space
- Woodworking glue of your choice
- Primer and paint, if desired
- Garland of your choice
- String lights (optional; battery-operated lights can avoid a nearby outlet)
- Duct tape to hold the joints while the glue cures
Before cutting, decide how large you want the finished star to be and check that all five rods are long enough. Use a stable work surface and follow the tool manufacturer’s safety instructions. The rods need to form a five-point star, so test their arrangement before applying glue.
Step 1: Cut the dowels
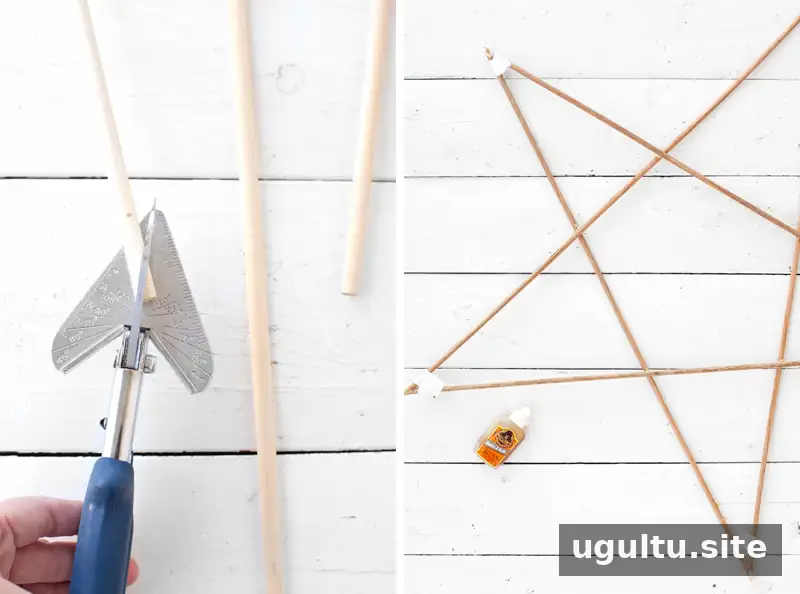
Cut the ends of the dowels at an angle so they can meet to create the star shape. Keep the cuts consistent at both ends of each rod. Round dowels can be harder to align than square ones because they do not have distinct sides to use as a guide. If the joints do not fit perfectly, make small adjustments before gluing rather than relying on a large amount of adhesive to fill gaps.
Step 2: Assemble and glue the star
Arrange the rods into a star and apply glue to the points where they meet. Secure the joints with duct tape while the adhesive cures. Follow the glue label for application and drying instructions; some woodworking adhesives require slightly damp surfaces, while others do not. Let the frame set fully before moving on.
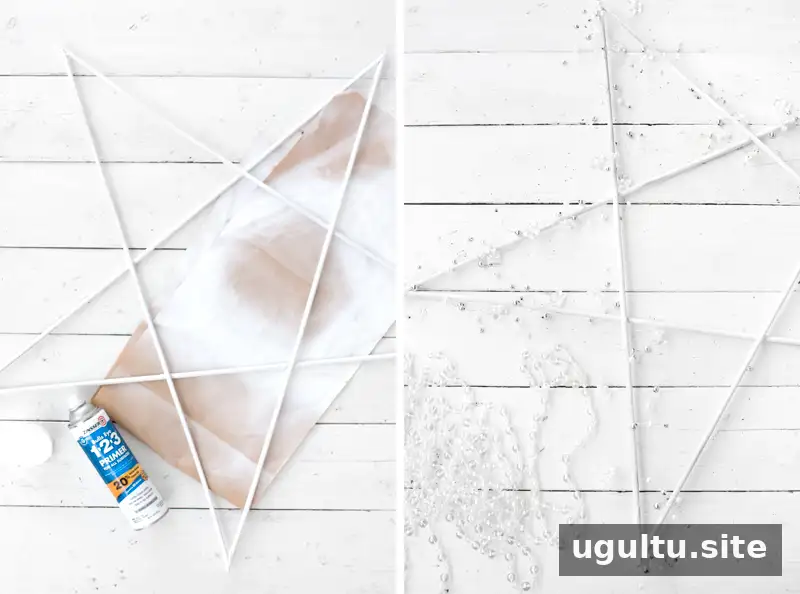
Step 3: Prime and paint
Once the frame is firm and dry, apply primer and paint if you want a finished color. For a quicker, natural look, you can skip paint or use primer alone. Let any coating dry completely before wrapping the star, so the garland does not stick to a tacky surface.
Step 4: Add garland and lights
Wrap the frame with your chosen garland, adjusting it as you go to cover the rods evenly. A garland with a flexible wire base may stay in place without glue; if yours shifts, use small amounts of suitable adhesive. Add optional string lights, keeping the wiring and battery compartment accessible. Use lights according to their safety instructions, and choose products rated for the location where you plan to display the decoration.
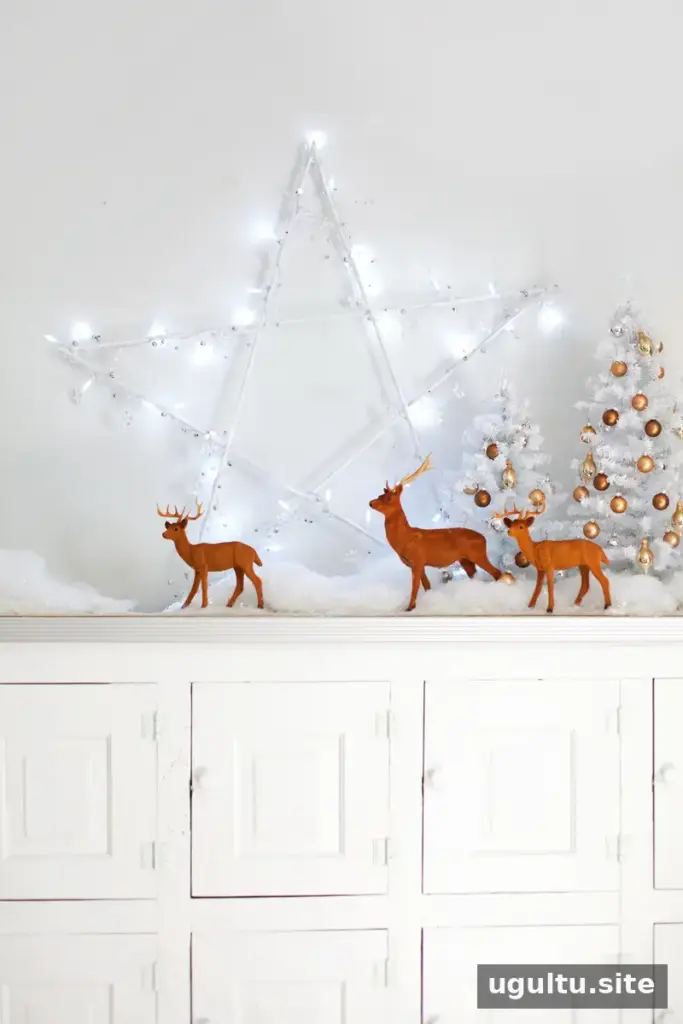
Place the finished holiday star light on a mantel or shelf, or hang it securely on a wall. If hanging it, check that the frame is stable and use hardware appropriate for the wall and the decoration’s weight.
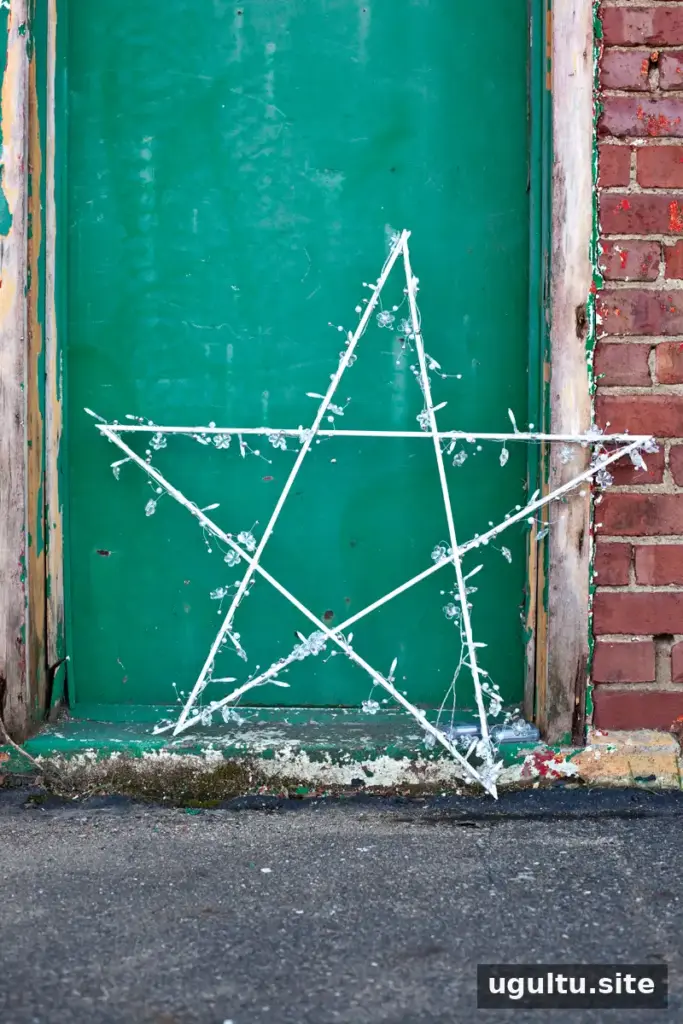
Customize the star to match your home: leave the wood natural for a rustic effect, choose shimmering garland for a brighter finish, or pair delicate greenery with string lights for a softer glow. The materials and finish can be changed while keeping the same basic frame, making this holiday star light an easy project to adapt to your space. —Mandi


