
 admin
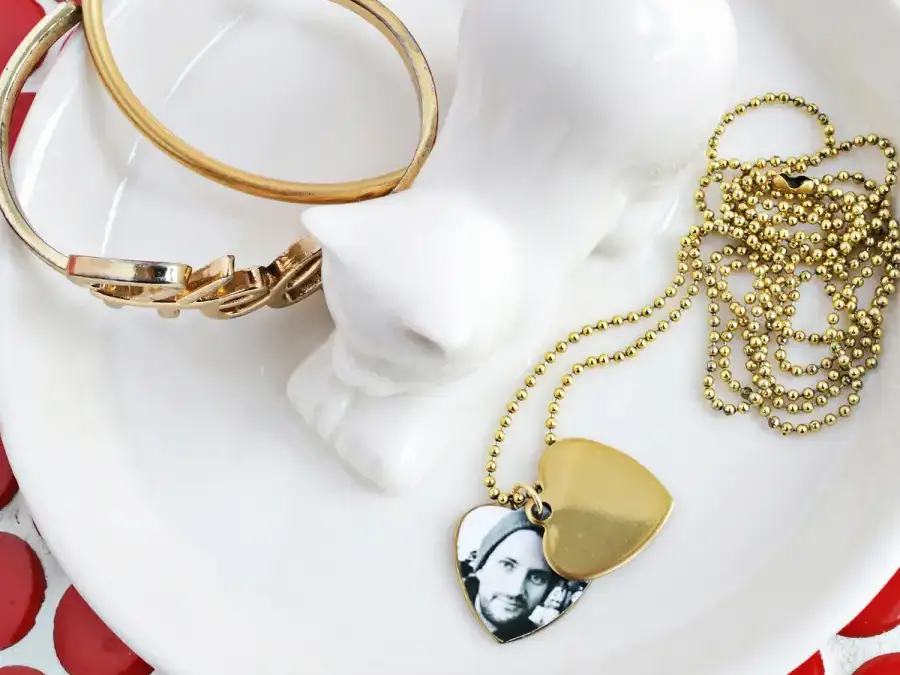
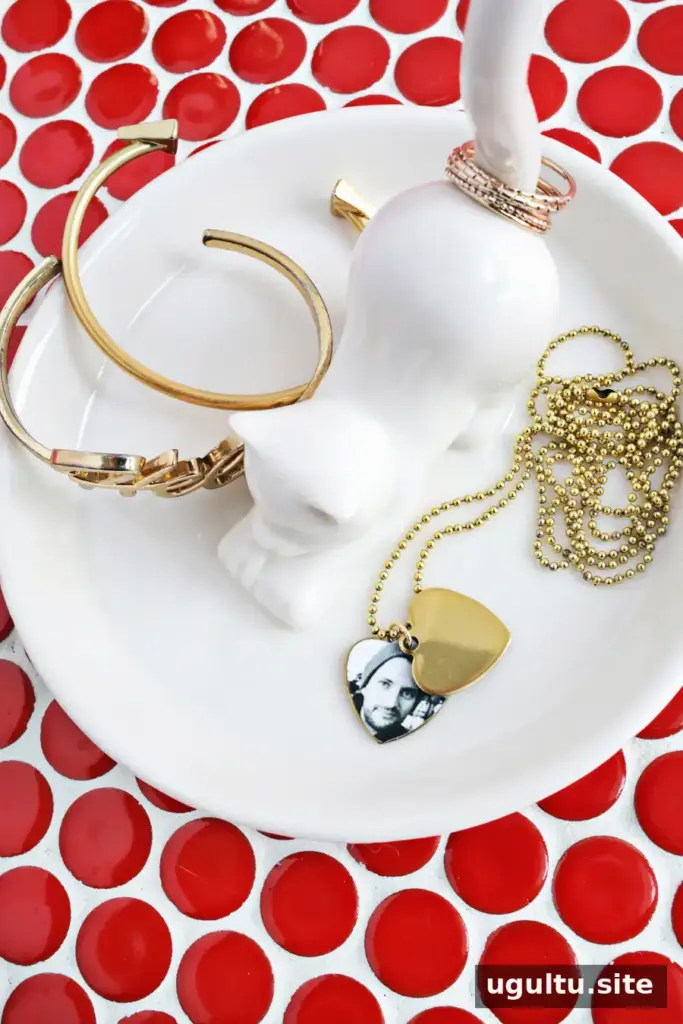
A swinging heart photo locket is a simple way to turn a small printed picture into a wearable keepsake. Two heart-shaped stamping blanks sit together on a chain, with one sliding aside to reveal the photo underneath. This project uses basic jewelry findings and craft supplies, so it can be customized with a favorite portrait and a chain that suits your style.
Supplies for a Swinging Heart Photo Locket
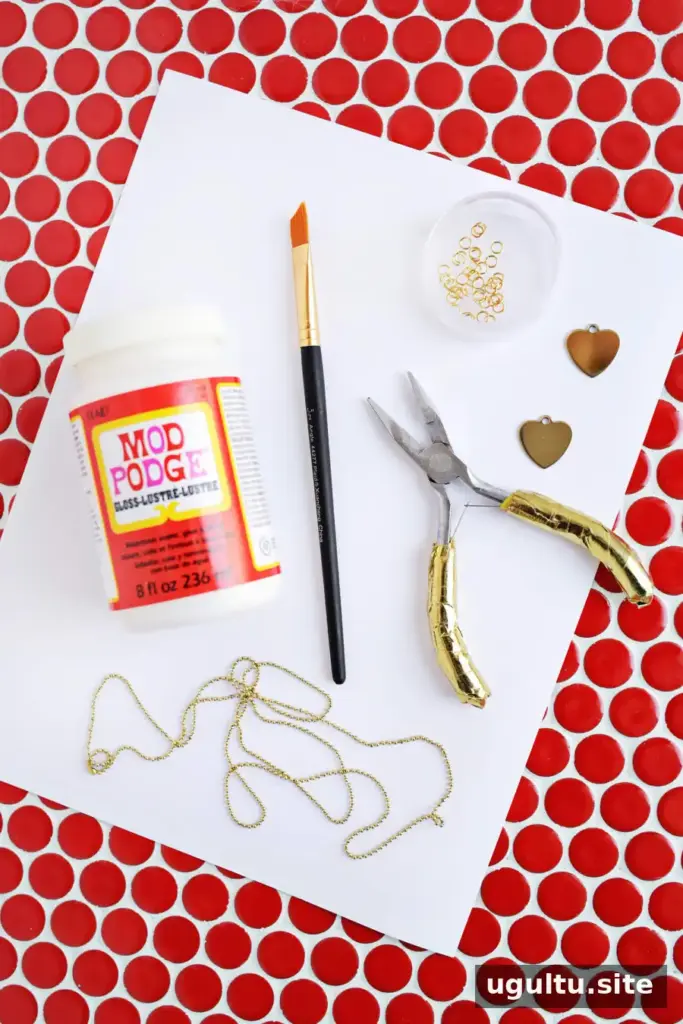
Gather the materials before you begin. Having a few jump ring sizes on hand can make it easier to find one that fits the holes in your heart blanks.
- 2 heart stamping blanks
- A photo printer and photo paper
- Scissors
- Multi-surface glue
- Mod Podge
- A jump ring, preferably from a variety pack
- A chain of your choice
- Jewelry needle-nose pliers
- A small hole punch, if available
Choose and Size the Photo
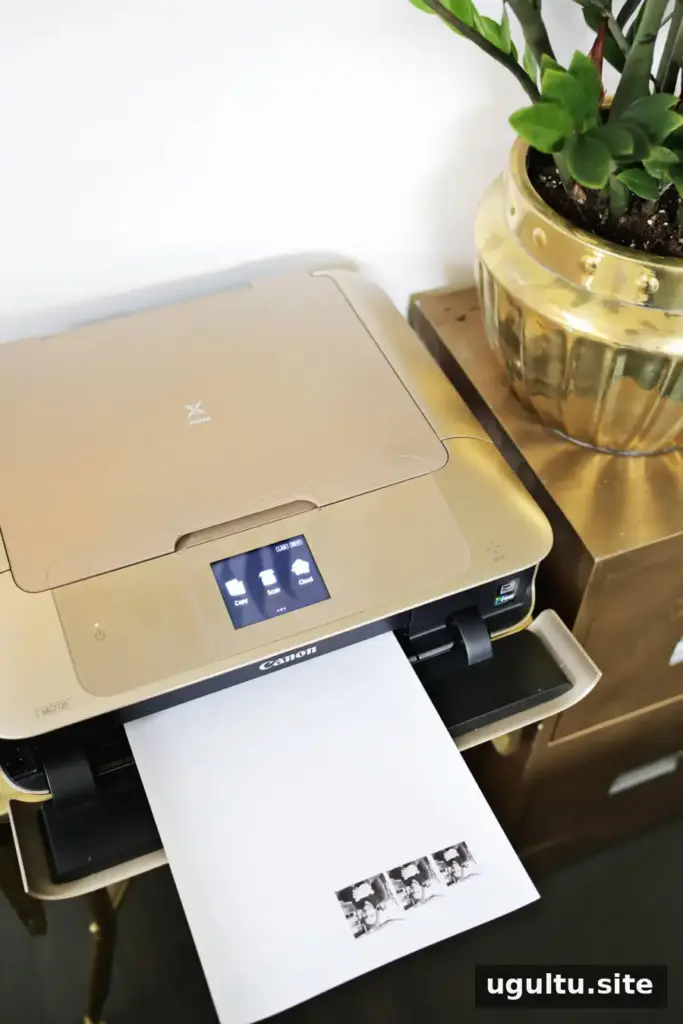
Choose a photo with the subject positioned where it will show through the heart-shaped opening. Measure one stamping blank, then resize the image so the important part of the picture fits within its outline. Printing a few different sizes can help you compare the fit before cutting; use photo paper for a printed image with clear detail.
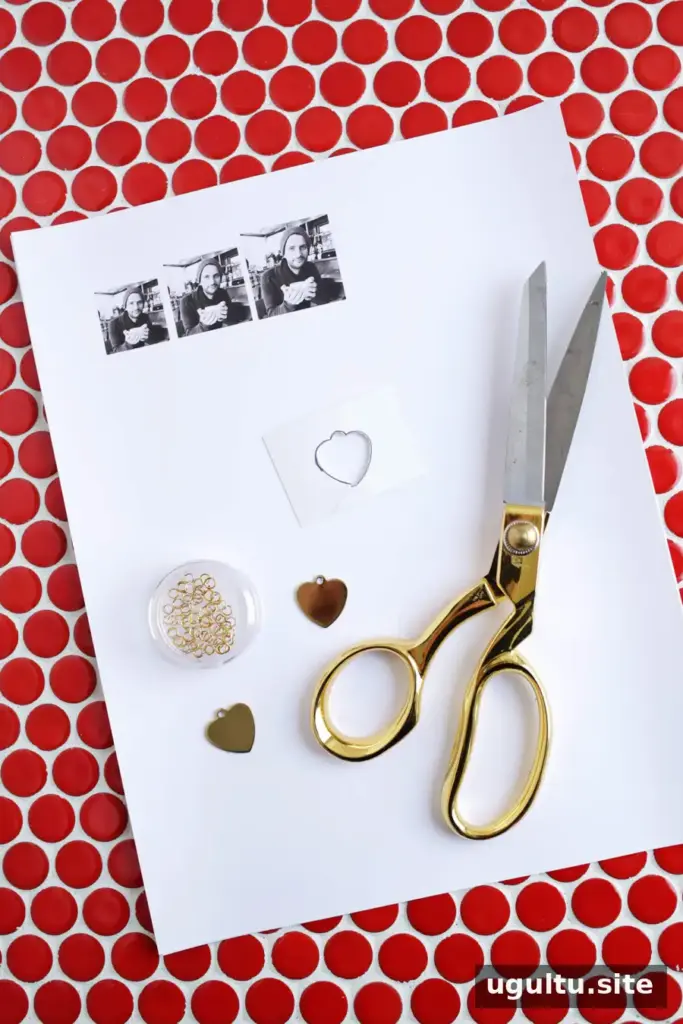
Cut the Photo to Fit
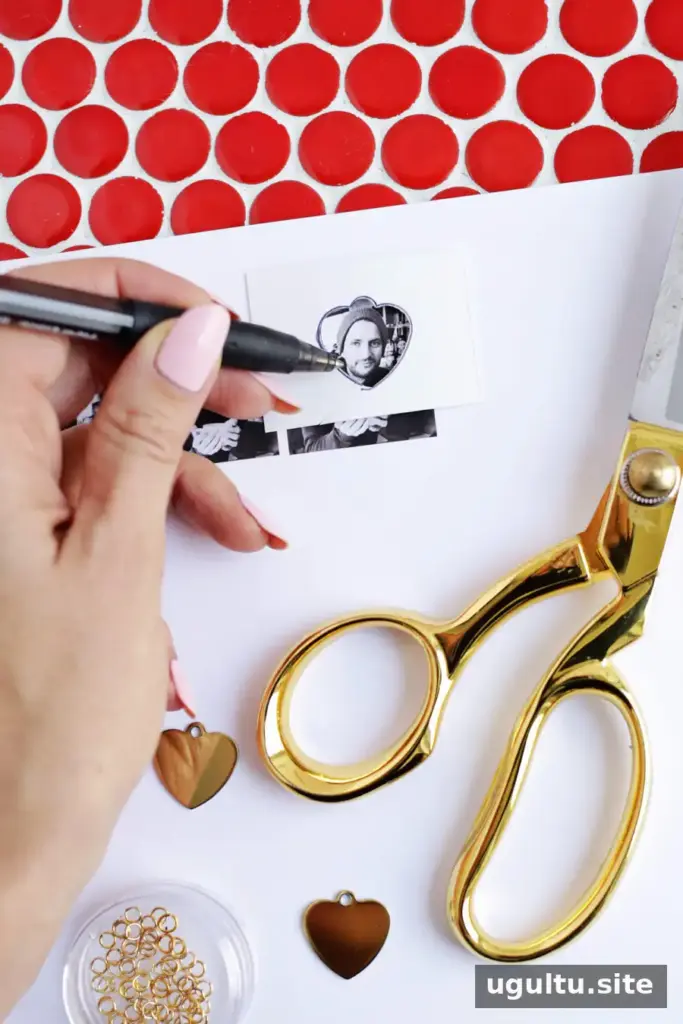
On spare paper, trace around one heart blank and cut out the outline to make a simple stencil. Place it over each printed photo size and select the version that frames the subject best. Trace the stencil onto the chosen image and carefully cut along the line. Check the cutout against the blank before gluing, and trim any uneven edges as needed.
Attach and Seal the Image
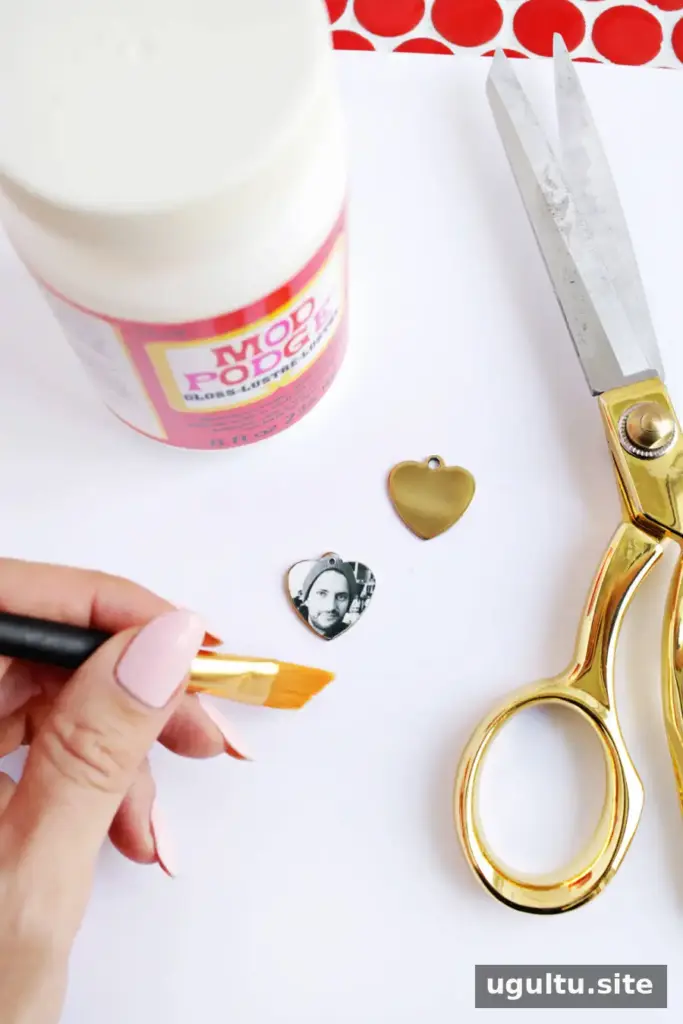
Apply multi-surface glue to the top side of one heart blank and position the photo on it. Allow the glue to dry completely. Mod Podge is intended for sealing the image in this project, rather than attaching the photo to the metal blank.
Brush a thin coat of Mod Podge over the photo and let it dry. Apply a second coat if desired, allowing it to dry as well before assembling the pendant. If the photo covers the blank’s hanging hole, carefully make an opening with a small hole punch. Alternatively, cut the image so it avoids the hole area. Take care not to tear the paper around the opening.
Assemble the Swinging Heart Pendant
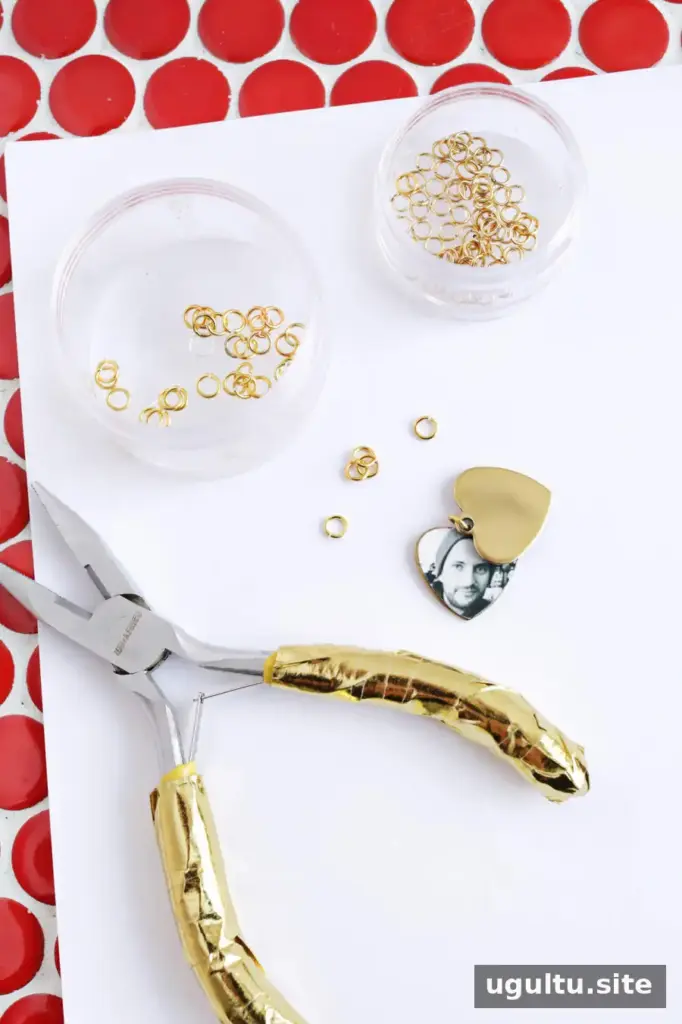
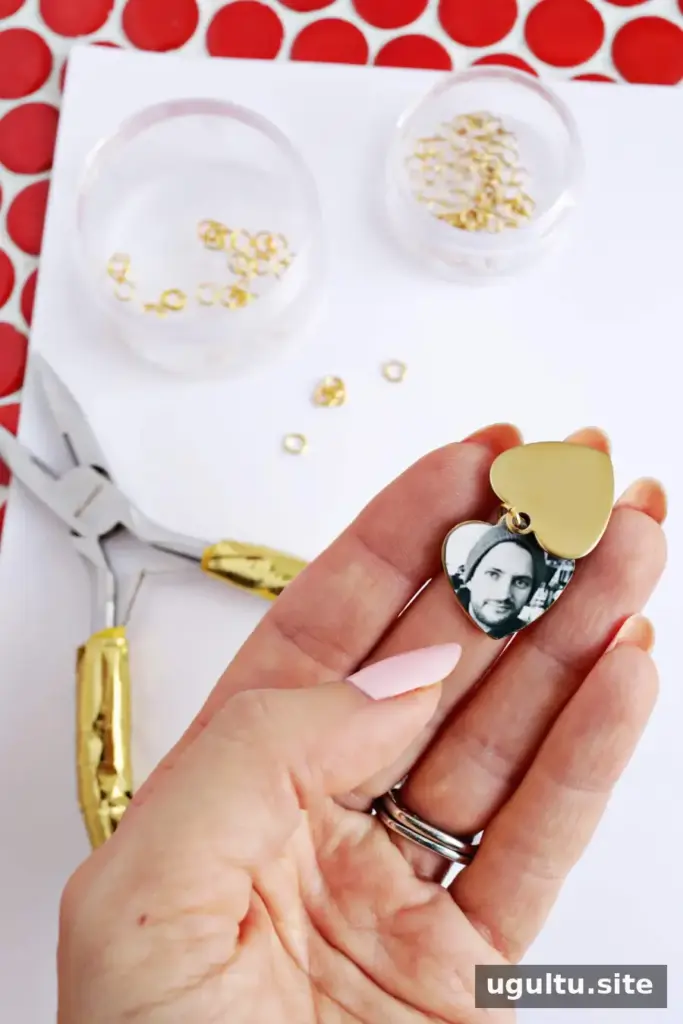
Place the second heart blank over the photo-covered one. Use needle-nose pliers to open a jump ring, thread it through the hanging holes in both blanks, and close it securely. The ring should hold the pieces together while still allowing the top heart to move aside. Attach the assembled pendant to your chain.
Finishing Tips and Gift Ideas
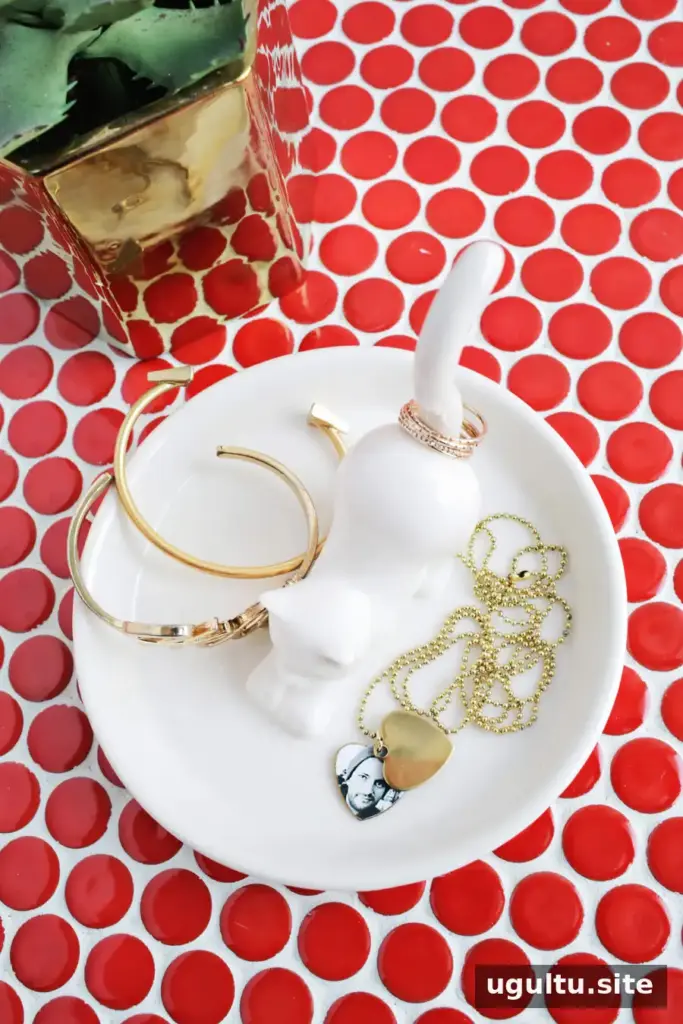
Let the adhesive and sealer dry fully before wearing the necklace. Test the movement of the top blank gently and make sure the jump ring is closed before attaching the pendant to a chain. The finished design looks like a simple heart from the front, while sliding the top piece aside reveals the hidden photograph. Choose a clear, well-cropped image for the best fit, or make one as a personal gift that keeps a meaningful photo close at hand.
— Laura


