
 admin
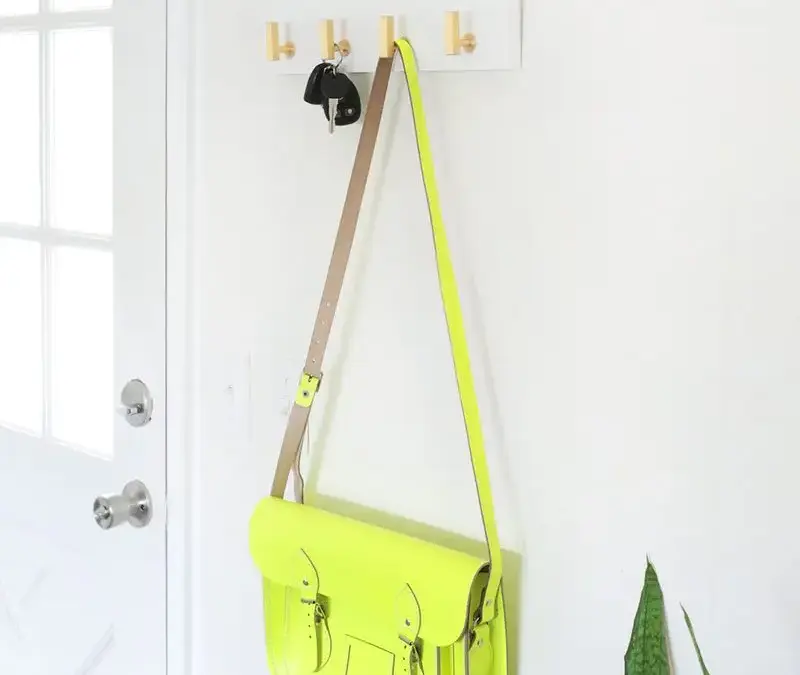
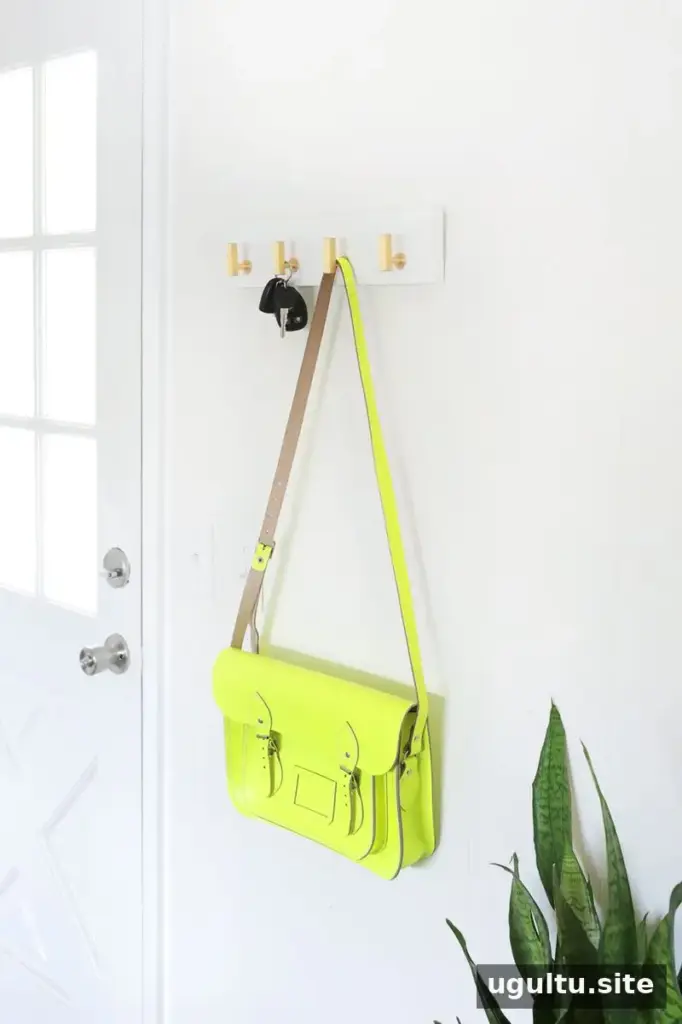
A cabinet knob key rack is a simple way to give spare hardware a practical new purpose. By turning cabinet knobs upside down and attaching them to a painted wood board, you can create hooks for keys, bags, or light coats. This project also makes it possible to coordinate an entryway or den with existing cabinet hardware. The example below uses four brass knobs and a board measuring about 3/4 inch thick, 3.5 inches tall, and 15 inches wide.
What You’ll Need for a Cabinet Knob Key Rack
Gather four cabinet knobs, a piece of wood, paint, a drill, and suitable hangers for the back of the board. Choose knobs with a shape that can hold a key ring when installed upside down. Before starting, check that the knob hardware is compatible with the board’s thickness and that the finished rack will fit the space where you plan to hang it.
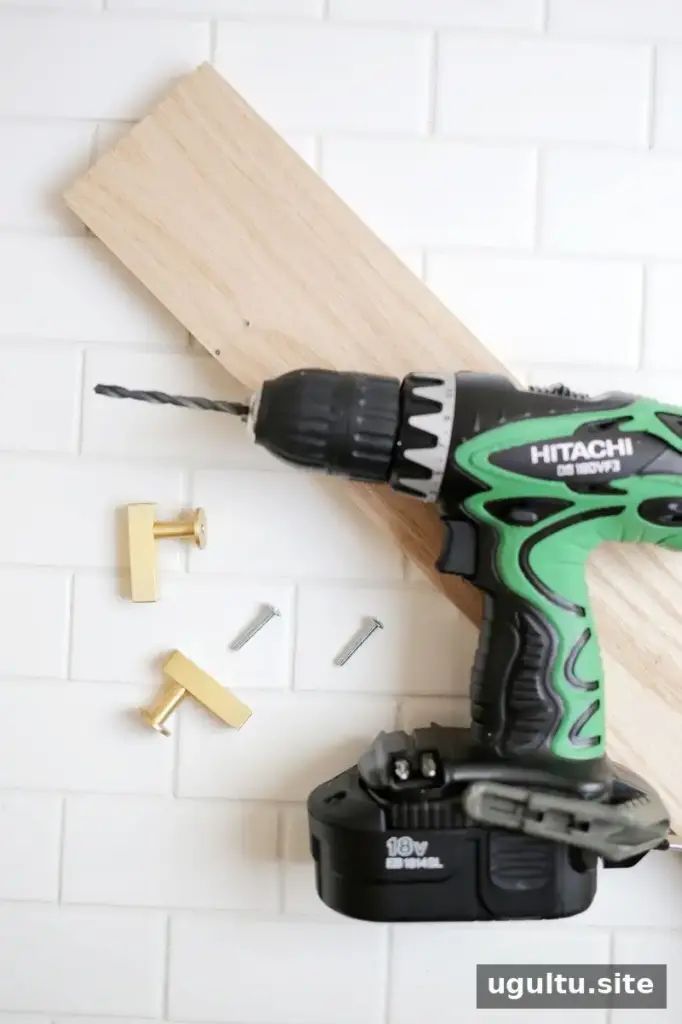
Cut the wood to your preferred length while keeping the desired height and thickness. The sample board is approximately 3/4 inch thick, 3.5 inches tall, and 15 inches wide. These measurements are a starting point; if you change the board size, adjust the spacing so the knobs have room between them.
How to Make the Rack
1. Mark and drill the knob holes
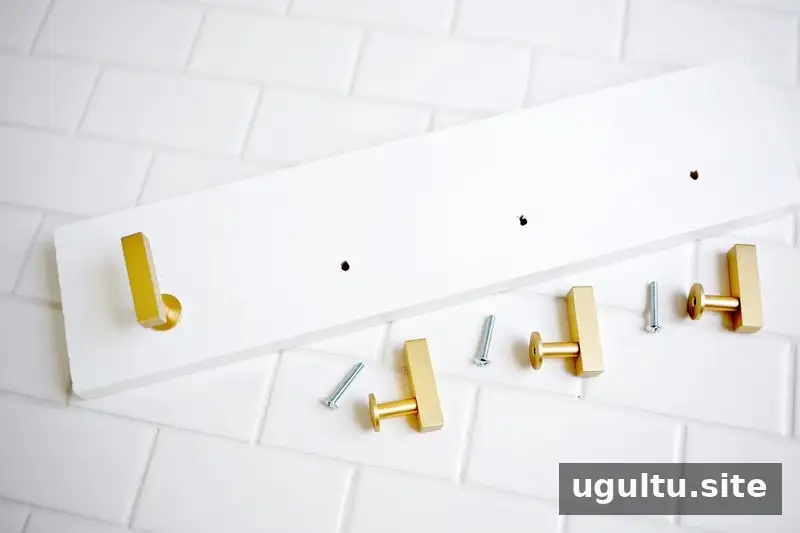
Arrange the four knobs on the board before drilling. This lets you check their placement and spacing against the overall design. Mark four evenly spaced positions, then drill holes sized to fit the knob hardware. In this example, the holes sit a little closer to the bottom edge because the knobs will point upward after installation. Measure carefully and test the placement before drilling all the holes.
2. Paint the board and attach the knobs
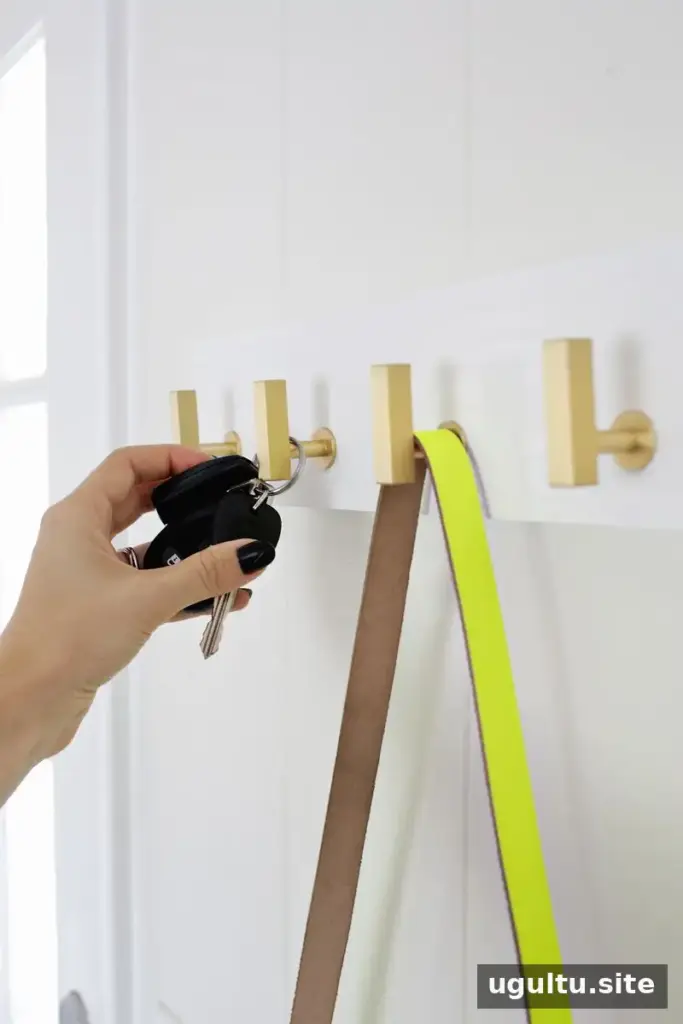
Paint the wood before fitting the knobs so the board’s surface is easier to cover. Allow the paint to dry fully, then fasten each knob in place. Turn the knobs upside down so they form upward-facing hooks. Check that each one is firmly attached and that a key ring can slip over it without falling off.
3. Add hangers and mount the rack
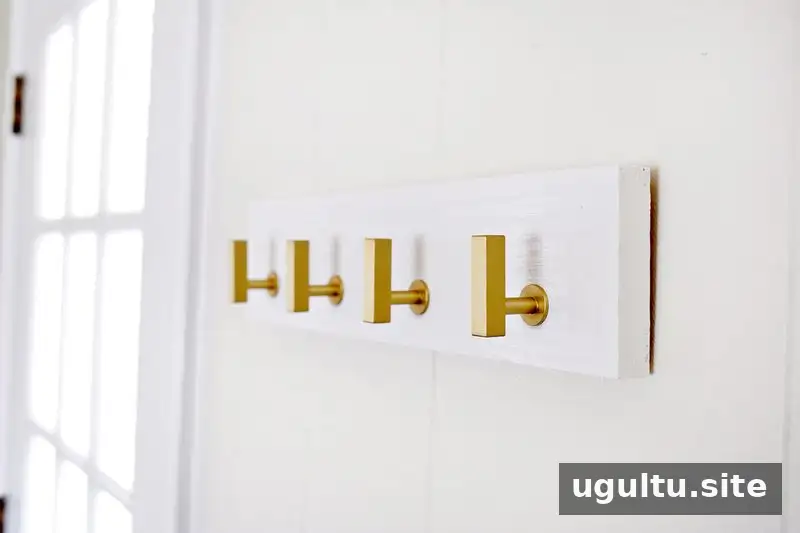
Attach suitable hangers to the back of the board. Select mounting hardware that is appropriate for the wall and the expected load, especially if you plan to hang bags or coats. Follow the hanger manufacturer’s instructions and make sure the rack is level before use.
Ways to Use and Customize It
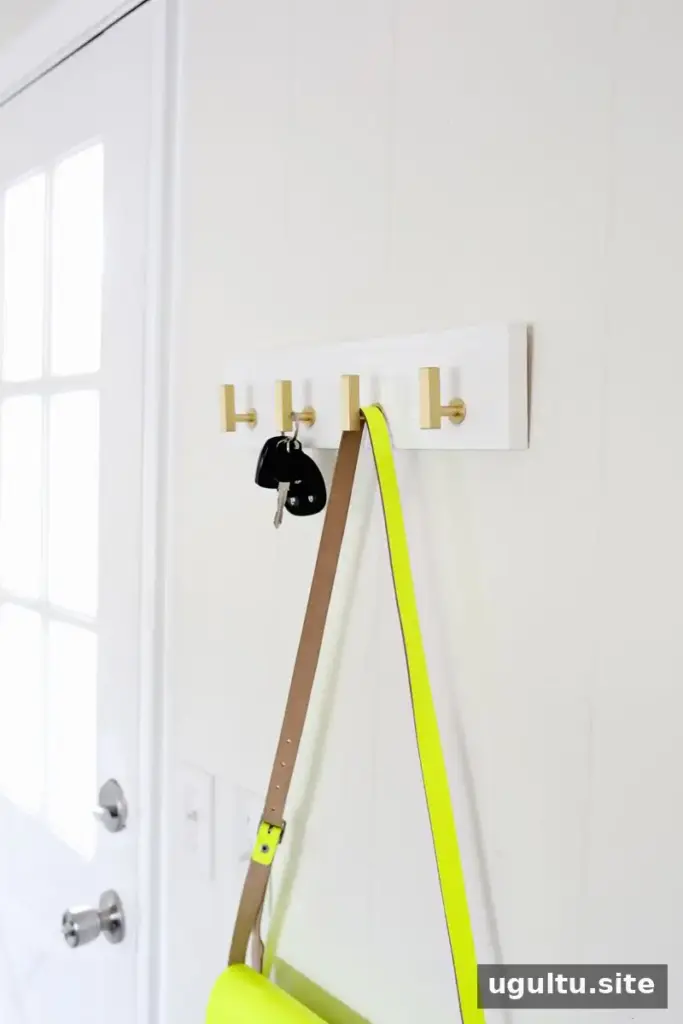
Use the finished rack for keys, or take advantage of the knobs’ shape to hang lightweight bags and coats. For a coordinated look, choose knobs that match other hardware in the room; alternatively, contrasting knobs can make the rack a decorative feature. Keep heavier items off the rack unless the board, hangers, and wall fixings are designed to support them.
This cabinet knob key rack is a straightforward project that reuses familiar hardware and can be adapted to different spaces. Confirm the knob spacing, board dimensions, and mounting method before assembly for a neat result that works for your everyday essentials.
Project by Laura.


