
 admin
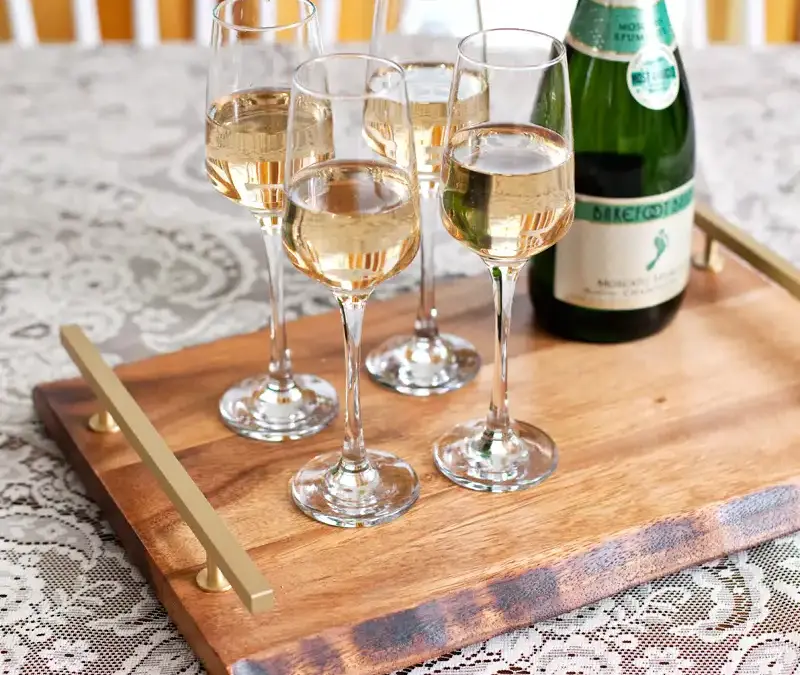

A DIY serving tray is a quick way to create a useful accessory for entertaining or organizing items around the home. A cutting board and a pair of bar-style drawer pulls form the basic design, and the project can be completed in about five minutes once the measurements are ready. Use the finished tray for snacks, drinks, or small items on an entry table.
How to Make a DIY Serving Tray
The handles make the board easier to carry, while the cutting board provides a sturdy base. Choose a board with enough room for the items you plan to serve, and check that the handles fit comfortably near its edges. Different board shapes and handle finishes can give the finished piece a look that suits your space.
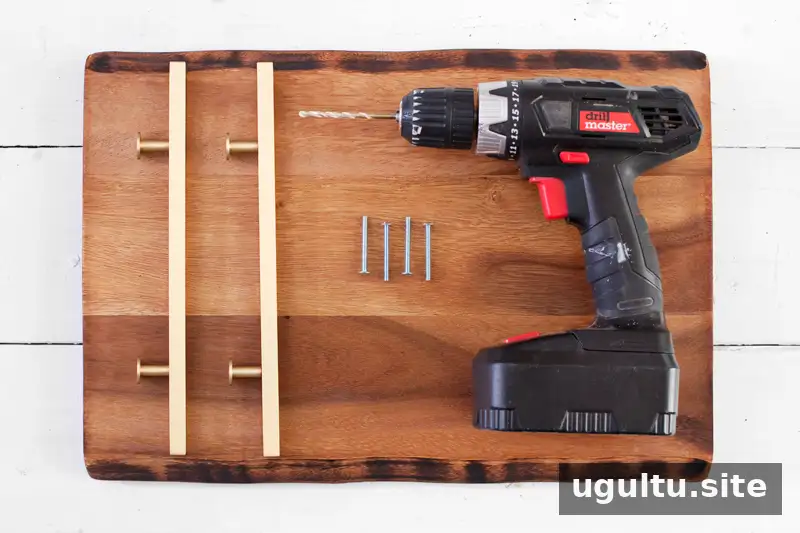
Supplies and tools
- One cutting board
- Two long, bar-style drawer pulls with their mounting screws
- Power drill with a suitable drill bit
- Measuring tape
- Pen or marker
- Screwdriver, if needed for the chosen hardware
- Scrap wood to place beneath the board while drilling
1. Measure and position the handles
Place a handle near one edge of the board and center it across the width. Measure the distance from the board’s edges to the handle’s screw attachment points, then note the measurements. Accurate placement helps the tray look balanced and keeps the handles aligned.
2. Mark and check the holes
Move the handle aside and mark the screw locations. Before drilling, measure the distance between the marks and compare it with the spacing between the handle’s attachment points. This extra check helps prevent misaligned holes.
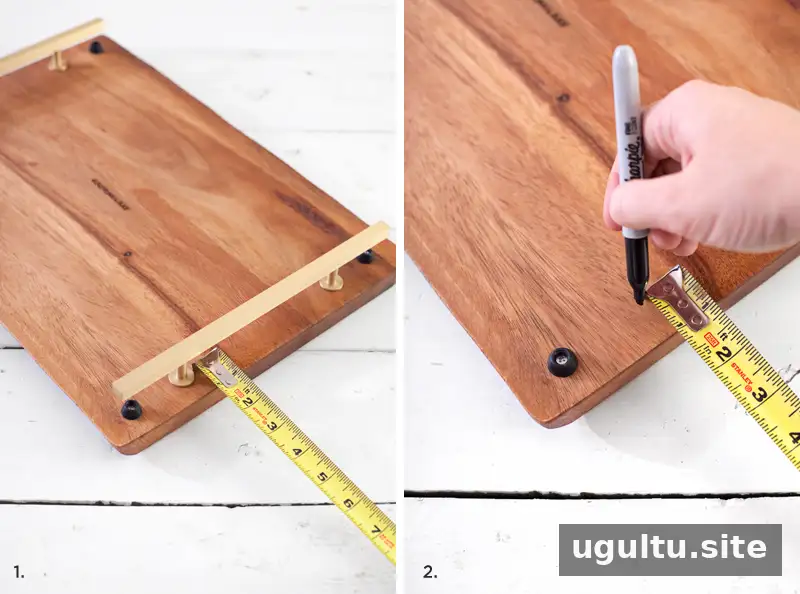
Tip: Keep the handle nearby while marking so you can confirm that the measurements match the actual hardware.
3. Drill the mounting holes
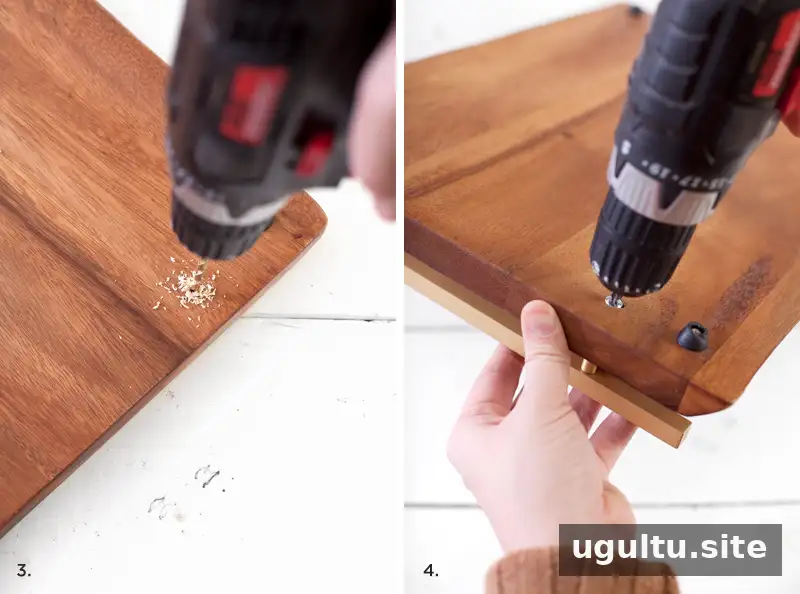
After checking the measurements, drill through the board at the marked points. Choose a drill bit that matches or is slightly larger than the screws used for the handles. Place scrap wood underneath the cutting board to protect the work surface, and keep the board steady as you drill.
4. Attach the pulls
Fasten each handle to the board using the screws supplied with the pulls. A screwdriver or power drill can be used for this step. Check that the handles are secure before lifting the tray.
If the board has no bumpers to raise it slightly, countersink the screw heads or cover them with small rubber pads. This helps prevent the screws from scratching the surface the tray rests on. Make sure any hardware on the underside sits flat and does not make the tray wobble.

The finished tray can be customized by choosing a different cutting board or handle style. Before using it for serving, check that the board is clean and dry, and follow the care instructions for its material. Avoid carrying more weight than the handles and board can safely support.
Ways to Use Your DIY Serving Tray
Use the tray to carry snacks, drinks, or mixers when hosting. It can also keep small dishes, mail, or everyday items together on an entry table or counter. For stability, place heavier items near the center and lift the tray with both handles.

A DIY serving tray is a straightforward project that combines practical use with a customizable design. Whether it is used for entertaining or for keeping small items organized, careful measuring and secure handle installation help make it both useful and easy to carry.
— Mandi


