admin
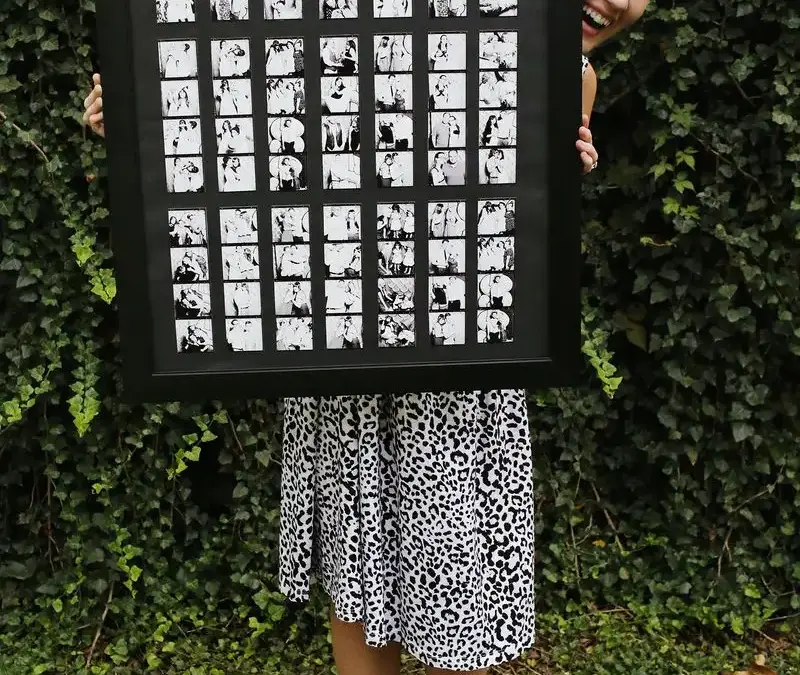
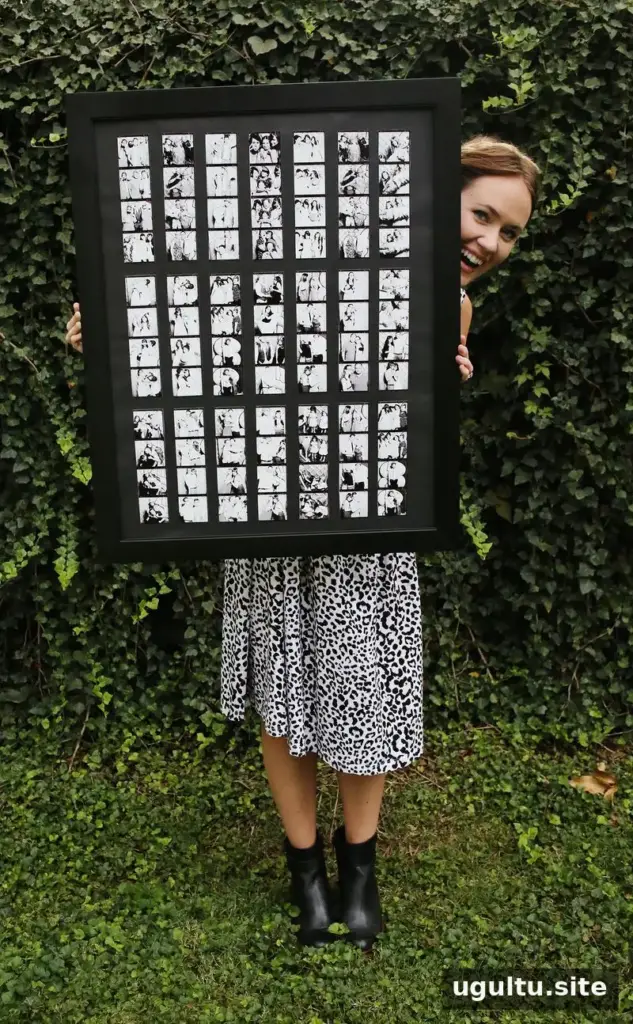
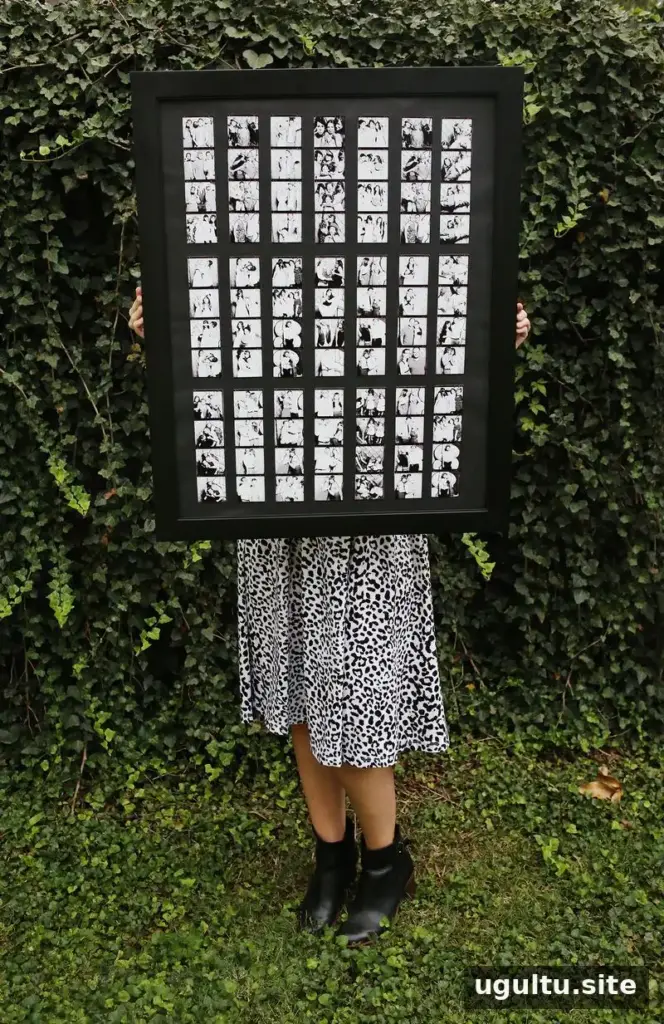
Photo booth strips offer a creative way to display old photos, especially candid pictures from a wedding, party, or family gathering. Instead of leaving digital images stored on a drive, you can arrange them in classic strip-style layouts, print them, and bring them together in a frame.
Unposed party photos often capture funny expressions, playful props, and moments with friends and family. A grouped display keeps those images visible while giving them a consistent look. This project uses digital photos, a photo-strip app, a home printer, and a picture frame.
How to Make Photo Booth Strips from Old Photos
Start by choosing a selection of photos that work well together. Images from the same event can help the finished display feel cohesive, but you can also group pictures by people, colors, or a particular occasion. Check that the original files are available at a suitable quality for printing.
1. Transfer and prepare the photos
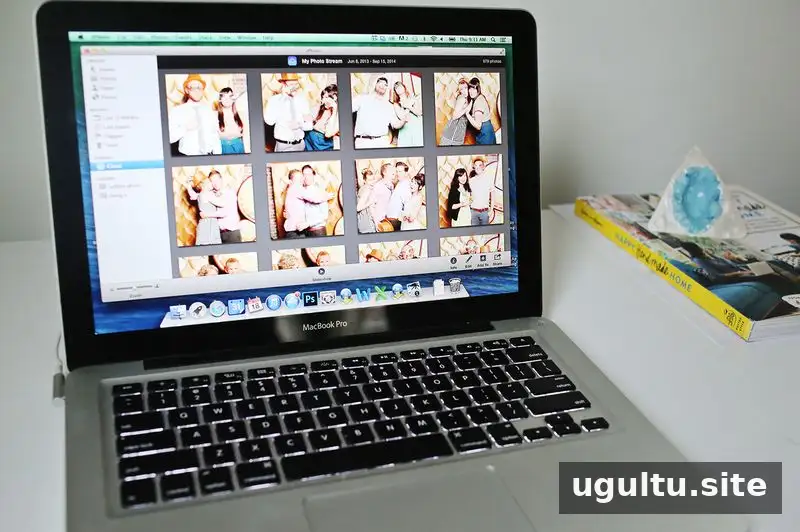
Move the selected images from a computer or storage drive to a phone or other device that can access your photo-strip app. Cloud photo storage is another option for transferring files between devices. Crop the images in advance if you want to control the framing; otherwise, use the app’s cropping tools, if available.
Before making the strips, review each crop to make sure faces and other important details are not cut off. This is especially helpful when the original photos have different orientations or compositions.
2. Arrange the images and choose a style
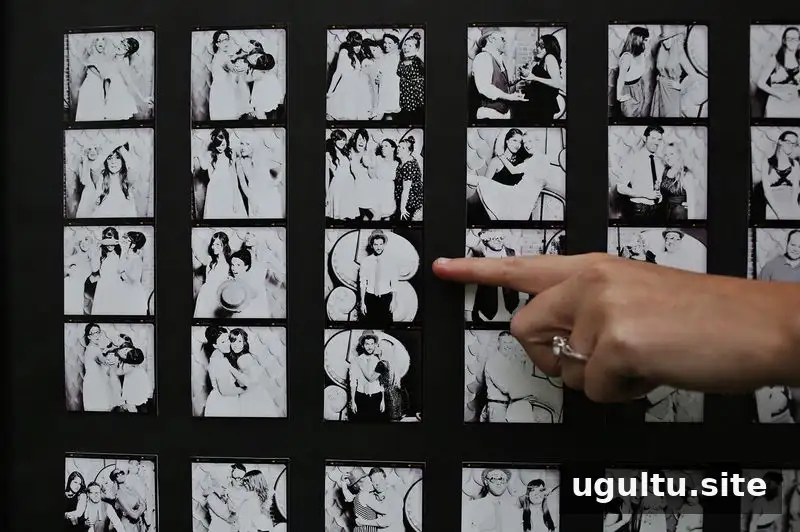
Use a photo-strip app to group images into strips of four. For a coordinated display, apply the same filter or visual treatment across the set. Black-and-white styling can help photographs from different lighting conditions look more unified, while a border gives each strip a clearly defined edge.
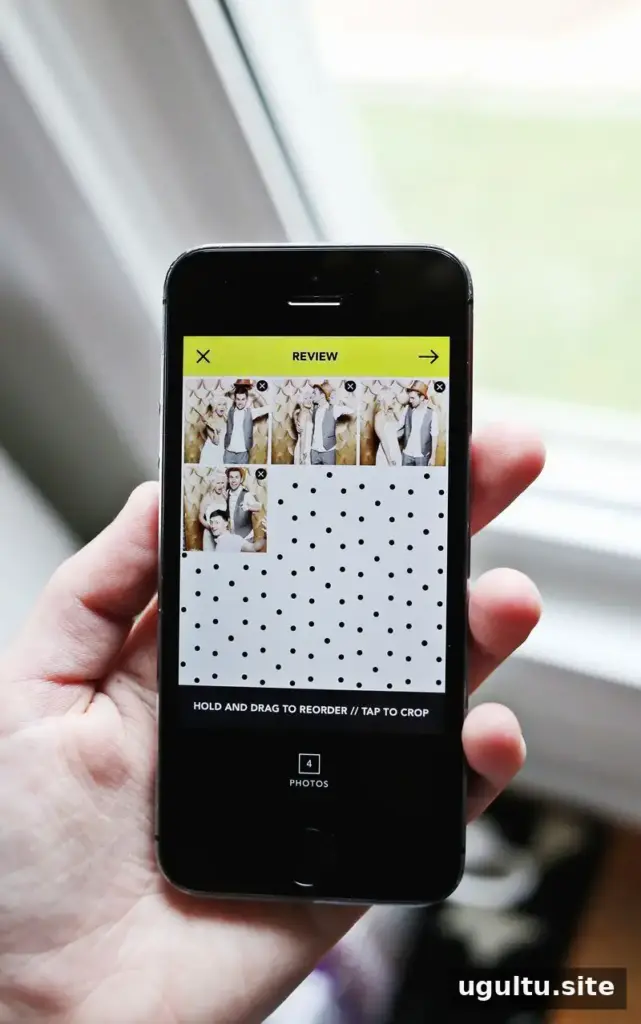
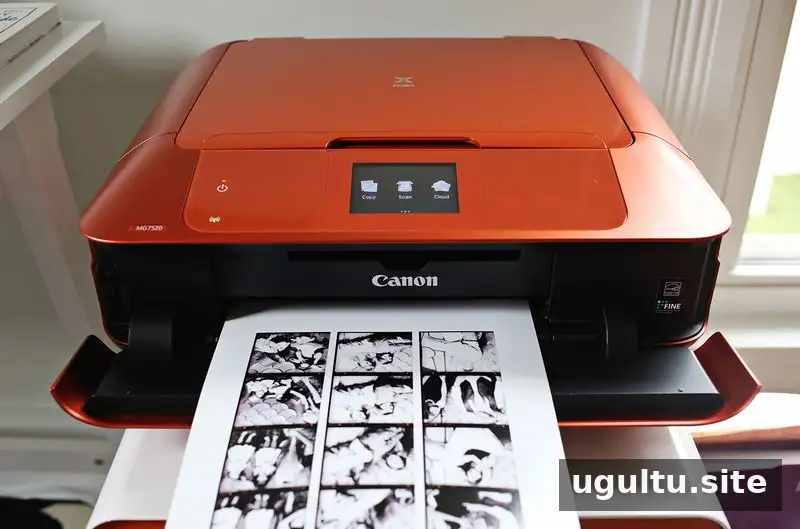
This project resulted in eighteen strips. If you have only a few, printing directly from a phone may be convenient. For a larger set, arrange several strips on one sheet before printing. Placing three strips on a sheet helped make efficient use of paper for this project.
3. Print and assemble the display
Print the layouts using a home printer, then cut out the strips carefully. Test the paper and print settings on one sheet first if you are unsure how the colors or borders will look. Allow the ink to dry before handling the prints, following the printer’s instructions.
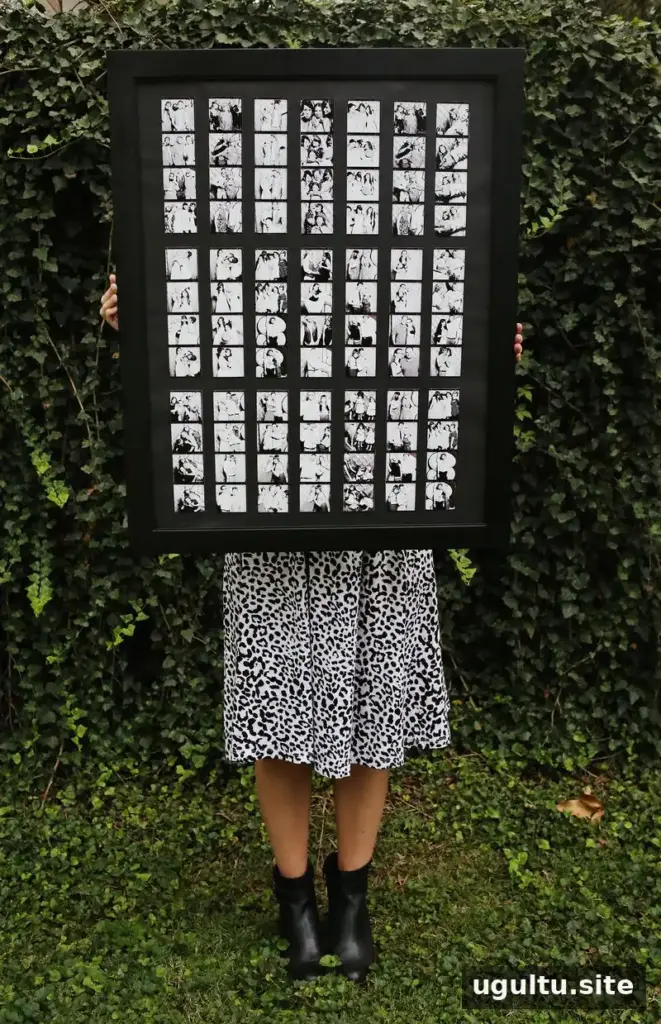
Prepare the picture frame by covering its backing with black, acid-free paper. Acid-free materials are a practical choice for displaying photographs because they are intended for use with keepsakes. Arrange the strips on the backing before attaching them so you can adjust the spacing and overall layout.
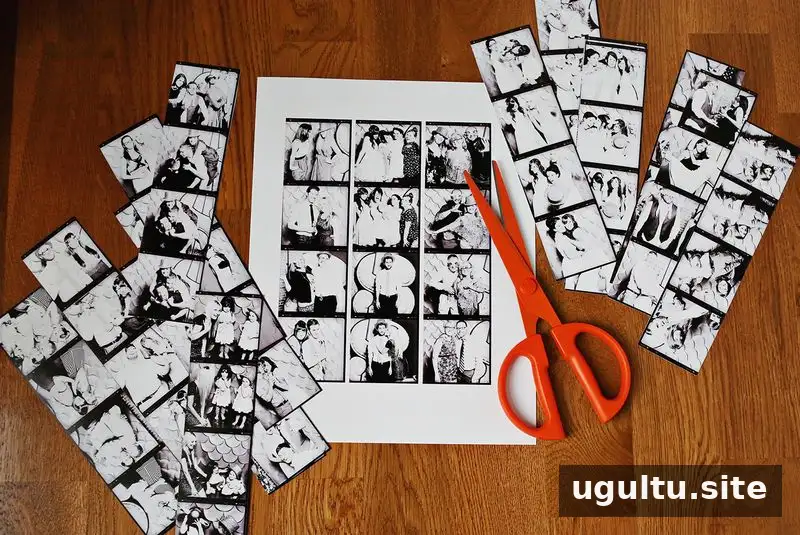
Use glue dots or another photo-safe adhesive to secure the strips. The display in this project needed three additional strips to fill the frame, so three strips were repeated. Repeats can blend into a full arrangement, but laying everything out first makes it easier to balance the design without overcrowding it.
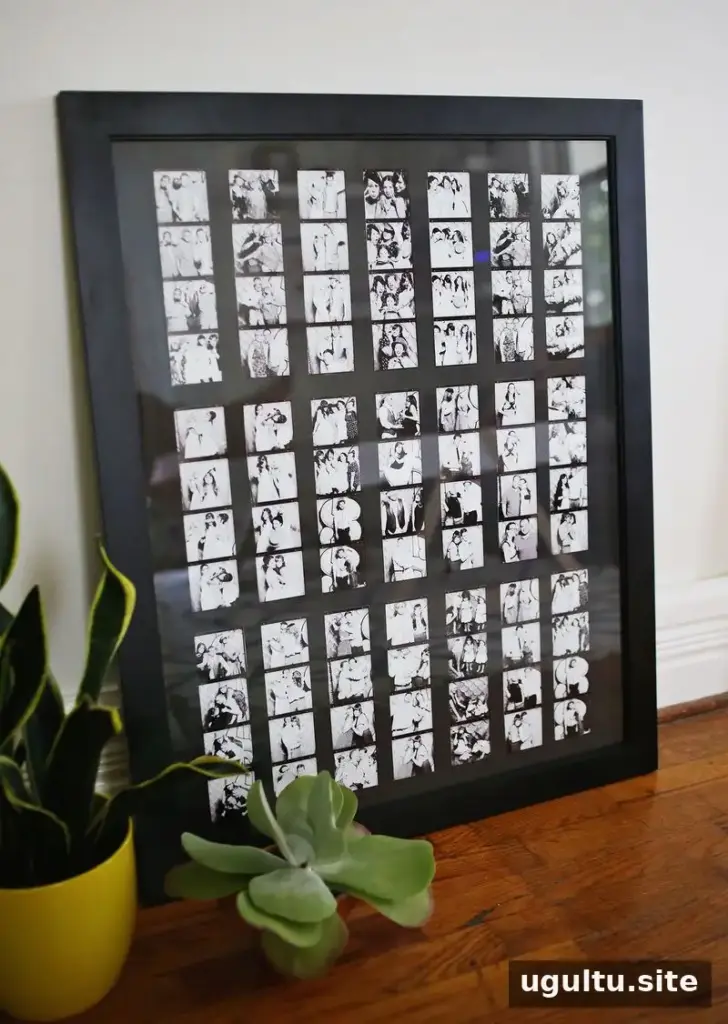
The finished display can be viewed with or without the frame’s front glass. Glass can help protect prints from dust and handling; check that the frame is clean before assembling it to avoid trapping dust inside.
Finishing Your Photo Booth Strips Display
Once the strips are in place, check the arrangement from a short distance and make any final adjustments before hanging the frame. This simple project turns old photos into a compact, personal piece of wall art. With a consistent layout, careful printing, and a suitable frame, photo booth strips can give favorite candid moments a place to be enjoyed at home.
— Emma