
 admin
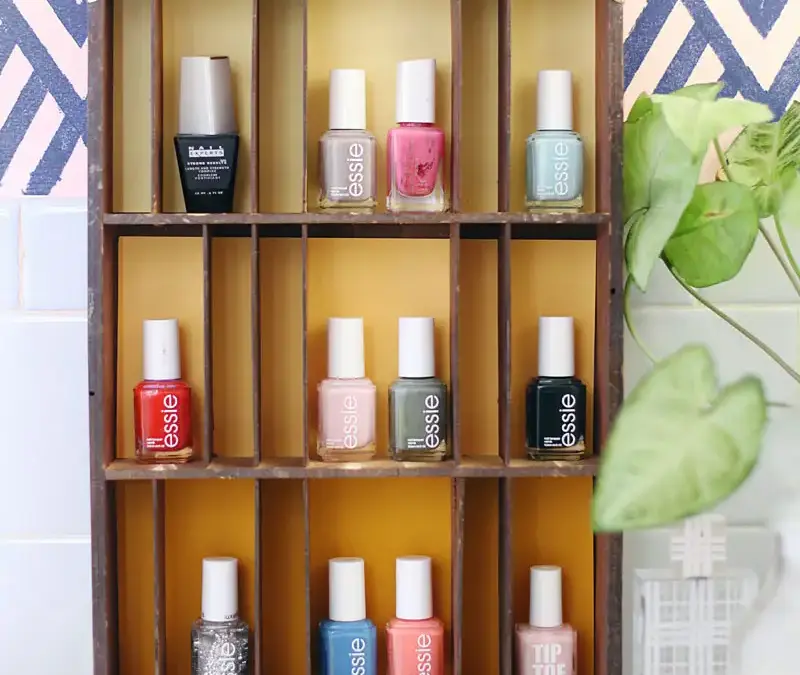
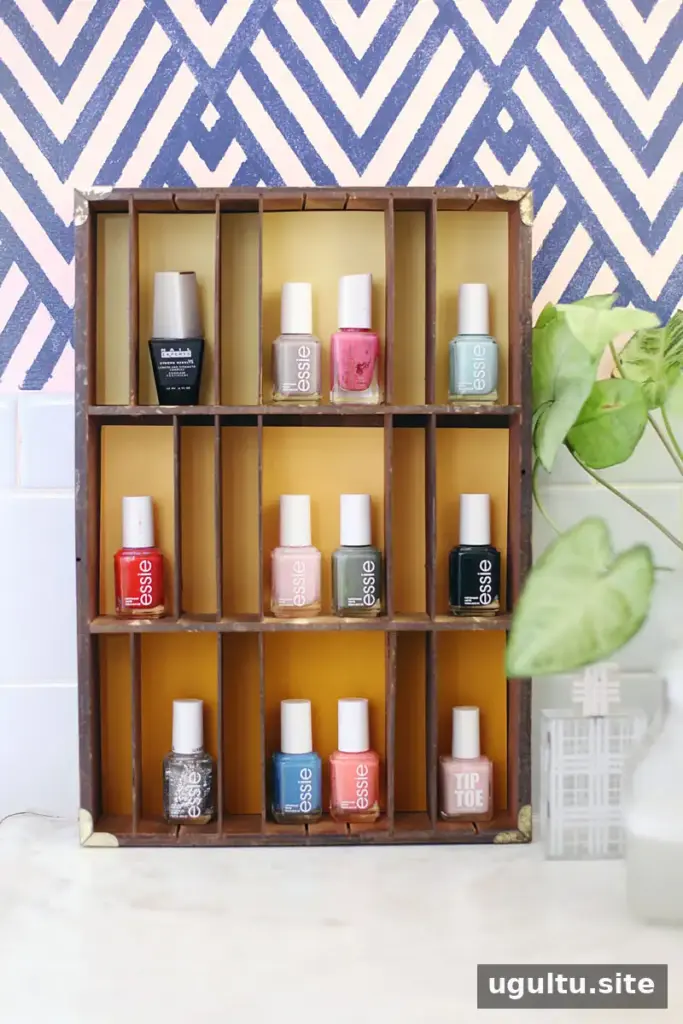
A type tray nail polish display turns a vintage letterpress tray into a practical organizer with a decorative ombre background. With a few basic supplies, you can add color behind the bottles and arrange your collection so the shades are easy to see. This project is by Mandi.
Supplies for a Type Tray Nail Polish Display
Before starting, check that the tray’s compartments can accommodate the nail polish bottles you plan to display. The slots may differ in size, so measure them before cutting the cardstock.
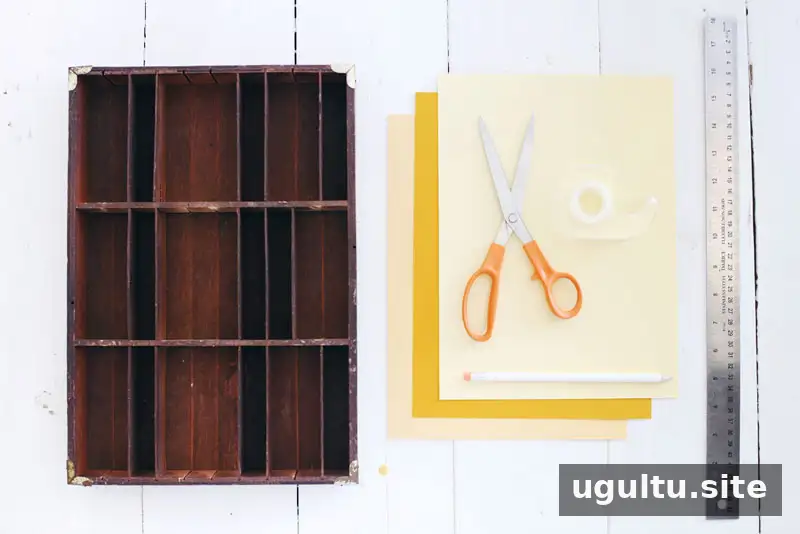
- A type tray with slots that fit nail polish bottles
- Cardstock in three shades of the same color
- A ruler
- A pencil
- Scissors
- Double-sided tape
How to Make the Ombre Background
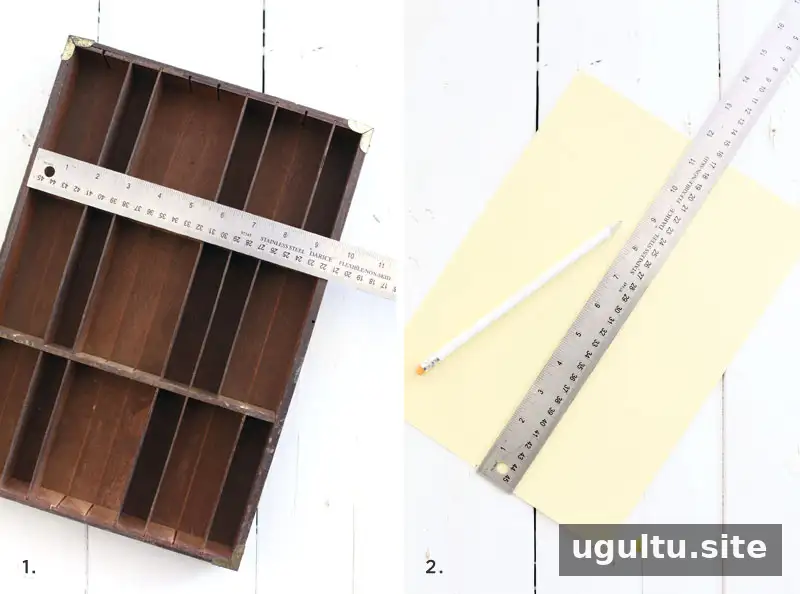
Step 1: Measure each row
Use a ruler to measure the length and width of every row in the tray. Measure each one separately rather than assuming they are identical; the dimensions can vary. Record the measurements and note which piece will go in each row.
Helpful tip: Keep the measurements in order as you work. This makes it easier to arrange the different shades so the background transitions in the direction you want.
Step 2: Cut the cardstock
On the cardstock, use a pencil and ruler to mark rectangles matching the measurements you recorded. Assign the three shades to the rows in sequence to create the ombre effect. Check each rectangle against its intended space before cutting, since a close fit helps the paper sit neatly behind the tray’s dividers.
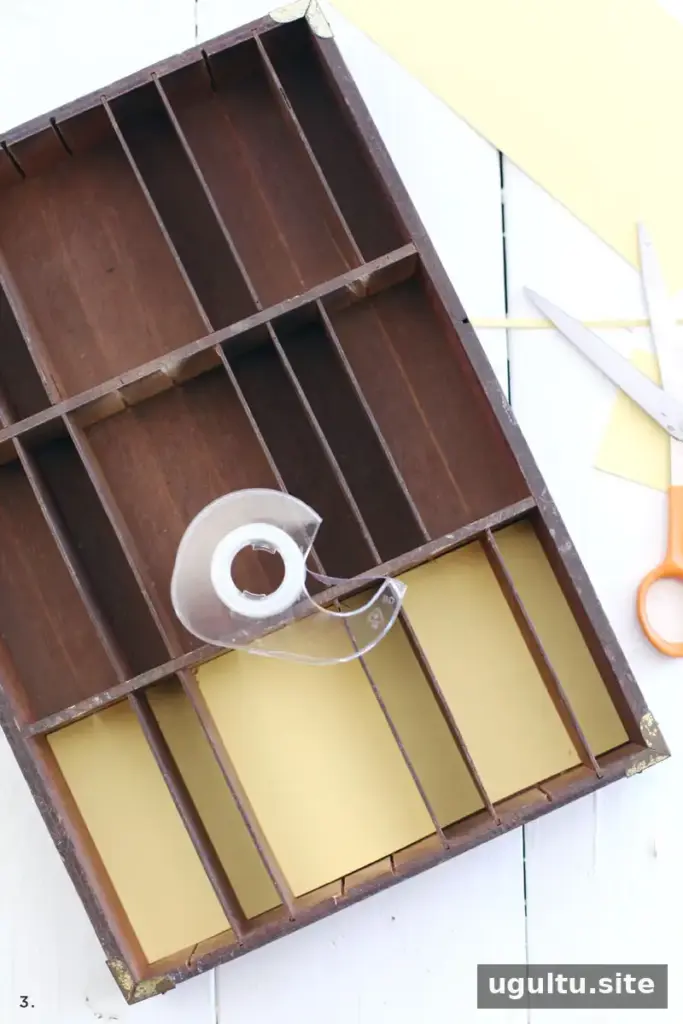
Step 3: Attach the paper
Apply double-sided tape to the cardstock and position each piece at the back of the display. A longer strip may slide behind the wooden slots if the tray’s construction allows it. If it does not fit, trim the paper into smaller pieces sized for the individual compartments. Press the cardstock into place and make sure it is secure before arranging the bottles.
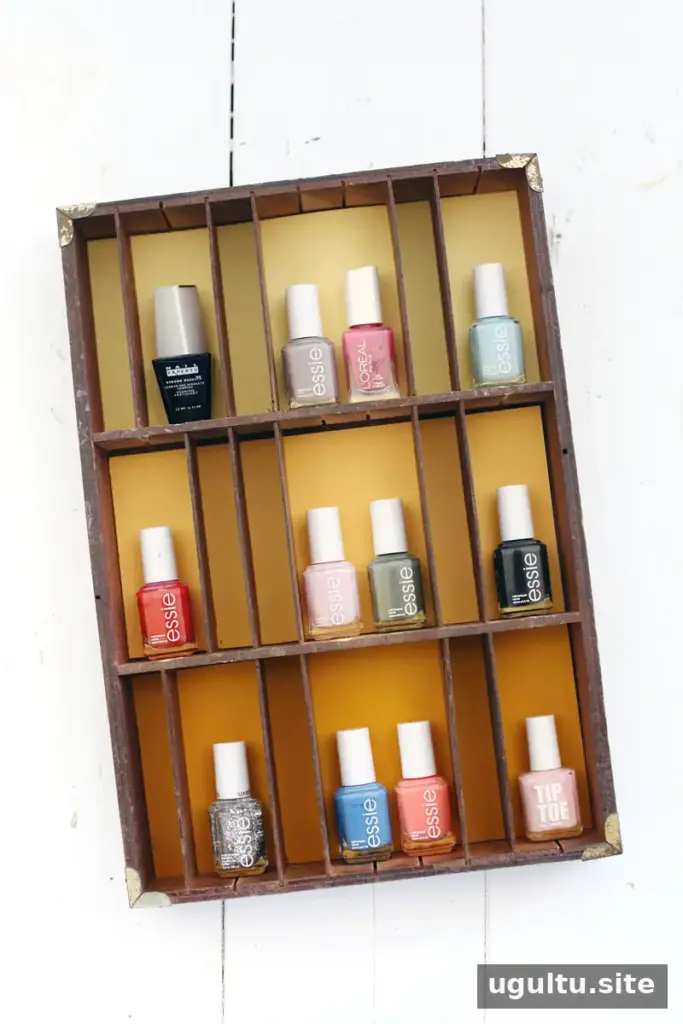
Display and Arrange Your Nail Polish
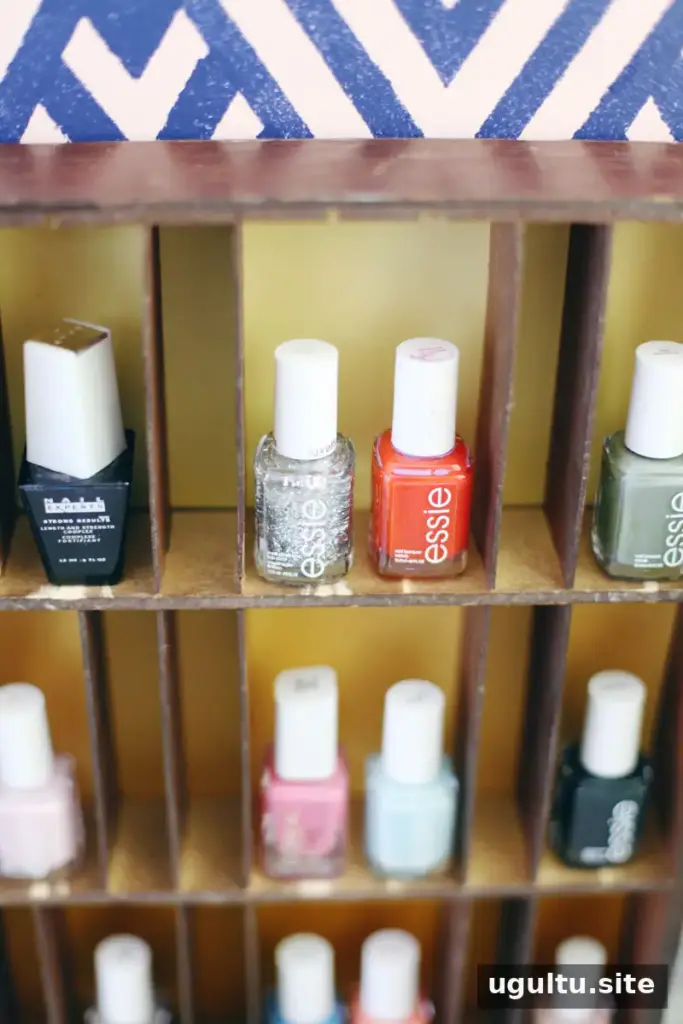
Place the bottles in the compartments and arrange them by color to complement the cardstock gradient. The finished display can be rested on a countertop or hung on a wall. Choose a stable surface or suitable wall mounting for the tray, and avoid overfilling compartments if the bottles do not sit securely.
Conclusion
A type tray nail polish display combines a repurposed organizer with a simple, customizable ombre backdrop. Measure each row, cut the cardstock to fit, and arrange the shades in sequence for a tidy display that can sit on a counter or be mounted on a wall.


