
 admin
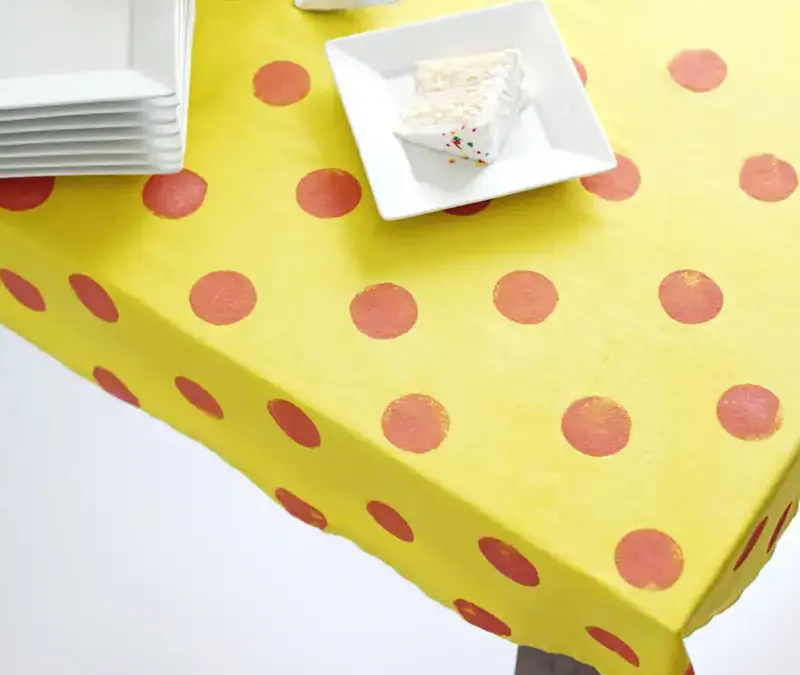
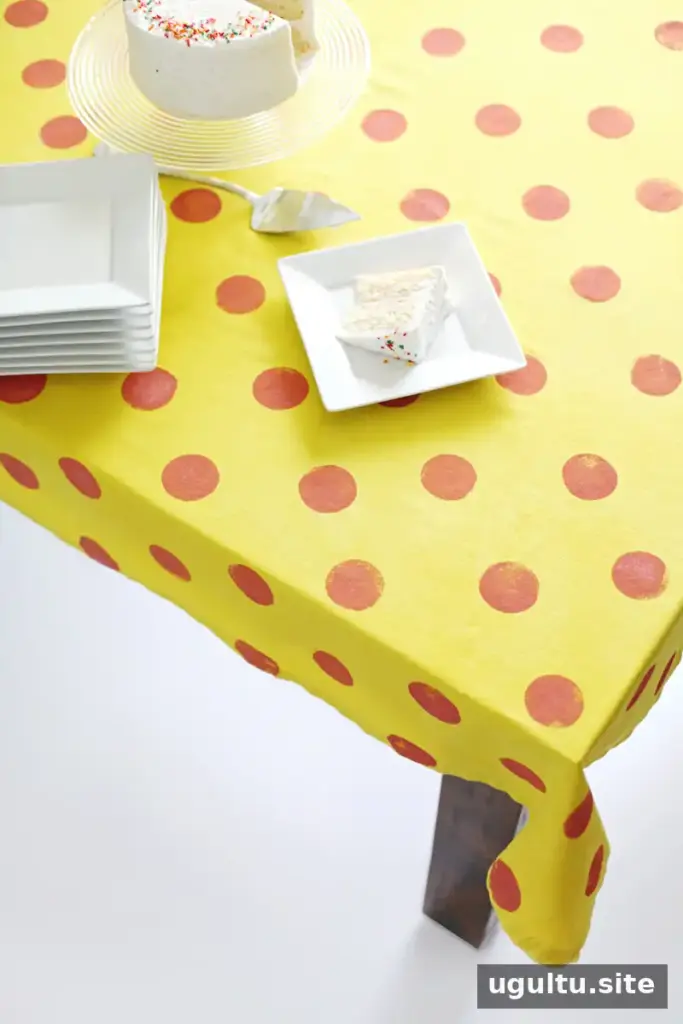
A DIY dyed tablecloth is an easy way to give a plain white cotton cloth a more personal look for parties or everyday use. Cotton tablecloths are widely available, including at thrift shops, and fabric dye can transform a simple piece into a colorful base for a hand-painted design. This project uses a chartreuse-yellow dye bath and a dotted pattern, but you can choose different colors and foam shapes to suit your table.
Supplies for a DIY Dyed Tablecloth
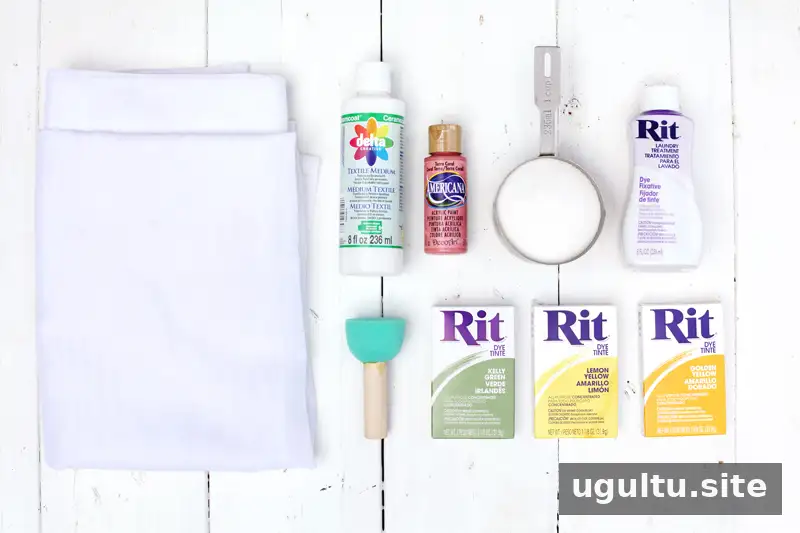
Gather the materials before starting so the cloth can move from the dye bath to the fixative stage without unnecessary delays:
- A white cotton tablecloth
- Fabric dye, in the colors needed for your chosen shade
- Salt, in the amount specified on the dye packaging
- Dye fixative
- Acrylic paint
- Acrylic paint textile medium
- A round foam dabber or another foam shape or stencil
- Plastic gloves
Cotton is a suitable choice for this process because it takes fabric dye well. Check the dye instructions before beginning; the required salt amount and handling directions can vary by product.
How to Dye the Tablecloth
1. Prepare the cotton
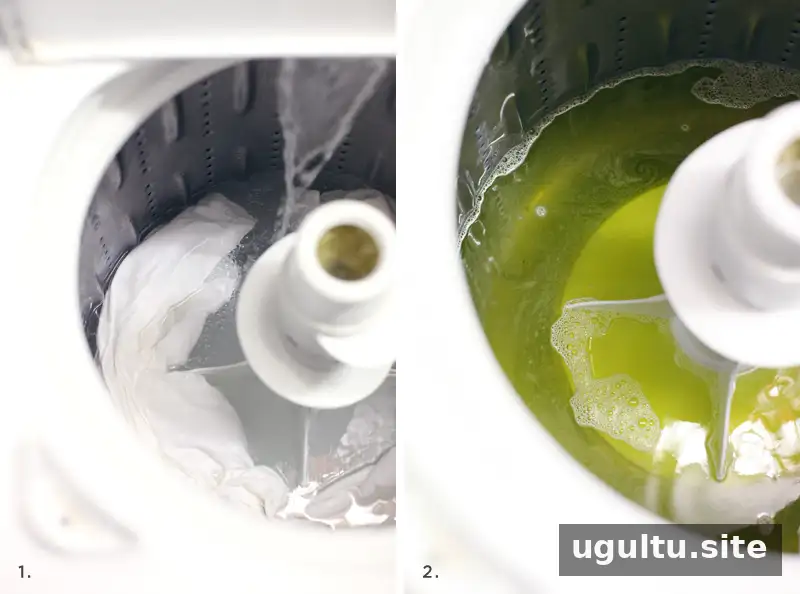
Soak the tablecloth in hot water. Remove it from the washing machine or basin and wring out the excess water so it is damp rather than dripping. Preparing the fabric first helps it enter the dye bath evenly.
2. Mix the dye bath
Fill a washing machine or large basin with enough hot water to cover the cloth completely. Add the dye and the amount of salt specified on the package, then stir until the dye is dissolved. For the chartreuse-yellow shade shown here, the mix used one pack of salt, two packs of yellow dye—one golden and one lemon yellow—and a small amount of green dye. Using more dye creates a more vivid color.
Return the tablecloth to the bath unfolded, making sure it is fully submerged. Follow the dye package for the recommended soaking time. In this project, the fabric soaked for about half an hour and was stirred occasionally with a gloved hand before the machine ran a normal cycle. Keep the fabric moving as directed by the product instructions to help the color distribute evenly.
3. Set the dye
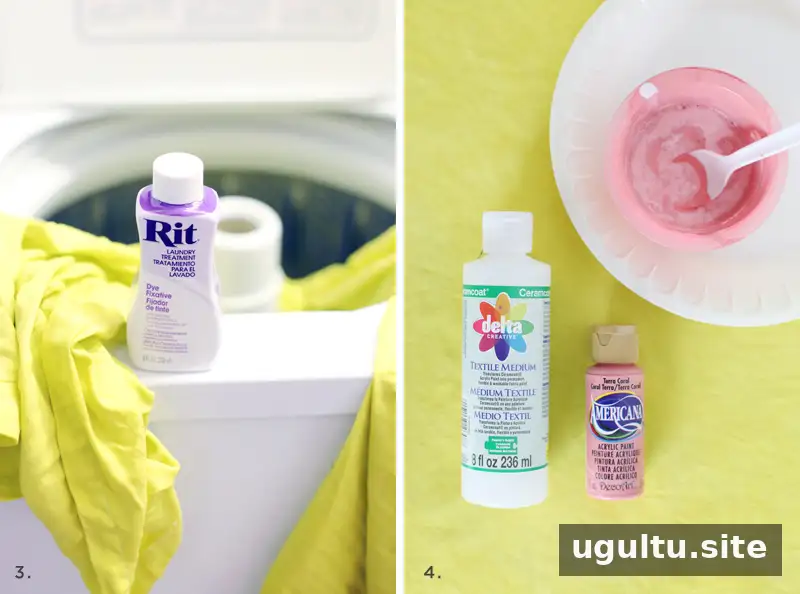
When the dye cycle is complete, remove the cloth from the empty machine. Fill the machine with hot water and dye fixative, then put the tablecloth back in and run a normal cycle. Use the fixative according to its packaging directions.
Add a Painted Pattern
4. Prepare the paint mixture.
Combine two parts acrylic paint with one part textile medium. The medium helps make the paint suitable for washable fabric. Mix enough for the planned design, and follow the textile medium’s instructions for any additional handling or curing requirements.
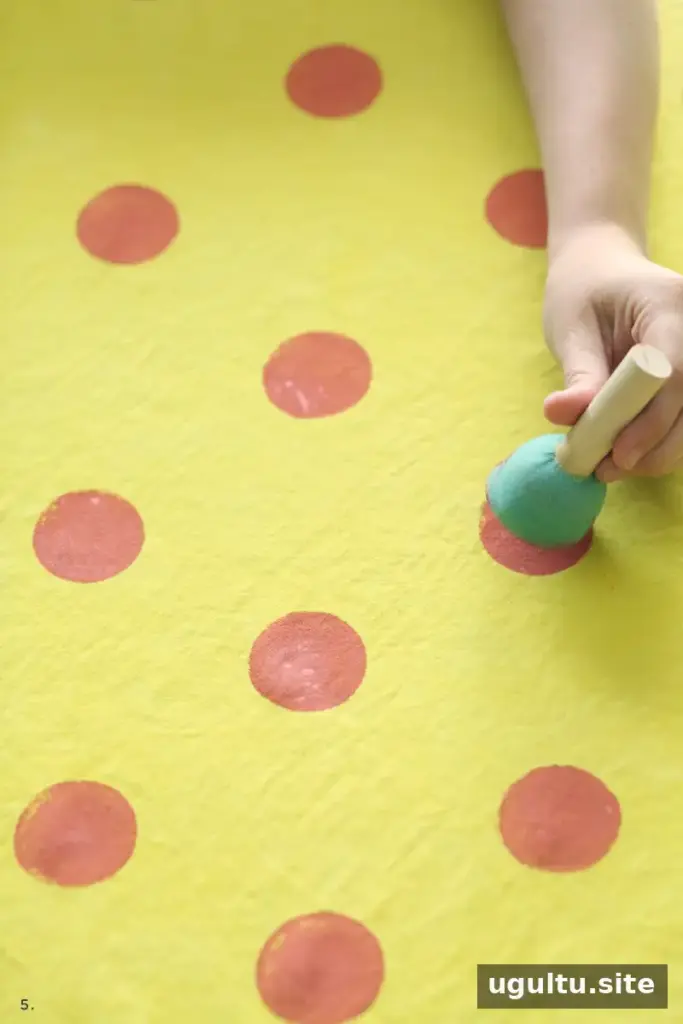
5. Apply the design. Use a round foam dabber to stamp dots across the tablecloth, or choose a different foam shape or stencil for another pattern. Test the paint application on an inconspicuous area or fabric scrap first, if available, to check the size and spacing of the marks.

Washing and Care
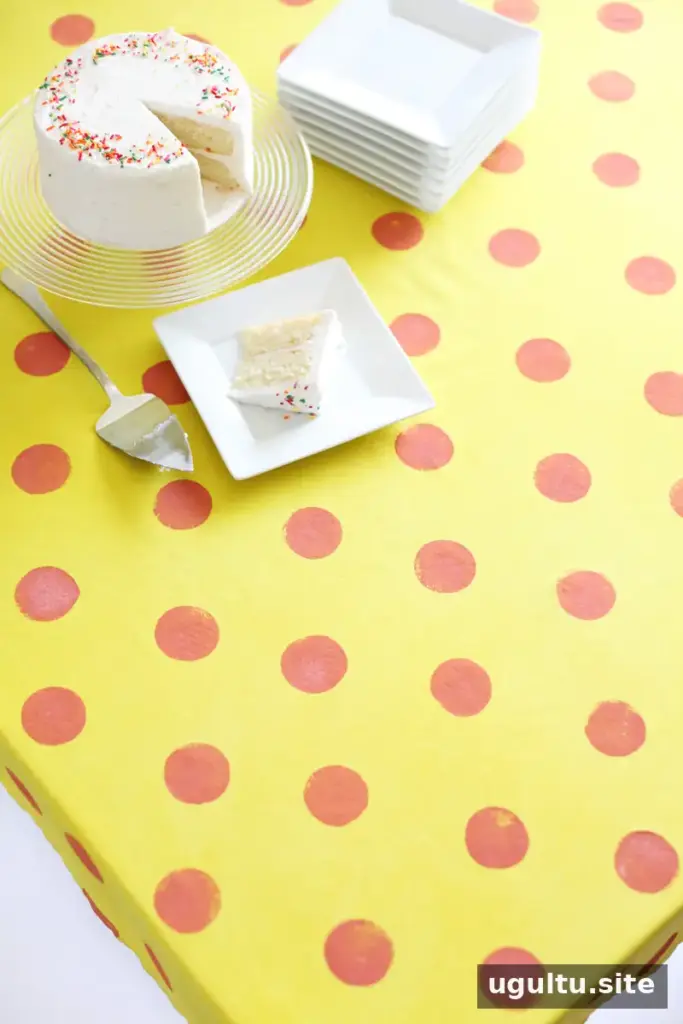
The dyed cloth was washed in a normal cycle after the fixative step, and the color remained fast. The painted tablecloth had not been washed at the time these project notes were written, so its wash performance was not confirmed.
For a newly dyed fabric, avoid hot water and wash it with similar colors as a precaution. Nylon can absorb loose dye, so do not wash nylon clothing with a freshly dyed tablecloth. Always check the dye, fixative, and textile medium instructions before laundering.
Final Result
This DIY dyed tablecloth combines a solid chartreuse-yellow background with a custom dotted design, making a plain cotton cloth ready for a festive table setting. Adjust the dye colors, pattern, and spacing to create a look that fits your occasion, and take care to follow product directions during dyeing and washing.
Project by Mandi.


