
 admin
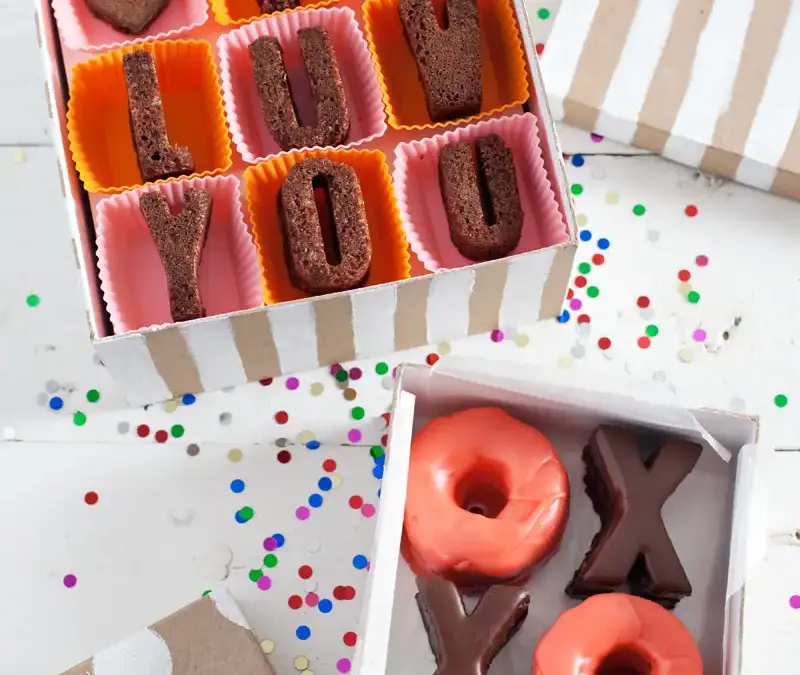
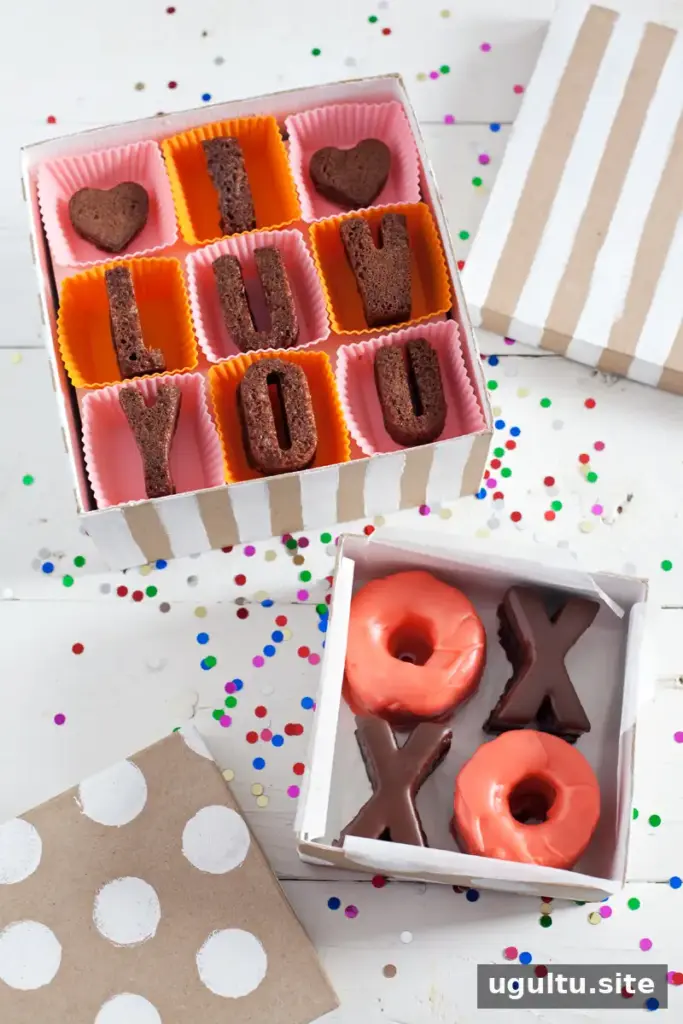
Homemade Valentine’s Day Treat Boxes turn brownies and small cakes into thoughtful edible gifts. Alphabet-shaped treats add a personal touch, while painted paper mache boxes make the presentation feel special. Prepare the decorations and treats separately, and line each box so the food does not touch painted surfaces.
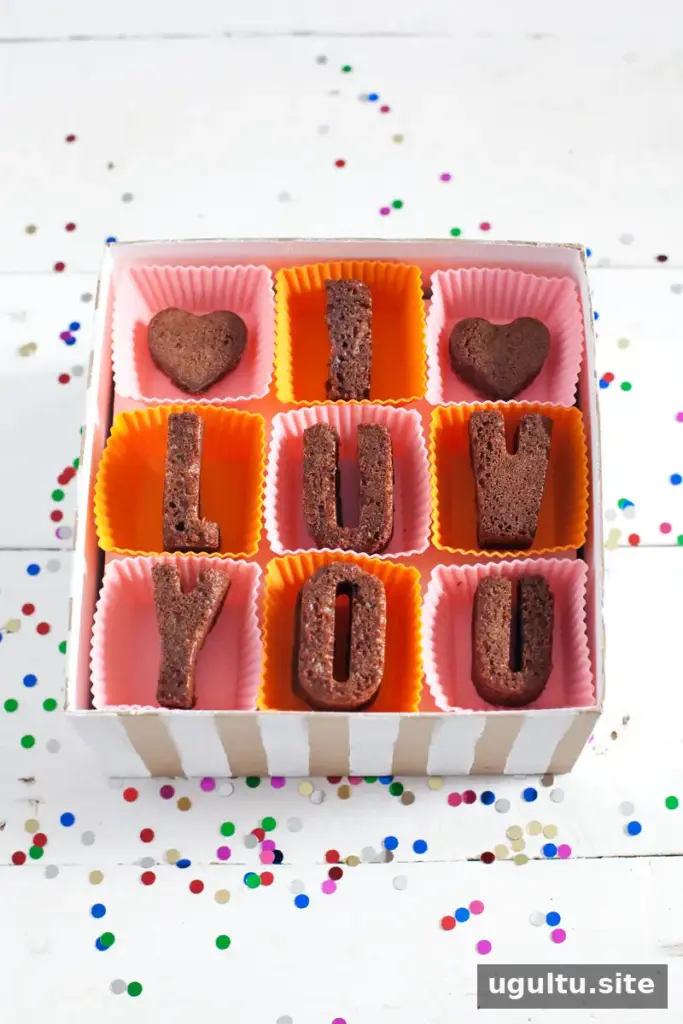
Homemade Valentine’s Day Treat Boxes with Alphabet Brownies
Alphabet brownies are an easy way to create initials, short messages, or other Valentine’s Day designs. Use an alphabet mold and fill only the letters you need.
Alphabet Brownies
Supplies
- Brownie batter
- Non-stick cooking spray
- Alphabet mold
- Paper mache box, such as a 7 × 7-inch box
- Gesso or another paint for decorating the box
- Paintbrush
Make and pack the brownies
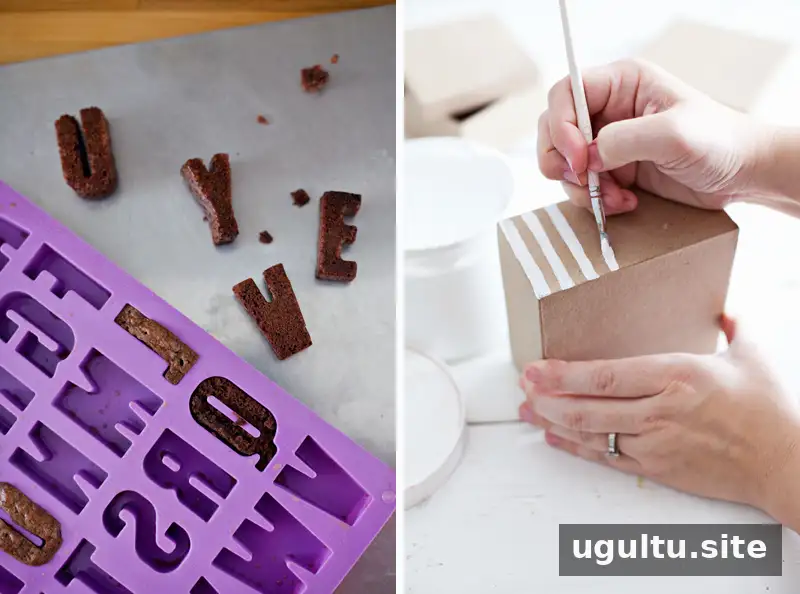
- Coat the alphabet mold with non-stick cooking spray. Use an icing piping bag to fill the selected letters with brownie batter. Bake until a toothpick inserted into a brownie comes out clean, then let the brownies cool.
- Freeze the cooled brownies for a couple of hours. Chilling helps firm them up, making the delicate letters easier to remove from the mold. If needed, a Q-shaped brownie can be cut to form a U.
- While the brownies bake, decorate the paper mache box. Gesso can create opaque stripes with one coat; a paint dabber can be used to make polka dots. Apply two coats to the inside and allow the paint to dry completely.
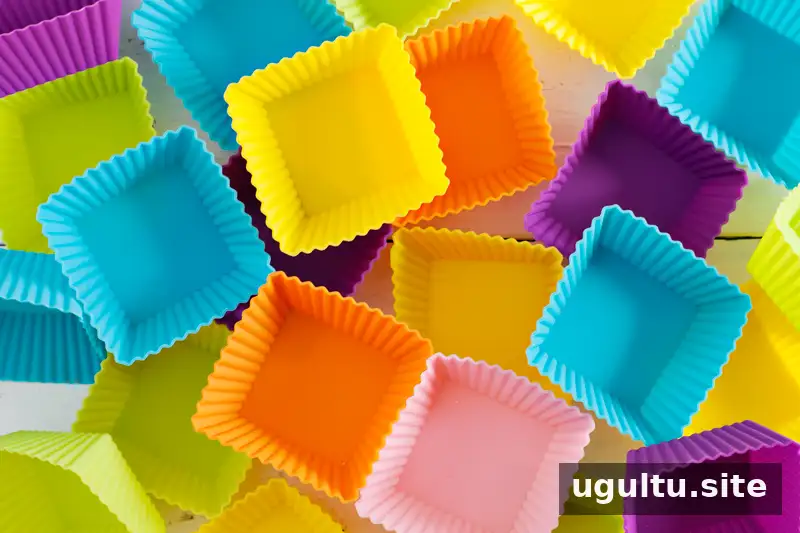
Square-shaped baking liners fit neatly inside a square box and can create a checked pattern. Reusable silicone liners can also be used for baking mini cakes. For food safety, place treats in liners or on a food-safe barrier rather than directly against painted surfaces.
For a layered presentation, arrange one layer of brownies in the box and lift it on a piece of cardstock to make room for another layer beneath. Keep the cardstock separate from the food with a liner or other food-safe barrier.
Glazed Mini Cakes for Valentine’s Day Boxes
These petit-four-inspired cakes are made from pound cake, jam, and marzipan or almond paste. Some are finished with poured fondant and others with chocolate glaze. The cookie cutters used here are larger than traditional petit-four cutters, so the result is a set of generously sized mini cakes.
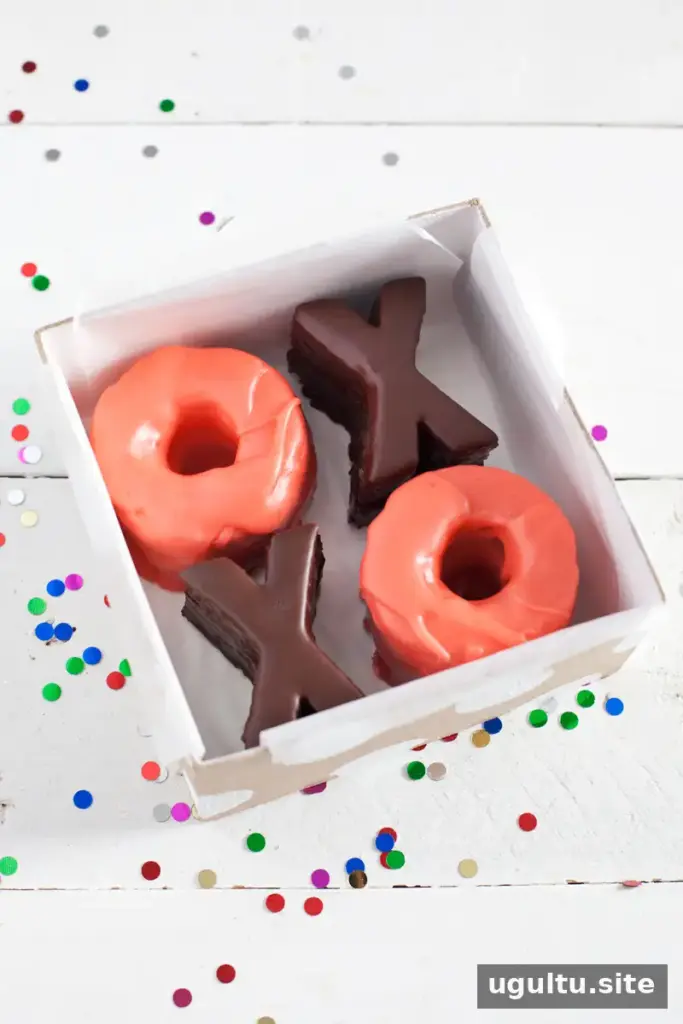
Glazed Mini Cakes
Supplies
- Pound cake
- Jam
- Marzipan or almond paste
- Knife and alphabet cookie cutters
Poured fondant
- 1/2 cup water
- 2 1/2 cups sugar
- 1/4 cup light corn syrup
- Food coloring
- Vanilla extract
- Candy thermometer
Chocolate glaze
- Dark chocolate chips
- Coconut oil, with the amount adjusted to suit your dipping needs
Assemble the mini cakes
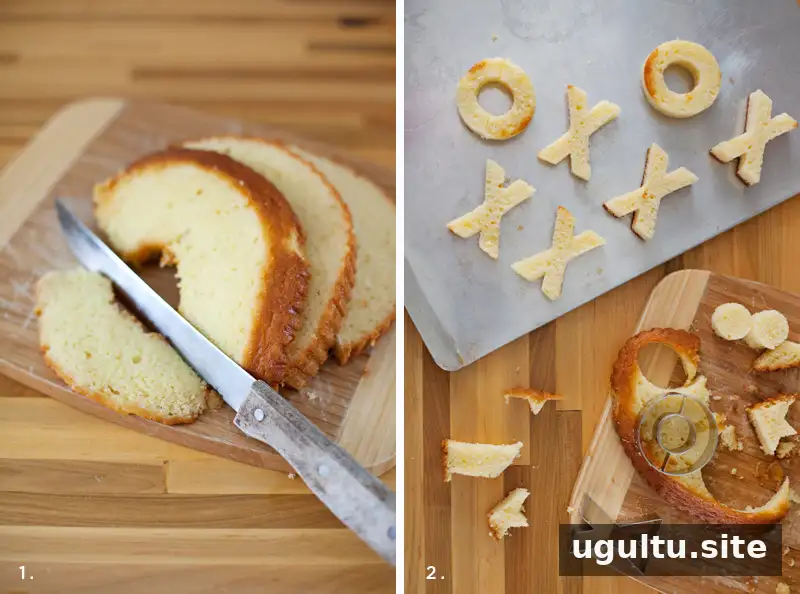
- Cut the pound cake into even 0.75-inch slices. Use alphabet cookie cutters to cut out X and O shapes.
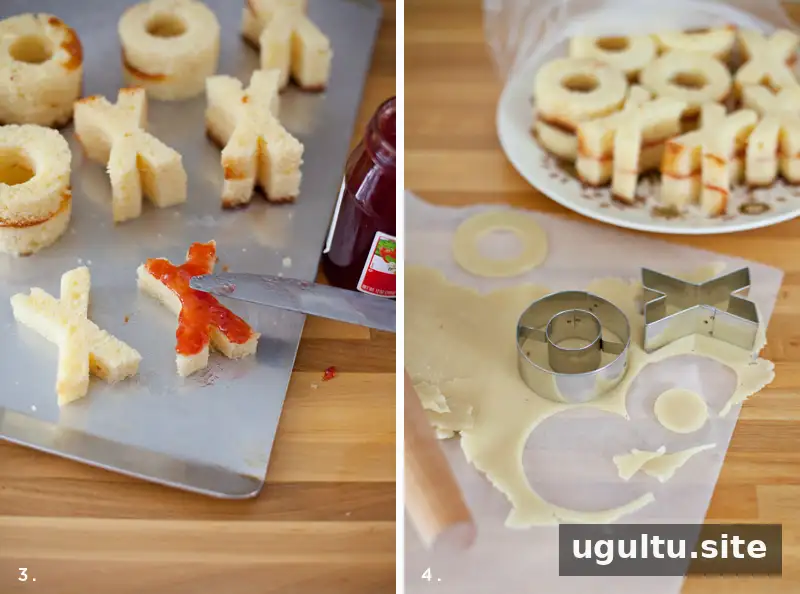
- Spread a thin layer of jam between two cake pieces to make small sandwiches.
- Roll the marzipan or almond paste into a thin sheet and cut enough pieces to cover the tops. Wet one side of each piece so it adheres to the cake. This layer helps create a smooth surface for glazing.
- Cover the assembled cakes and refrigerate them for at least two hours. Chilling helps the layers hold together during dipping.
Prepare the glazes
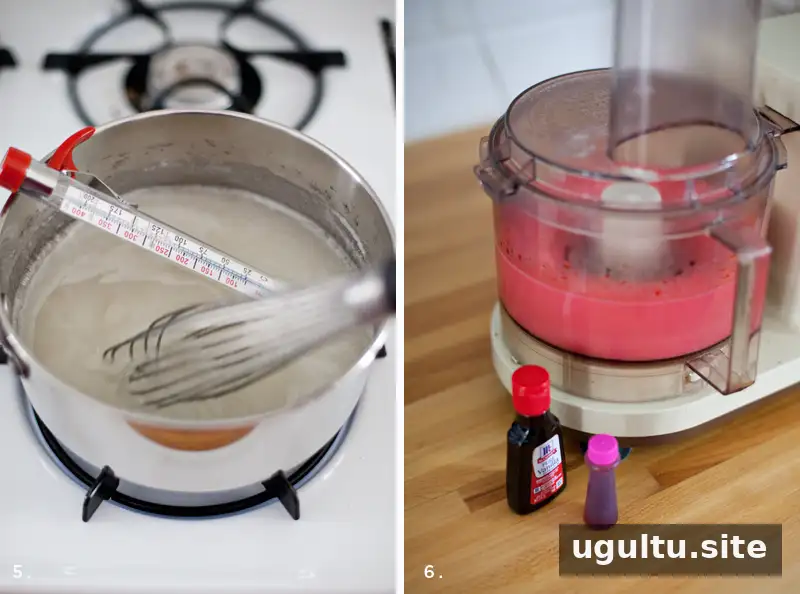
- To make the poured fondant, combine the sugar, water, and corn syrup in a pan. Stir until the mixture reaches the soft-ball stage, checking the candy thermometer. Carefully transfer the hot syrup to a food processor and let it cool to 140°F.
- Add food coloring and vanilla extract, then process for 2–3 minutes. Transfer the fondant to a microwave-safe bowl deep enough for dipping.
- Bring the cakes to room temperature before dipping them in the fondant. Set them on a cooling rack. If the fondant thickens, warm it briefly in the microwave until it returns to a pourable consistency.
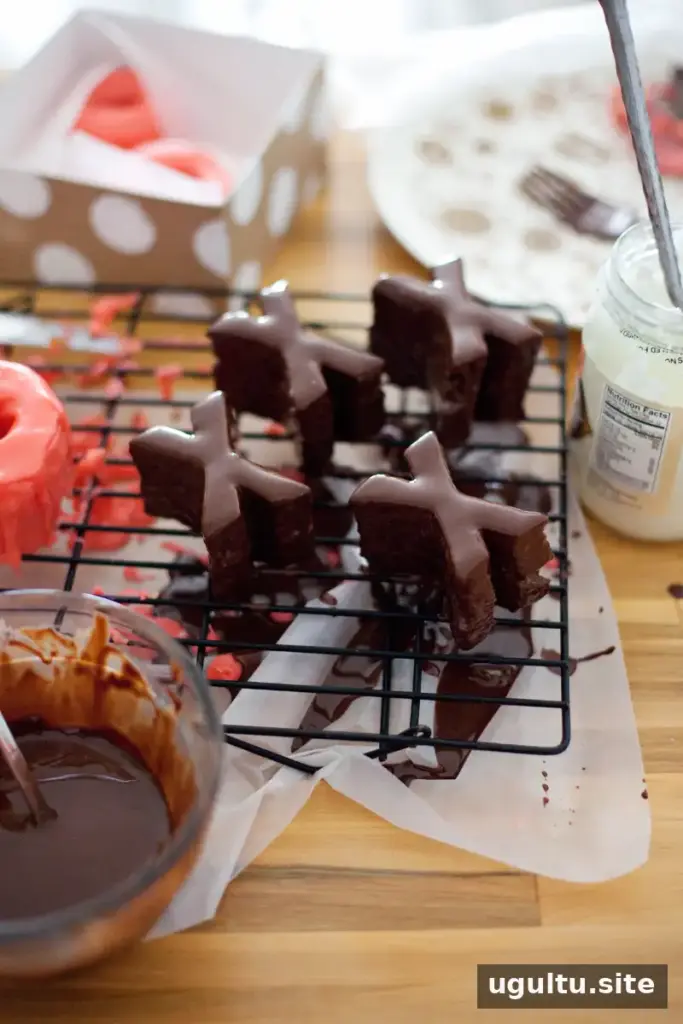
- For the chocolate glaze, combine dark chocolate chips and coconut oil. One workable starting amount is about 1/4 cup coconut oil for 2 cups of chips, though less oil may be sufficient. Melt gently in the microwave or over a double boiler, stirring until smooth. Dip the cakes and place them on a cooling rack, then refrigerate until the chocolate sets.
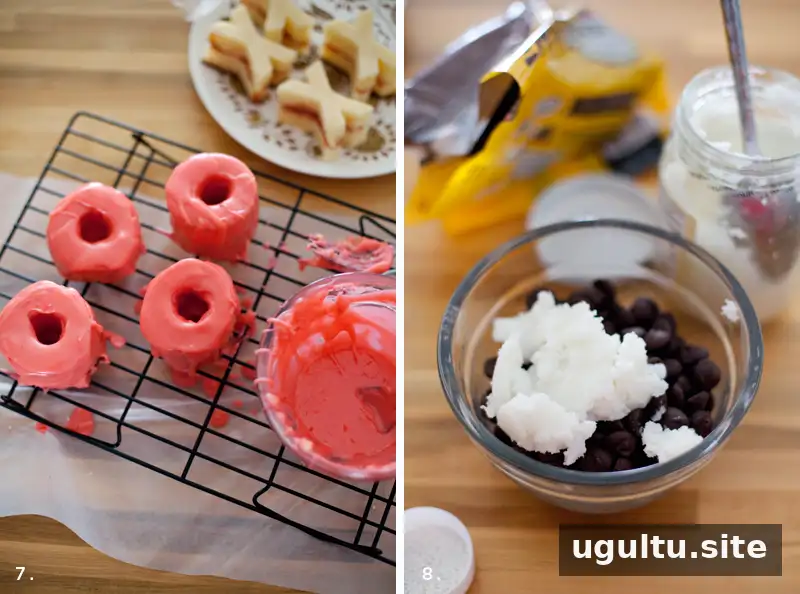
Coconut oil softens at body temperature, so handle the chocolate-coated cakes gently, especially after they have been chilled.
Pack and present the treats
Line the painted paper mache box with wax paper or another food-safe liner before adding the cakes. Nesting boxes can help keep different treats organized, while a liner makes cleanup easier and separates the food from the decorated surfaces. Make sure the glaze has set before packing the cakes to reduce smudging.
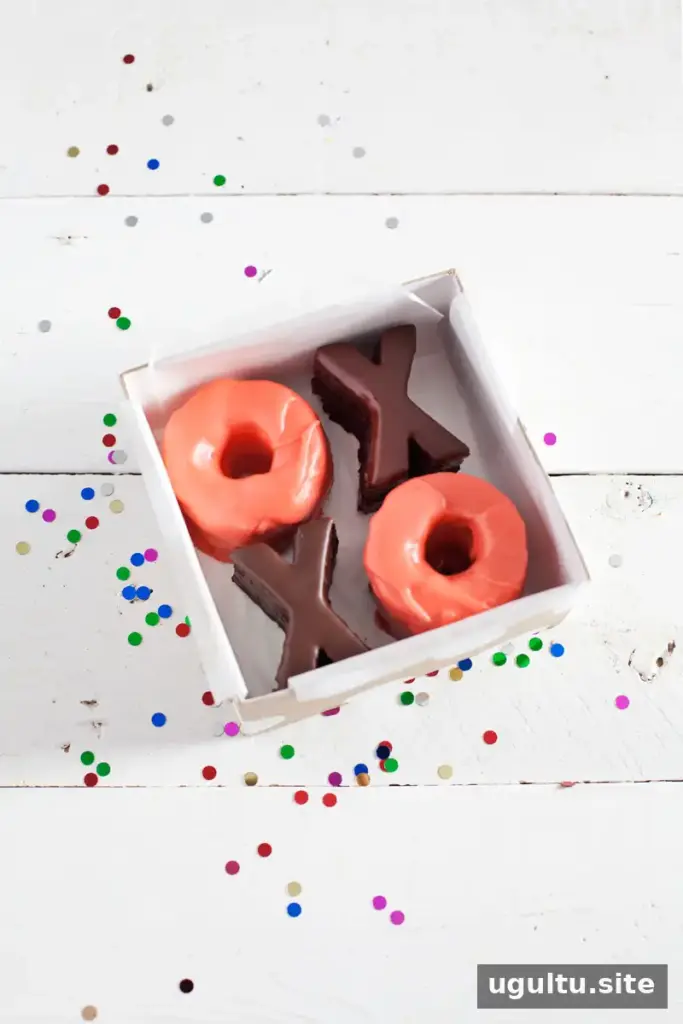
Alphabet brownies and glazed mini cakes make a thoughtful Valentine’s Day surprise. With careful chilling, a neat food-safe lining, and a decorated box, Homemade Valentine’s Day Treat Boxes can be tailored to suit the person receiving them.
—Mandi


