
 admin
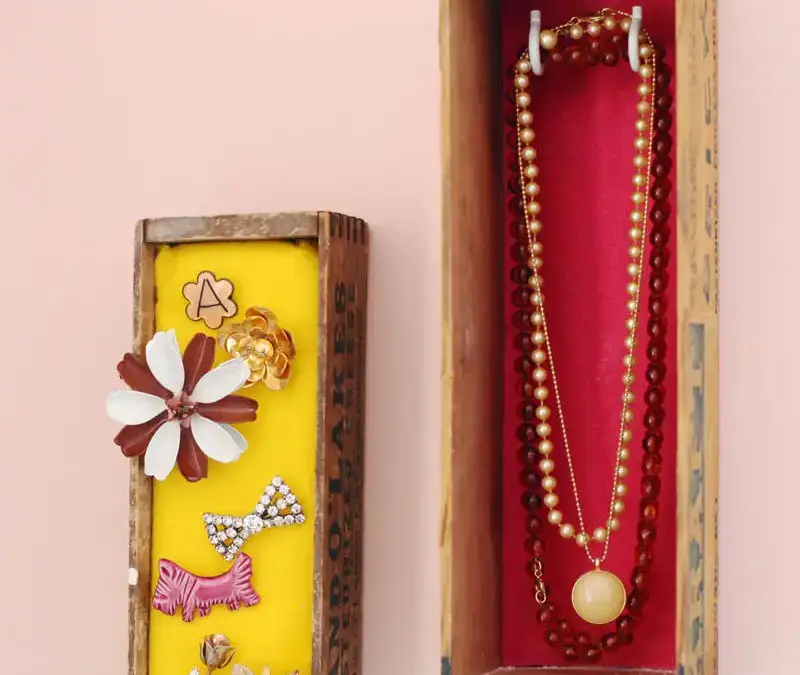
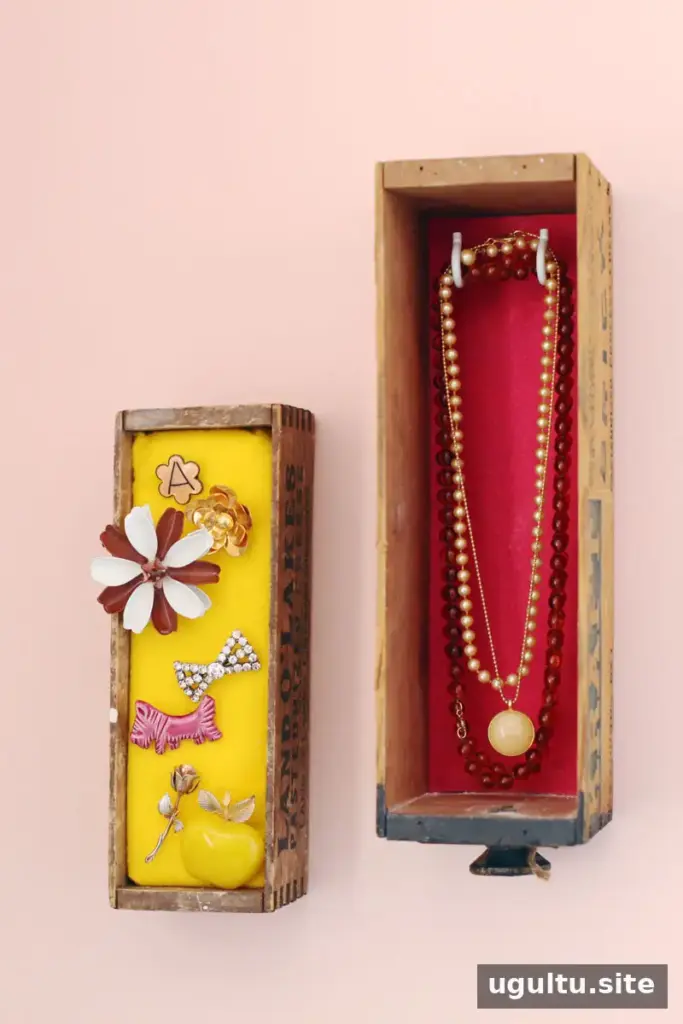
A wall-mounted jewelry display can keep favorite accessories visible, organized, and easy to reach. This simple DIY project uses boxes as frames, felt to create a neat lining, and foam to hold brooches or pins. Vintage cheese boxes add character, but other sturdy boxes can work too. Choose boxes with enough depth for the jewelry you plan to store, and arrange them on the wall before attaching them.
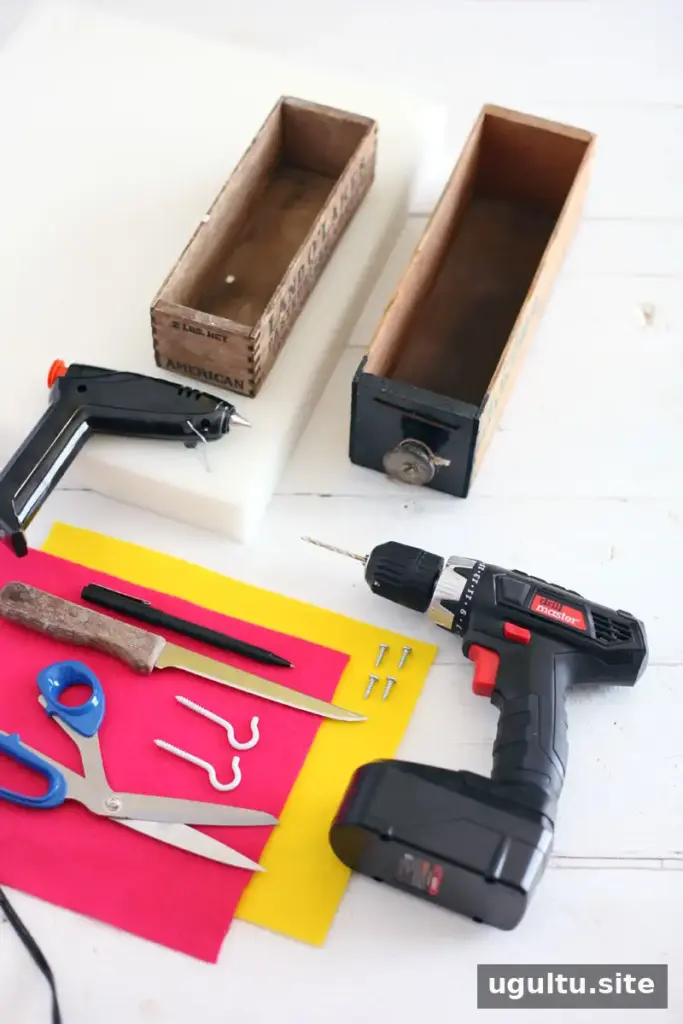
Materials and tools for a wall-mounted jewelry display
Gather the supplies before starting so you can measure and fit each insert without rushing.
- Boxes, such as vintage cheese boxes
- Felt
- Foam for the brooch or pin display
- Two cup hooks for a necklace or bracelet display
- Screws
- Power drill and drill bits
- Pen
- Serrated knife
- Fabric scissors
- Hot glue gun
Check that the boxes are clean and sturdy. If you are using secondhand boxes, inspect them for loose joints or sharp edges before mounting.
Make the brooch and pin insert
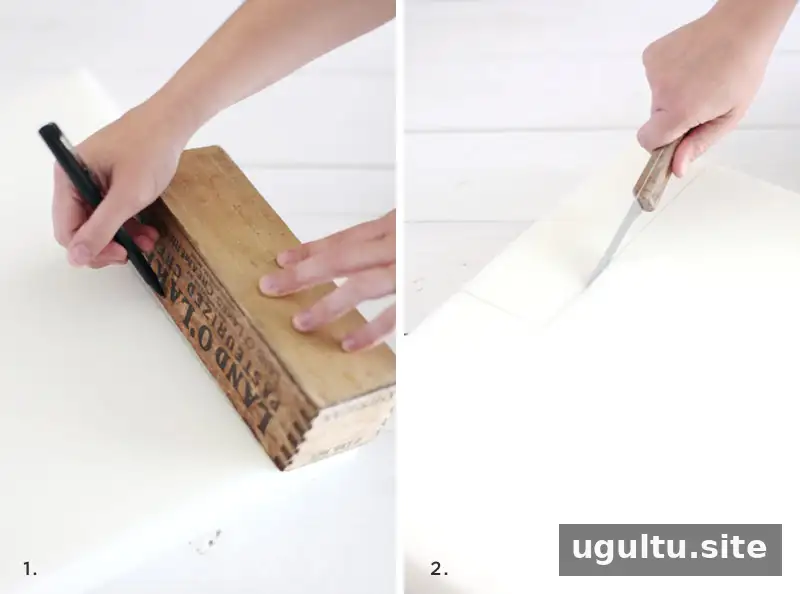
- Trace the box interior. Place the box on the foam and trace around its inside shape. Keep the pen close to the edges so the insert will fit snugly.
- Cut the foam. Use a serrated knife to cut along the outline, then test the foam inside the box. Trim small amounts as needed for a close fit.
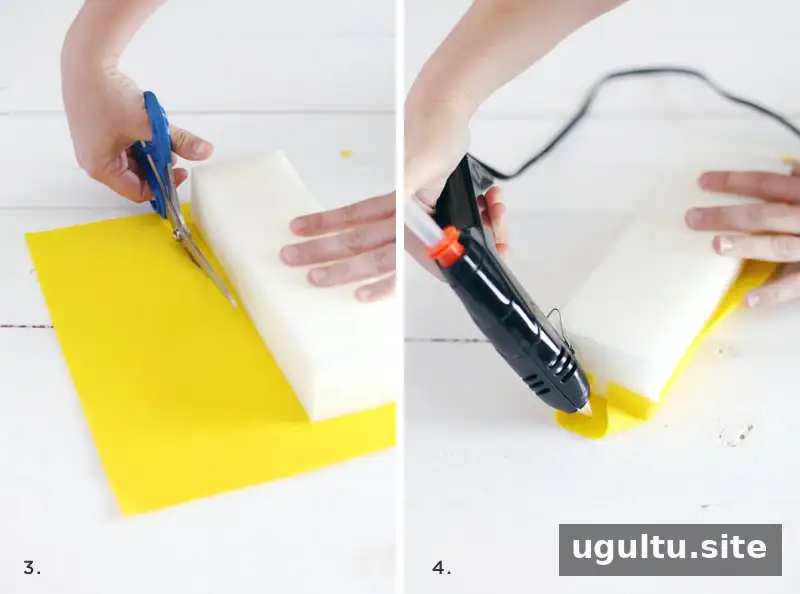
- Cut the felt. Use the foam as a guide, leaving a 1/2-inch border around the edges. This extra fabric will wrap around the foam.
- Cover the foam. Wrap the felt around the foam and use hot glue to secure it along the sides. Keep the front smooth so pins and brooches can be placed neatly.
Mount and line the boxes
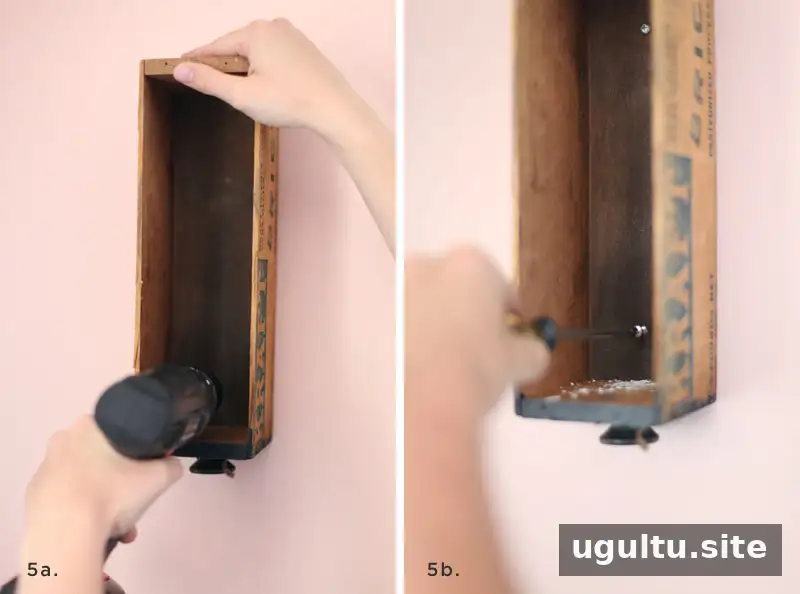
- Attach the boxes to the wall. Mark the planned positions, then drill pilot holes through the boxes and into the wall. The original project used two machine screws for each box. Select fasteners appropriate for your wall type and the weight of the box and jewelry; use suitable wall anchors or attach to a stud when needed.
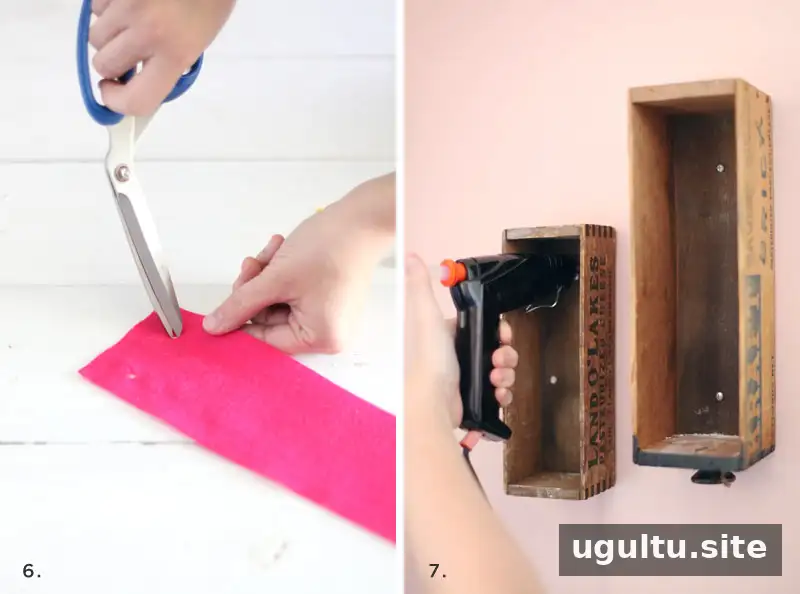
- Prepare the necklace or bracelet box. Cut felt to fit inside the box. Mark two openings at one end where the cup hooks will sit, then cut the openings before attaching the felt.
- Glue the inserts in place. Apply hot glue inside each box. Add the felt-covered foam to the brooch box, or place the felt alone in the necklace or bracelet box. Press gently and allow the glue to set.
Add hooks and arrange your jewelry
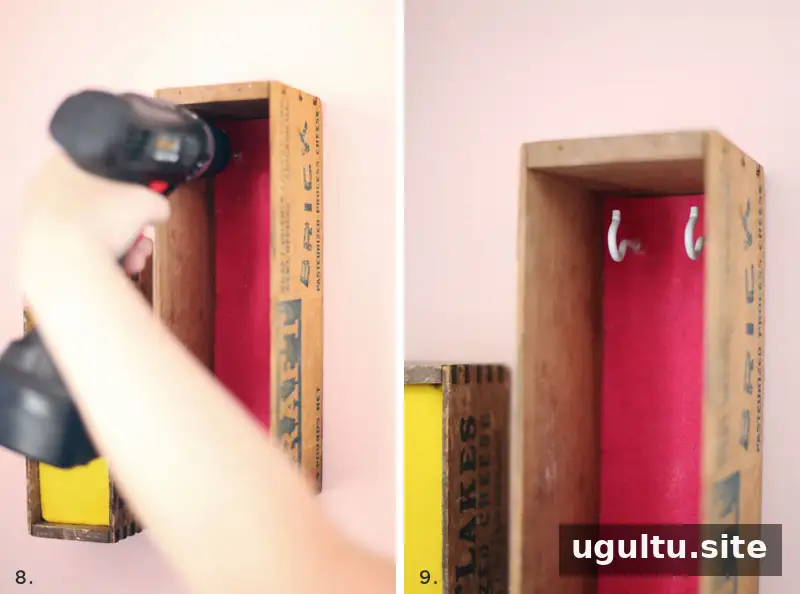
- Drill pilot holes for the hooks. Drill through the prepared openings in the felt. Cutting those openings first helps prevent the drill bit from catching and pulling the fabric.
- Install the cup hooks. Screw the hooks into the pilot holes by hand, checking that they are secure and spaced to suit the pieces you want to hang.
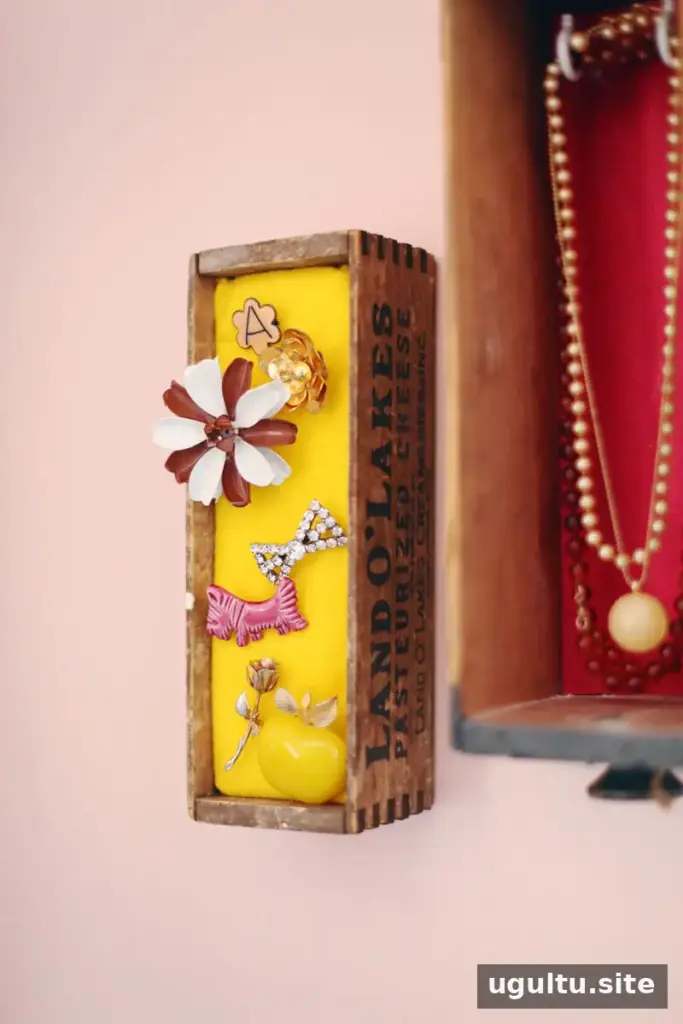
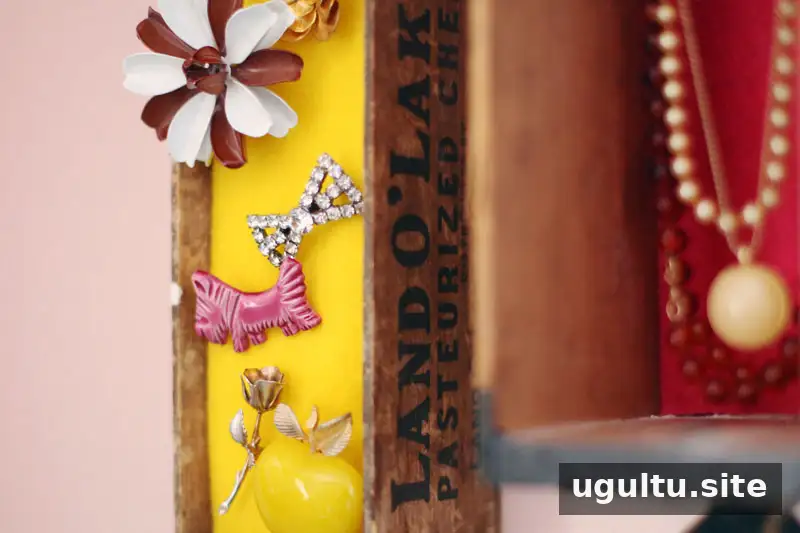
Place brooches and pins in the foam, then hang necklaces or bracelets from the hooks. For additional hanging space, hooks can also be added to the bottom of the boxes, provided the box and wall fasteners can support the extra weight.
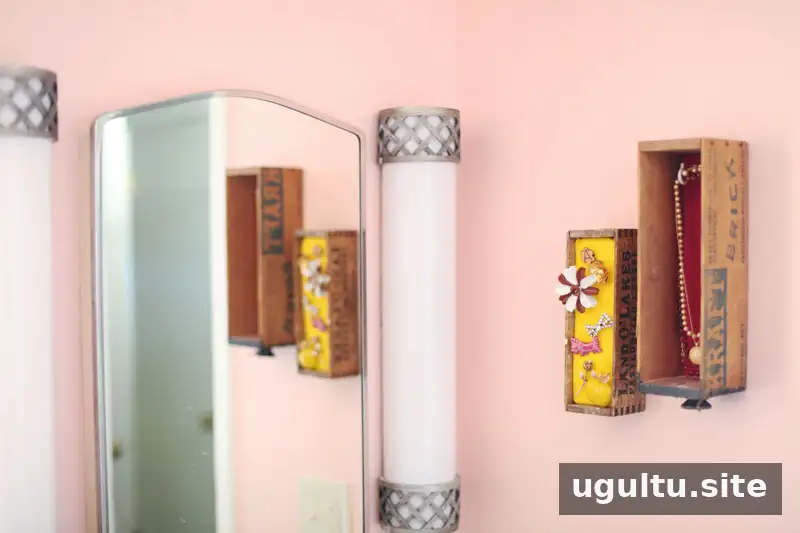
Keep the display practical
Arrange the boxes at a comfortable height and leave enough room between them for necklaces to hang without tangling. Grouping similar items together can make everyday accessories easier to find. Keep delicate or valuable pieces away from direct sunlight and moisture, and periodically check that the wall fasteners and hooks remain secure.
A wall-mounted jewelry display turns storage into a decorative feature while keeping accessories in view. With a fitted felt lining, foam for pins, and hooks for necklaces or bracelets, the boxes can be adapted to the collection and the available wall space.
— Mandi


