
 admin
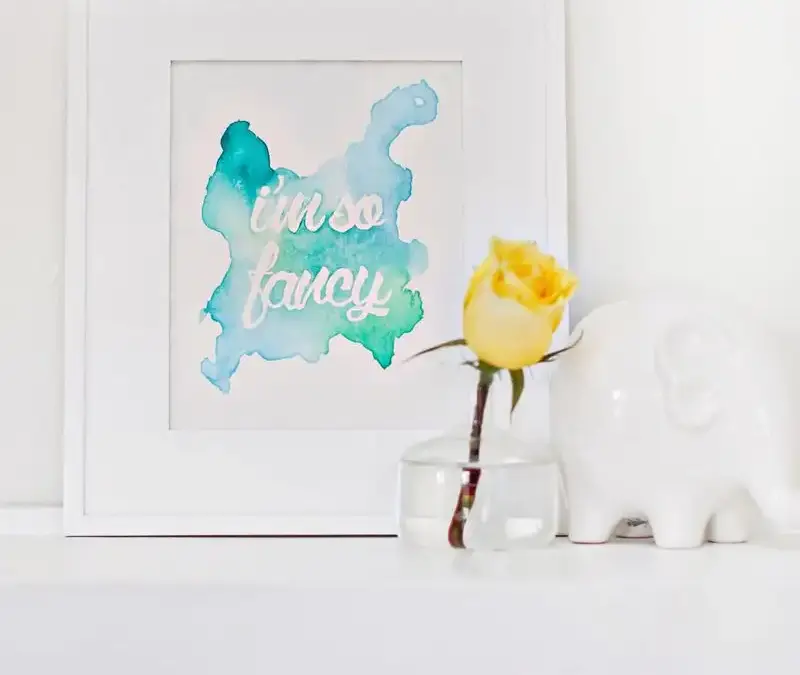
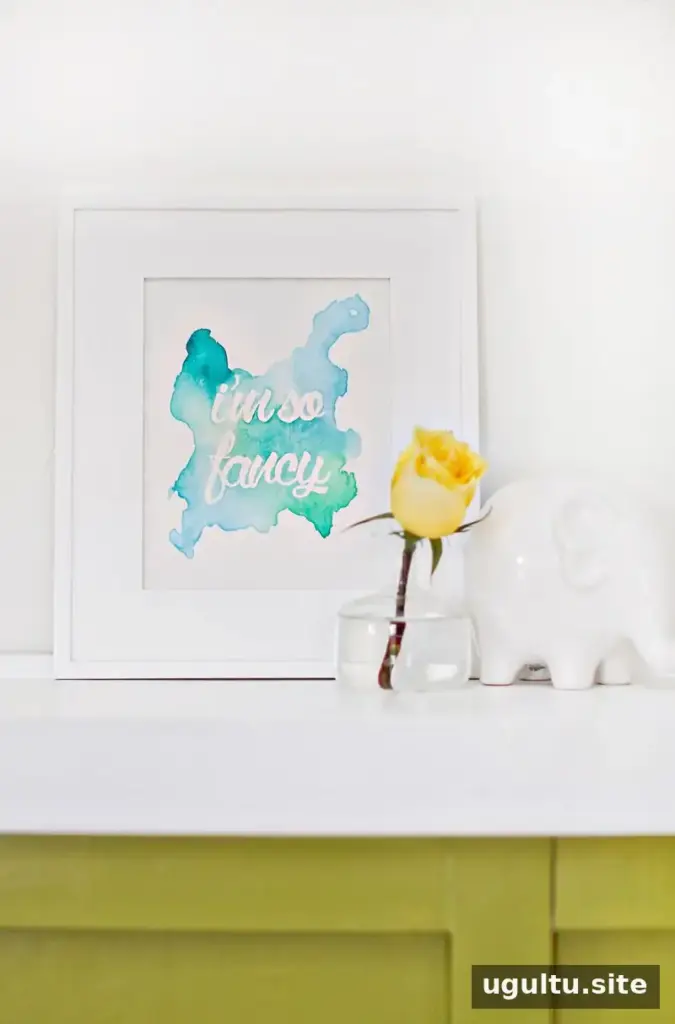
Watercolor phrase art is a simple way to turn a relaxing craft session into personalized wall decor. You do not need advanced painting or lettering skills: masking fluid protects the phrase while you paint, leaving the paper white underneath. Choose a favorite saying, experiment with colors, and follow these steps to make a piece that suits your space or works as a handmade gift.
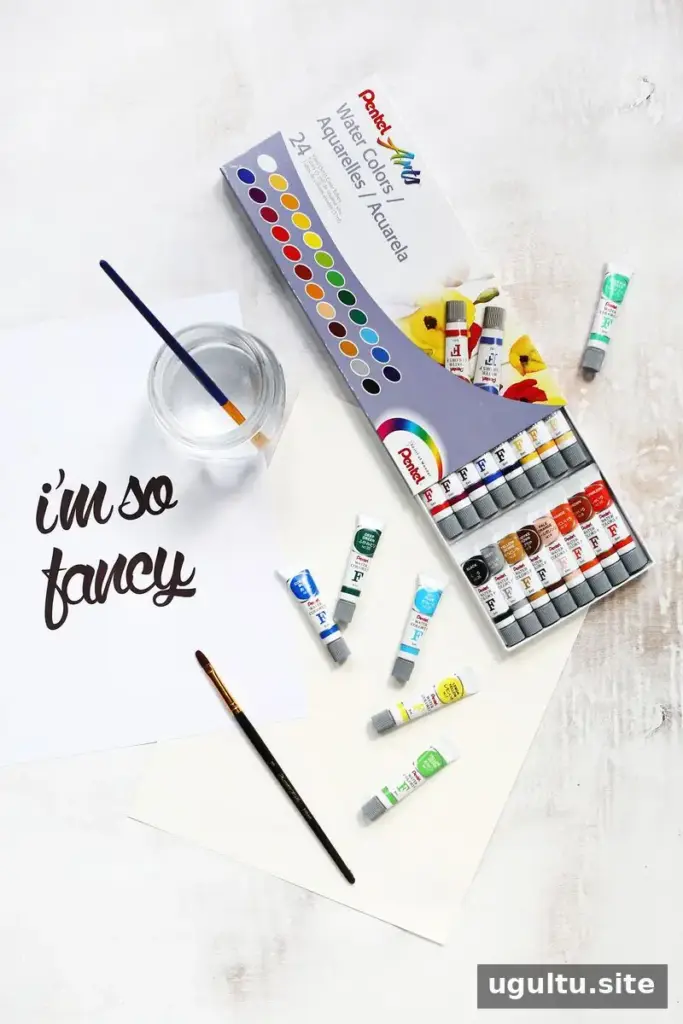
Supplies for Watercolor Phrase Art
Gather your materials before you begin so the masking fluid and paint can be applied without interruption:
- Watercolor paper
- A set of 24 watercolors
- Masking tape and a board or other flat surface
- A light box or a daylight-facing window for tracing
- Art masking fluid
- Paintbrushes
Use paper intended for watercolor, as it is better suited to wet washes than standard printer paper. Keep a cup of clean water nearby, and check the masking fluid’s instructions before use.
Choose and Trace Your Phrase
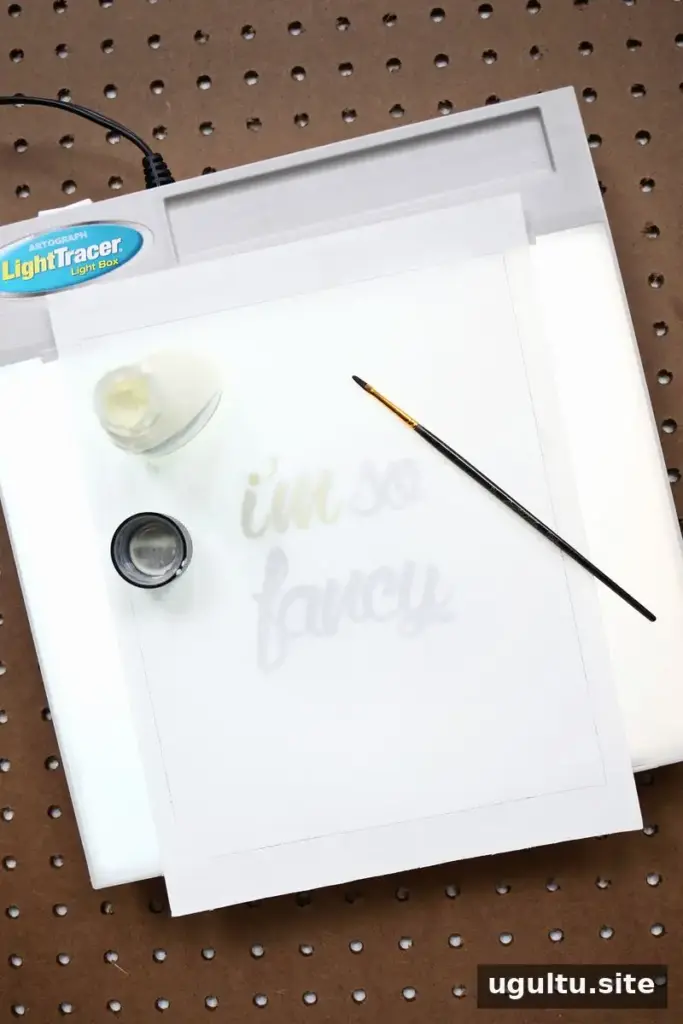
Select a short phrase and print it in the font and size you want for the finished artwork. A cursive or handwritten-style font with connected letters can make the dried masking fluid easier to remove. If you plan to trim the paper to a smaller finished size, such as 8×10″, draw that boundary first and position the phrase within it.
Place the printed phrase beneath the watercolor paper. With a light box, you may be able to see the design clearly enough to apply masking fluid directly with a brush. If you are tracing against a window, lightly copy the lettering onto the paper in pencil first, then cover the letters with masking fluid. Let the fluid dry until it is only slightly tacky. A dedicated brush is useful because masking fluid can be difficult to clean from bristles.
Paint Color Around the Lettering
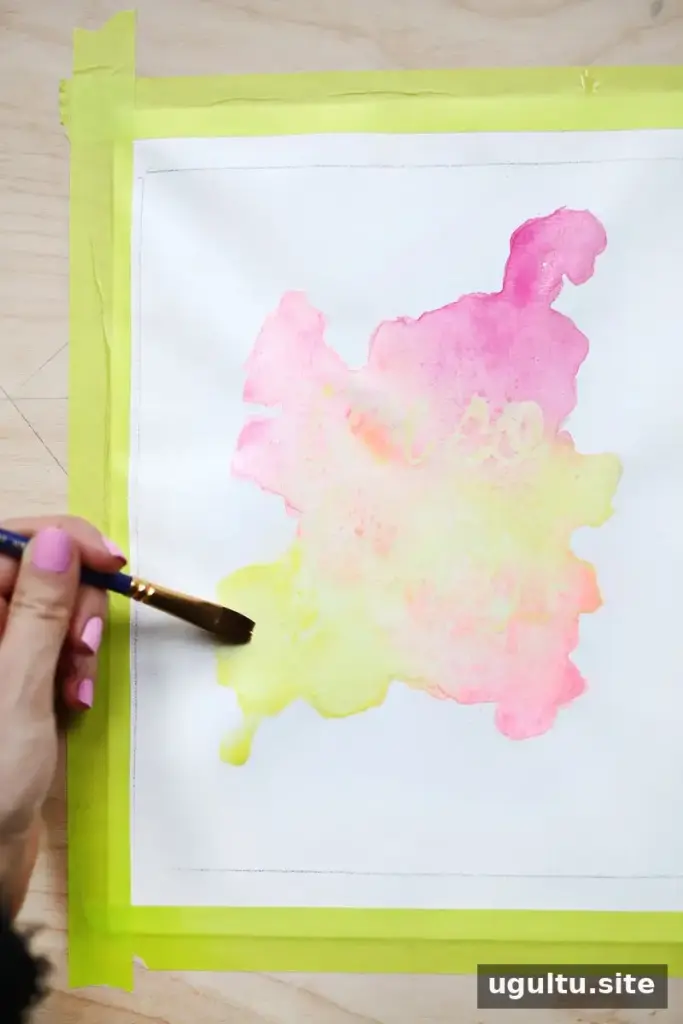
Tape the paper to a board or another flat surface to help keep it in place while painting and drying. Wet the area you want to paint with clean water, then pick up watercolor with a brush and apply it around the masked phrase. You can create separate patches of color in the corners and let them meet near the center.
For lighter washes, use more water; for stronger color, use less. Where two colors meet, a clean, water-dampened brush can help soften the transition. Try a small test wash on scrap paper first if you are unsure how your chosen colors will blend. Work gradually, since it is easier to add another layer after the first one dries than to remove excess pigment.
Let the Paint Dry and Reveal the Phrase
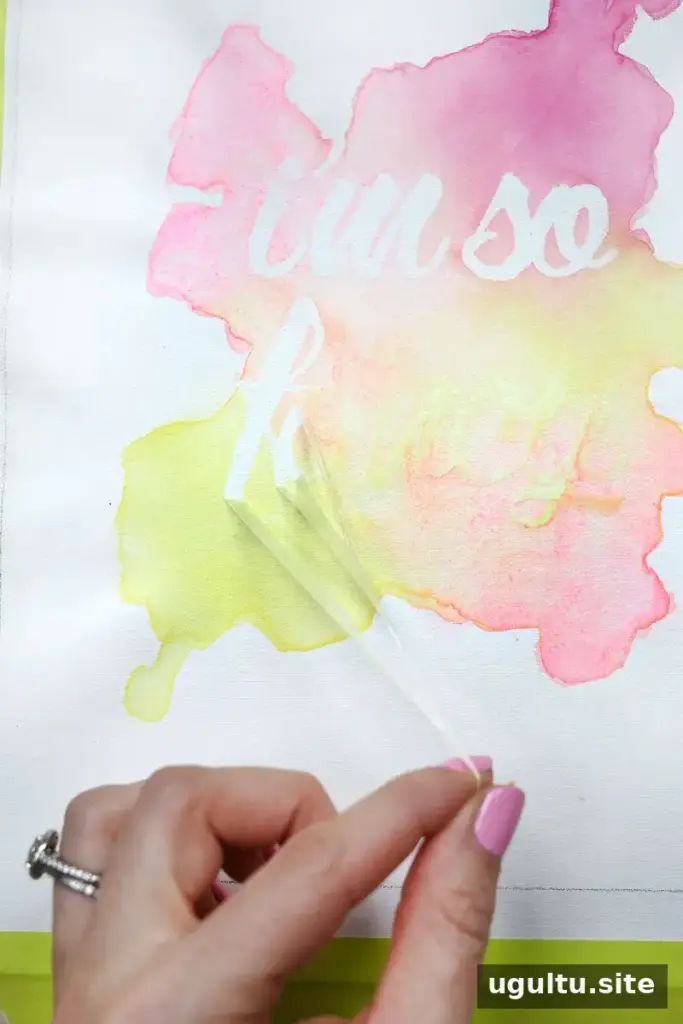
Allow the watercolor to dry completely before removing the masking fluid. Starting near one end of the phrase, gently rub the dried fluid until it begins to roll or lift away, then continue carefully across the letters. Avoid pulling forcefully; if the paper resists, follow the masking fluid’s instructions and work slowly to protect the surface.
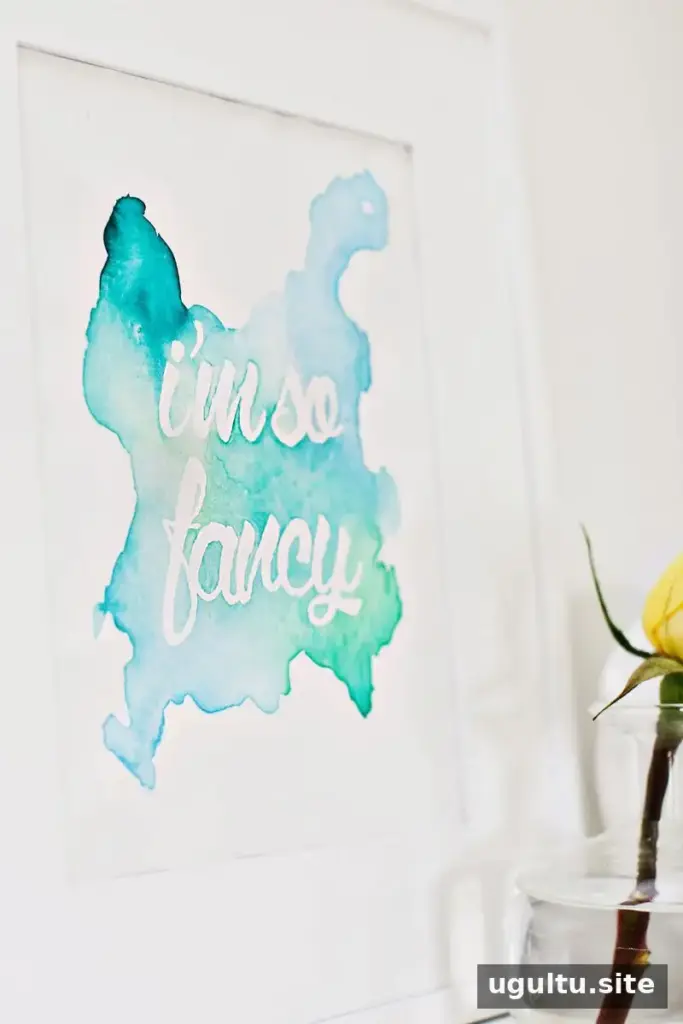
The uncovered lettering should reveal the white paper beneath. If a pale paint color makes the phrase difficult to see, consider using darker shades in another version. Strong contrast between the white lettering and the watercolor helps the words stand out.
Display or Give Your Finished Artwork
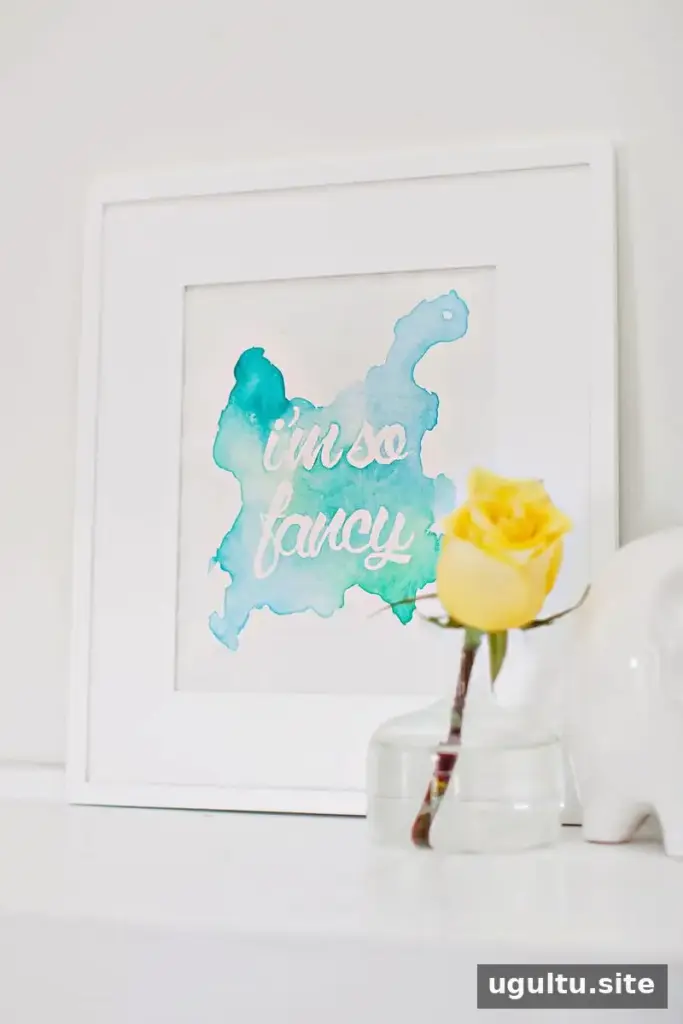
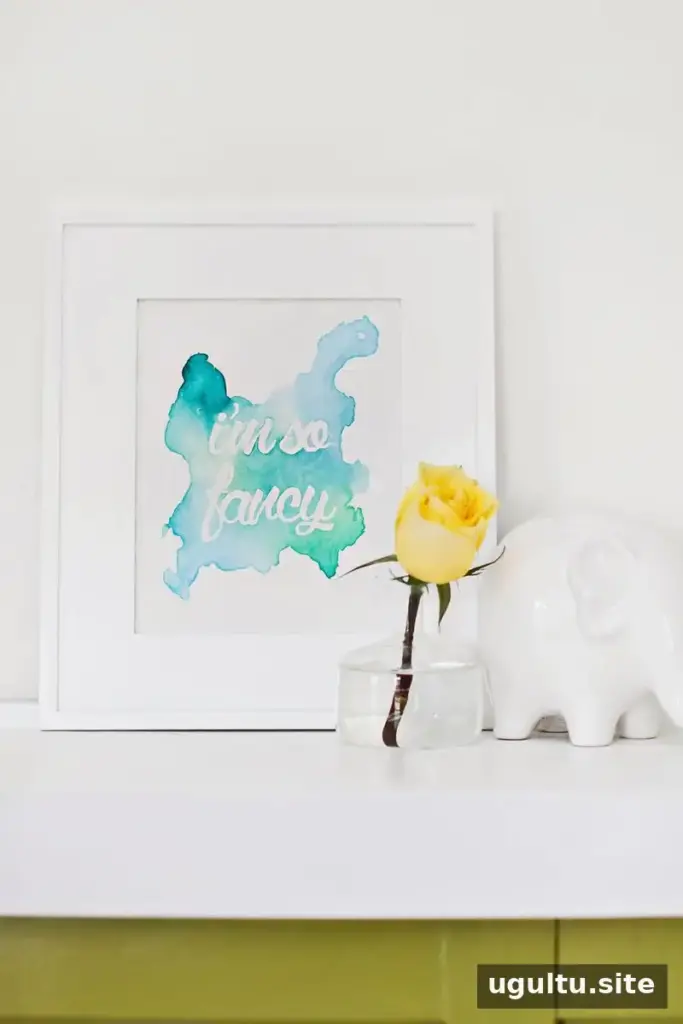
The loose, blended edges of watercolor make each piece distinct, while the phrase and palette can be customized to suit different occasions. Once the artwork is fully dry, trim it to your chosen size if needed and frame it for display. This project can also be adapted to a larger sheet for a more prominent wall piece. Watercolor phrase art is an approachable way to explore color blending and create meaningful decor. Project by Laura.


