
 admin


A wax print hobo bag is a practical sewing project for anyone who wants a lightweight, roomy accessory with a bold fabric pattern. This tutorial explains how to cut and sew the bag, add a leather-wrapped handle, and finish it with wooden beads. The project uses a 1/4-inch seam allowance and is suitable for sewists comfortable with basic straight stitching.
Project by Rubyellen.

Materials for the wax print hobo bag
- Wax print slouch bag pattern
- 1 yard of wax print fabric for the exterior
- 1 yard of wax print fabric for the lining
- Scissors, pins, an iron, and a sewing machine
- Coordinating thread
- One 2 1/2-inch by 6-inch piece of leather
- Leather strips measuring 1/4 inch by 8 inches for the bag ties
- Embroidery floss and a hand-sewing needle
- Four round wooden beads, each 1/2 inch in diameter
Seam allowance: 1/4 inch. Check that your pattern prints at the intended size before cutting the fabric. The pattern is larger than a standard 8 1/2-by-11-inch sheet, so it may require an oversized print service.
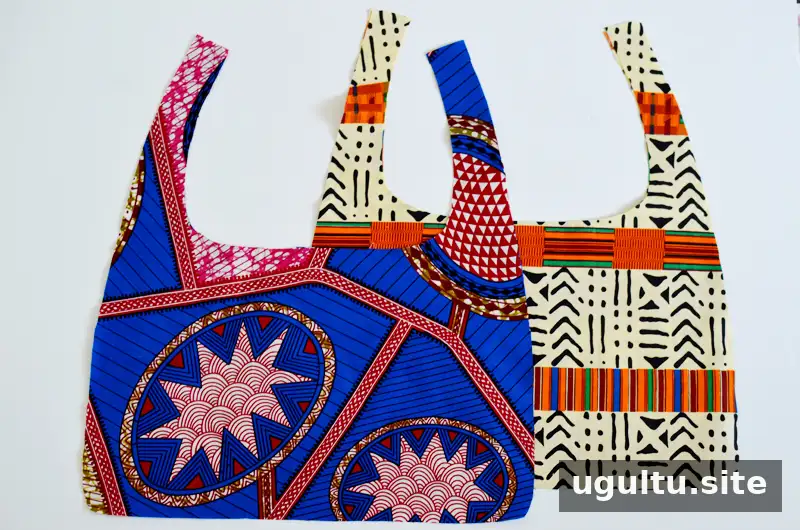
How to sew the bag
1. Print and cut the pattern
Print the pattern at full size and cut out its pieces. Place the pattern on the fold of the fabric and cut two exterior pieces and two lining pieces. Keep the fabric folded neatly so both sides of each piece match.
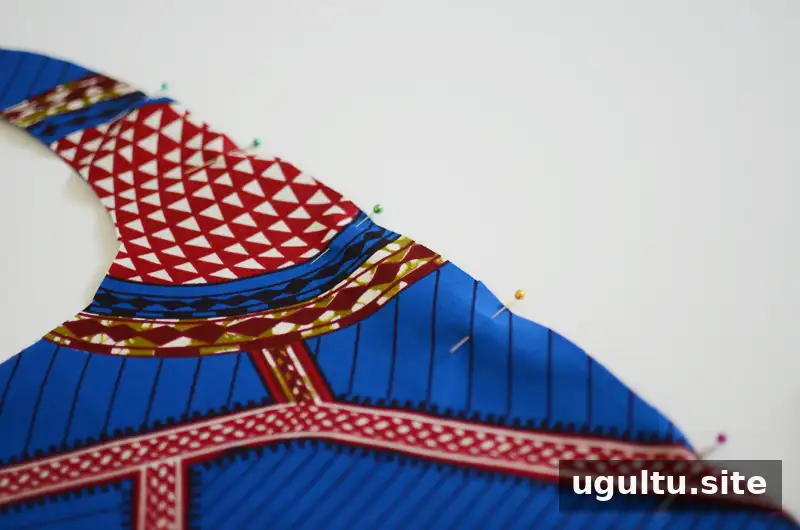
2. Sew the exterior and lining
Place the two exterior pieces with their right sides facing each other. Sew along the sides and curved bottom, leaving the neckline and the short side of the handle open. Repeat with the two lining pieces. Keep the seam allowance consistent at 1/4 inch.
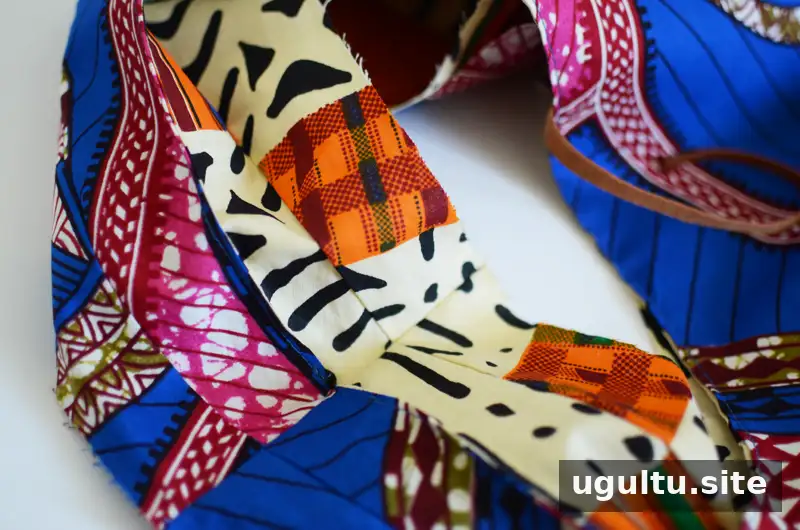
3. Join the handle ends
With right sides together, sew the exterior handle ends to join them. Repeat for the lining handle ends. Take care not to twist either piece before sewing, as a twist can make the finished handle sit unevenly.
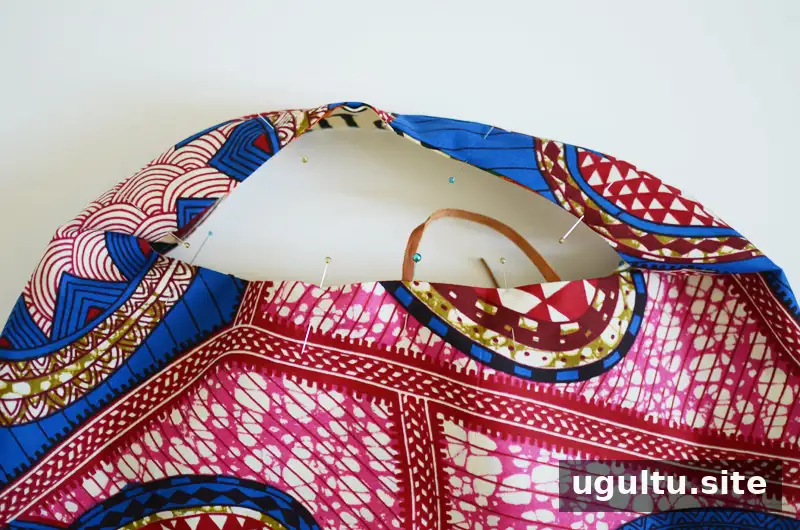
4. Attach the lining and finish the neckline
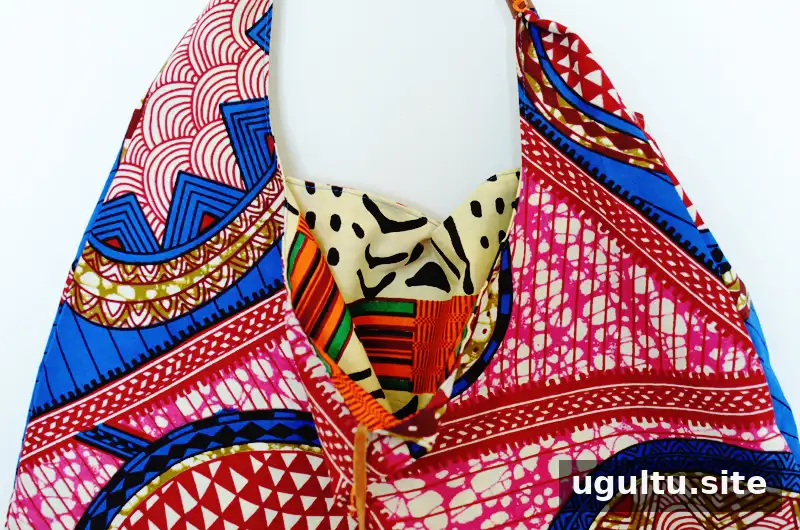
Place the lining inside the exterior with the wrong sides together. Fold the neckline edge inward by 1/4 inch on both sides, pin it, and press it with an iron. Center a leather strip between the folded fabric layers at the bottom of the neckline on each side, then pin it in place. Topstitch 1/8 inch from the edge around the neckline on both sides. Keep fingers clear of the needle while sewing over the layered leather and fabric.
5. Wrap the handle with leather
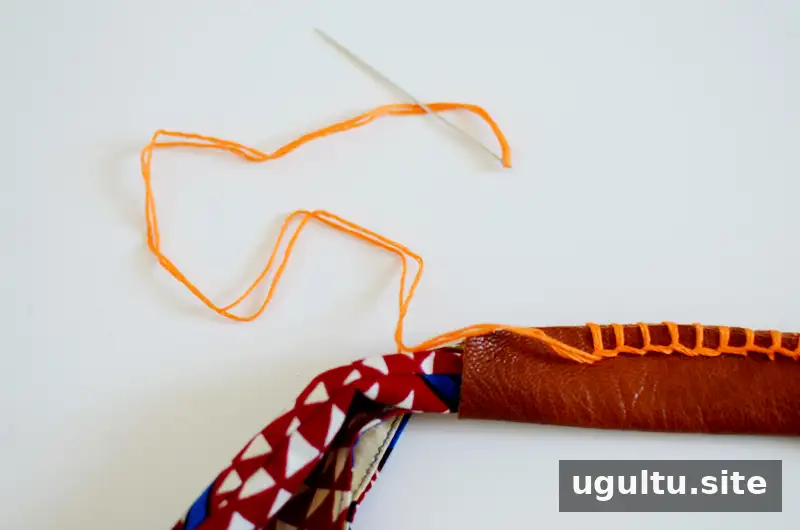
Center the 2 1/2-by-6-inch leather piece over the top handle. Fold it lengthwise so its long edges meet, enclosing the fabric handle. Use embroidery floss to blanket-stitch the two long edges together. Tapering the ends of the leather piece slightly can help create a neater finish.
6. Add the beads and leather ties
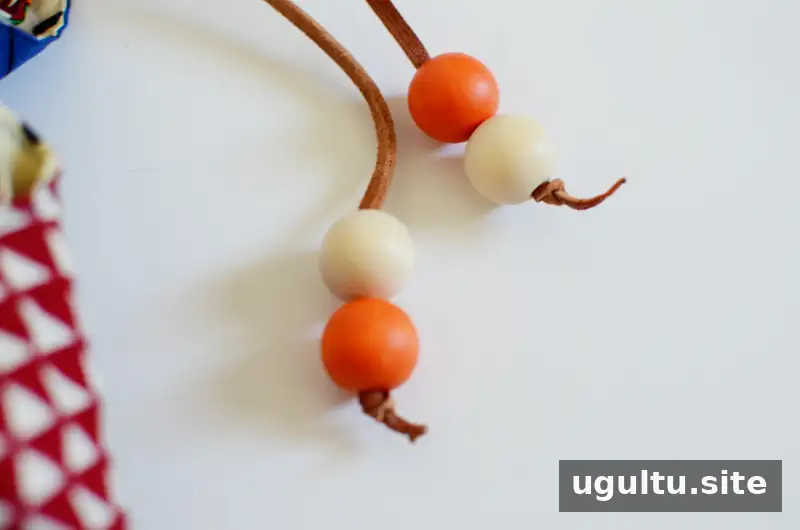
Paint the four wooden beads and let them dry completely before adding them. Thread two beads onto each leather strip, then knot the ends to hold the beads in place. Check that the knots are secure before carrying the bag.
Finishing tips
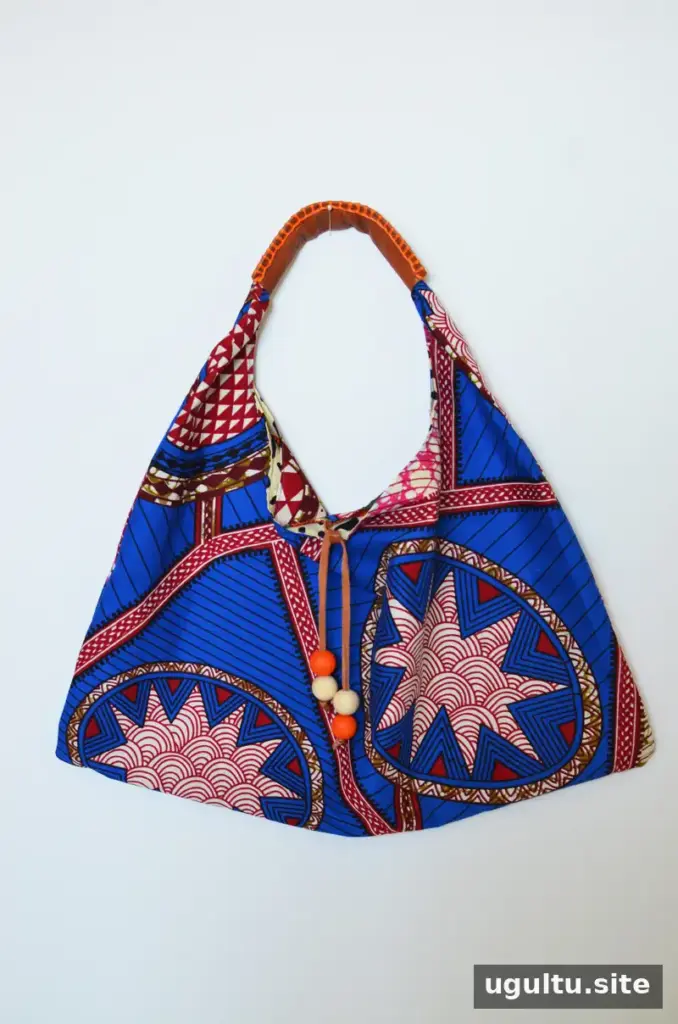
This wax print hobo bag has a soft, lightweight structure. For a firmer feel, add interfacing or canvas between the exterior fabric and lining. If you do, check the thickness at the seams and neckline before topstitching, since extra layers can make sewing more challenging. Press carefully and test the finished bag with a light load before using it for heavier items.


