admin
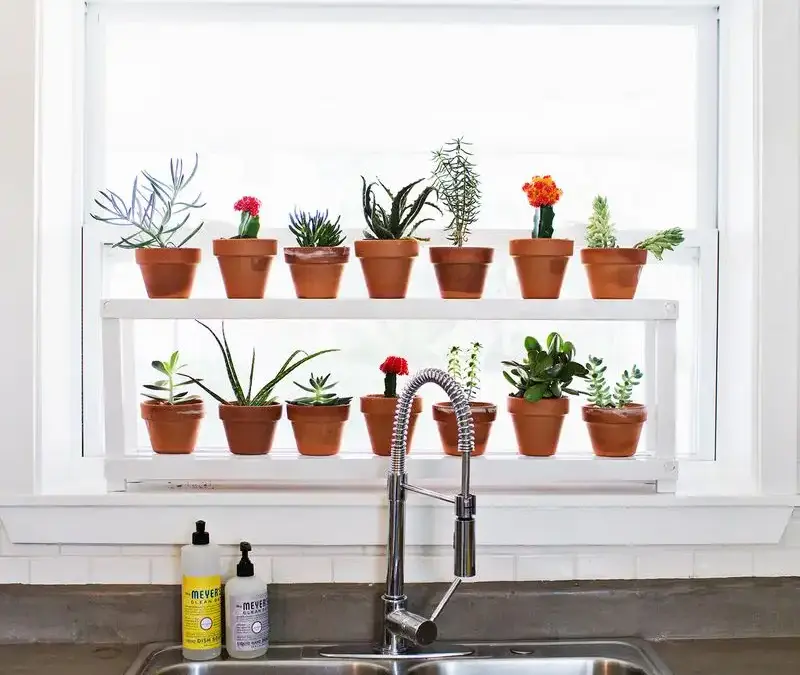
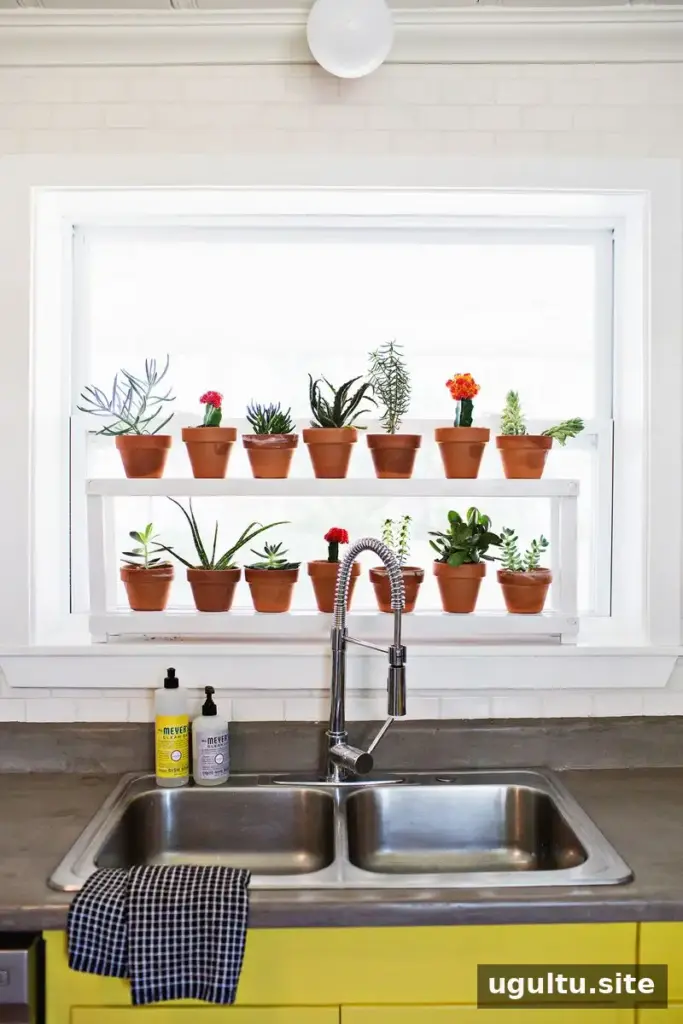
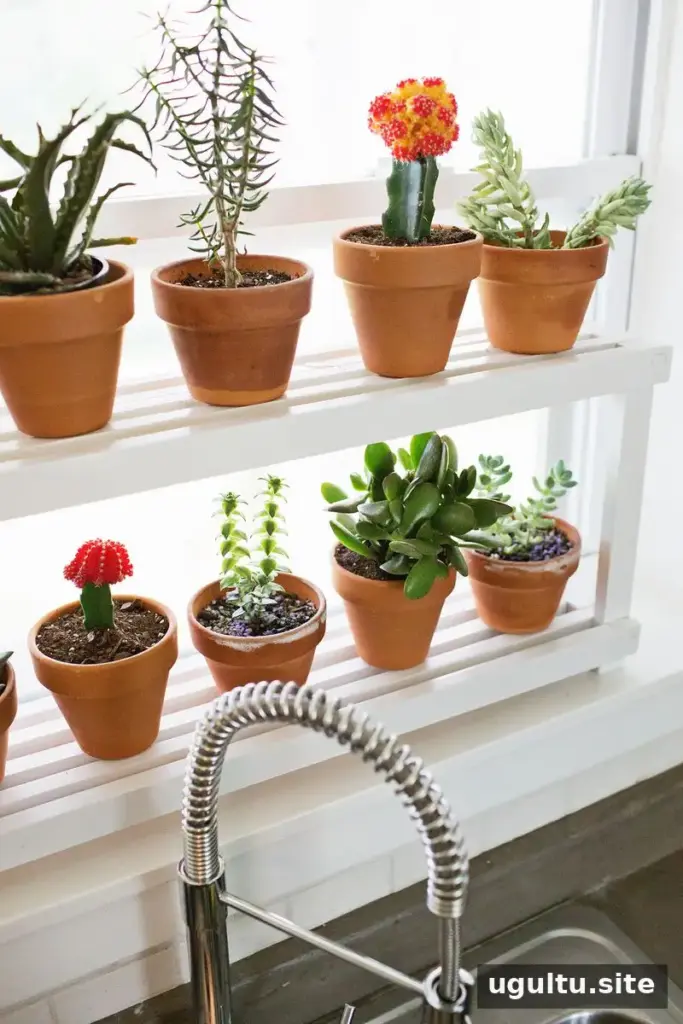
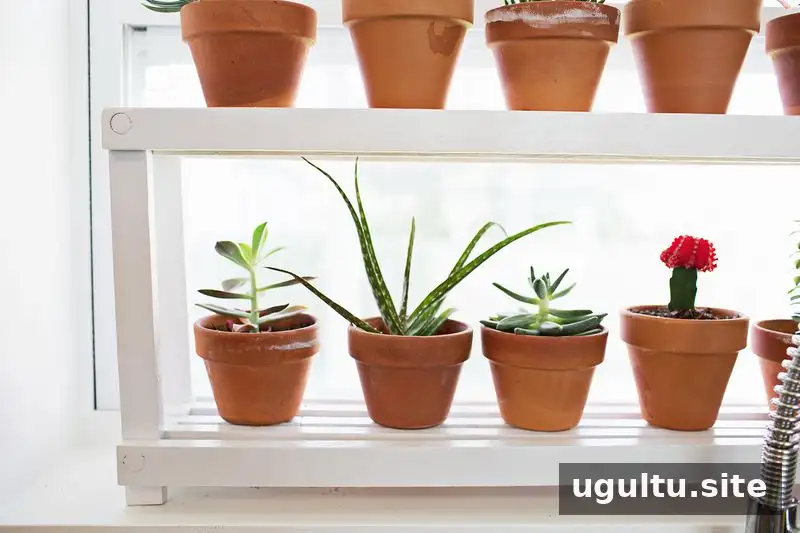
A window ledge plant shelf can create extra room for plants when the sill itself is too small to hold your collection. This simple wooden project uses short pieces of lumber and dowels to make a compact, two-level display. You can adjust the measurements to suit your window, but careful measuring is important so the dowels fit through the drilled holes.
Materials and tools
What You’ll Need to Build a Window Ledge Plant Shelf
The original build uses wood ripped to 5/8 inch by 1 3/8 inches, along with 1/2-inch dowel rod. The cut list below also specifies shelf pieces measuring 5/8 inch by 1 1/2 inches, so check your lumber dimensions before cutting. Wood glue holds the dowels in place.
- Wood for the shelf pieces, spacers, and legs
- 1/2-inch dowel rod
- Wood glue
- A miter saw or hand saw
- A drill and paddle bit
- Sandpaper and clamps
- Paint or stain, if desired
Keeping suitable offcuts from earlier projects can be useful for a small build like this. Before starting, confirm that the available pieces are long enough for the cut list and that the finished shelf will fit the intended space.
Cut the Shelf Pieces and Supports
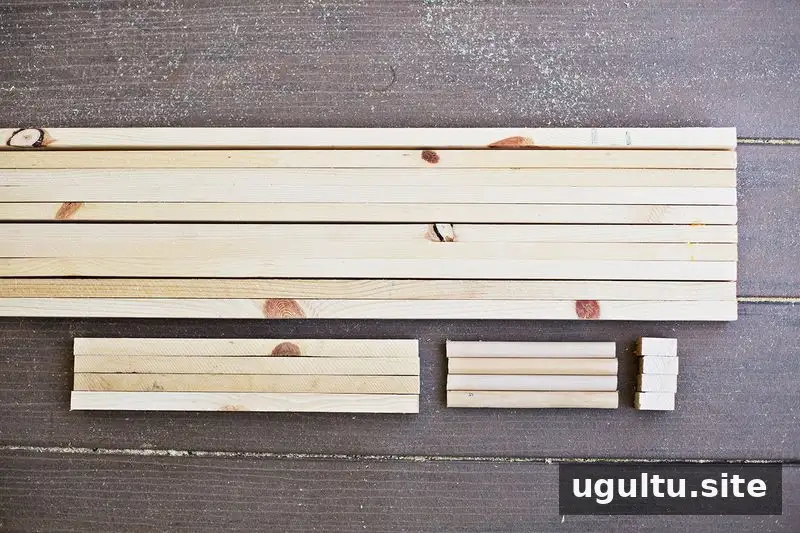
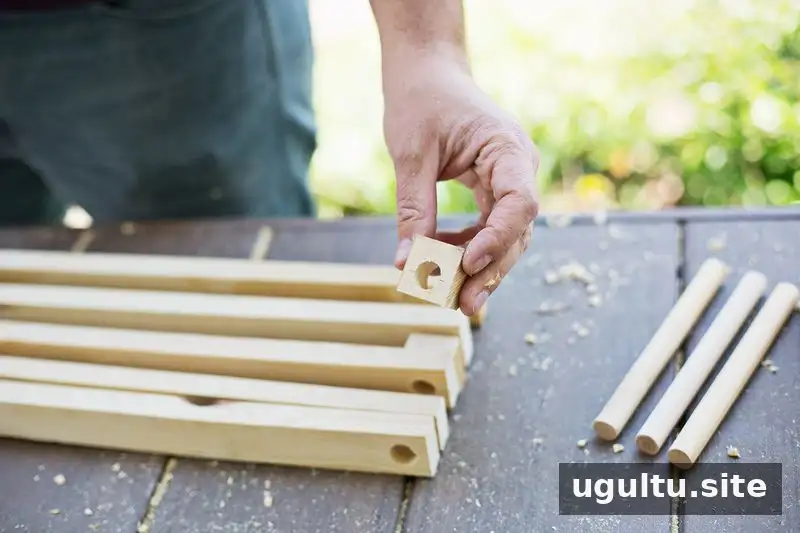
Step 1: Cut the components to size:
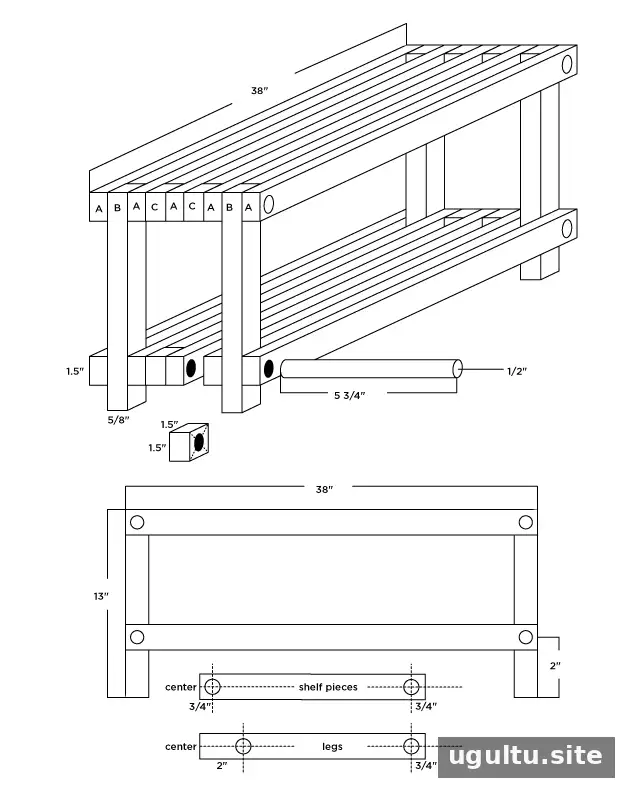
- Ten shelf pieces, each 38 inches long and specified as 5/8 inch by 1 1/2 inches
- Eight spacer pieces, each 1 1/2 inches square
- Four legs, each 13 inches long
- Four dowels, each 5 3/4 inches long
The dowels were cut slightly longer than needed so their ends could be sanded smooth. Measure each piece before cutting, and use the same dimensions consistently so the assembled shelves sit evenly.
Measure and Drill the Dowel Holes
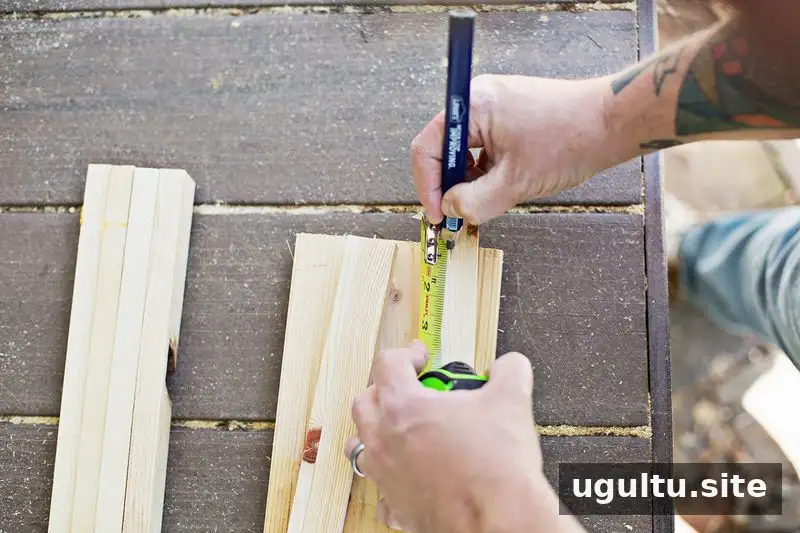
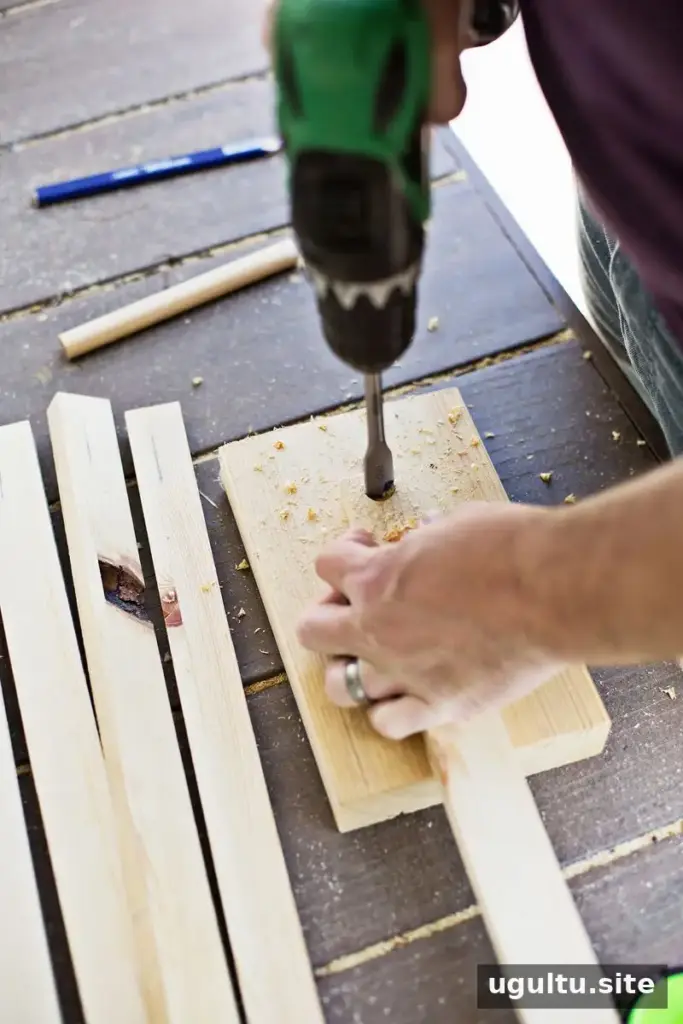
Step 2: Mark the hole positions using the accompanying diagram, then drill the holes in the required pieces. This is the most precision-sensitive part of the project: holes that do not line up may prevent a dowel from passing through the assembly. Check the placement against the diagram before drilling, and sand the drilled pieces to remove rough edges.
Dry-Fit and Assemble the Shelves
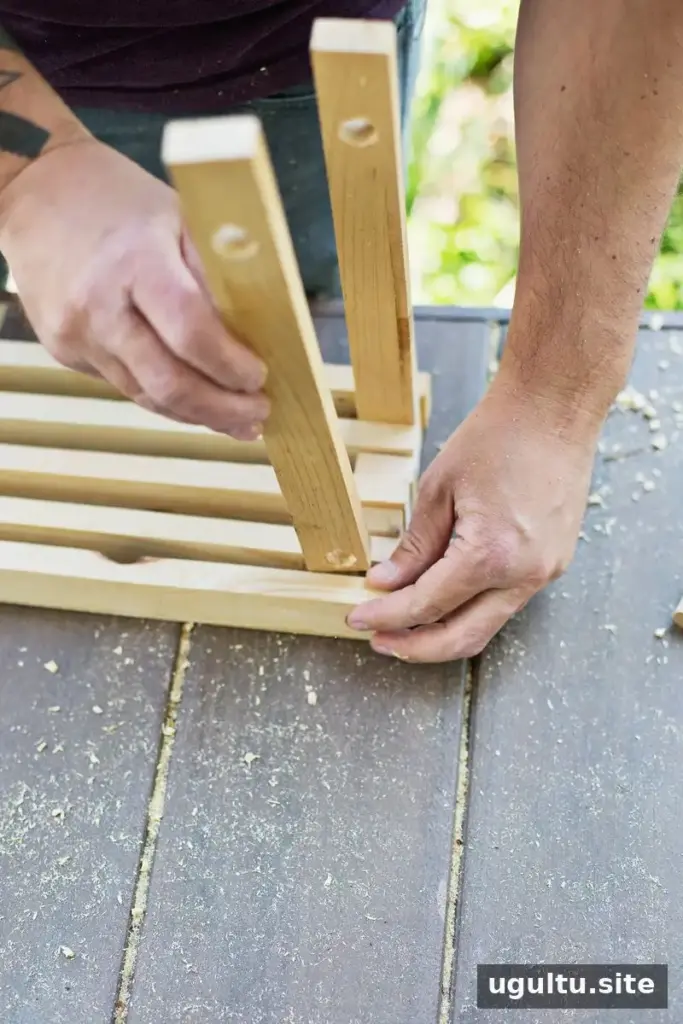
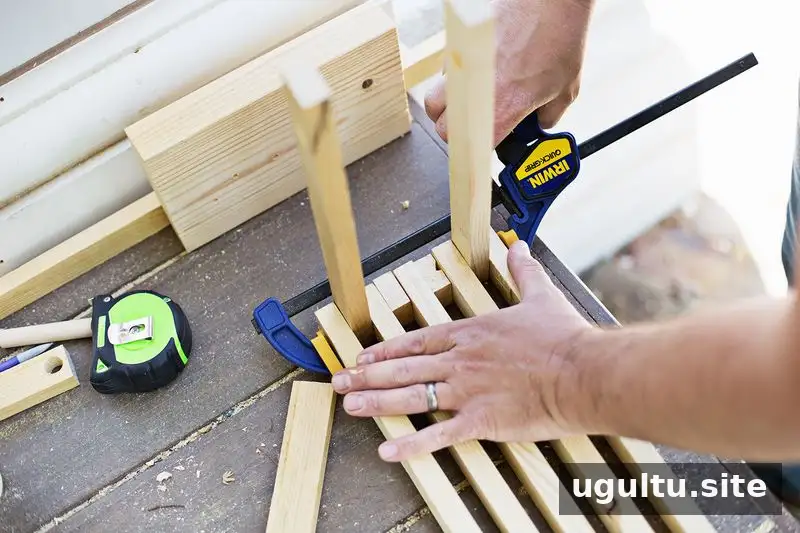
Step 3: Arrange the top pieces upside down in the order shown in the diagram. Before applying glue, slide a dowel through the pieces on both sides to confirm that everything fits. Repeat the dry fit for the second shelf, keeping that assembly upside down as well.
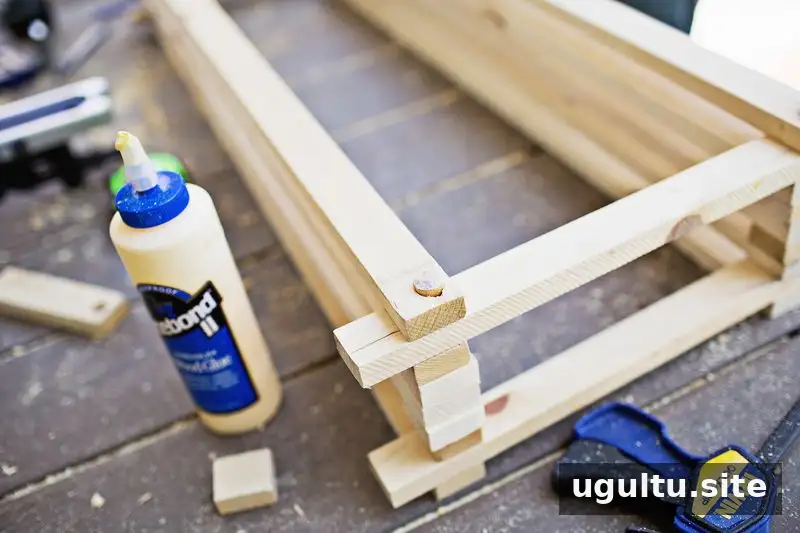
When both assemblies fit correctly, remove the end pieces. Apply wood glue inside the holes and around the ends of the dowels, then put the pieces back in place. Check that each shelf is straight and square before the glue sets. Clamps can help hold the parts steady while the adhesive dries; avoid forcing a dowel through misaligned holes.
Sand and Finish the Plant Shelf
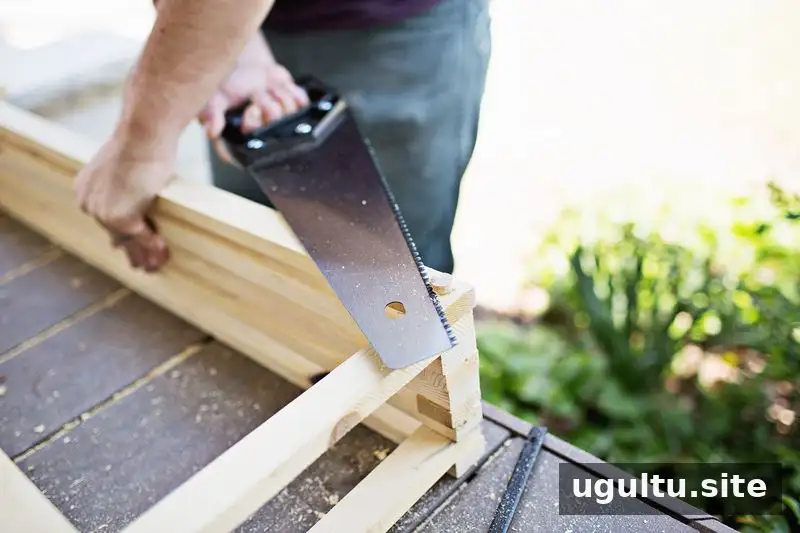
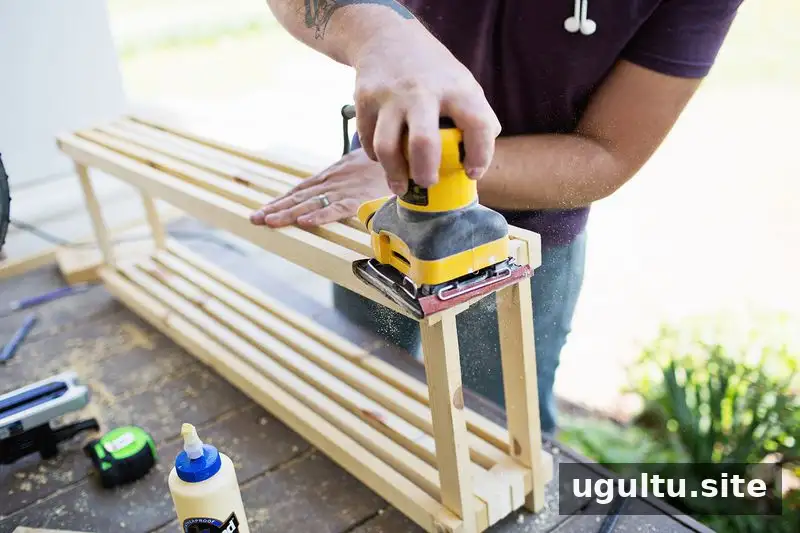
Step 4: Sand the assembled shelf until the surfaces and edges feel smooth. Reclaimed or leftover wood may vary slightly in appearance and size, so check that the finished structure sits evenly. Apply paint or stain in a color that suits the room, or leave the wood unfinished if that look works better for your space. Follow the product instructions for any finish you use and allow it to dry fully before placing plants on the shelf.
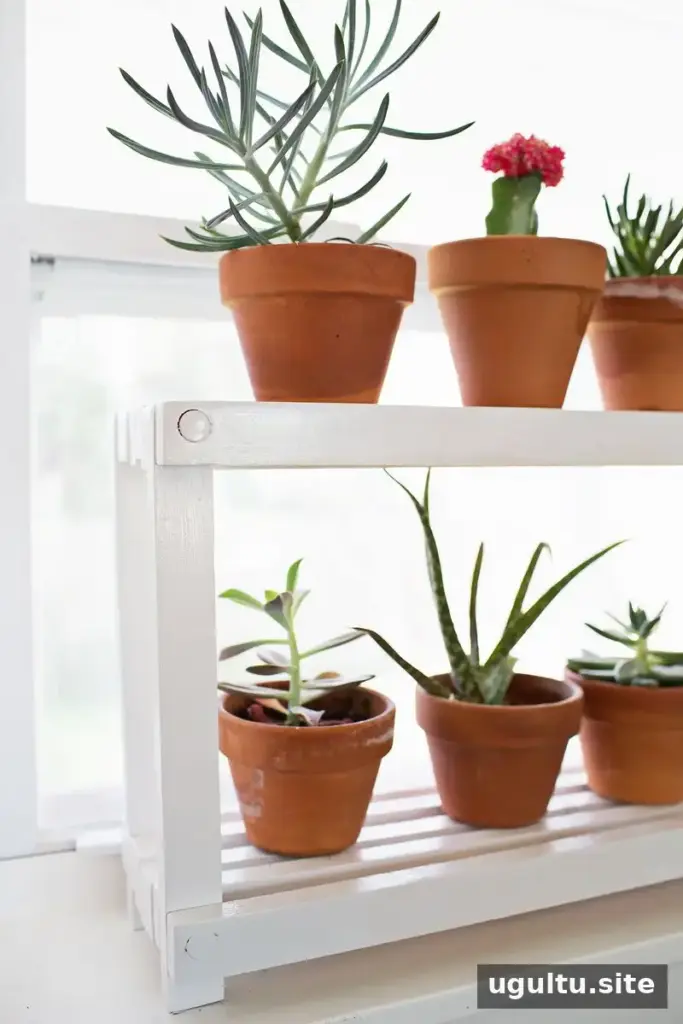
Once the finish is ready, choose plants that suit the light conditions at the window. Keep the dimensions flexible during planning, but measure the available sill or display area first so the completed shelf fits comfortably.
Happy building! — Josh
A window ledge plant shelf is a practical way to make more room for greenery without changing the window area. Accurate measurements, a careful dry fit, and a stable glued assembly are the key steps to a neat result.