
 admin
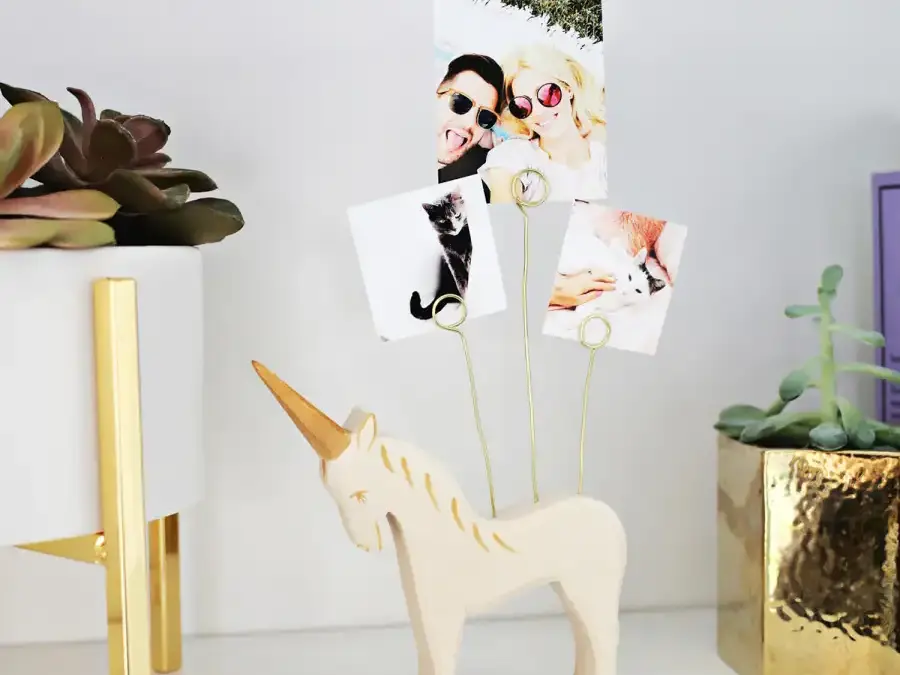
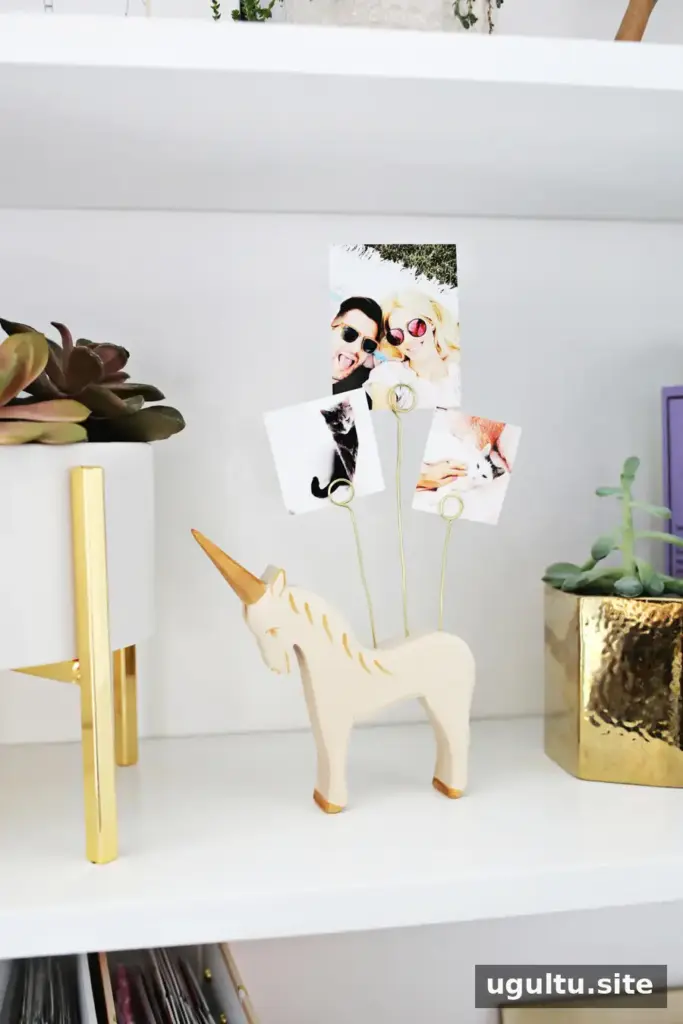
A wooden animal photo holder is a simple way to display family pictures in a nursery, child’s room, or shared living space. With a wooden figurine, a few short pieces of wire, and printed photos, you can create a personalized stand that suits your décor. Choose an animal with a stable base, then adjust the number and placement of the photo clips to fit its shape.
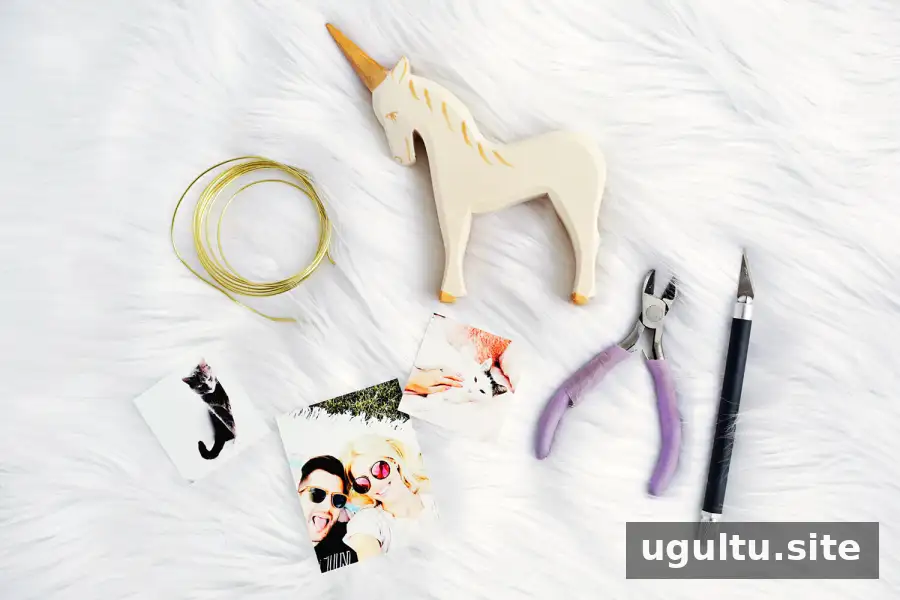
Materials and tools
- A wooden animal figurine
- Printed photos and photo paper
- Brass wire; a thicker gauge, such as 10 or 14, is a good choice
- A drill and drill bits sized to match the wire
- Super glue with a thin nozzle
- Wire cutters and needle-nose pliers
- A pen or pencil for shaping the wire loops
Before starting, check that the figurine can sit securely on a level surface. A stable base helps keep the finished holder upright, especially when it has several photos attached.
Prepare and size the photos
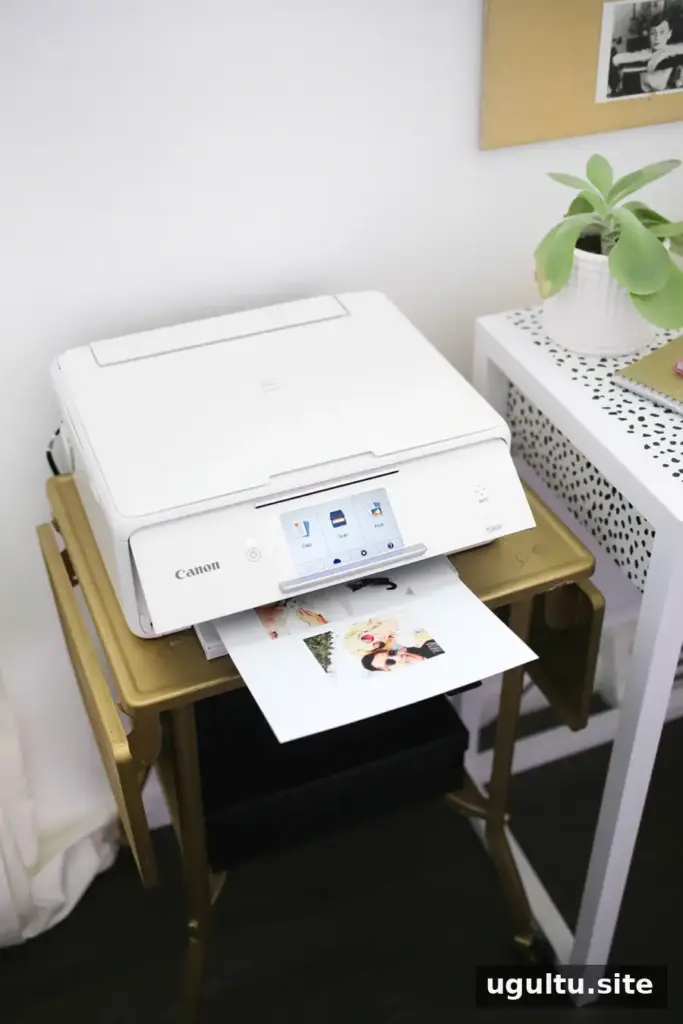
Decide how large you want the photos to appear in relation to the animal. If you are unsure, cut paper templates to a few possible sizes and hold them beside the figurine before printing. This quick test helps you avoid photos that overwhelm the base or are too small to see clearly. Print the images on photo paper, then trim them to the chosen size.
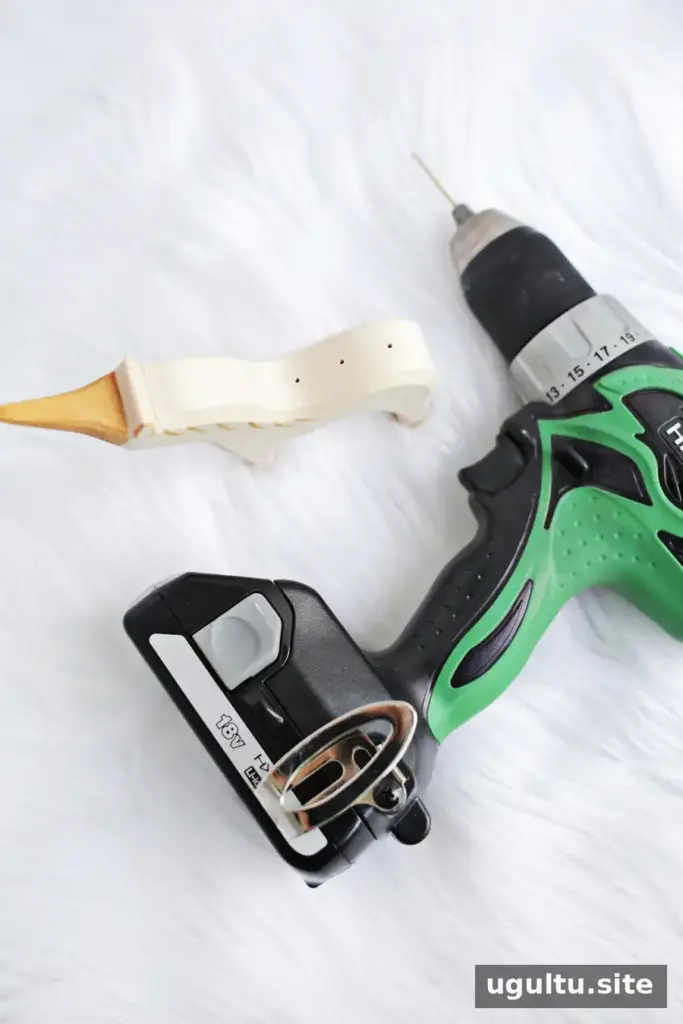
Mark and drill the holes
Choose how many photo holders you want and plan where each wire will sit. Mark the drilling points with a pen or marker. To test the layout without marking the figurine itself, place painter’s tape or clear tape over the surface and mark on the tape.
Use a drill bit that matches the thickness of your wire and make each hole about 1/2 inch deep. Work carefully and keep the figurine steady while drilling. If the wood is small or difficult to hold, secure it safely before you begin.
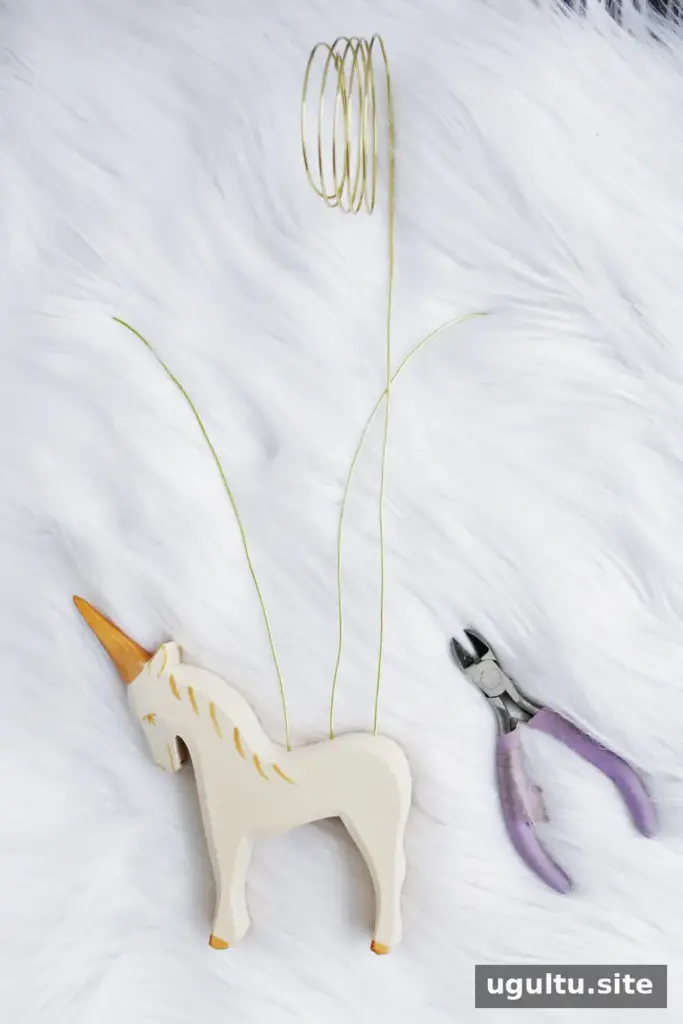
Attach the wire
Add a small drop of super glue into each hole. Cut wire pieces about 1–2 inches longer than the height you want for each photo holder, then insert one piece into each hole. Allow the glue to set according to its package directions before shaping or loading the wires.
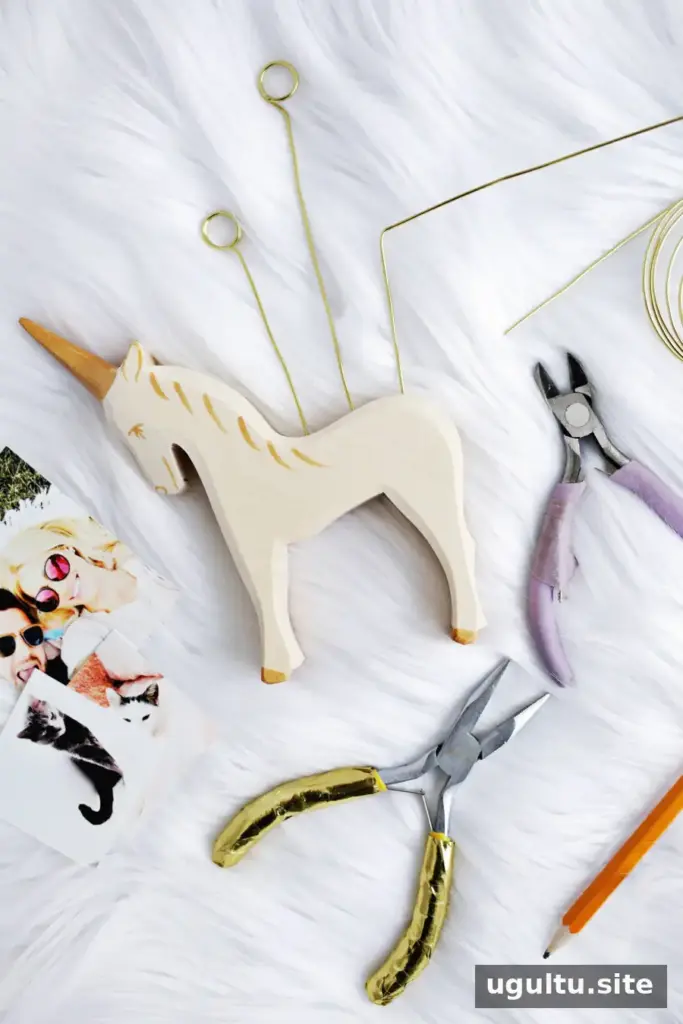
Shape the photo clips
Straighten each wire. Wrap the top 1–2 inches around a pen or pencil to form a loop with several layers. The layered loop should hold a photo gently without crushing or creasing it. Trim extra wire with wire cutters and use needle-nose pliers to make small adjustments. Keep cut wire ends smooth and tucked away from reach.
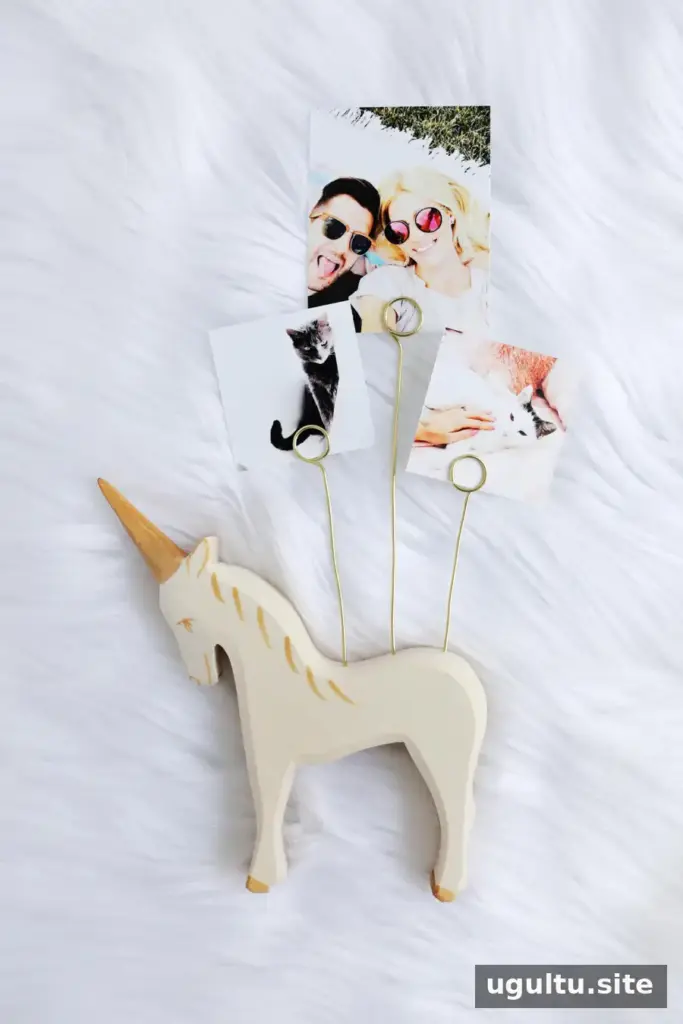
Add the photos
Slide each photo between the layers of its wire loop. If a picture feels loose, adjust the loop slightly with pliers; if it is difficult to insert, open the loop a little. Place the completed holder on a stable shelf or table, away from edges where it could be knocked over.
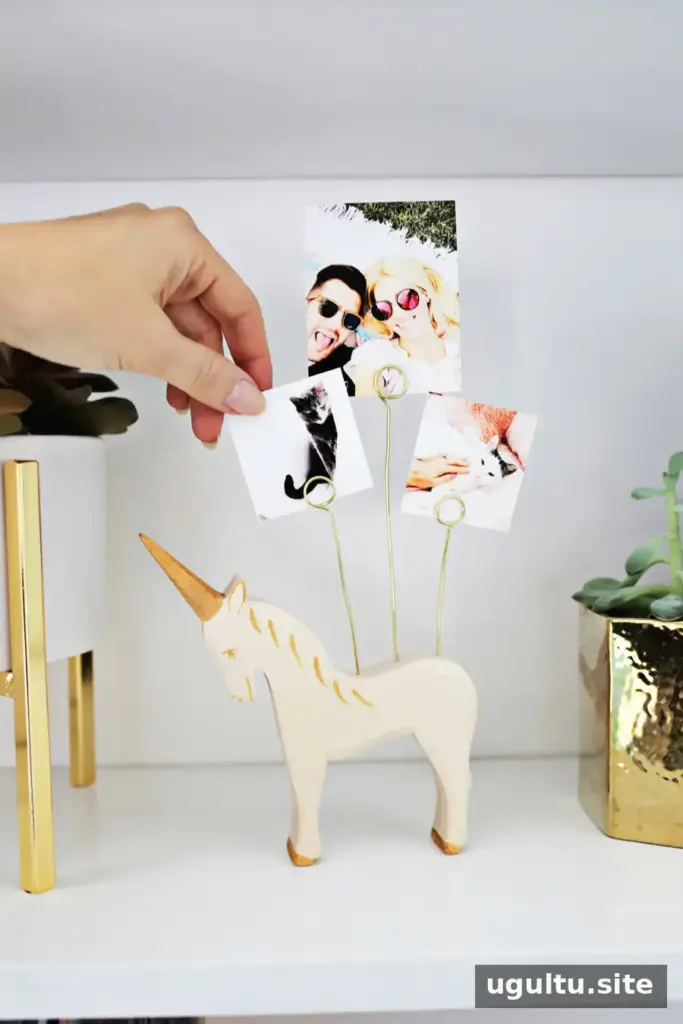
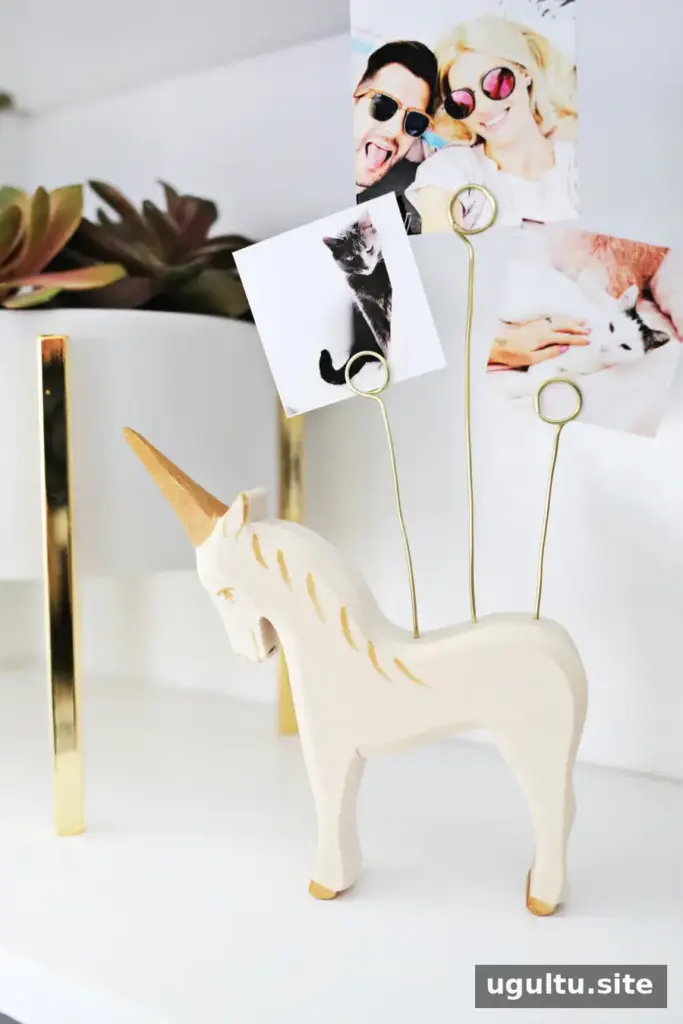
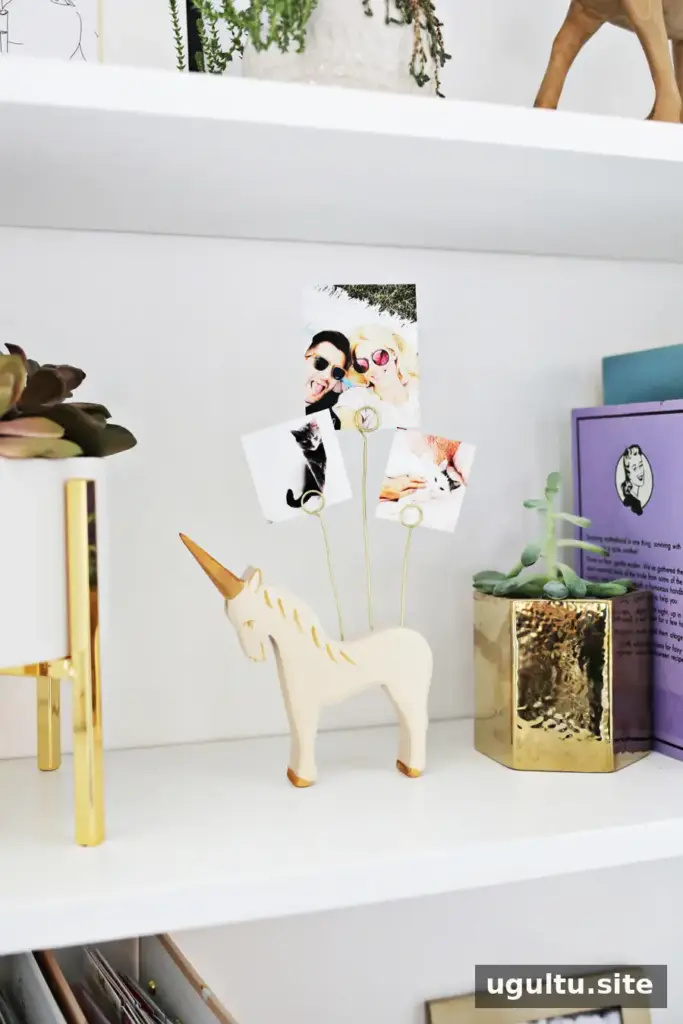
This wooden animal photo holder can be customized for different rooms and ages. If the figurine has the right shape and size but does not match your color scheme, consider repainting or staining it before adding the wires. Follow the paint or stain instructions and let the finish dry completely before drilling or handling the piece. The project is also easy to adapt: use fewer wires for a small display or arrange several photos for a fuller presentation. Laura
For another simple photo-display project, try making a photo holder from wooden balls.


