
 admin
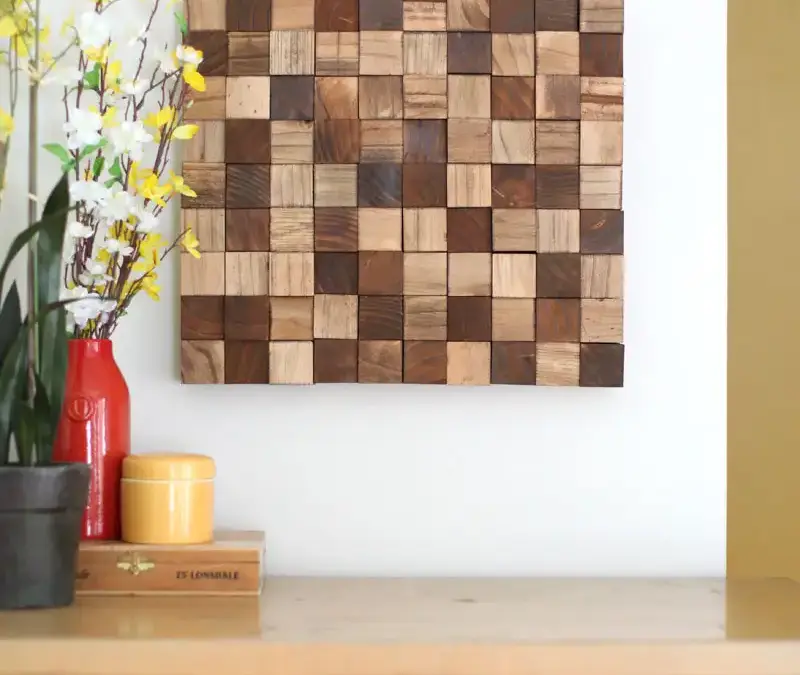
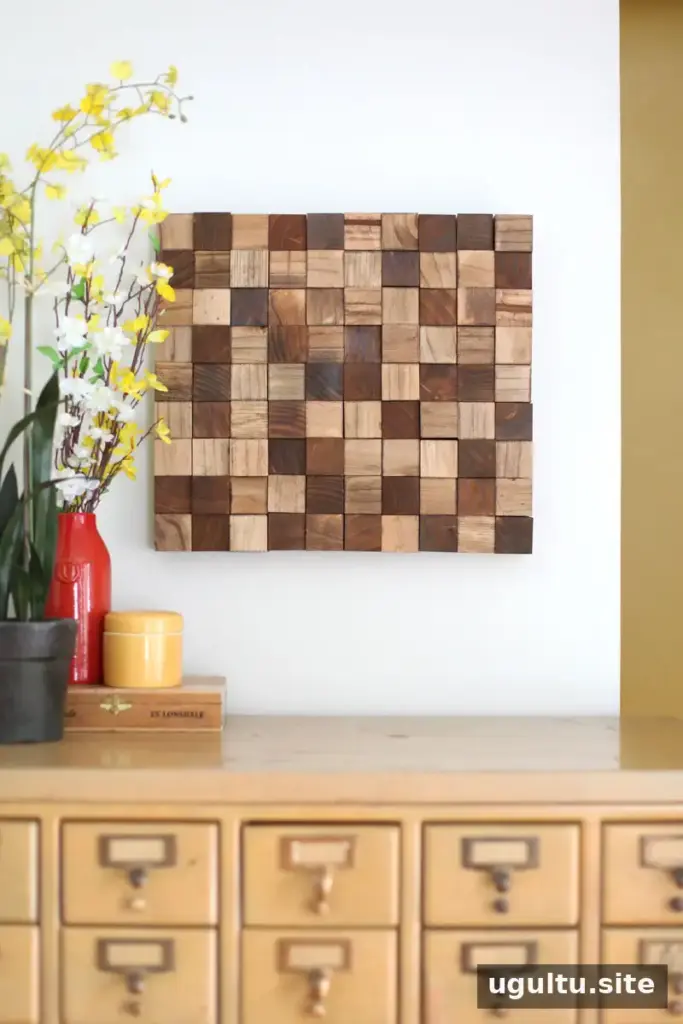
Wooden mosaic wall art adds natural texture and warm tones to a room without covering an entire wall. This straightforward project uses small wood blocks, a rigid backing, stain, and glue to create a dimensional piece that can be arranged to suit your space. You can choose the overall size, vary the blocks’ orientation, and add subtle height with wood shims.
Materials for Wooden Mosaic Wall Art
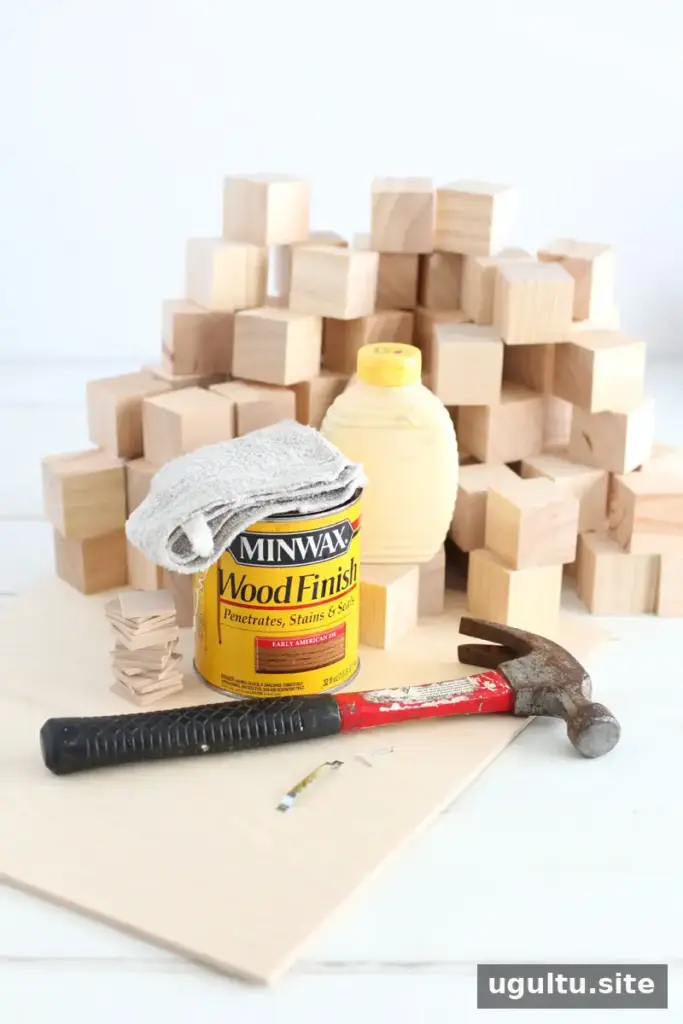
- A rigid backing material, such as a piece of 1/4-inch plywood
- 2-inch wooden blocks
- Wood shims no larger than the blocks
- Wood glue
- Wood stain, preferably a product that also seals the wood
- A rag for applying stain
- Picture-hanging hardware and a hammer
Plan the backing size
This project can be made without power tools if you use ready-cut blocks and have the backing cut to size at a hardware store or lumberyard. Arrange the blocks in a single layer and measure the area they cover before choosing the backing. For the example shown, the blocks covered an area of 15 by 17 inches, and the plywood backing was about 1.5 inches shorter than the full arrangement so the blocks could overhang and conceal it.
Decide on the backing size before buying all your materials. Leaving a small overhang can hide the base from the front, but make sure the blocks remain securely supported and the finished piece can be hung safely.
How to Make Wooden Mosaic Wall Art
Step 1: Stain the blocks
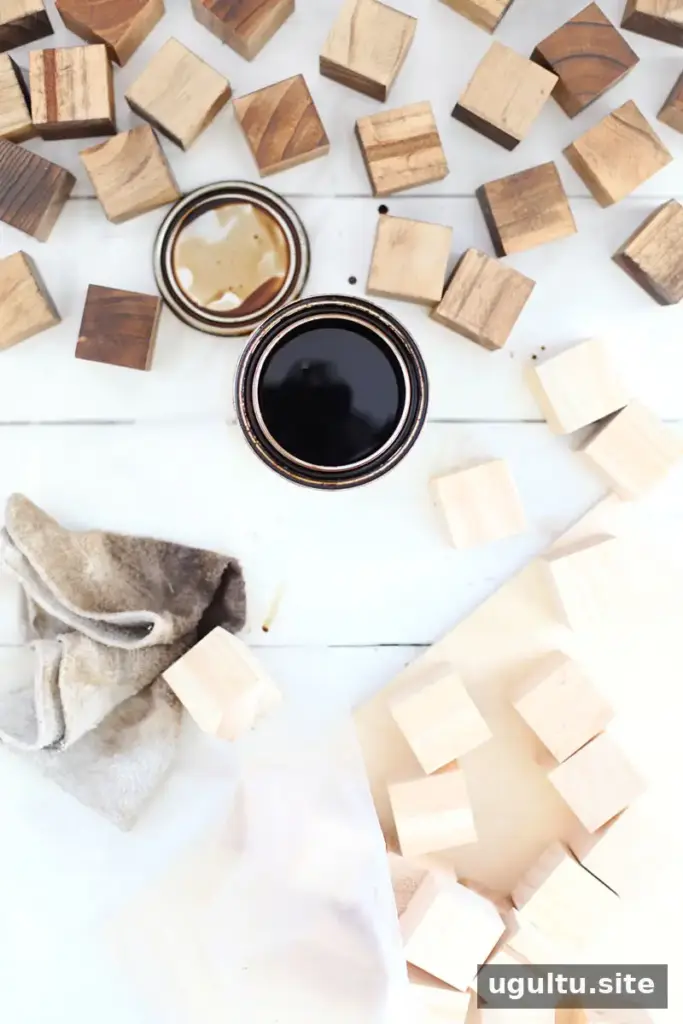
In a well-ventilated area, use a rag to apply stain to every side of each block. Wipe away excess and leave the pieces to dry on protective paper. Follow the stain manufacturer’s directions, including its safety and drying instructions. Traditional wood stains may release fumes; avoid using them during pregnancy and choose a suitable alternative if needed.
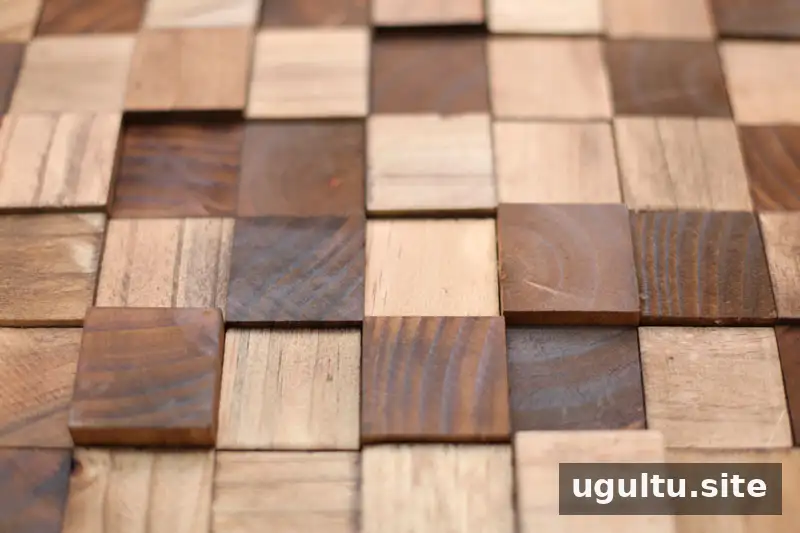
The end grain may absorb stain differently from the sides, creating natural variations in color. These differences can add interest when you turn the blocks in different directions. Handle stain-soaked rags carefully: do not leave them crumpled or in a pile, as they can present a fire risk. Follow the product label and local rules for safe curing and disposal.
Step 2: Arrange the pattern
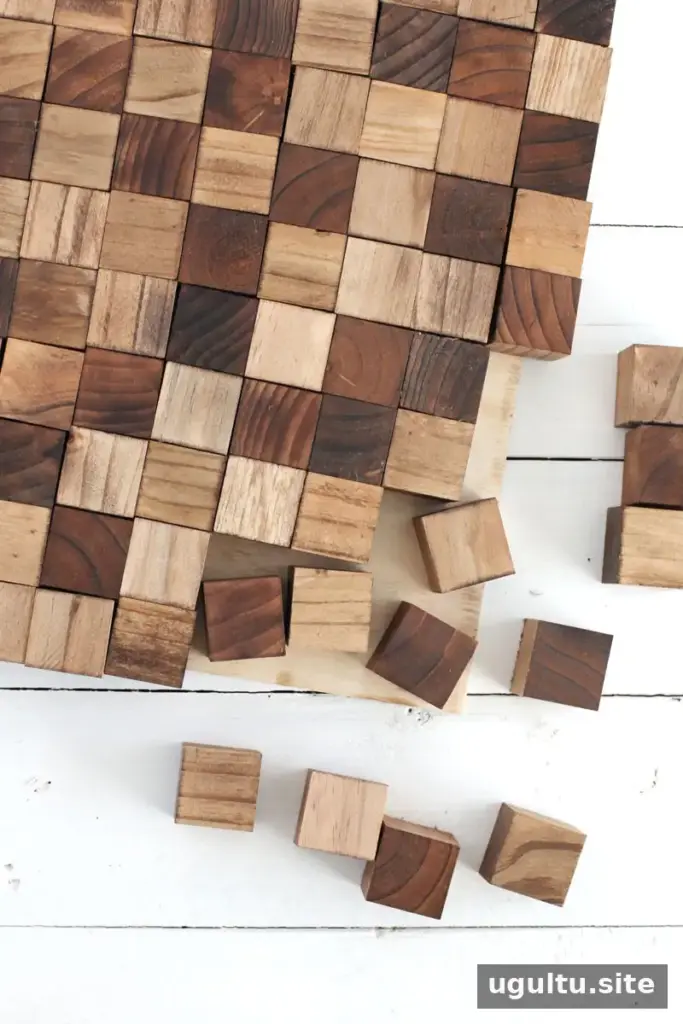
After the blocks have had time to air out, place them on the backing without glue. Turn each block to choose the grain, stripes, and shade that will face outward. A loose, varied arrangement can create a more organic look than lining every block up in the same direction. Check the edges and overall layout before moving on.
Step 3: Glue the blocks and add dimension
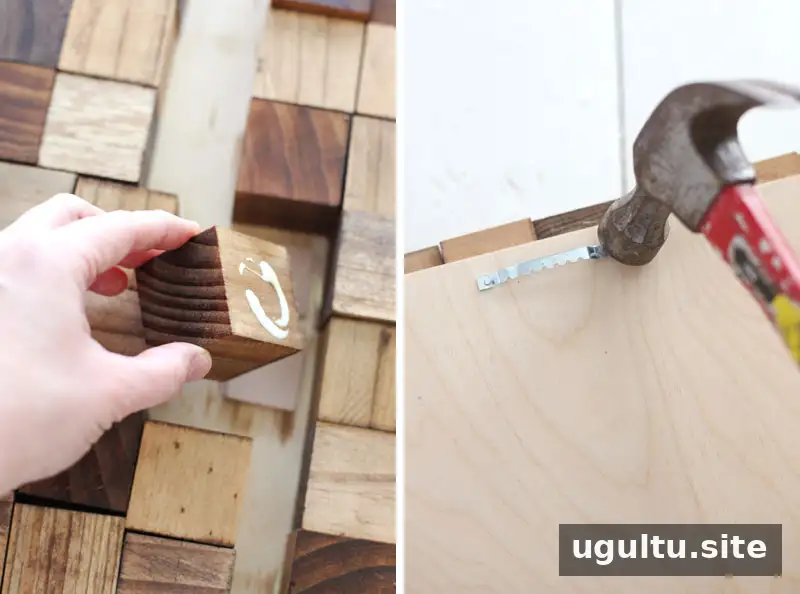
Working one row at a time, lift each block and apply wood glue to its base and to the sides that meet neighboring blocks. Press it back into position. To create a raised, textured surface, place small stacks of shims beneath selected blocks as you glue them down.
Use fewer raised blocks along the outer edges. Any shims near an edge should not lift the blocks higher than the thickness of one shim; otherwise, the backing or shims may be visible from the side. Let the glue dry fully according to its instructions before attaching hanging hardware.
Step 4: Attach hardware and hang securely
Once the glue has dried, attach suitable picture-hanging hardware to the back. A larger or heavier artwork may need two hooks and heavy-duty picture wire. Choose hardware based on the finished piece’s weight, and use a wall stud or drywall anchors rated to support that weight. Check that the hardware is firmly attached before hanging the artwork.
Finishing and Display Tips
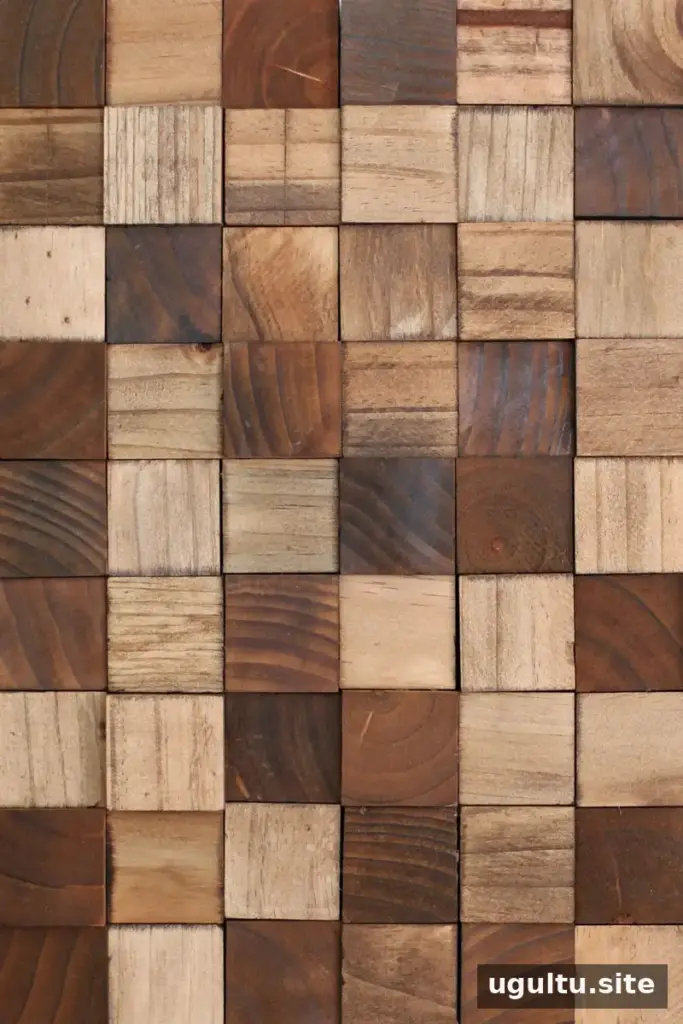
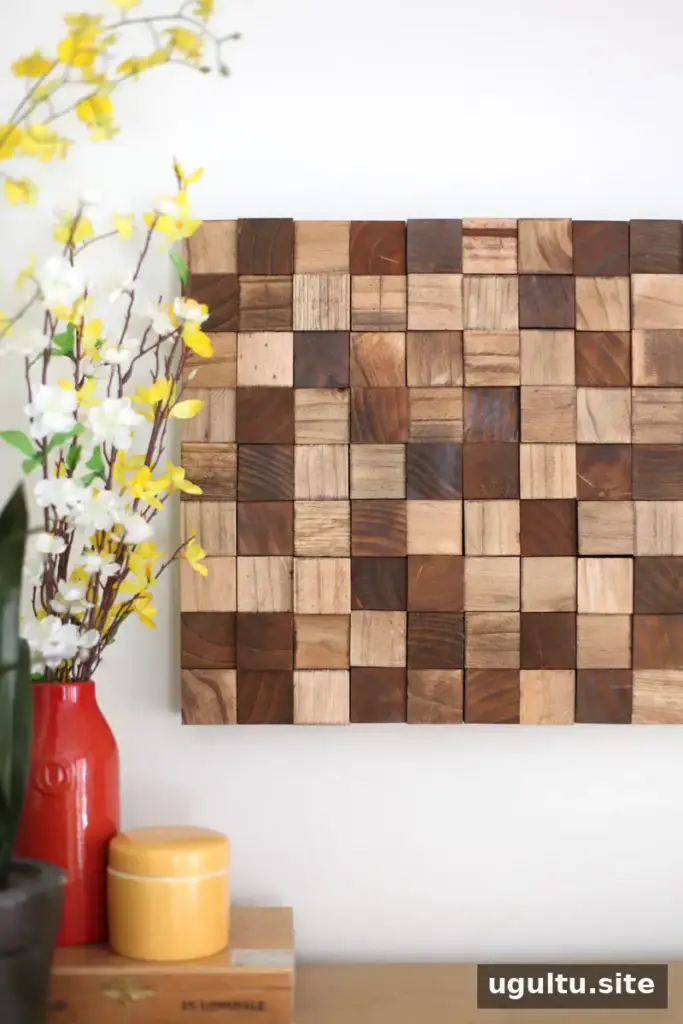
The varied grain and raised blocks give this project a substantial, tactile appearance while keeping the design simple. Before displaying it, inspect the edges for loose blocks and make sure the hanging setup is secure. Its natural wood colors can complement many interior styles, and the block arrangement can be adjusted to create a more uniform or more varied pattern.
Conclusion
Wooden mosaic wall art is a flexible DIY project that relies on a simple layout, careful gluing, and secure mounting. Plan the backing around the block arrangement, follow stain and glue safety instructions, and use wall hardware appropriate for the finished weight. These steps help create a textured piece that is ready to display.
— Mandi


