
 admin
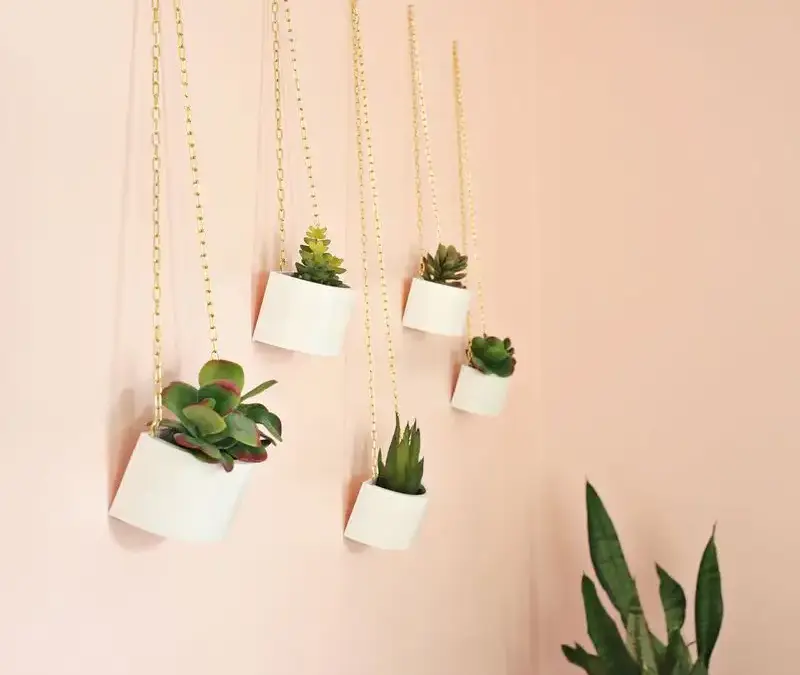
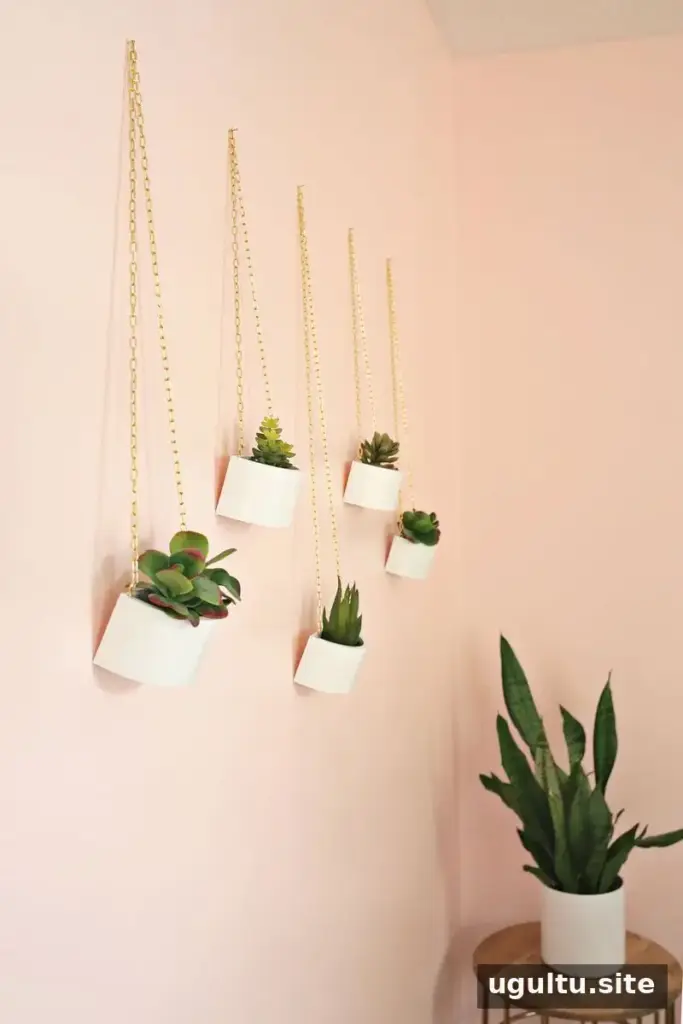
A wooden box hanging planter is a simple way to add greenery to a wall without taking up table or floor space. This project turns small wooden jewelry boxes with removable lids into compact half-box planters. You can use them with faux plants or prepare them for live plants by sealing the wood carefully.
Materials for a Wooden Box Hanging Planter
Gather the following supplies before starting. Check that the jewelry boxes are made of wood and that their lids can be removed.
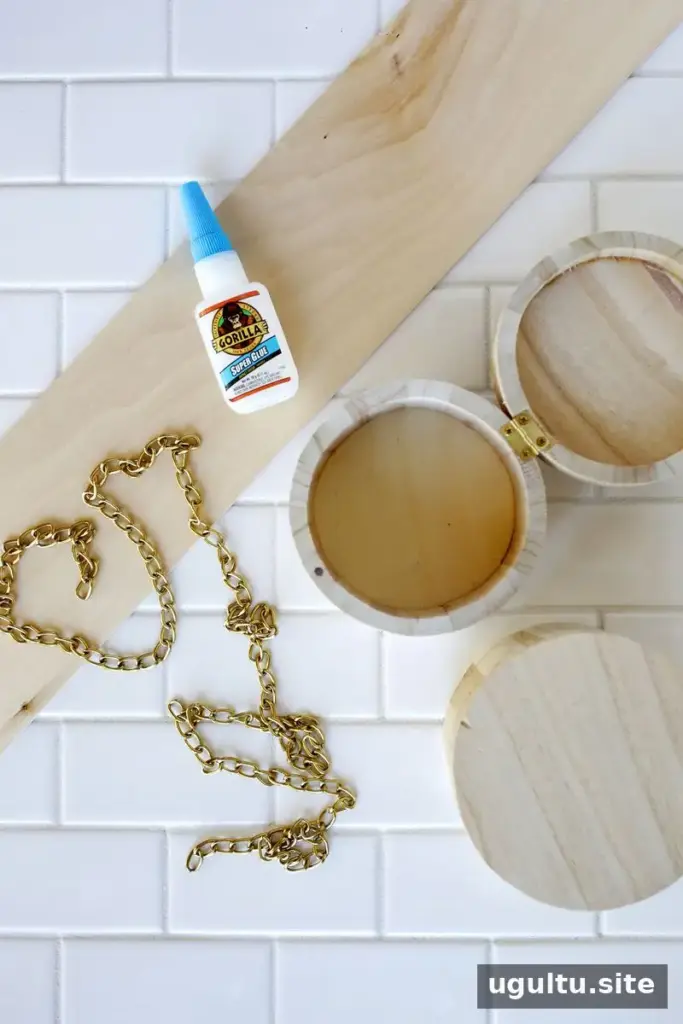
- Small wooden jewelry boxes with removable lids
- Jig saw
- Glue
- Balsa wood
- 1/2-inch cup hooks
- Small gold chain
- Waterproof caulk and sealer (optional)
- Paint, if desired
For a neat finish, measure and mark each box before cutting. Use a stable work surface and follow the saw manufacturer’s safety instructions.
Cut the Jewelry Box in Half
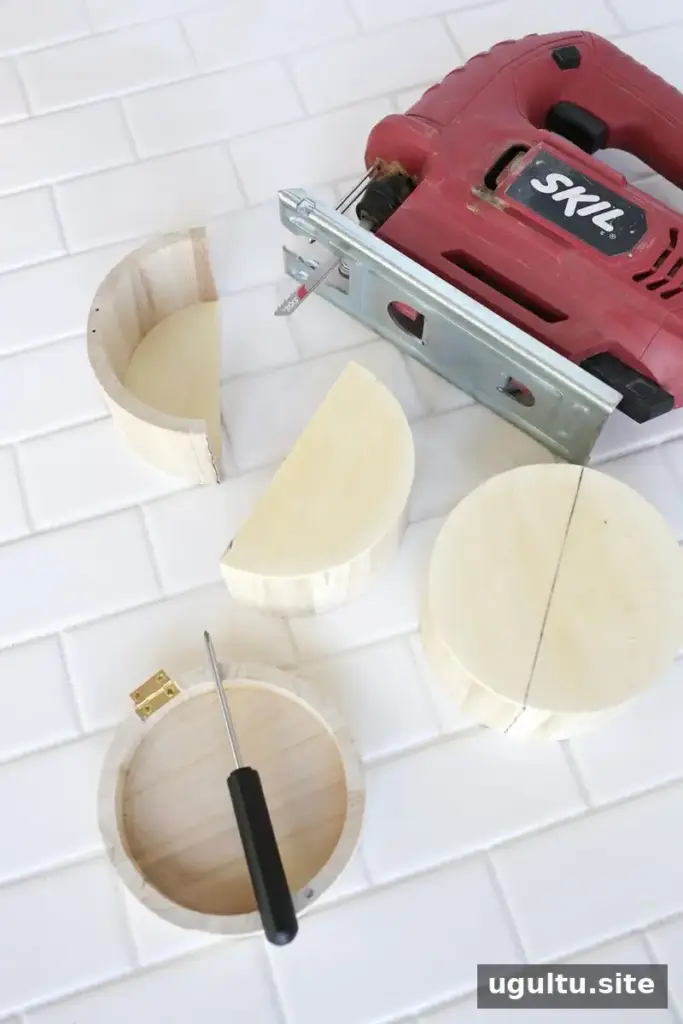
Use a small screwdriver to detach the lid. Mark a line down the center of the box’s bottom and sides. With a jig saw, cut along the marked line: down one side, across the bottom, and up the opposite side. This creates two equal half-boxes. Keep the box firmly supported while cutting, and take your time around the corners.
Add a Back Panel and Finish the Planter
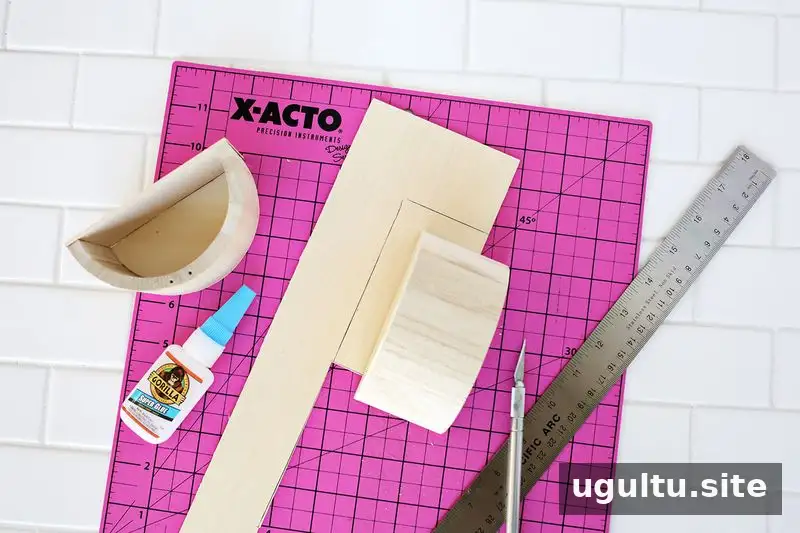
Trace the open side of one half-box onto a piece of balsa wood. Cut out the shape to make a back panel, then glue it in place. Let the glue dry fully before painting or attaching hardware; this helps the panel stay secure.
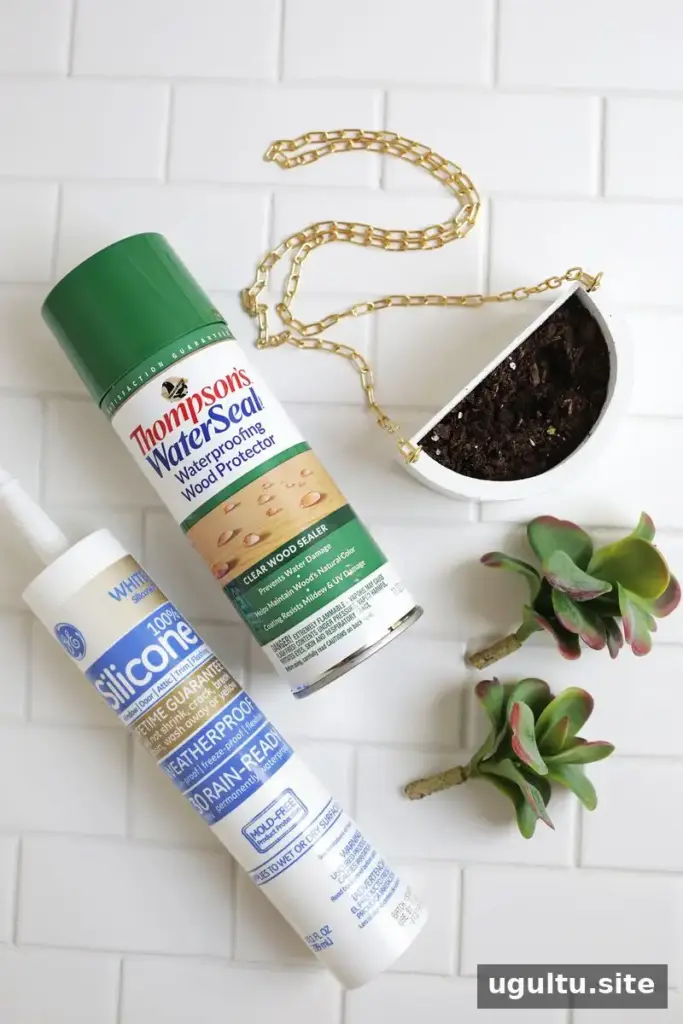
Paint the outside and top lip of the planter, then allow the paint to dry. If you plan to use live plants, protect the wood and the wall behind it by sealing the inside seams with waterproof caulk and coating the interior with waterproof sealer. Follow the product directions and let the finish cure before adding soil or plants.
Small containers generally need careful watering to avoid overflow. Faux succulents set in real soil are another option if you want a natural appearance without regular watering.
Attach the Chain and Plan the Layout
Once the planter is dry, screw two 1/2-inch cup hooks into the upper back corners. Cut the small gold chain to the length you want using chain cutters. Before hanging several planters, use tape to mock up their positions and staggered heights on the wall. This makes it easier to adjust the arrangement before installing anything.
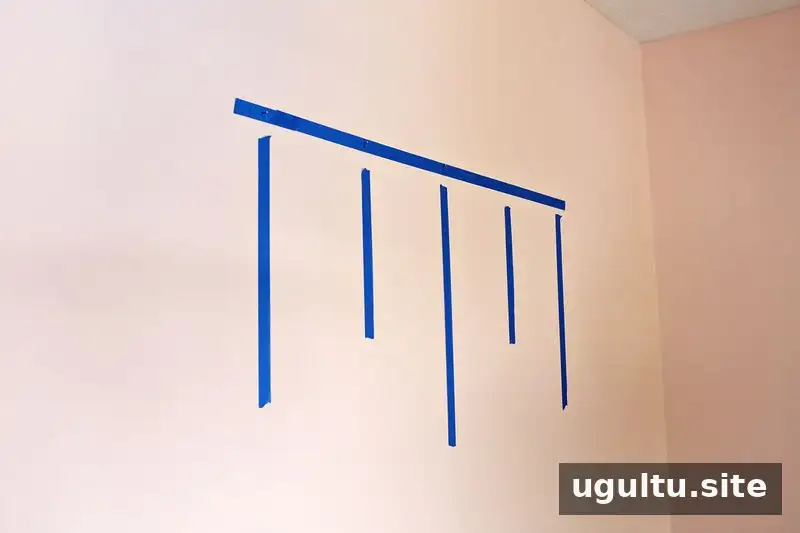
Hang and Style Your Mini Planters
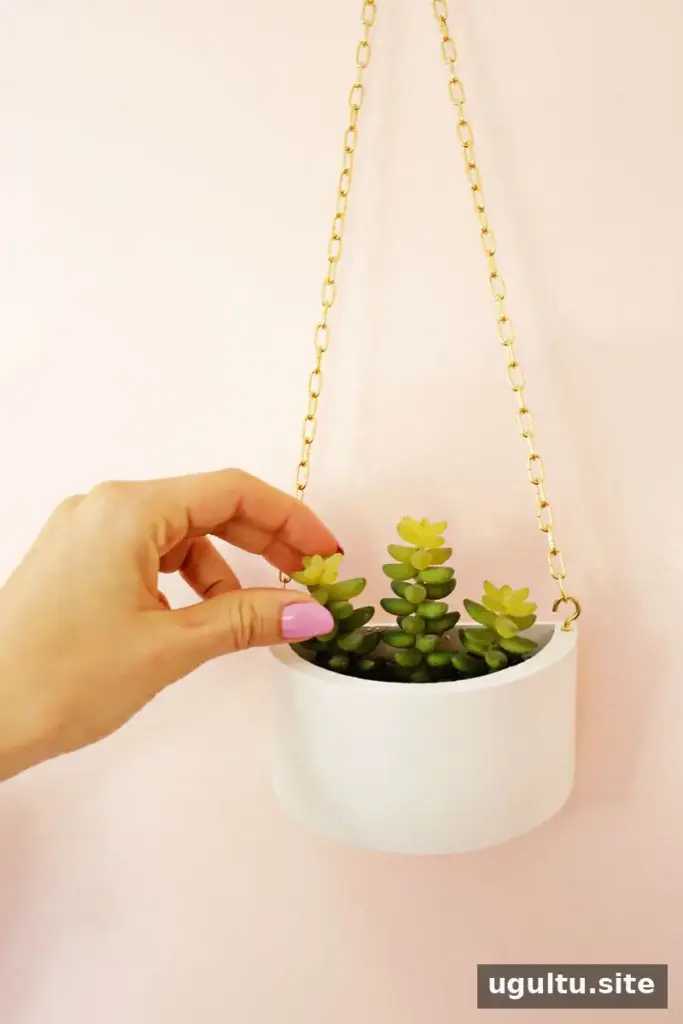
Add the plants, then hang each planter from its chain. Choose wall hardware suitable for the wall material and the planter’s weight, especially if the containers will hold soil. Keep live plants and damp soil away from surfaces that could be damaged by moisture.
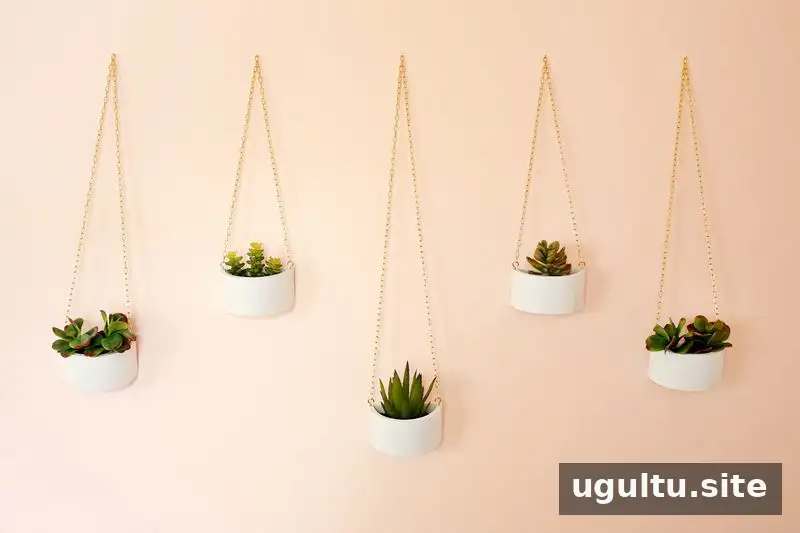
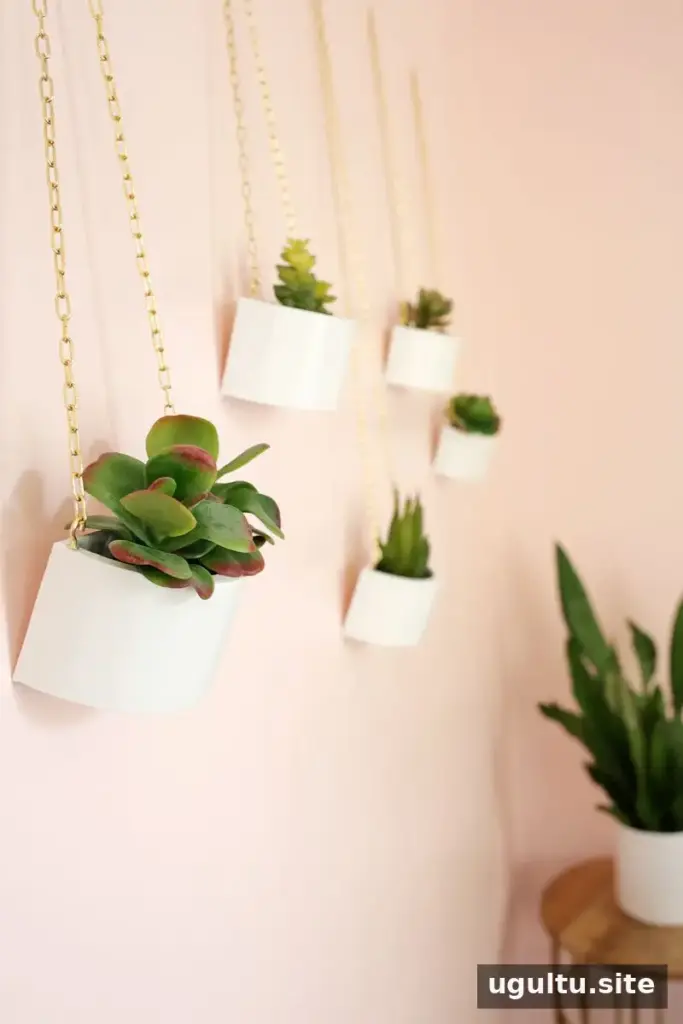
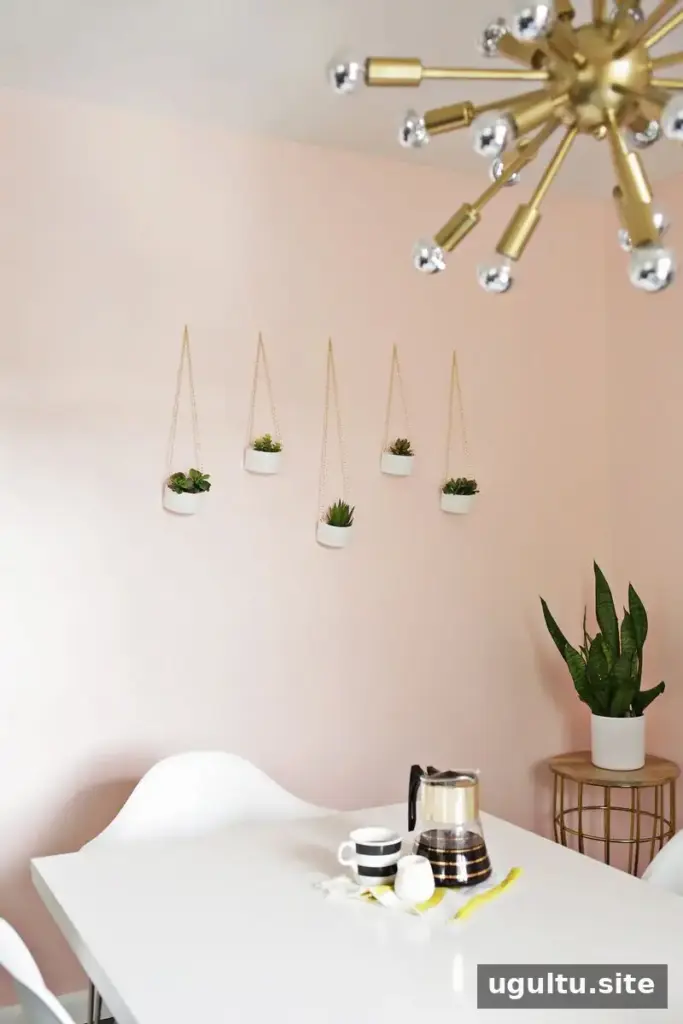
These planters can be displayed together at staggered lengths or used individually on either side of an entryway mirror. They can also be arranged with colorful prints, and the same idea can be adapted to larger wooden boxes for a bigger wall display. Choose boxes with a shape and size that suit the space, and test the layout before hanging.
Conclusion
This wooden box hanging planter project gives small jewelry boxes a new purpose as decorative wall planters. With a careful cut, a fitted back panel, and a suitable finish, the boxes can be styled with faux greenery or prepared for live plants. — Laura


