
 admin
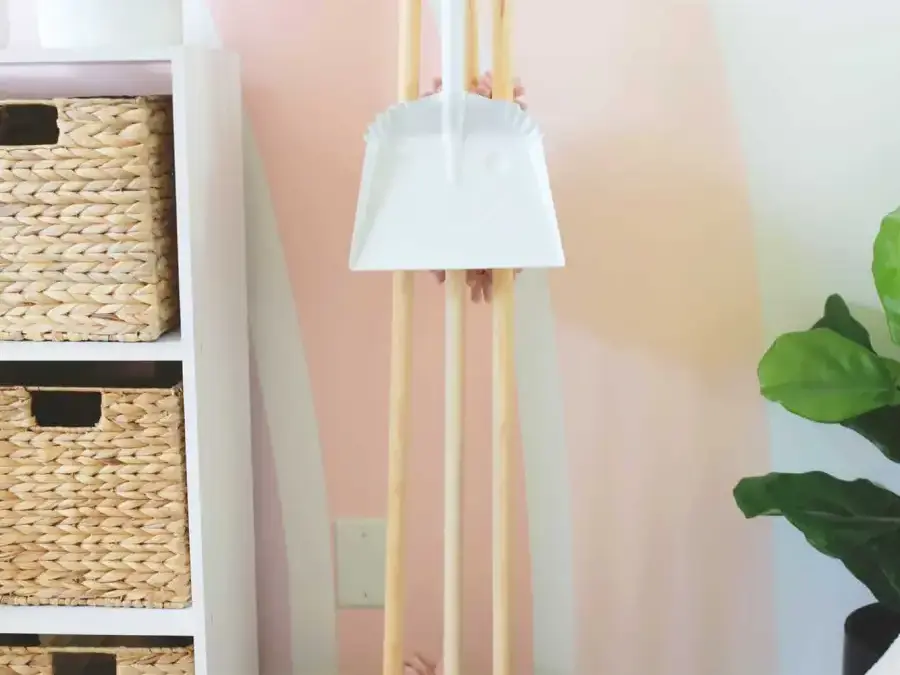
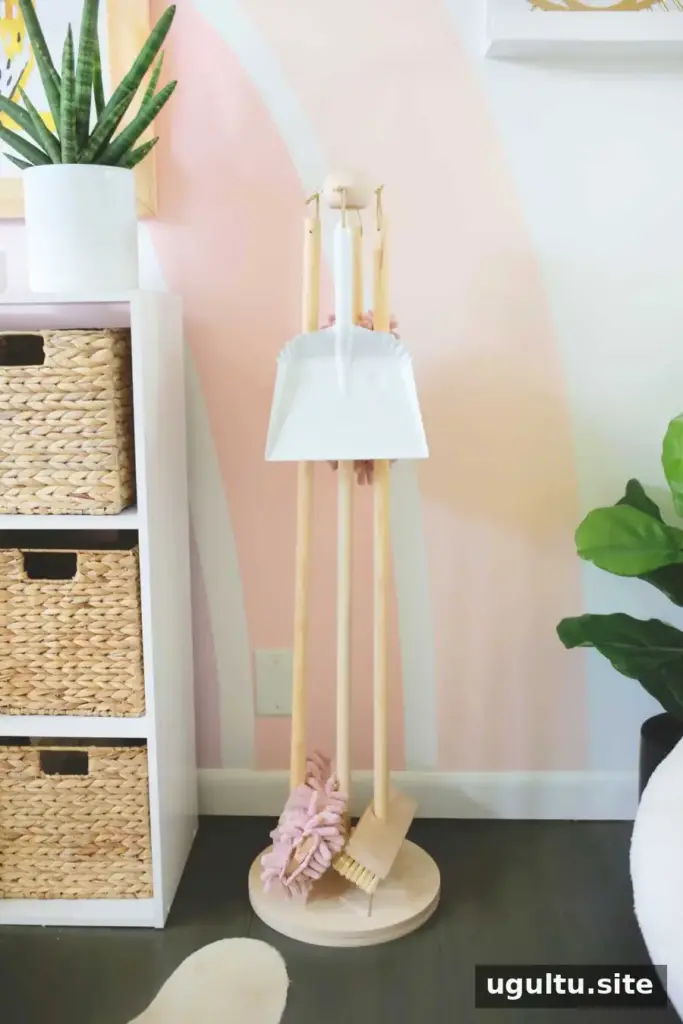
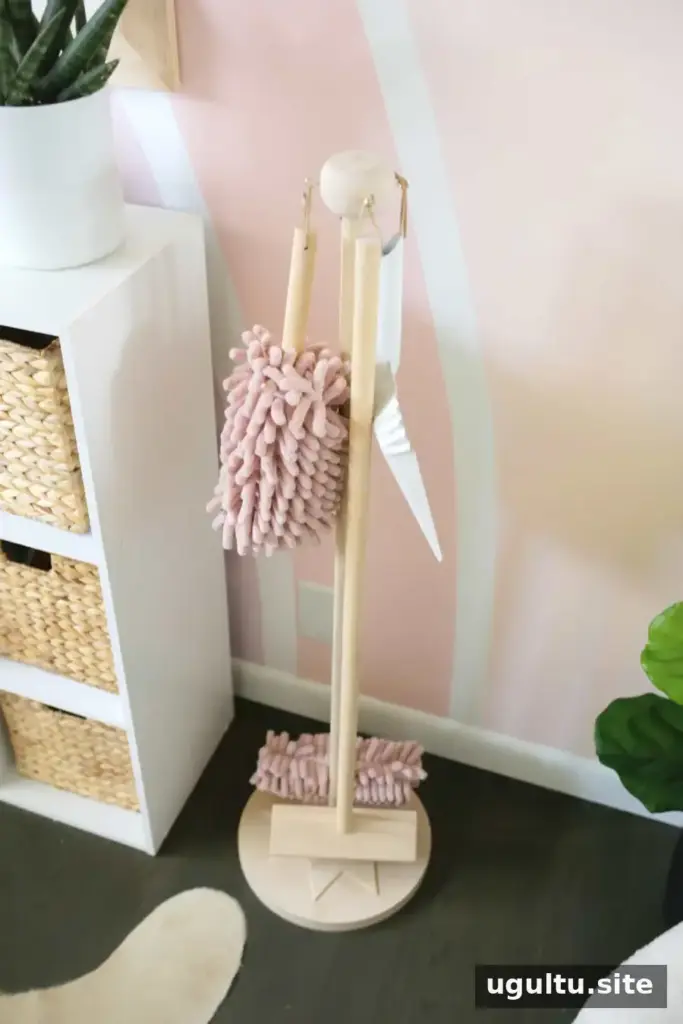
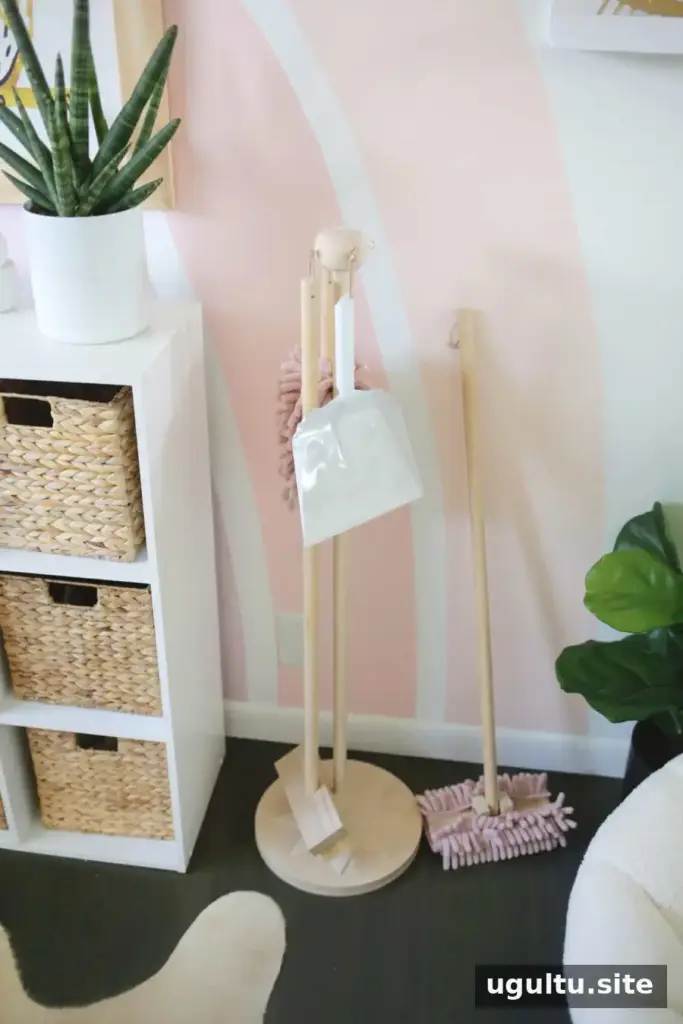
A wooden cleaning set DIY project gives children child-sized tools for joining in with everyday tidying. This set includes a broom, a hand duster, a floor duster and a stand to keep everything organized. The dusting covers can be removed for washing, making the tools practical for supervised play as well as imaginative housekeeping.
The measurements below were chosen for a child who was almost three years old. Adjust the handle lengths for an older child if needed, and have an adult complete all cutting, drilling and assembly.
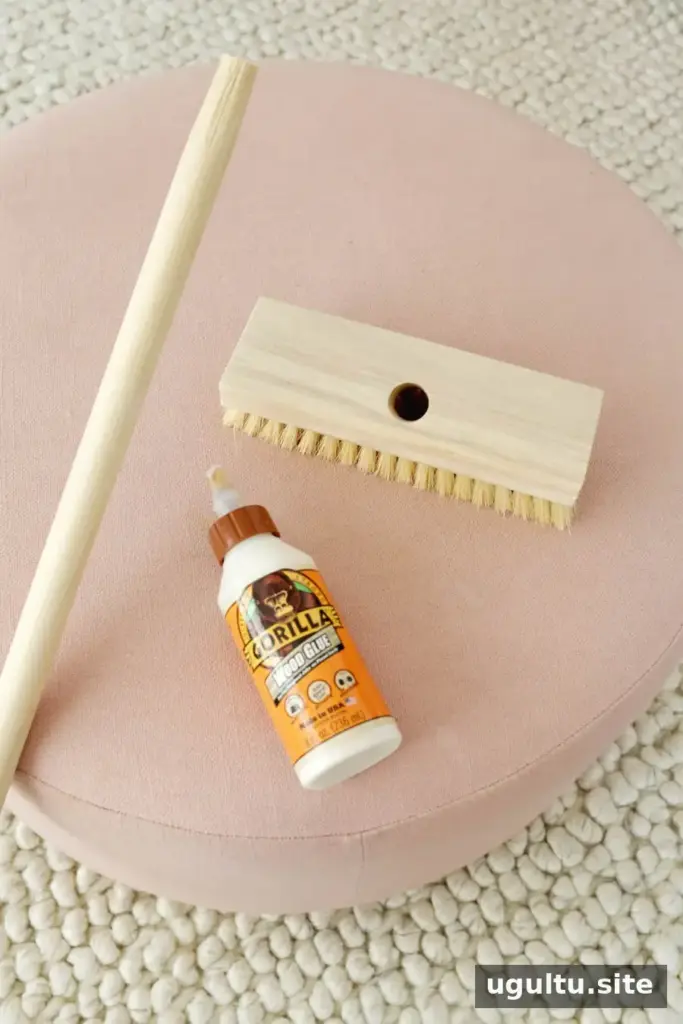
Materials and tools for the wooden cleaning set DIY
Stand
- 1-inch wooden leaf-rake handle, cut to 41 inches; keep the tapered end as one end
- Two 12-inch wooden circles, each 1/2 inch thick
- One 12-inch wooden circle for an optional star cutout
- Wooden knob foot with screw base
- Four small cup hooks
Broom
- 1-inch wooden leaf-rake handle, cut to 37 inches; keep the tapered end as one end
- Brush head
Hand duster
- 1-inch wooden pole, or a leftover section of the rake handle, cut to 13 inches
- 6.5-inch section of 2 1/2-inch-wide pool noodle; match the pole diameter to the noodle’s center hole
- Shaggy fabric for the cover
Floor duster
- 1-inch wooden leaf-rake handle, cut to 35 inches; keep the tapered end as one end
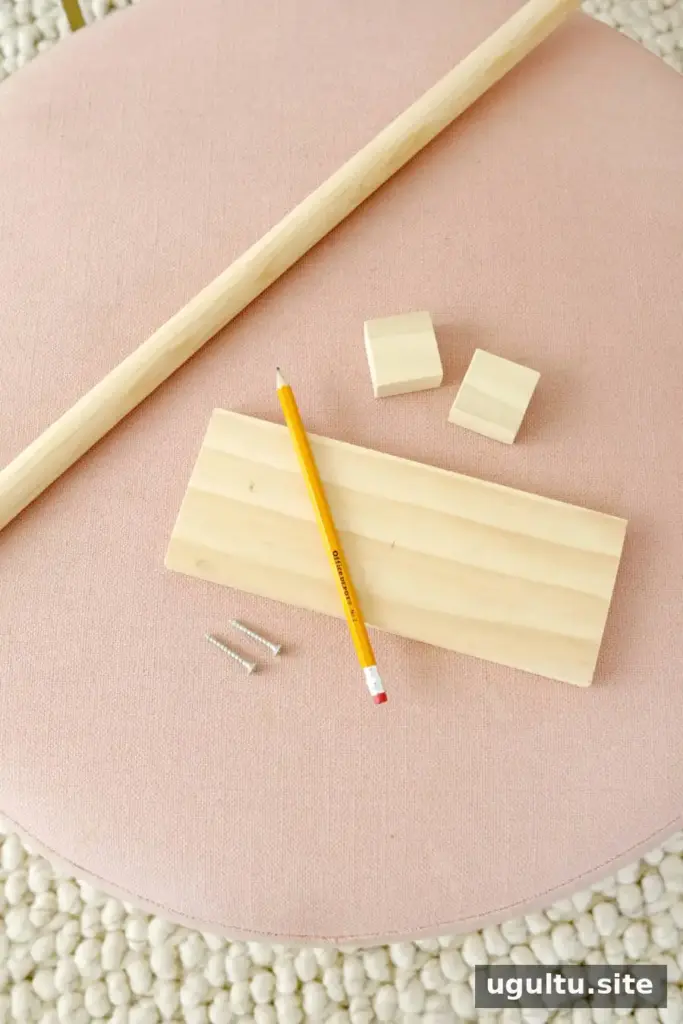
- Two pieces of 3/4-inch x 1 1/5-inch board, each cut to 1 1/2 inches long
- One 1/2-inch x 3 1/2-inch board, cut to 9 inches long
- Shaggy fabric for the cover and hook-and-loop fastener
- 3-inch coarse-thread hex bolt, 1/4-inch nut, two washers and one locking washer
General supplies
- Drill and drill bits, including a 1-inch hole saw
- Wood glue, sandpaper and a hand saw, jigsaw or mitre saw
- Hot glue gun, thin leather cord, snaps and a snap setter
- Star template, if adding the optional decoration
Practical tip: Check each piece of wood for splinters and sand the edges smooth. An adult should handle power tools, small hardware and any sharp sewing tools. Keep the finished set for supervised use.
Make the broom
Apply wood glue to the tapered end of the 37-inch handle and insert it into the brush head. Let the glue dry fully. Drill a small hole about 1 1/2 inches from the top of the handle and thread leather cord through it so the broom can hang from a hook.
Build the pivoting floor duster
Mark the center of the 9-inch rectangular wood piece. Position the two small blocks so the handle and two washers can fit between them, with enough clearance for the handle to pivot. Mark the blocks’ positions, then drill a 5/16-inch hole through each block, centered about 1 inch up from its bottom edge.
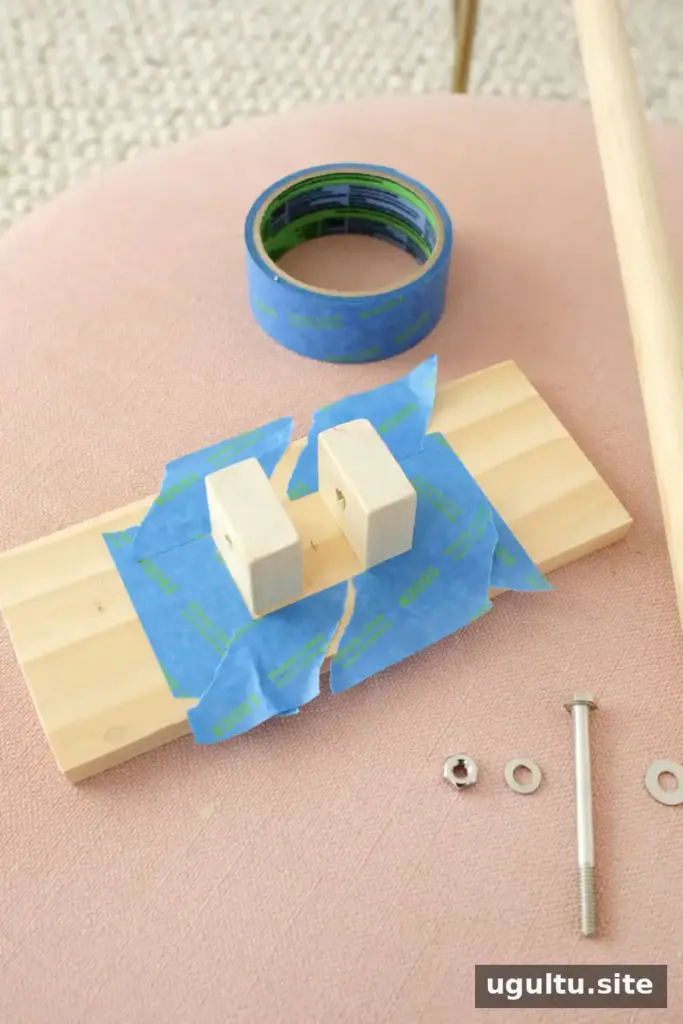
Glue the blocks to the wood base. If you expect the tool to get rough use, you can also add a screw from underneath each block. Once the glue has set, place the tapered handle between the blocks and mark where its bolt hole needs to go. The hole should be about 3/4 inch from the bottom of the tapered pole. Start with a smaller drill bit and gradually work up to 5/16 inch to reduce the risk of splitting the wood.
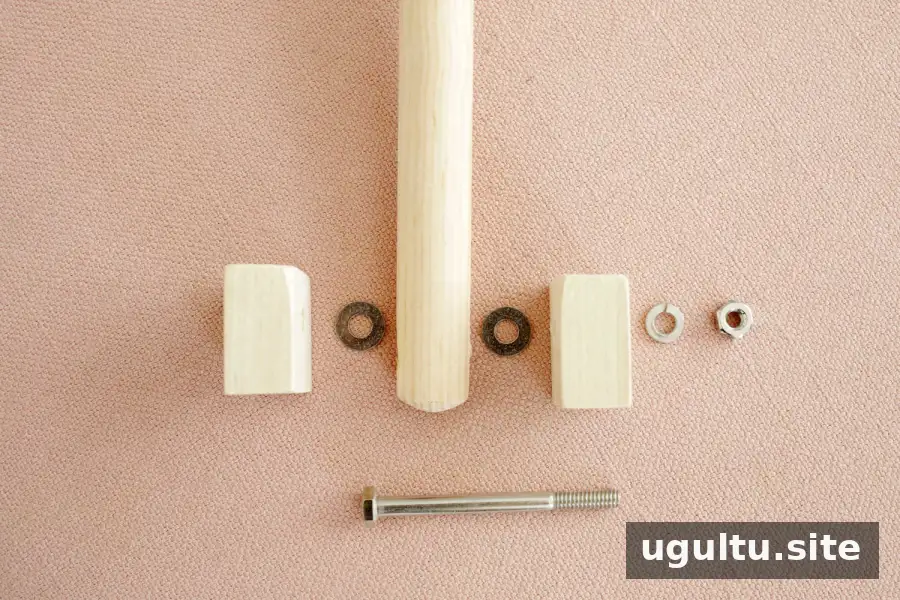
Assemble the pivot hardware in this order: pass the bolt through the first block, a washer, the handle, a second washer and the other block. Add the locking washer and nut on the outside. Tighten the nut enough to secure the parts while allowing the handle to move freely.
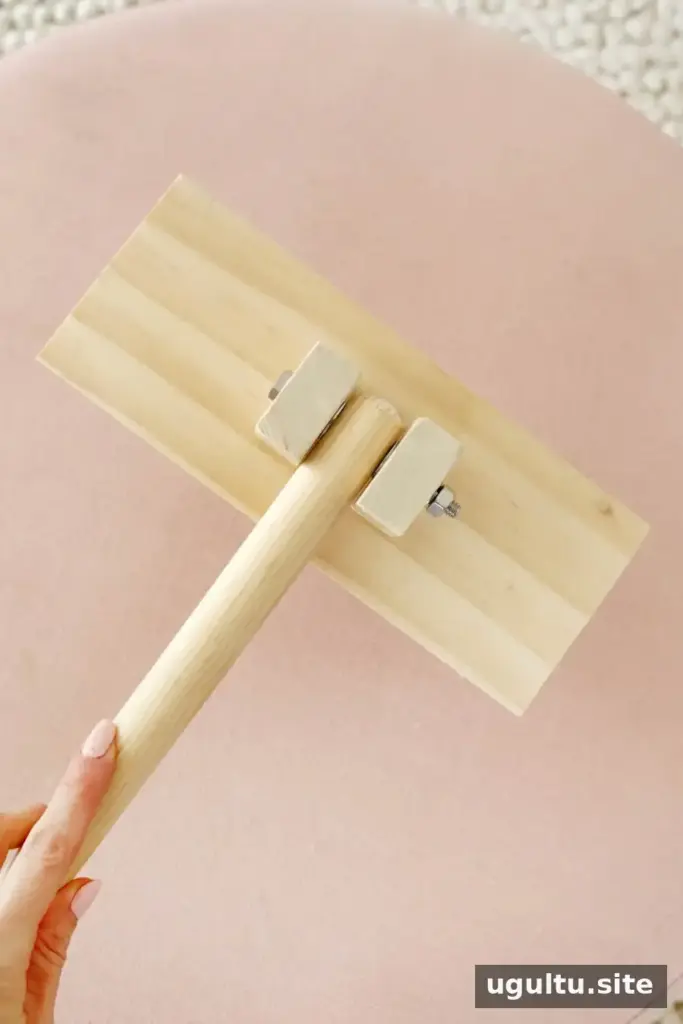
Drill a small hanging hole about 1 1/2 inches from the top of the handle and thread the leather cord through it. The removable fabric cover will be added later.
Assemble the stand
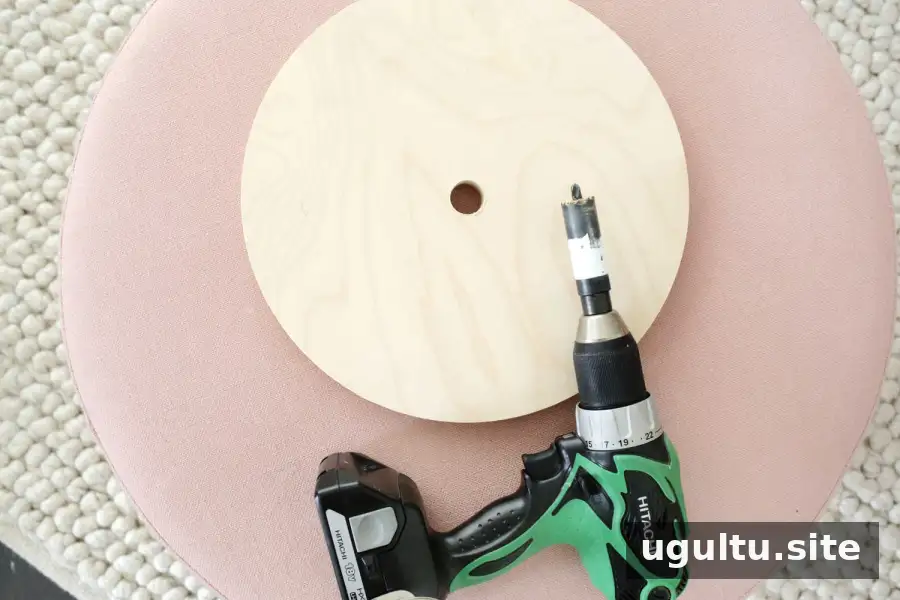
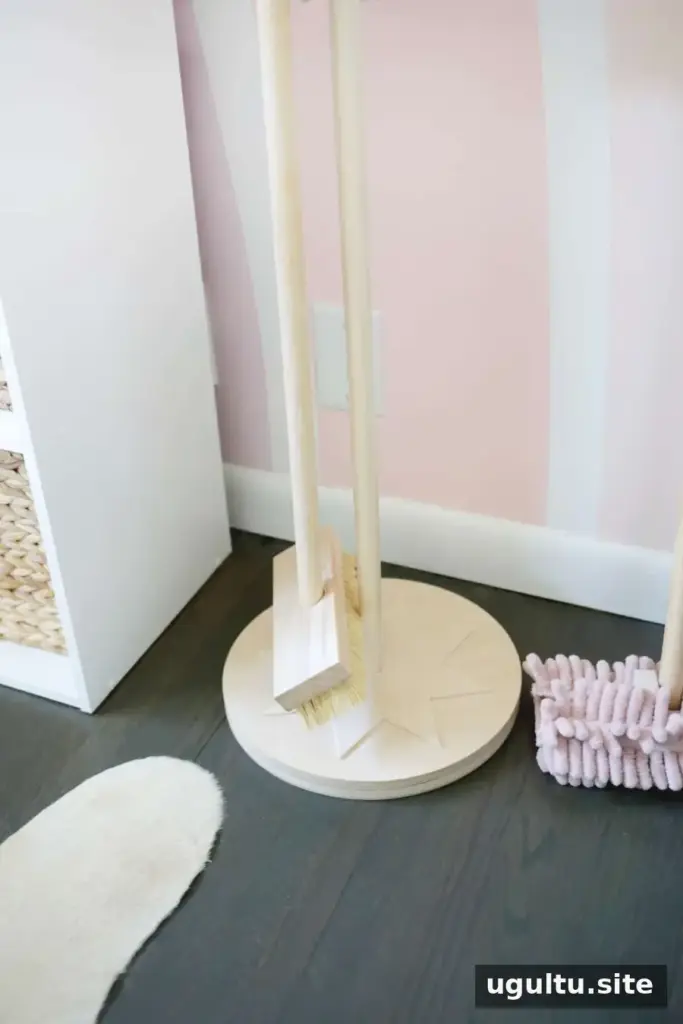
Glue the two wooden circles together and allow them to dry. Use a 1-inch hole saw to make a hole through the center of the base.
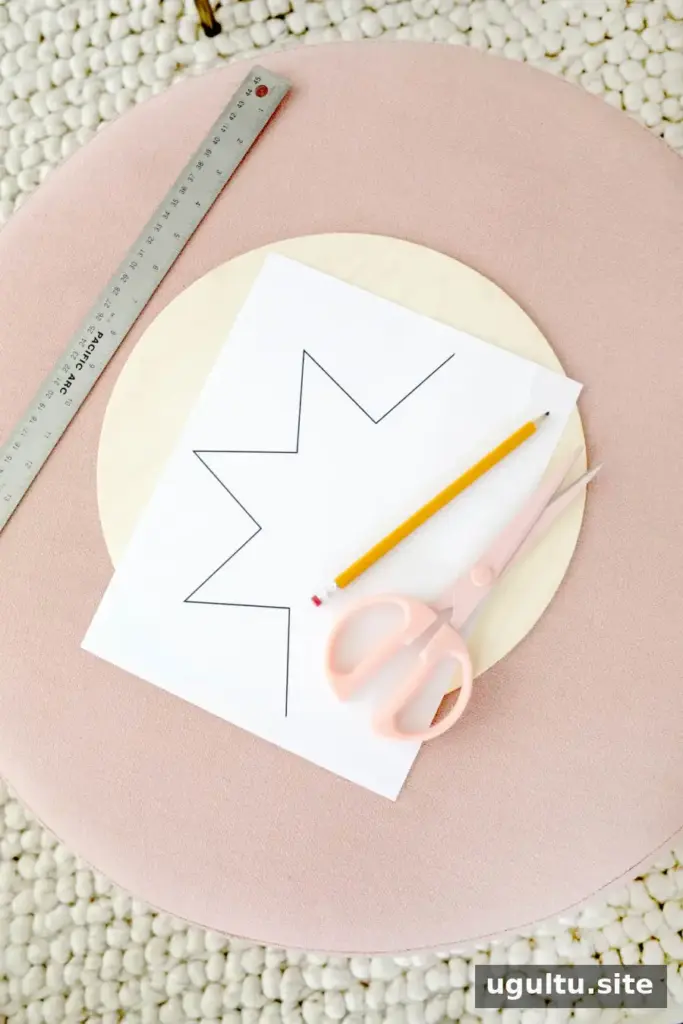
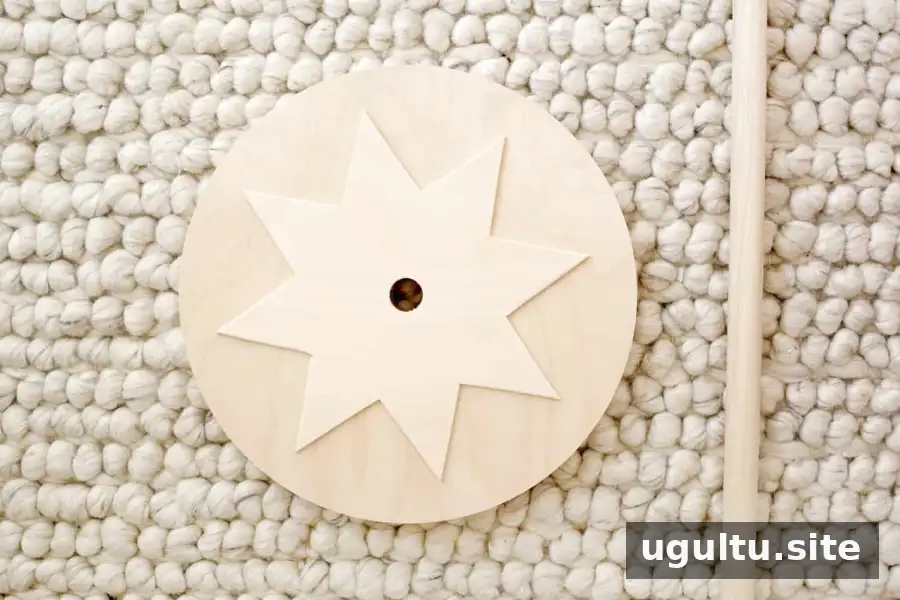
For an optional star detail, trace a star template onto the extra wooden circle and cut it out with a jigsaw. If the template covers only half the shape, flip it over to trace the other half. Drill a 1-inch hole in the center and glue the star to the base.
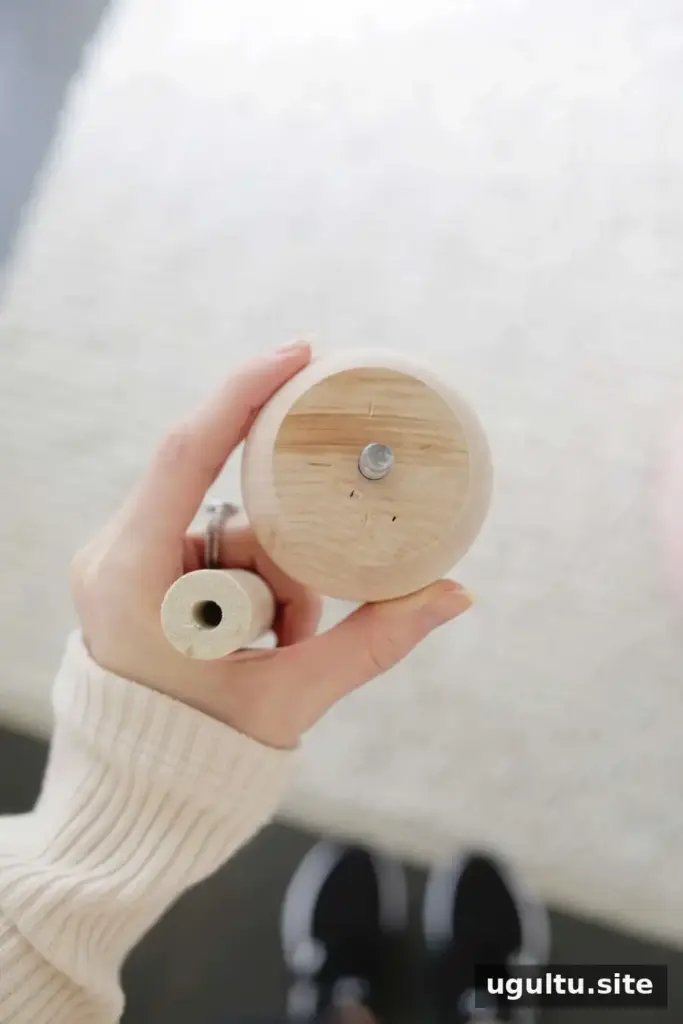
Check the screw size on the knob foot and drill a suitable hole into the flat end of the 41-inch handle. Begin with a smaller bit and work up gradually to help prevent the wood from splitting. Screw the knob onto the handle, then pre-drill four evenly spaced holes in the knob and install the cup hooks.
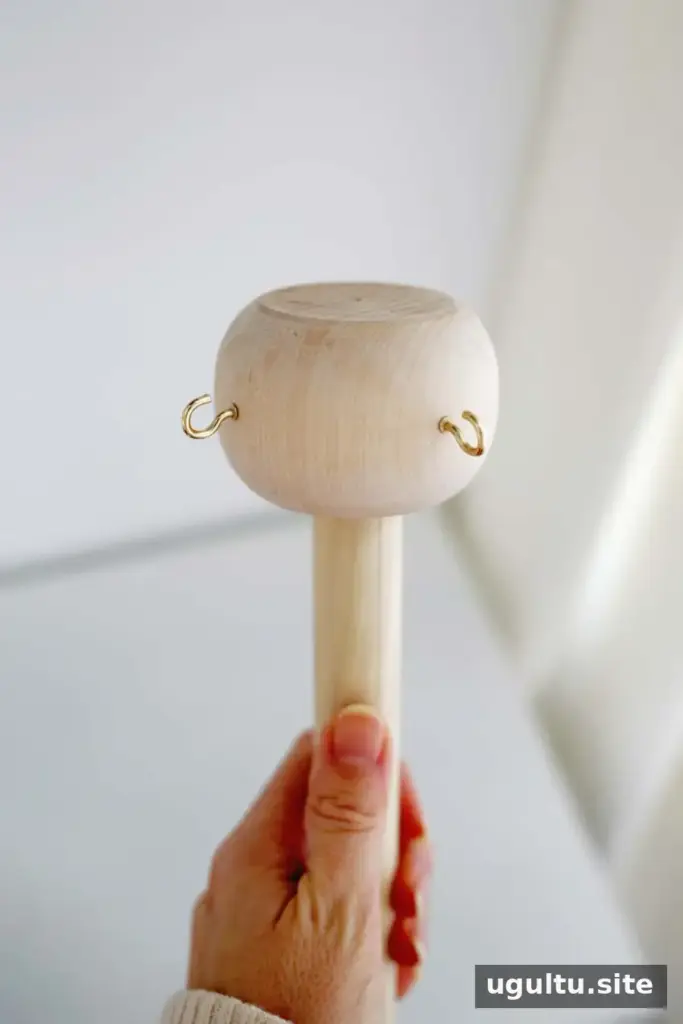
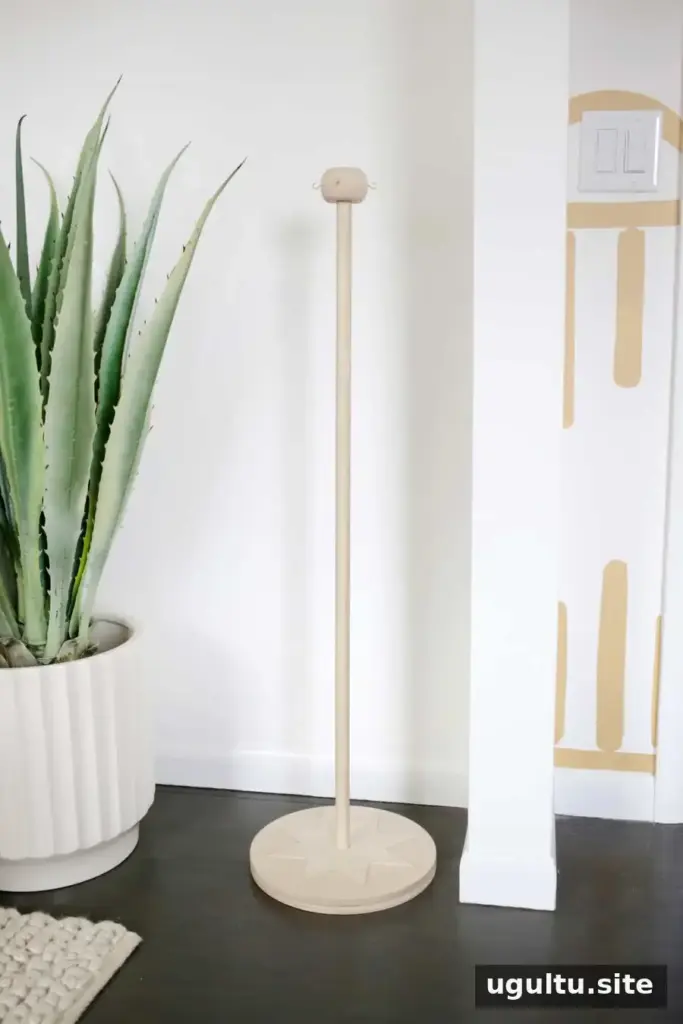
Check whether the tapered end of the handle extends too far through the bottom of the stand; trim it slightly if necessary. Add wood glue to the tapered end and gently tap the pole into the base with a rubber mallet. If using a hammer, place a folded cloth over the knob to protect it. Check that the pole is straight with a level or square and let the glue cure before hanging tools from the hooks.
Make the removable dusting covers
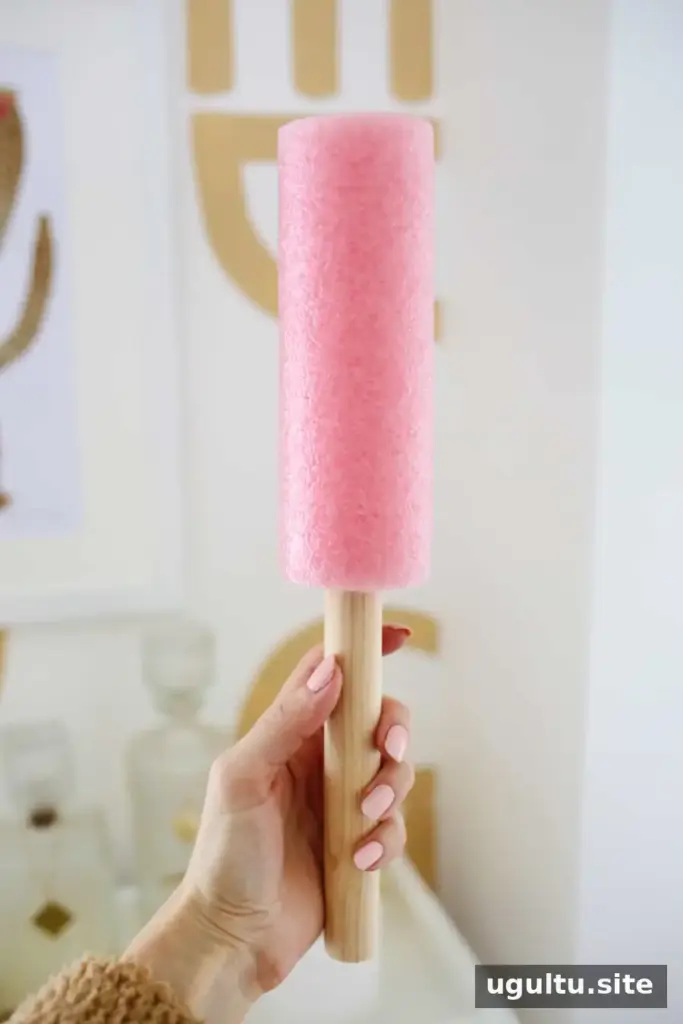
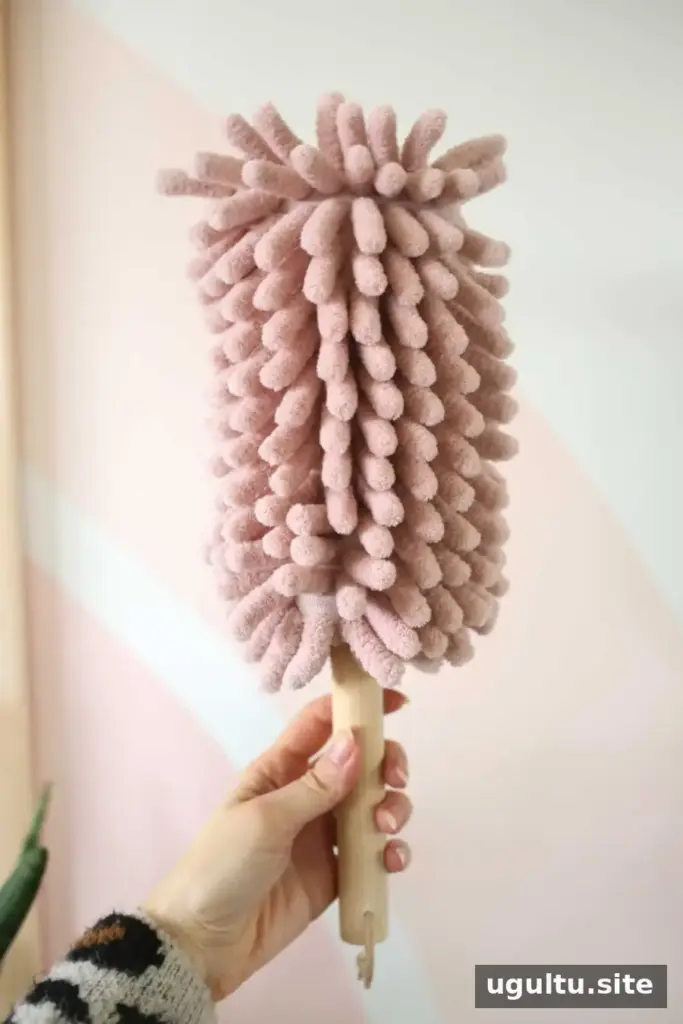
For the hand duster, use hot glue to attach the 13-inch wooden pole inside the pool noodle. Let the glue set. Cut two pieces of shaggy fabric: 7.5 x 9.5 inches for the floor duster and 9.5 x 9 inches for the hand duster. If the fabric is prone to fraying, finish the edges with binding. A firmly woven fabric or one with a full rubber backing may not need this extra step.
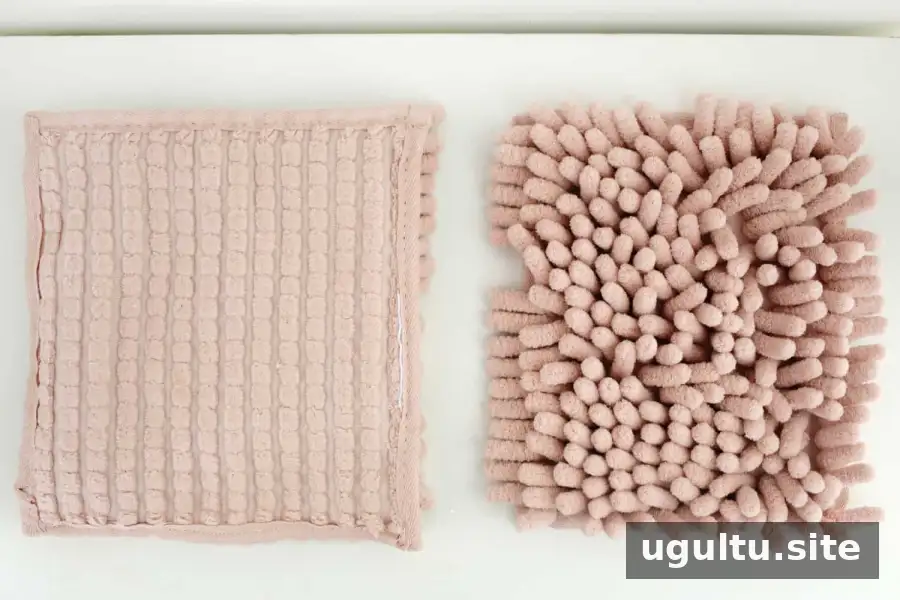
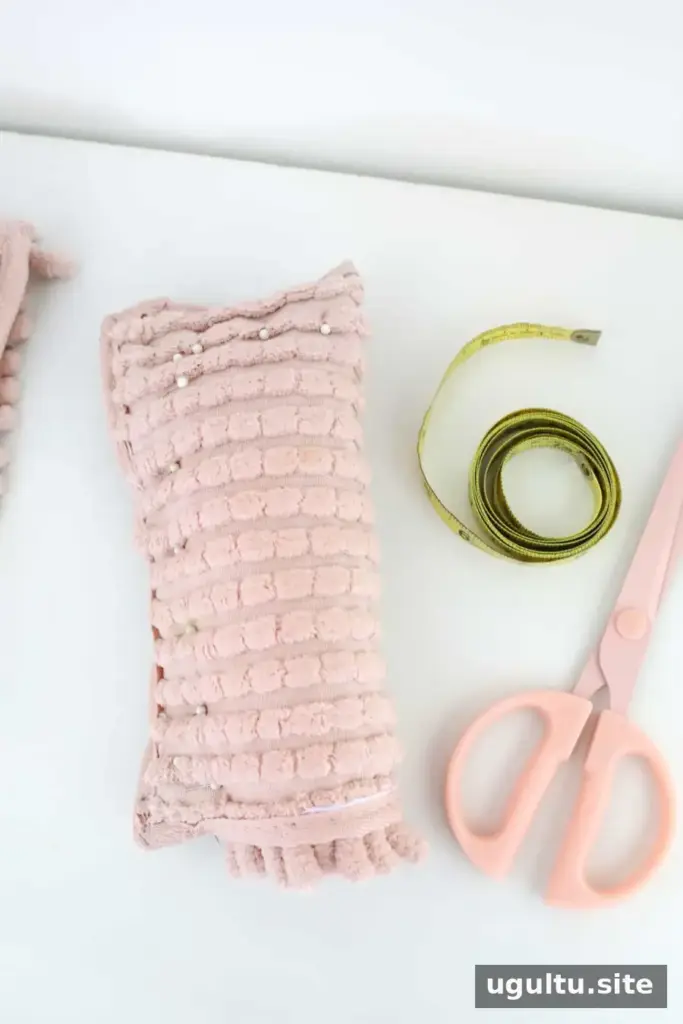
For the hand-duster cover, fold the fabric with the fluffy sides facing inward and the 9-inch edges aligned. Sew along that edge and across the top, leaving the bottom open to create a pocket. Turn it right side out. Add two sets of snaps at the opening so the cover can close around the pool noodle and be removed for washing. Hand-sewing may be easier if the fabric is too thick for a sewing machine.
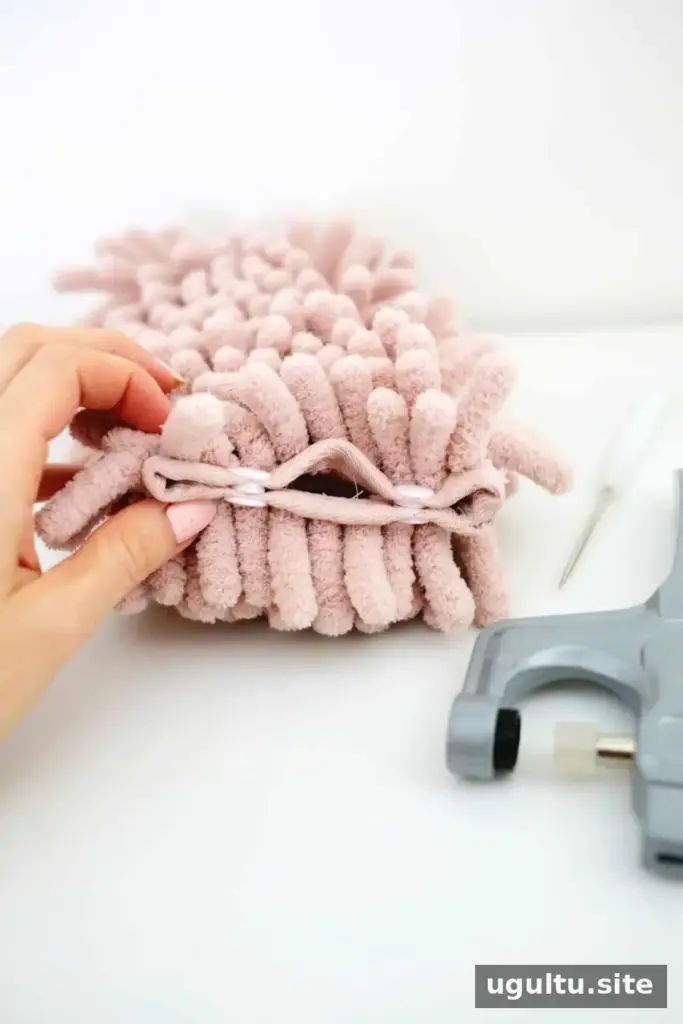
Slide the cover over the noodle and fasten the snaps. Drill a small hole about 1 1/2 inches from the top of the handle and add a leather hanging cord.
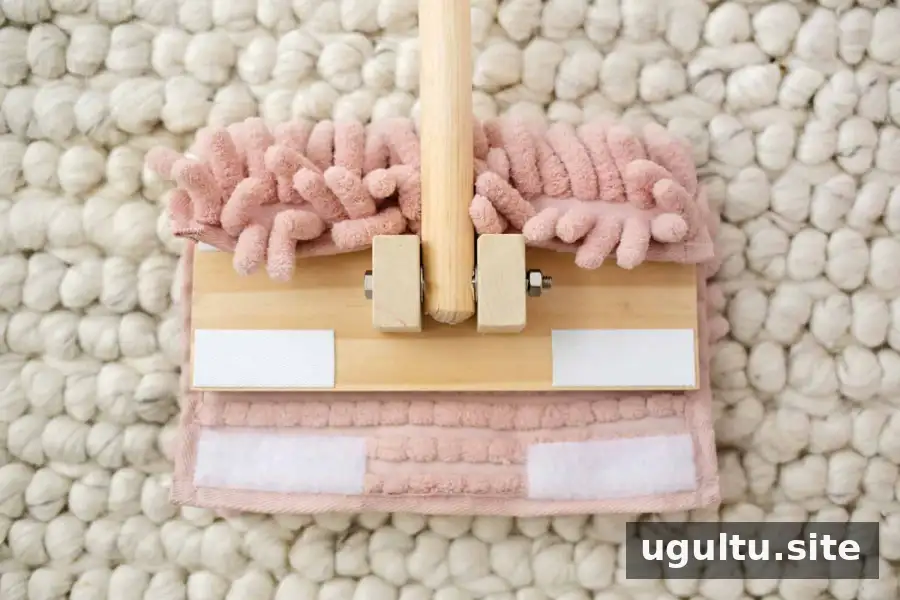
For the floor-duster cover, sew four loop-side hook-and-loop strips, each about 3 inches long, onto the fabric side, with two strips at each end. Attach four matching hook-side strips to the wooden base. This allows the cover to stay in place during use and come off for washing.
Using and caring for the finished set
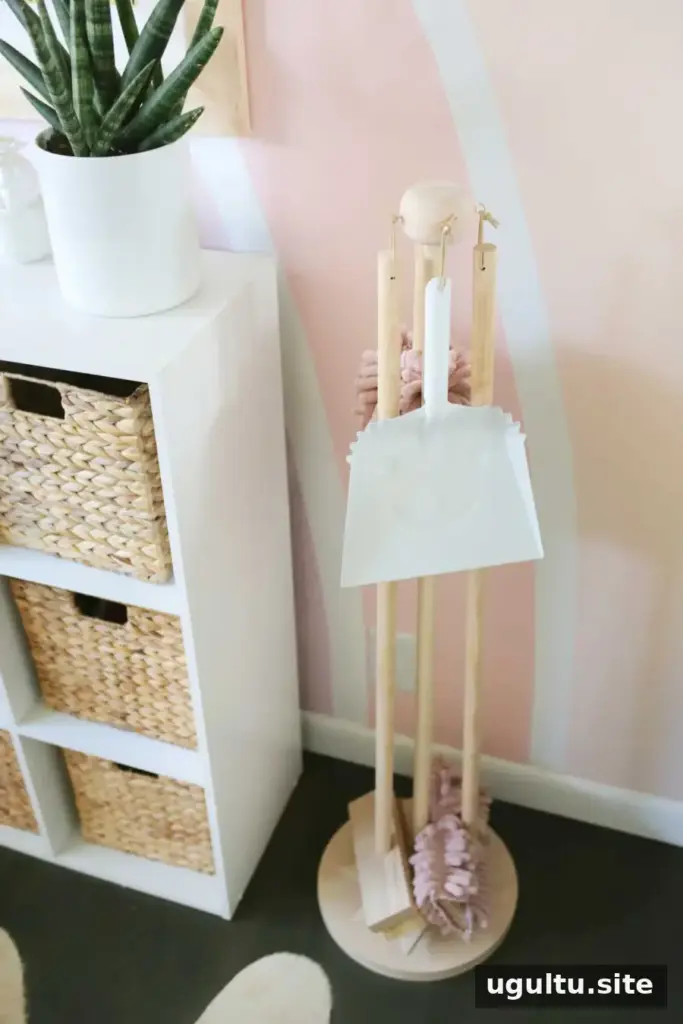
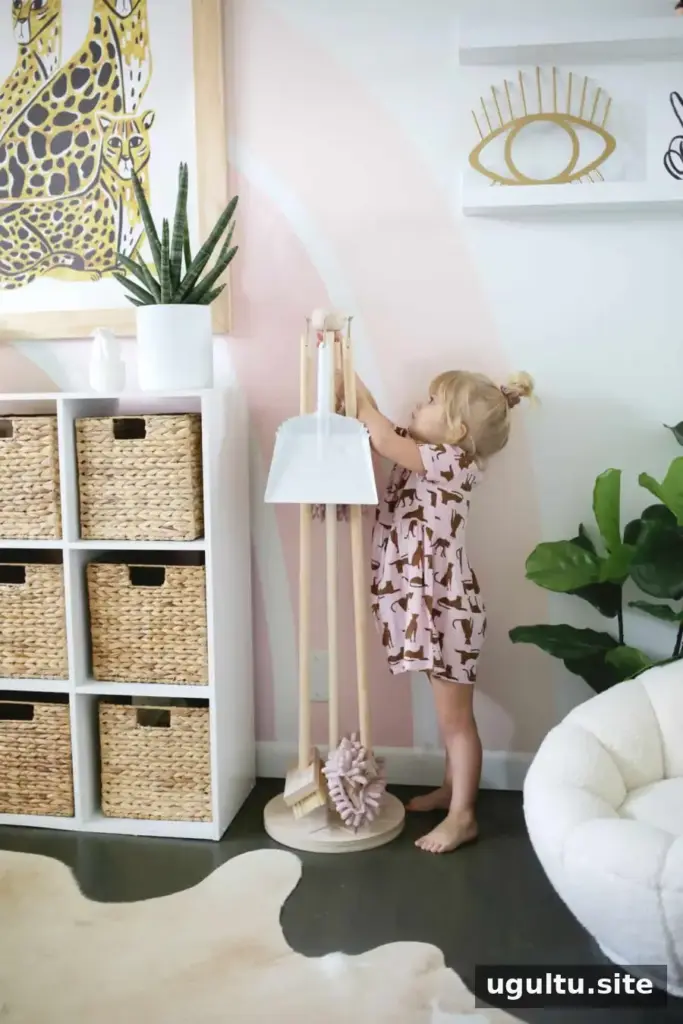
Hang the broom and dusters from the stand’s cup hooks, keeping the tools within reach when an adult is supervising. Remove the fabric covers for washing as needed, and check the glue, bolt, hooks and snaps periodically for looseness or wear. Sand any rough spots again before the next play session.
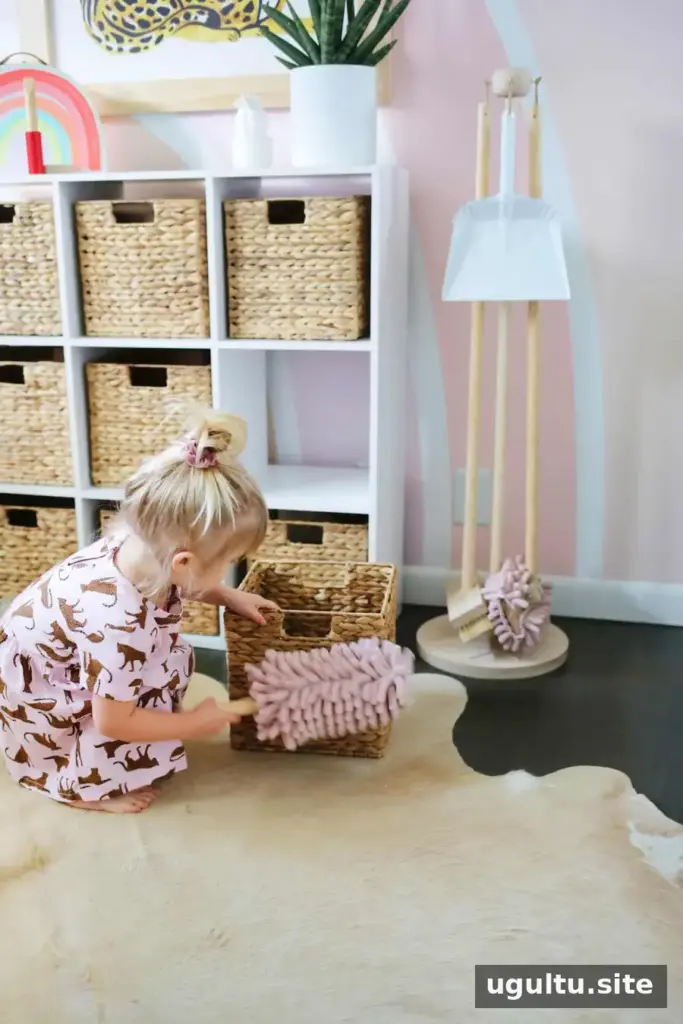
This wooden cleaning set DIY gives children tools sized for their play while offering a simple way to practice tidying alongside an adult. The removable covers make cleaning up after play more convenient, and the stand helps keep the pieces together. —Laura


