
 admin


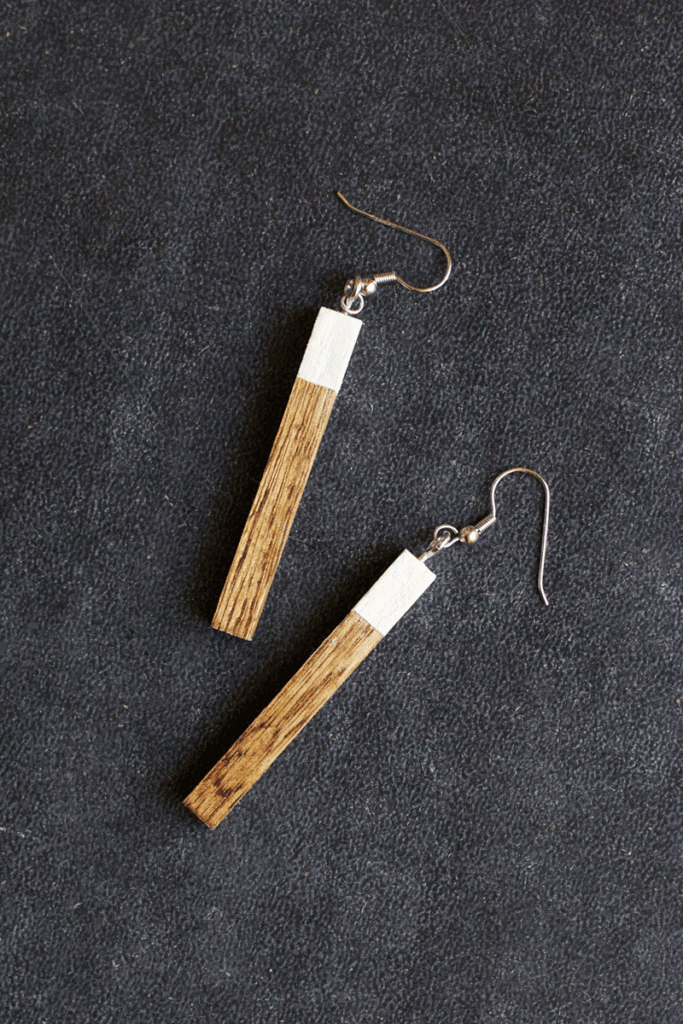
Modern wooden earrings are a simple way to add a clean, contemporary detail to an outfit. This DIY project uses short pieces of square dowel, a wood stain, and painted tips to create lightweight geometric earrings. The design is easy to customize with different colors, patterns, or dowel lengths.
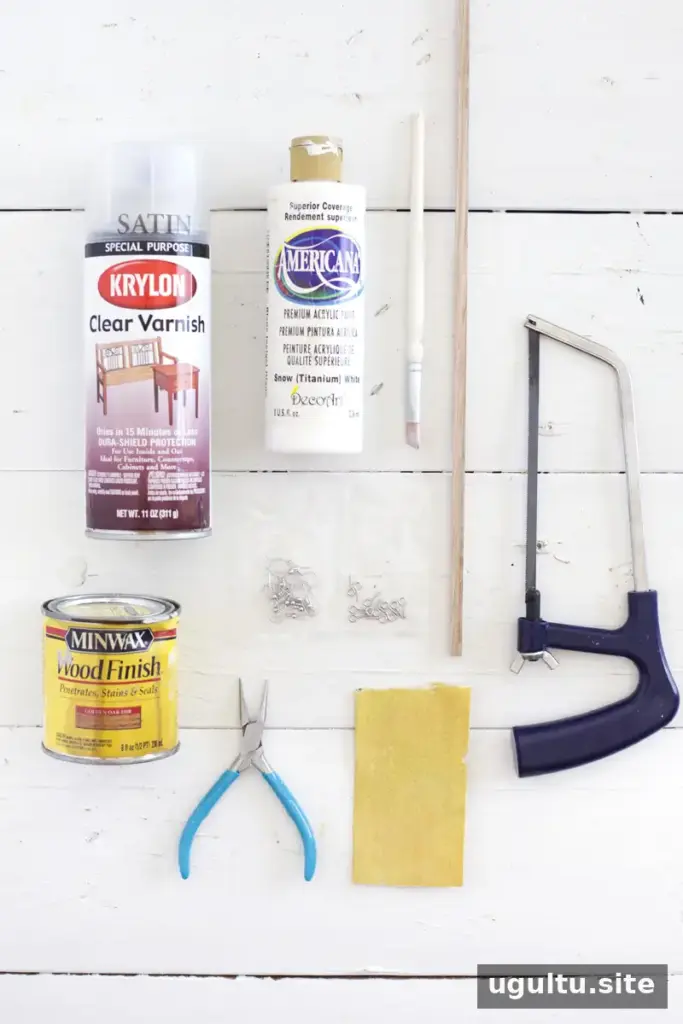
Supplies
- Square wooden dowel
- 2 tiny eyelet screws
- 2 dangle earring hooks
- Wood stain and a rag or paper towel for applying it
- White oil-based primer and paint
- Varnish (optional)
- Painter’s tape (optional when brushing on paint; needed for spray painting)
Tools
- A saw; a miter saw can make clean cuts, while a small craft saw may work with soft wood
- Sandpaper, around 180 grit
- Jewelry-making pliers
- A paintbrush, unless using spray paint
Before starting, work on a stable surface and use care when cutting the dowel. Follow the instructions on the stain, primer, paint, and varnish, including any ventilation and drying guidance on their labels.
How to Make Modern Wooden Earrings
1. Cut the wooden dowels
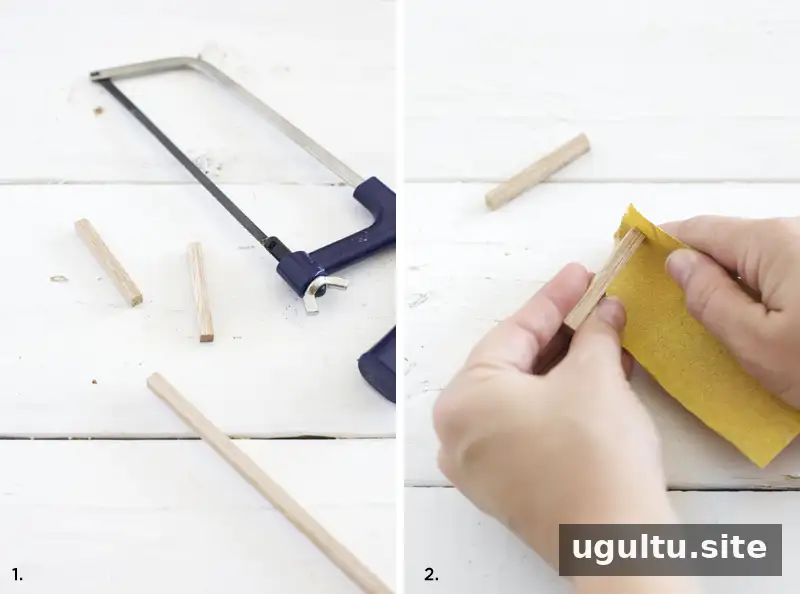
Cut two pieces of square dowel to your preferred length. The pieces in this project are about 2 inches long. A miter saw can provide a neat cut; a small craft saw may also be suitable for soft wood. Keep both pieces as even in length as possible so the finished earrings look balanced.
2. Smooth the cut edges
Sand the edges and ends with approximately 180-grit sandpaper. Removing rough spots helps create a cleaner finish and reduces the chance of splinters. Wipe away sanding dust before applying stain.
3. Apply wood stain
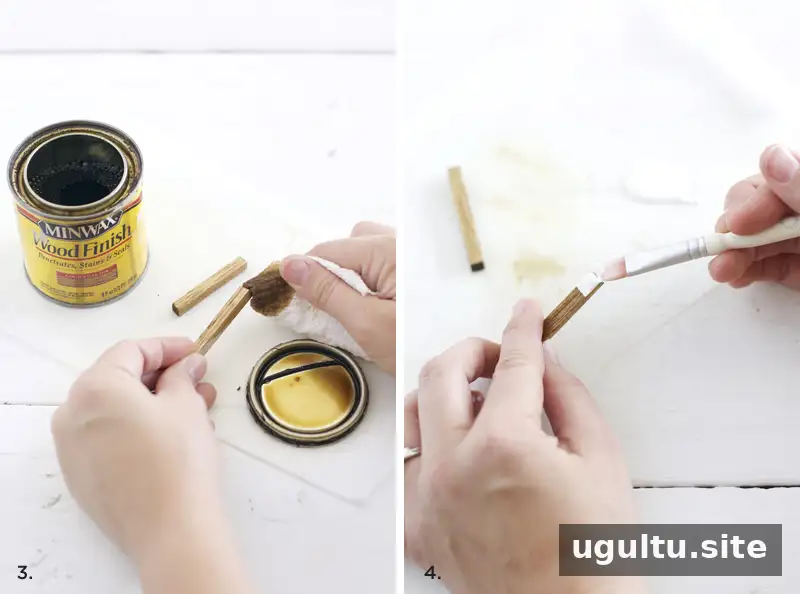
Use a rag or paper towel to apply wood stain in the color you prefer. The example uses a Golden Oak shade. Apply the product according to its label and allow the wood to dry as directed before moving on to the painted details.
4. Prime and paint the tips
Paint the ends or tips with white oil-based primer, then add your chosen paint color. Primer helps prepare the wood for paint and can help prevent the finish from soaking into the grain and cracking or peeling. Painter’s tape can make a straight boundary when brushing on paint and is necessary for spray painting. Let the finish dry fully before handling the dowels.
5. Add the eyelet screws
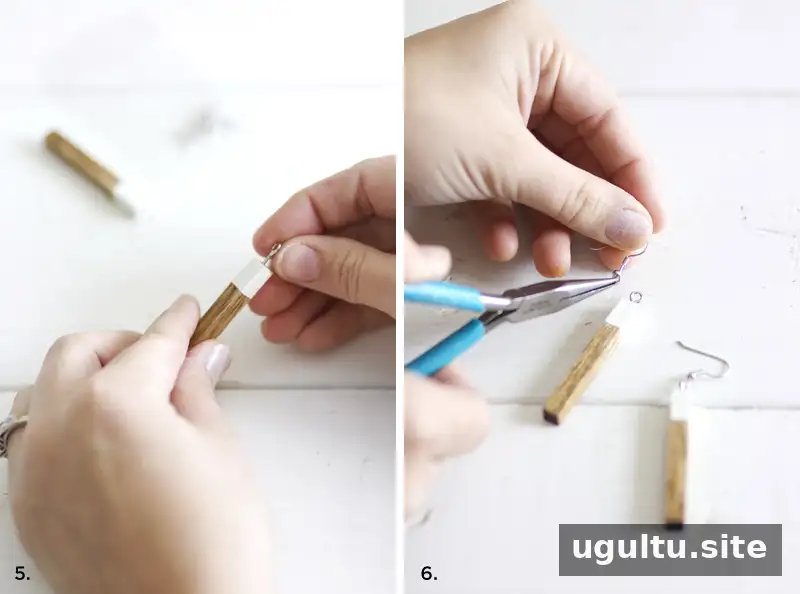
Screw one tiny eyelet into the top of each wooden piece. Turn it in by hand, or use pliers to help twist it into place. Keep the eyelets aligned so the earrings will hang evenly.
6. Attach the earring hooks
Use small jewelry pliers to open each earring hook. Loop it through an eyelet, then close the hook securely. If desired, apply varnish as an additional finish, following the product’s drying instructions before wearing the earrings.
Customize the Design

The geometric shape gives these earrings a modern, handmade look, while simple changes can make each pair distinct. Try varying the dowel length or width, painting stripes or other patterns, or choosing colors that suit the intended outfit. Painter’s tape can help create crisp color blocks; remove it carefully after painting, following the paint’s instructions.
These earrings are also a useful project for using leftover craft materials. For a coordinated pair, plan the colors and paint placement before decorating both pieces, and compare them as you work. With their straightforward construction and customizable finish, modern wooden earrings can be adapted to many personal styles.
—Mandi


