admin


A wooden ride-on car DIY project can turn basic lumber and hardware into a memorable toy for a young child. This build uses shaped plywood-style side panels, a simple wooden body, four wheels, and a steering wheel. The design is inspired by a small vintage car, but you can adapt the outline to suit your own project. Read through the steps before cutting, and check every measurement against your materials and wheel hardware.
Materials and tools for a wooden ride-on car DIY
Gather the supplies before you begin. The dimensions below describe the original build; adjust only after confirming that your pieces will still fit together.
- Two boards measuring 3 ft x 2 ft and 3/4 in thick for the car sides
- One 20 in x 6 ft board, 3/4 in thick, for the floor and front and rear panels
- About 103 in of 1 1/2 in-wide, 3/4 in-thick boards for trim and other parts
- Two seat boards, each 10 in wide and cut to 20 in long, plus four corner braces to support the seat
- Two fixed 6 in wheels and two swivel 6 in wheels
- Two door handles, wooden circles for the headlights (one 3 in and one 4 in circle per headlight), a seat belt, and a wooden steering wheel
- A long bolt and two nuts for the steering wheel; nails, wood screws, wood glue, wood filler, and sandpaper
- A jigsaw, a miter saw, a drill, and a hammer or nail gun
- Paint, basswood for decorative details, and optional 1 in upholstery foam and vinyl for the seat
- A wooden car template, or a design you create yourself
Optional push handle supplies: two 24 in sections of 1/2 in threaded pipe, one 12 in section of 1/2 in threaded pipe, two 1/2 in elbow fittings, two 1/2 in floor flanges, eight nuts and bolts, and metal paint.
Prepare and cut the car sides
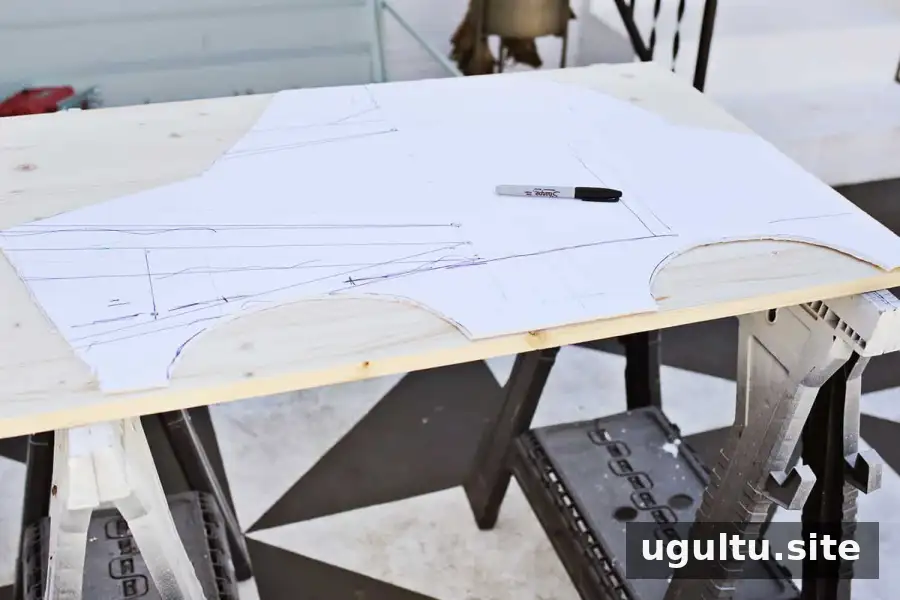
Print the template at a large-format print shop so the finished image measures 3 ft wide by 2 ft tall. You can also draw a custom outline, using the same assembly approach. Trace the design onto both side boards.
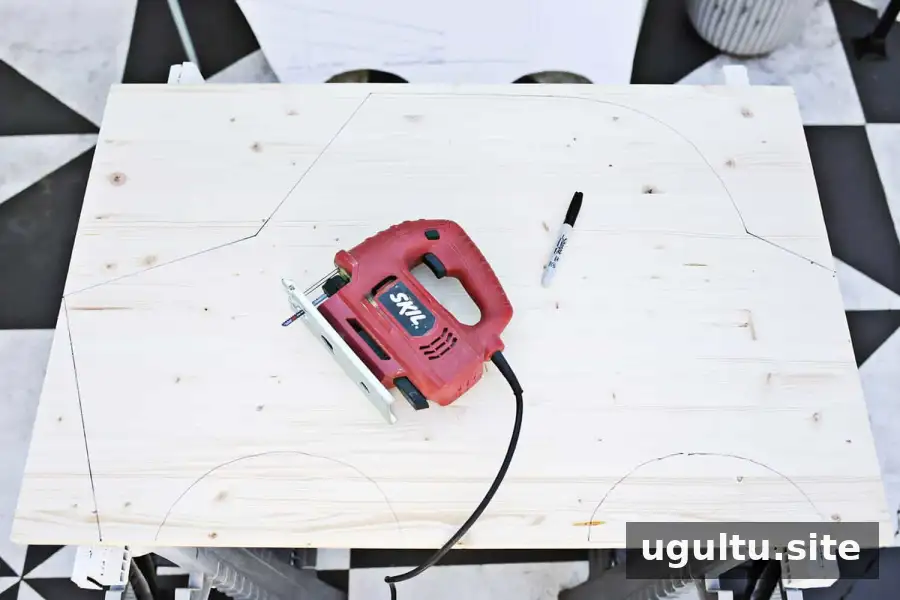
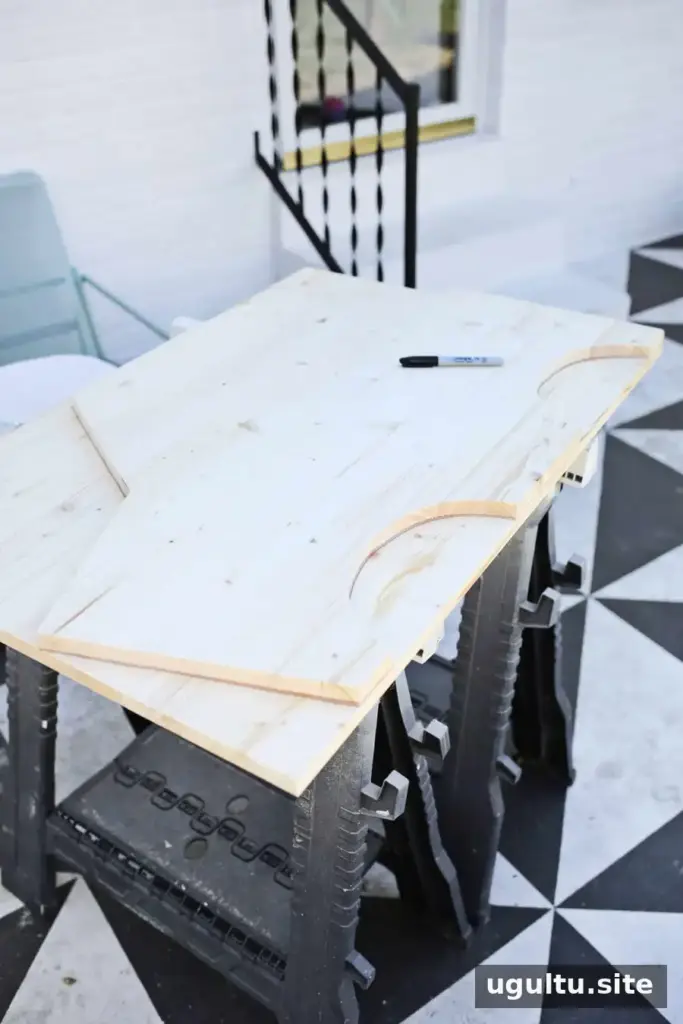
Cut out the two side profiles with a jigsaw. Cut the window openings at this stage as well. To start an interior cut, drill a hole large enough for the jigsaw blade to pass through, then carefully cut along the marked shape. Clamp the boards securely and keep hands clear of the blade.
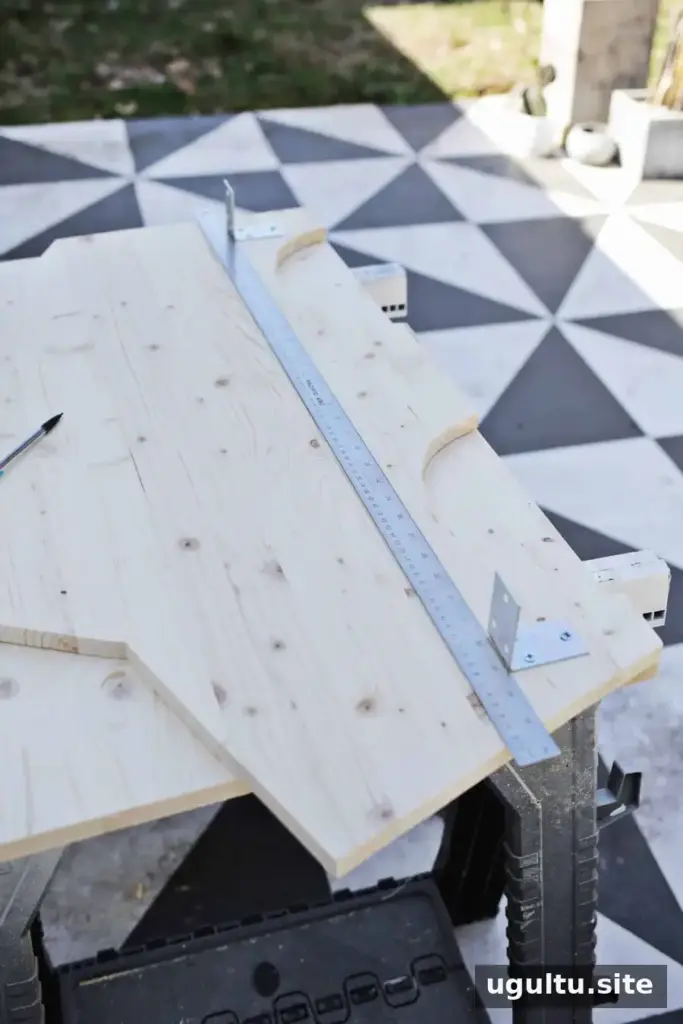
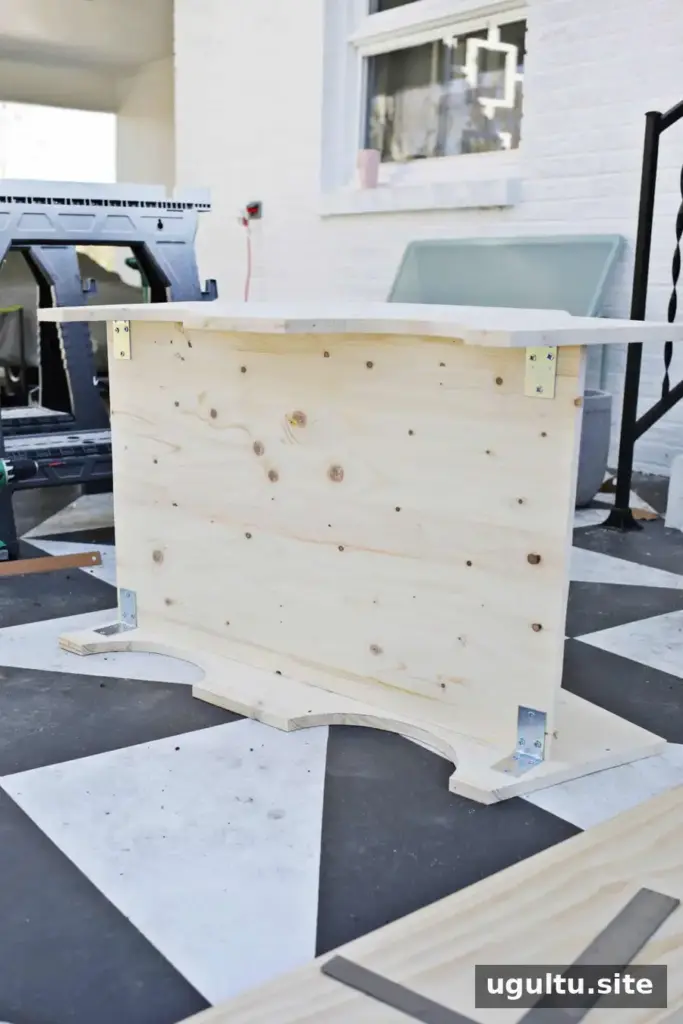
Attach two corner braces to the inside of each side panel, positioning them 5 in above the bottom edge. These braces will support the floor.
Assemble the floor, wheels, and seat supports
Cut the 20 in-wide board to fit between the front and rear edges of the side panels, leaving about 1–2 in at each end for the front and rear panels. Secure the floor to the corner braces with wood screws.
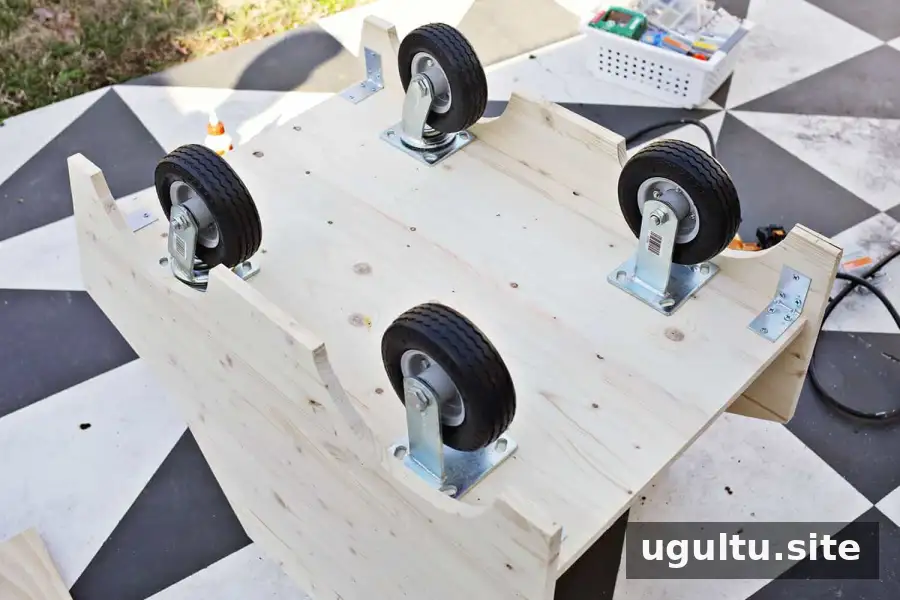
Place the swivel wheels at the front and the fixed wheels at the rear. Mark and drill the mounting holes through the floor, then fasten the wheels with bolts and nuts. Make the wheel openings elongated enough for the front swivel wheels to turn without obstruction. You can remove the wheels during construction for a more stable workpiece and reinstall them at the end.
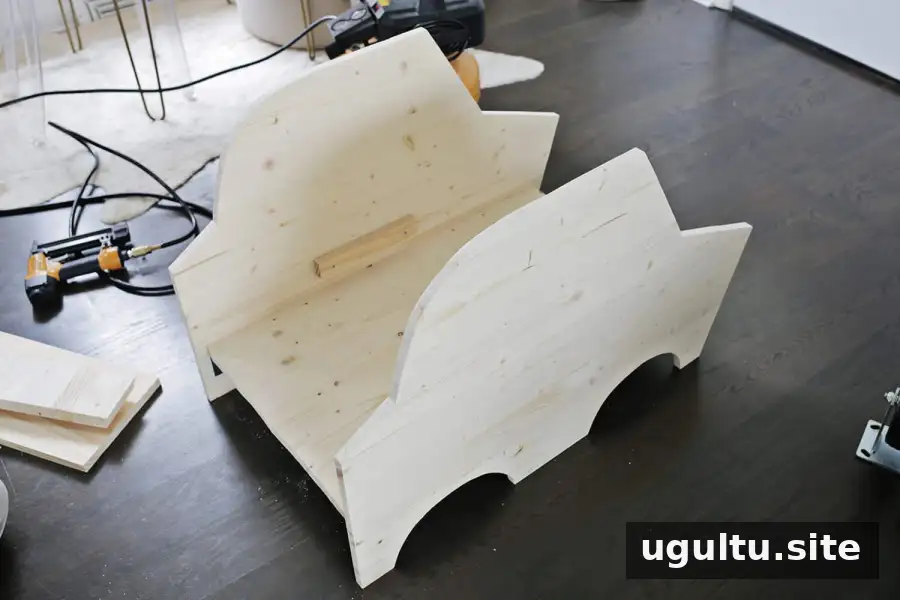
For the seat supports, cut two 10 in-long wood strips and attach one to the inside of each side panel, about 2 in above the floor. The seat will rest on these ledges.
Fit the front and rear body panels
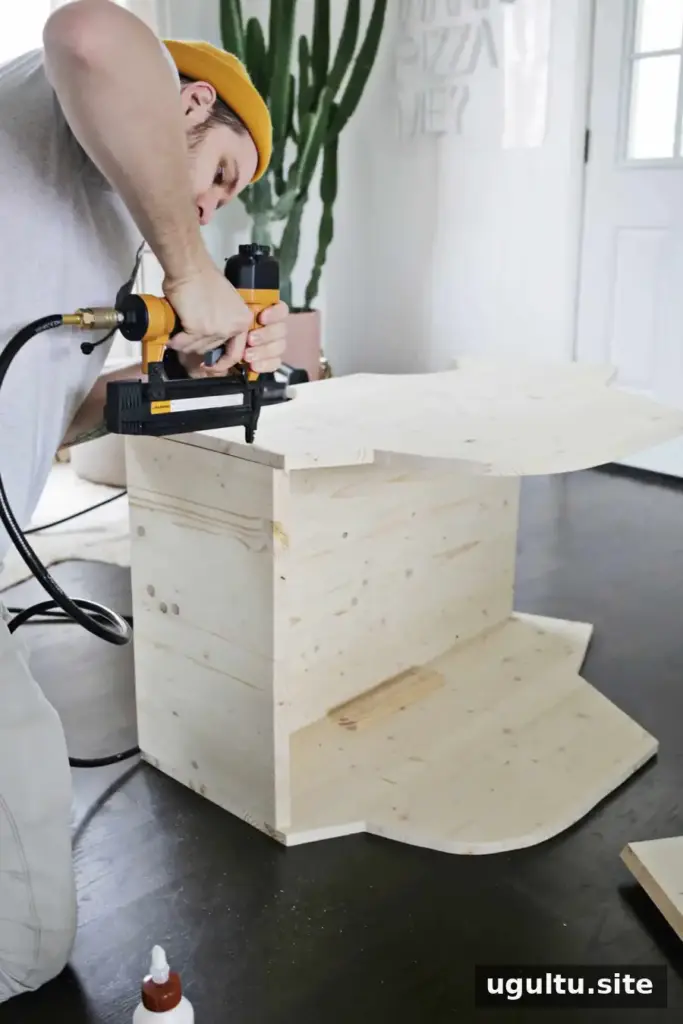
Cut the lower rear panel from the 20 in-wide board so it stops 3/4 in below the top of the car’s rear section. If your saw cannot cut the full width, divide the board lengthwise with a jigsaw, cutting the pieces slightly longer than needed. Trim each half with the miter saw.
Cut the bottom edges straight and the top edges at a 30-degree angle. Glue the halves together, then reinforce the inside seam with a horizontal scrap of wood, glue, and screws. Nail or screw the panel between the two side pieces. For the upper rear panel, use the same approach, with the lower edge angled at 30 degrees and the top cut straight where it meets the window area.
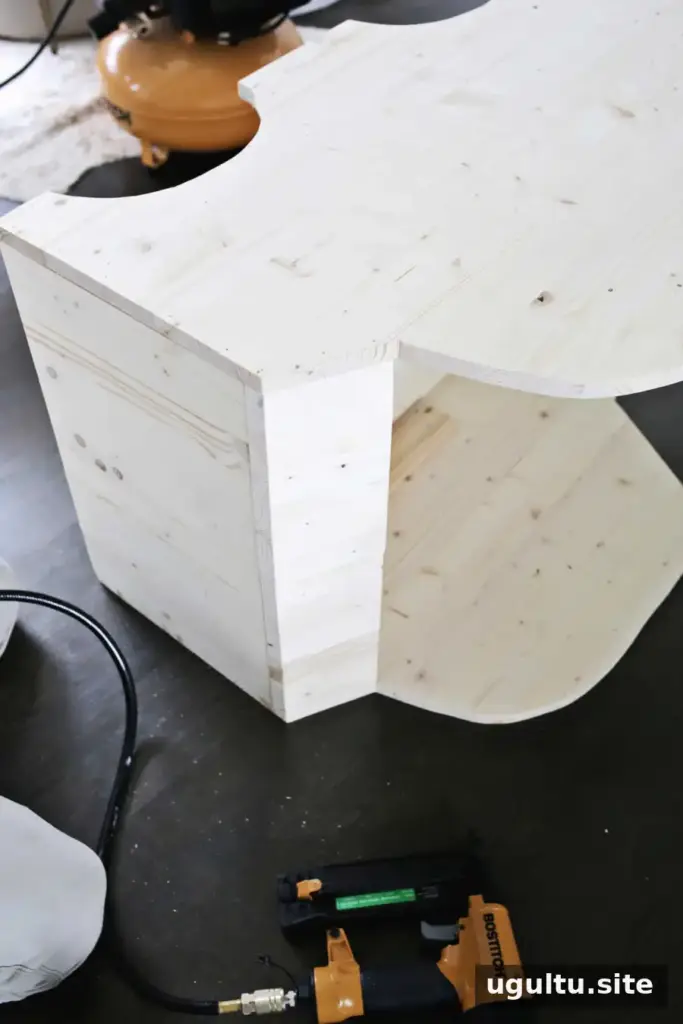
Make the front panels in a similar way, but use a 45-degree angle at the nose. Test the angles with scrap wood first, then adjust the cuts as needed to fit the body.
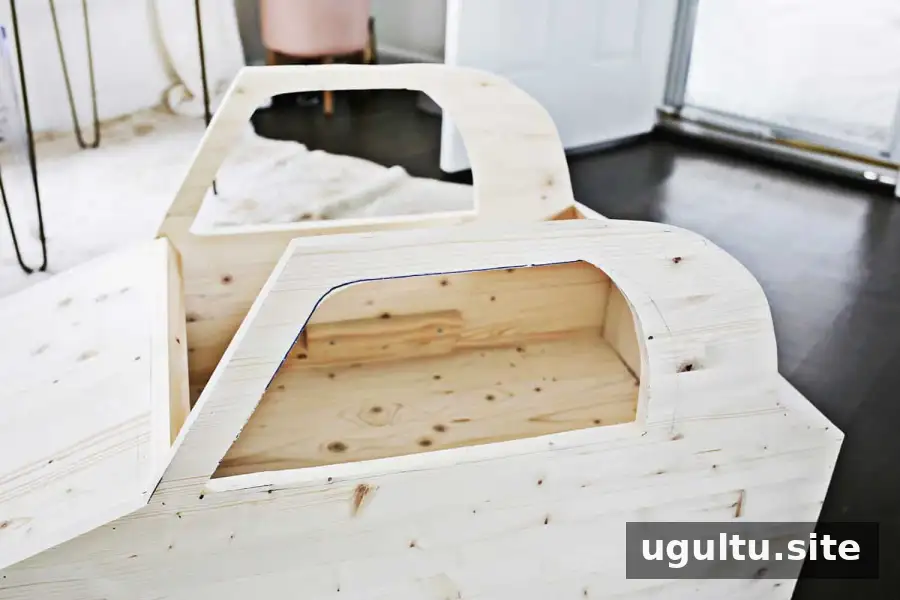
Cut out the windows if you have not already done so. Working from the marked outline helps keep both sides consistent.
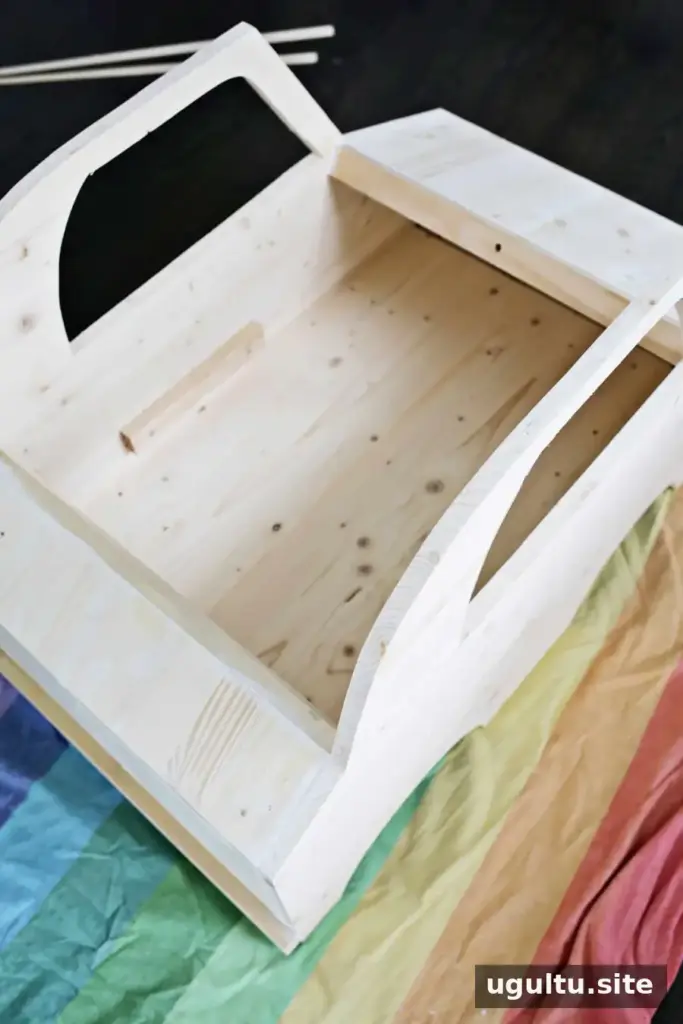
Cut two 20 in pieces from the 1 1/2 in-wide boards and attach one across the top of each front and rear panel. These pieces finish the edges and provide a mounting point for the steering wheel. Drill a 3/8 in hole in the front piece for the steering-wheel bolt. Use wood glue and nails to secure the boards.
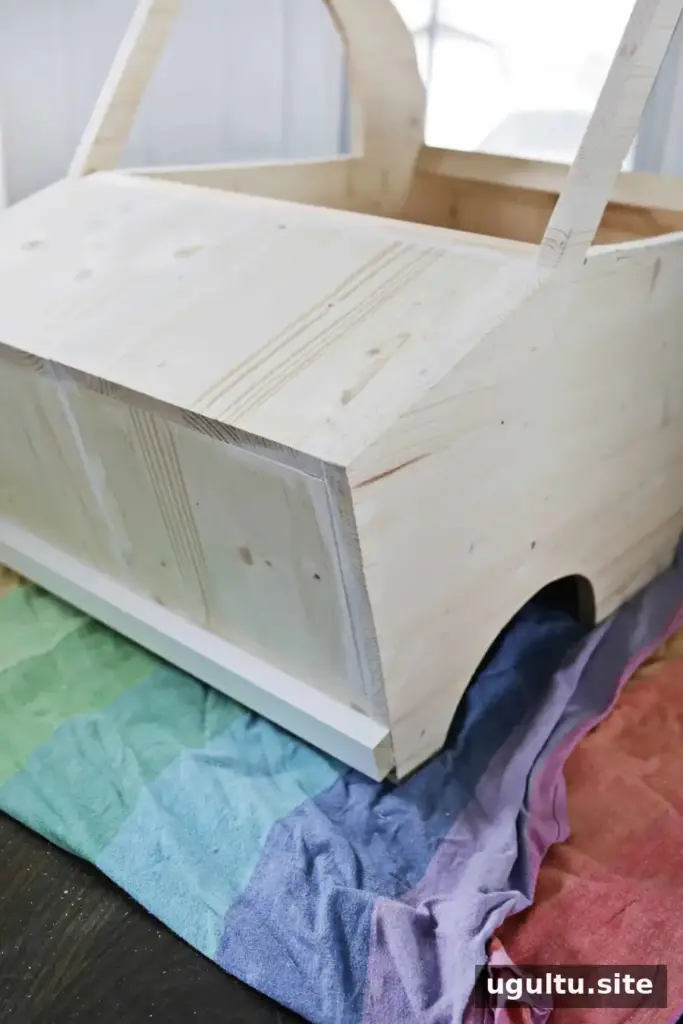
Fill gaps with wood filler or caulk, let the material dry, and sand the repaired areas lightly. If desired, add front and rear bumpers using the 1 1/2 in boards, wood glue, and nails.
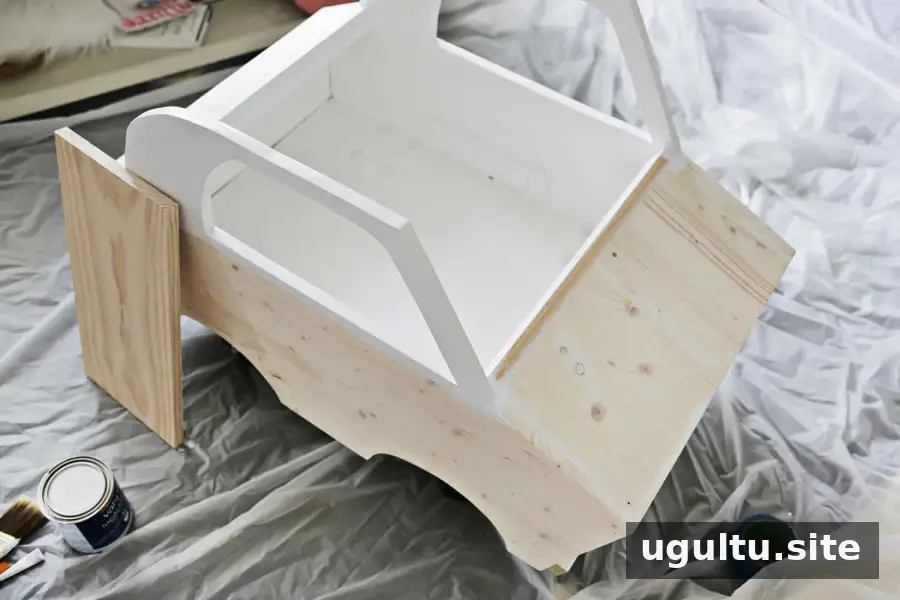
Paint and install the seat
Paint the inside and the upper window sections, then allow them to dry fully. The car is intended for indoor use or storage in a shed or garage; choose paint appropriate for the conditions where you plan to keep it and follow the paint manufacturer’s directions.
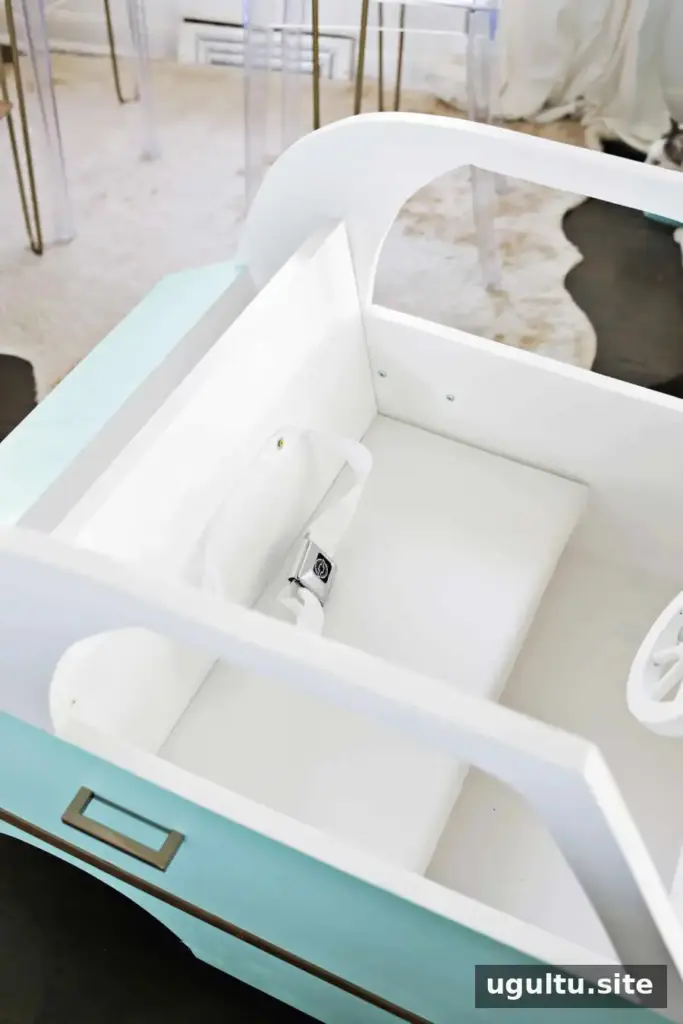
Cut two seat pieces from the 10 in-wide boards, each 20 in long. Paint them, place the bottom section on the supports, and position the backrest at a slight angle behind it. Glue the pieces in place and add nails from the outside of the body. The original build attaches the belt to the seat in two places with screws and washers. Do not treat a DIY seat belt as a certified child restraint; supervise play and use the car only in a safe setting.
For a softer seat, cover the bottom board with 1 in upholstery foam, wrap it in vinyl, and staple the material underneath.
Add the steering wheel and finishing details
Paint the wooden steering wheel and attach it through the 3/8 in hole with a long bolt and two nuts. To let the wheel turn, position a nut on each side of the dashboard and leave enough clearance for the wheel to rotate without becoming loose.
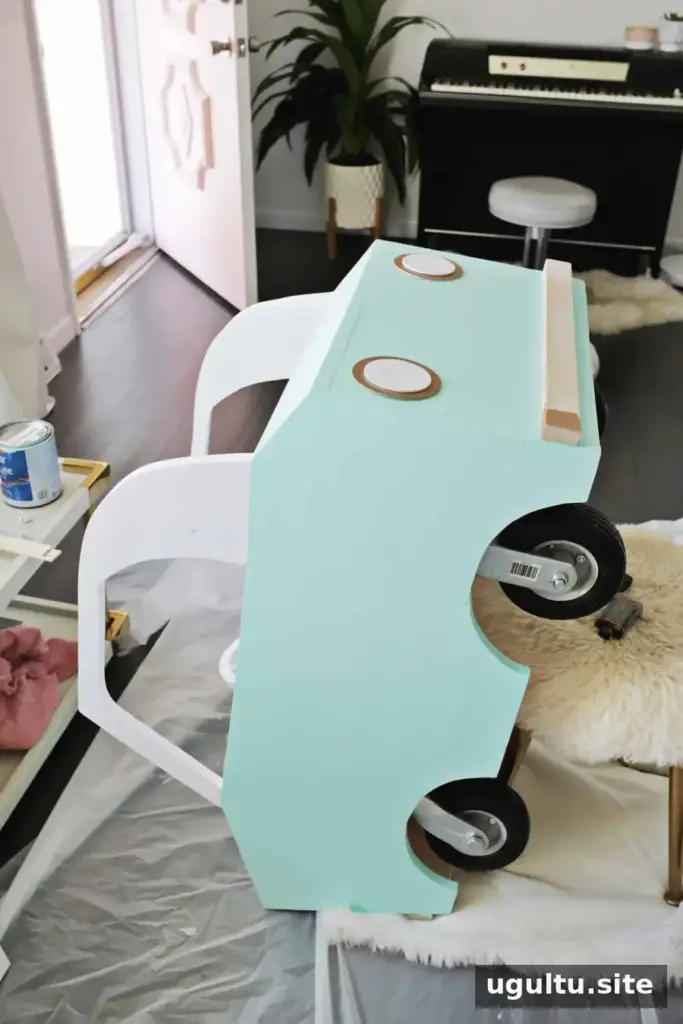
Paint the rest of the car in your chosen color. Add details such as wooden-circle headlights, a license plate, and side trim made from basswood. Reattach the wheels if you removed them. Before use, check that all fasteners are tight, the wheels turn as intended, and there are no rough edges or splinters.
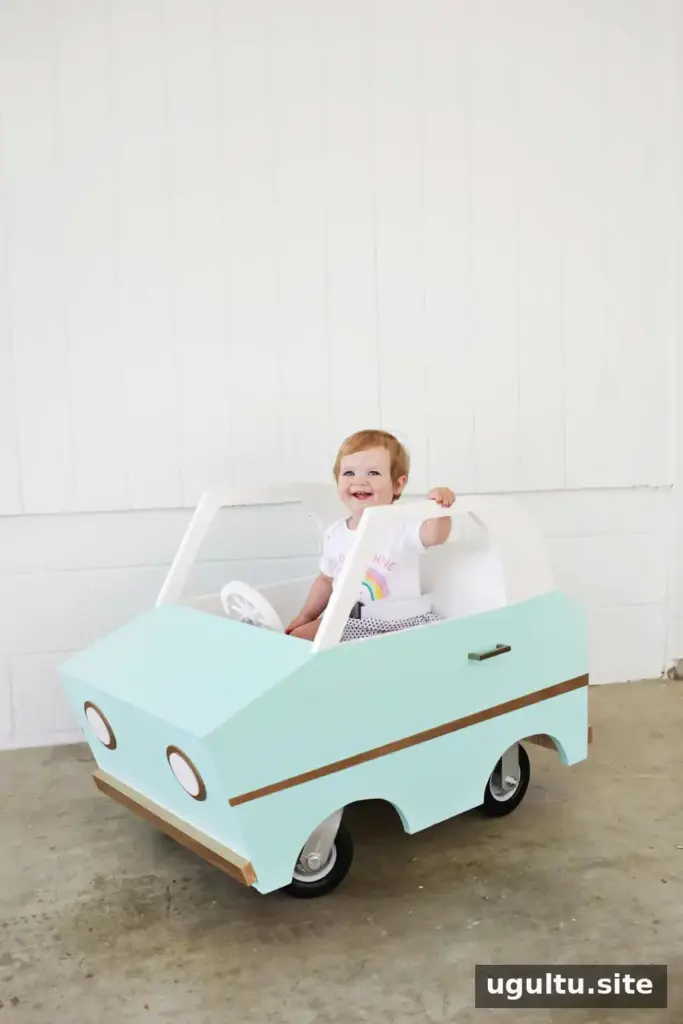
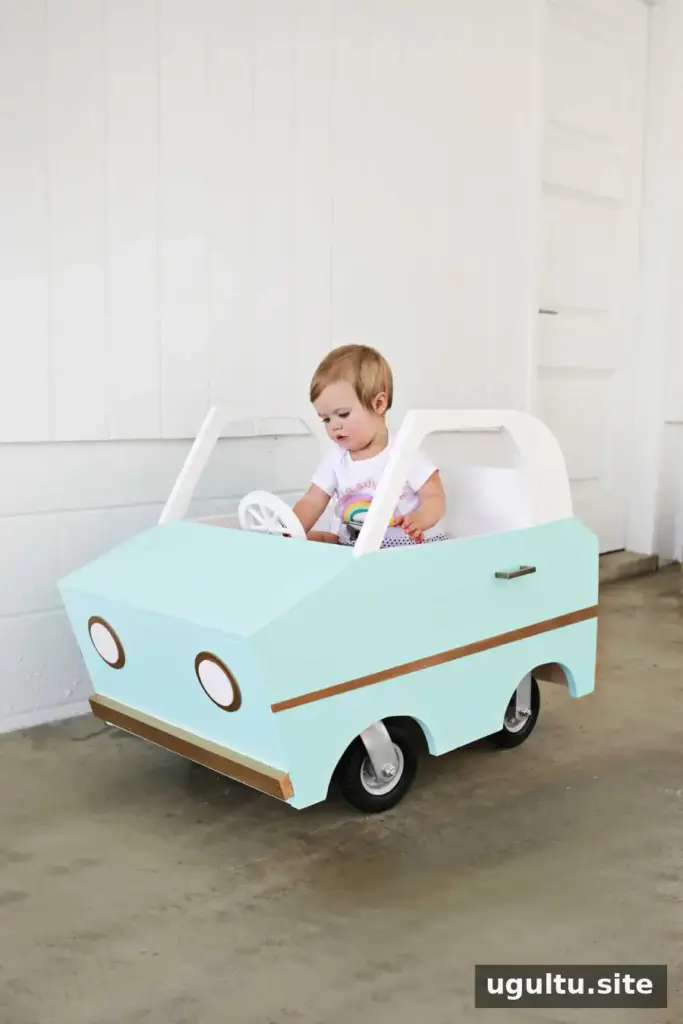
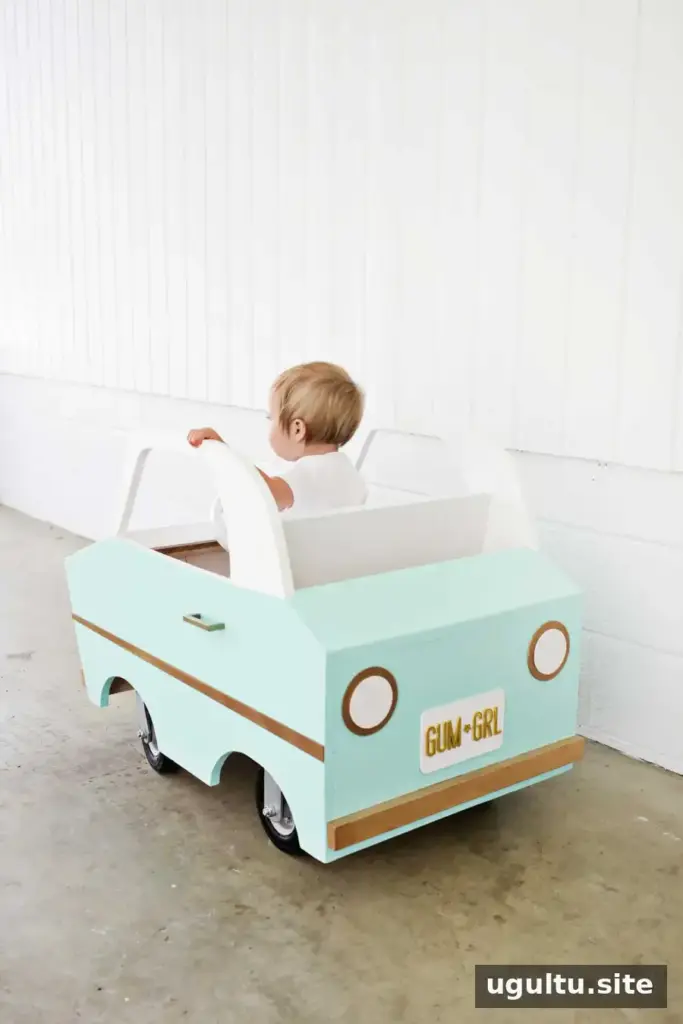
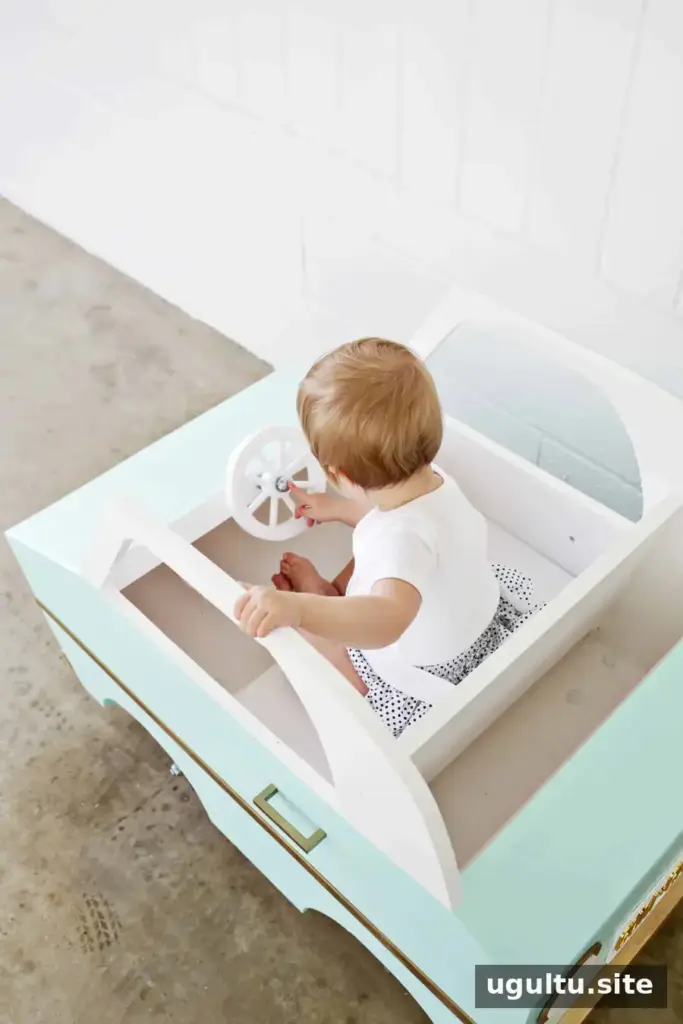
The finished car can be pushed by holding its rear body. For a taller pushing position, assemble the optional handle from the threaded pipe, elbow fittings, and floor flanges, then attach the flanges to the car with nuts and bolts. Clean and paint the metal parts before use, and remove the handle for storage if desired.
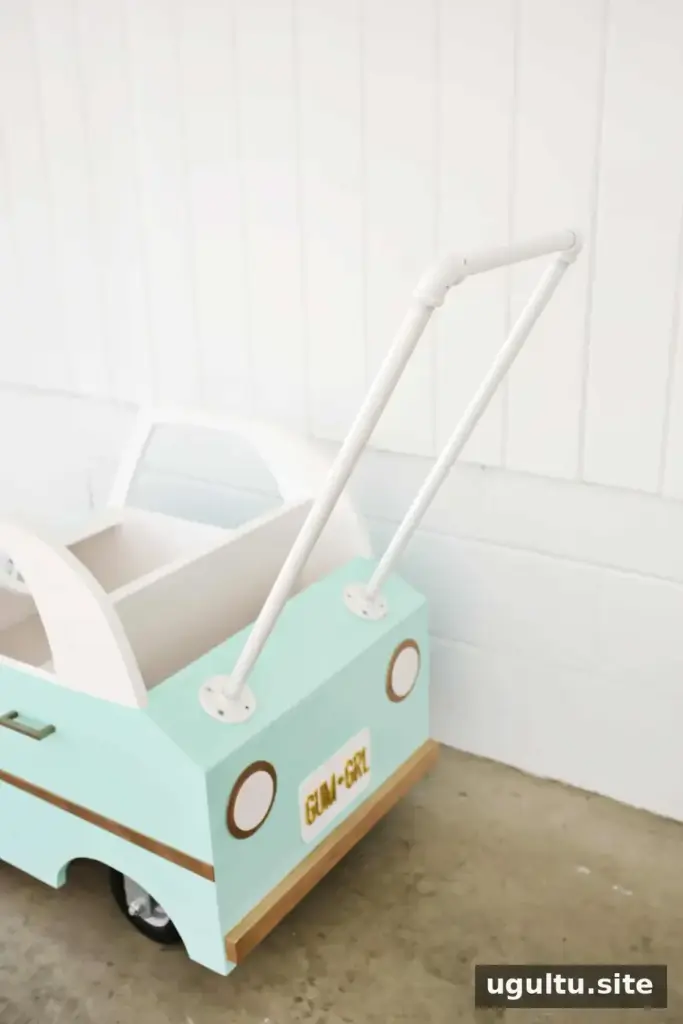
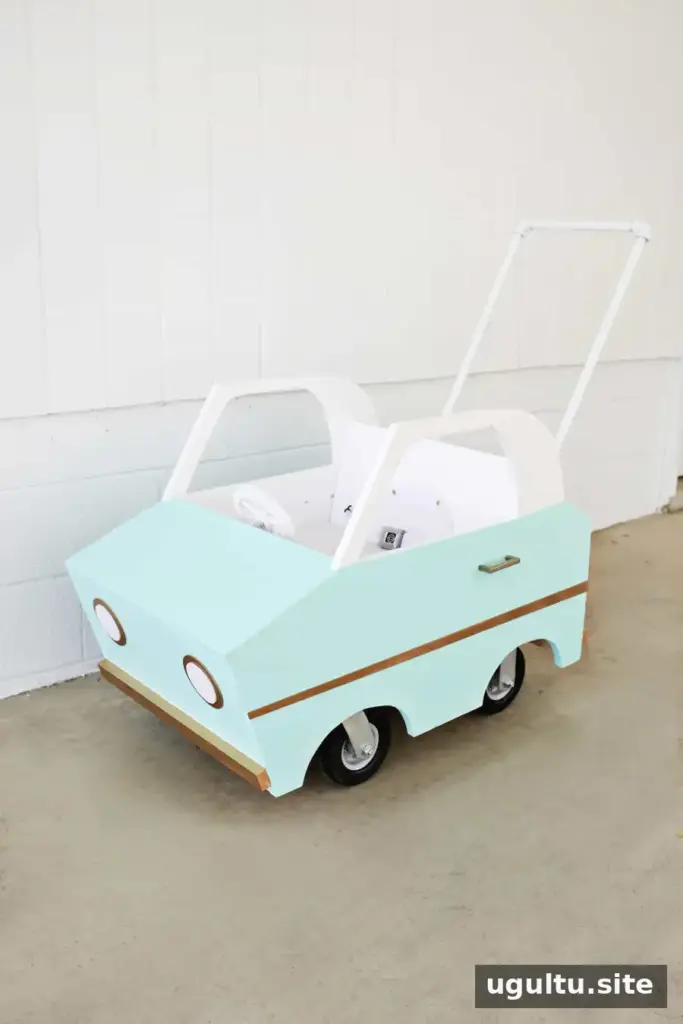
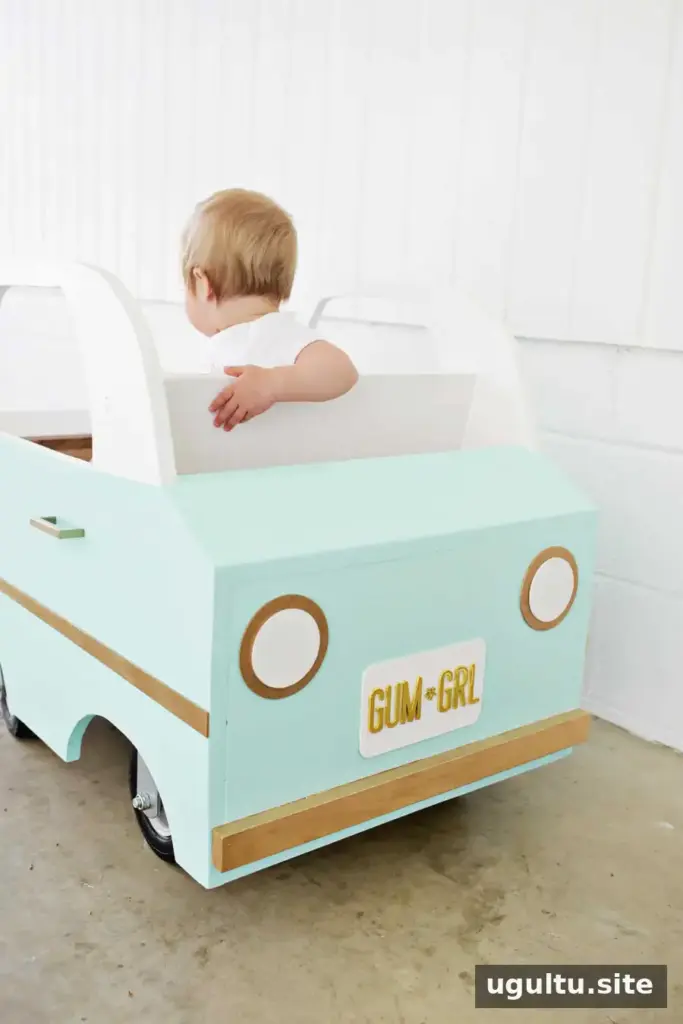

This project is suited to supervised play on a flat, controlled surface, such as a paved driveway or a suitable indoor floor. The original build was used with a child weighing about 30–35 lb who was nearly 3 years old, but that report is not a tested weight rating. The project provides no exact capacity or age specification. Stronger wood, extra floor braces, and additional support under the seat may affect the structure, but they do not replace careful inspection or appropriate adult judgment.
Only allow a child who can sit upright and support themselves without assistance to use the car, and keep an adult in charge throughout play. Check the body, seat, handle, steering wheel, and wheels before each use. Project by Laura.