admin
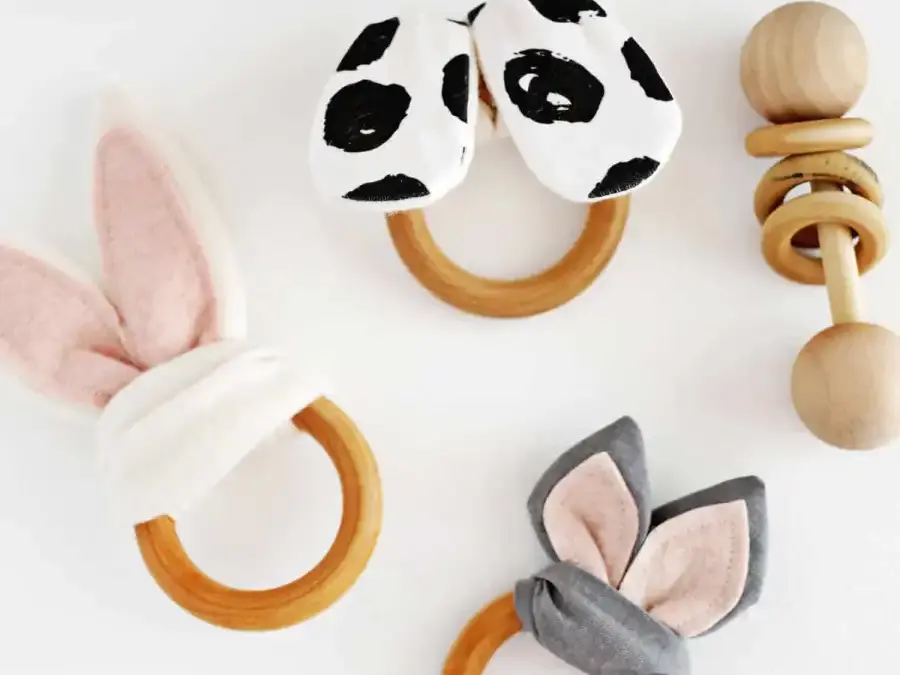
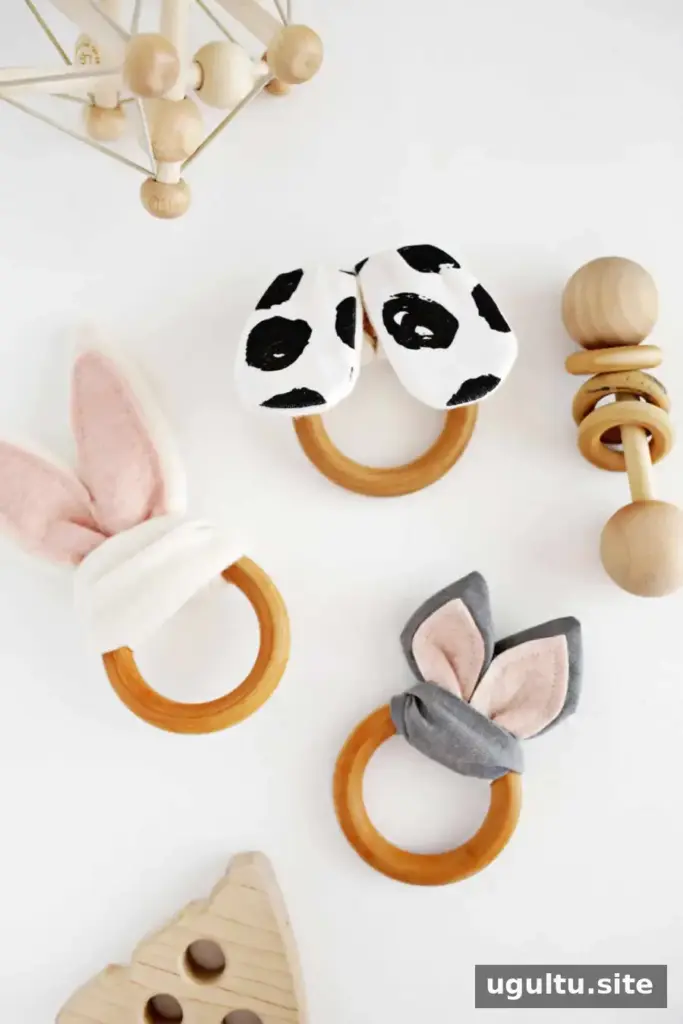
A wooden ring crinkle teether combines an easy-to-grasp ring with soft fabric ears that make a gentle crinkling sound. This DIY project shows how to sew bunny, cat, or puppy-style ears and attach them to a wooden ring. Make sure every material is suitable for an infant toy, and supervise a baby whenever the teether is in use.
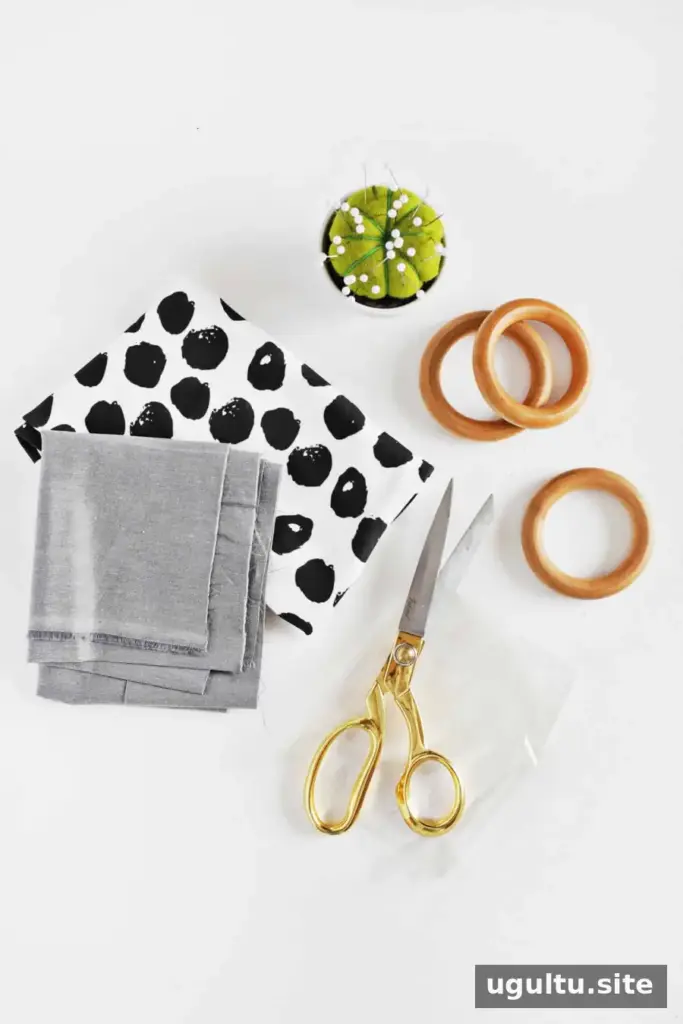
Materials and supplies
- Fabric for the ears in your chosen colors and patterns. Fabric intended for close contact with a baby’s mouth is a practical choice.
- Wooden rings with a finish suitable for infant use.
- Wool felt for details such as the pink sections on bunny or cat ears.
- Crinkle fabric.
- An animal-ear teether template.
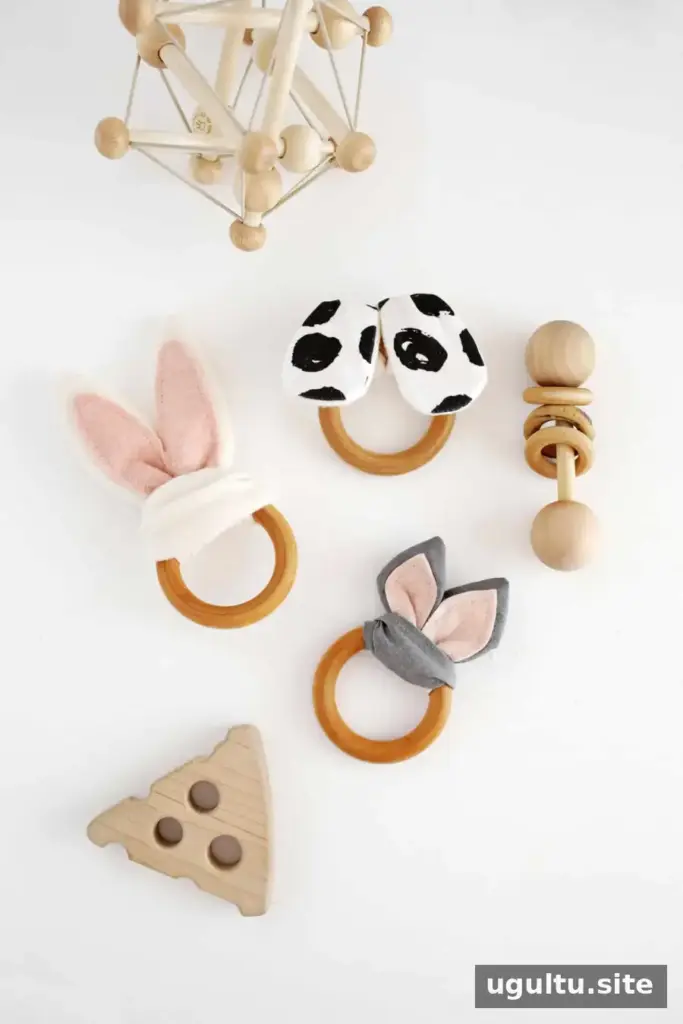
For the examples, white fabric and pink felt were used for the bunny ears, gray fabric and pink felt for the cat ears, and printed fabric with white fabric for the puppy ears. Choose materials that can be securely sewn and follow their care instructions.
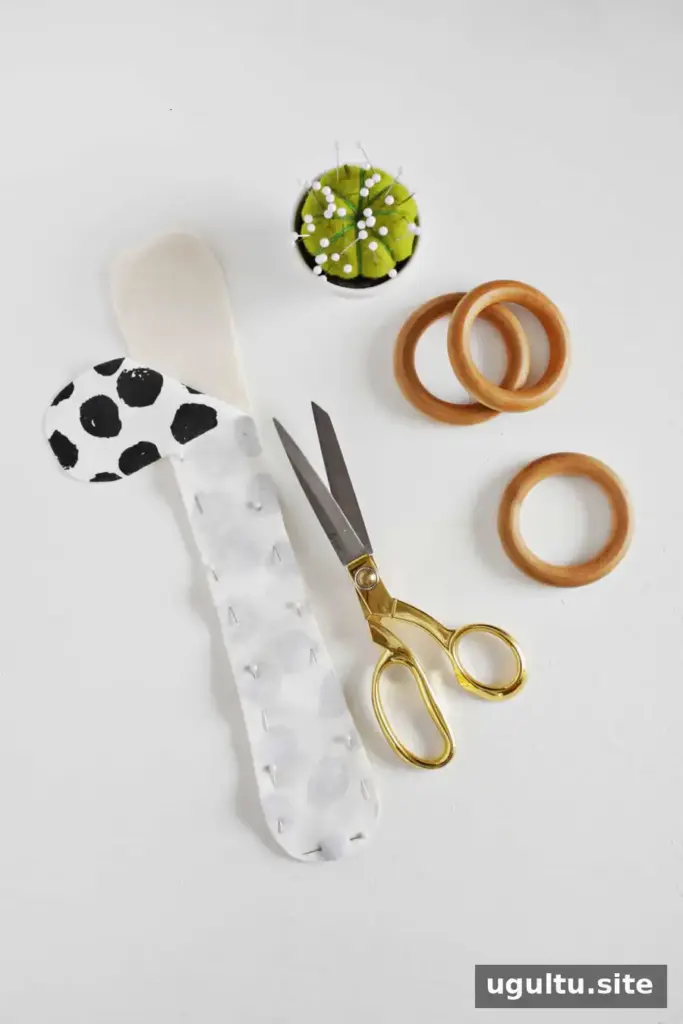
Print and cut out the animal-ear template. The template is half-size, so print two copies and join them, or trace one side and flip the template to complete the other side. Place two fabric choices with their right sides facing each other, trace the template, pin the layers, and cut them out with fabric scissors.
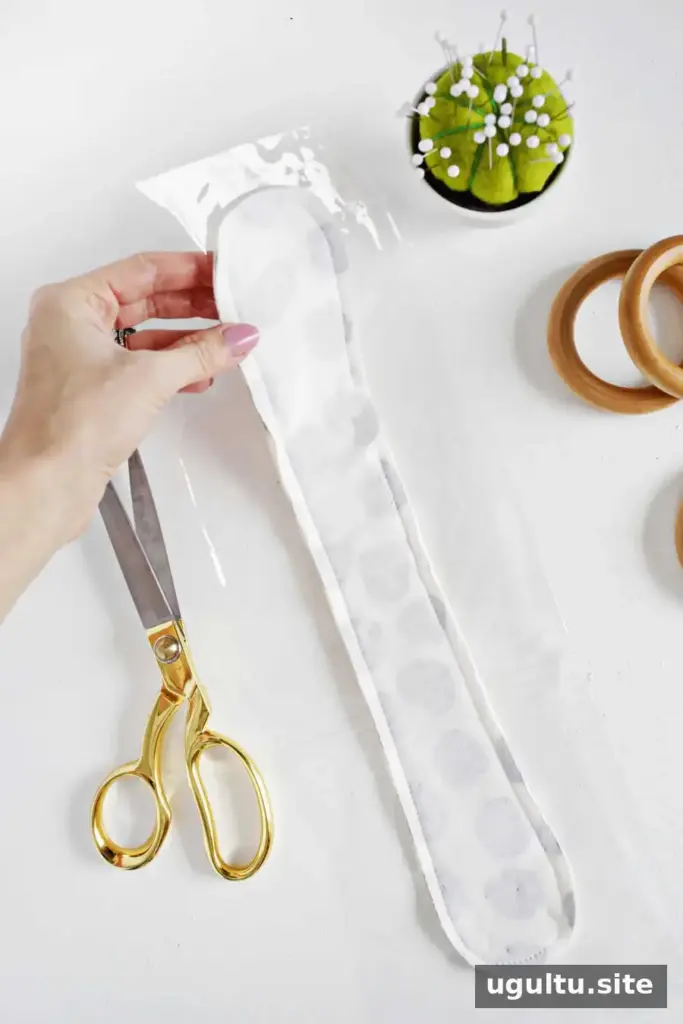
Sew around the ear shape with a 1/2-inch seam allowance, leaving a 2–3-inch opening so you can turn the fabric right side out. Cut a piece of crinkle fabric about 1 inch larger than the ear shape on every side. Place it over the sewn ear pieces and stitch along the same outline, using a longer stitch length to reduce the number of needle holes in the crinkle layer.
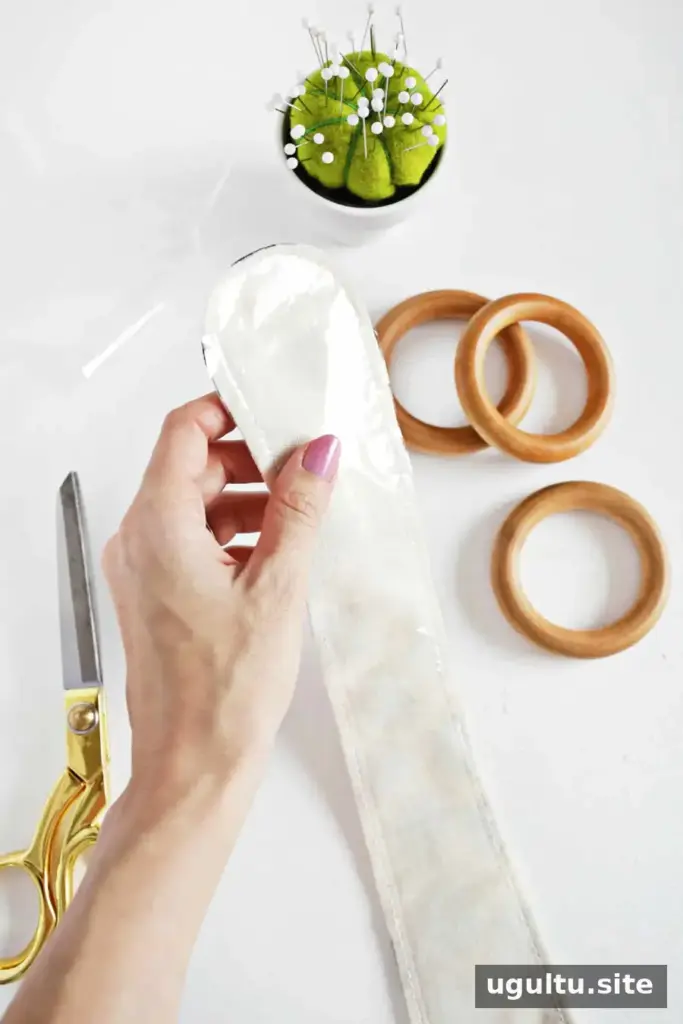
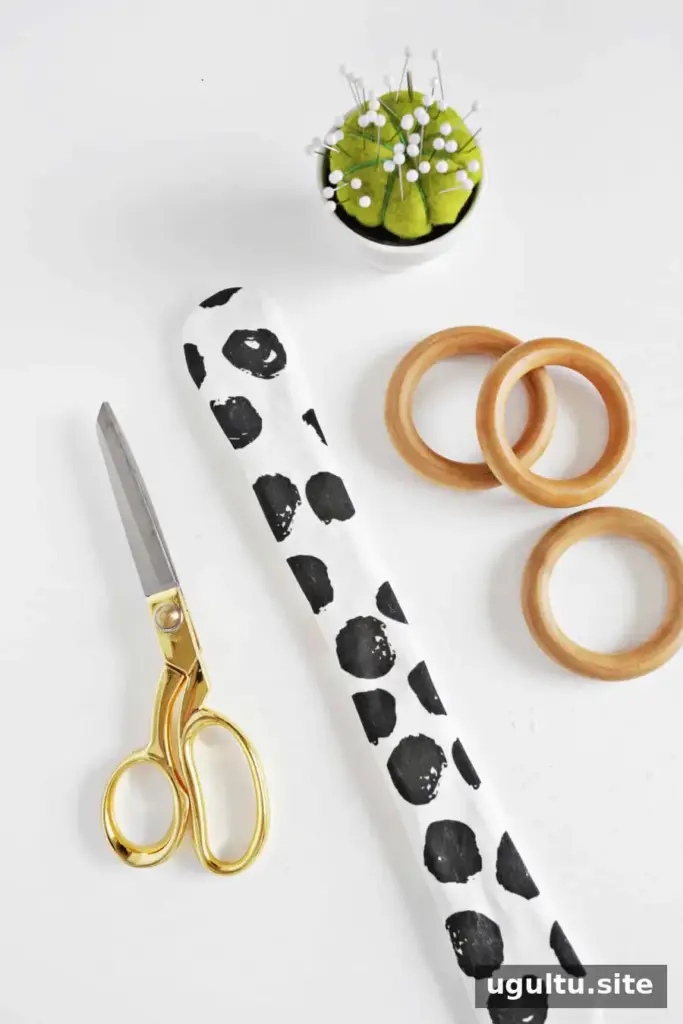
Trim the excess crinkle fabric close to the stitching, taking care not to cut through the seam. Turn the ear right side out through the opening gently; pulling too firmly can separate or tear the crinkle layer. Hand-sew the opening closed, making sure the stitches are secure.
How to attach the ears to the wooden ring
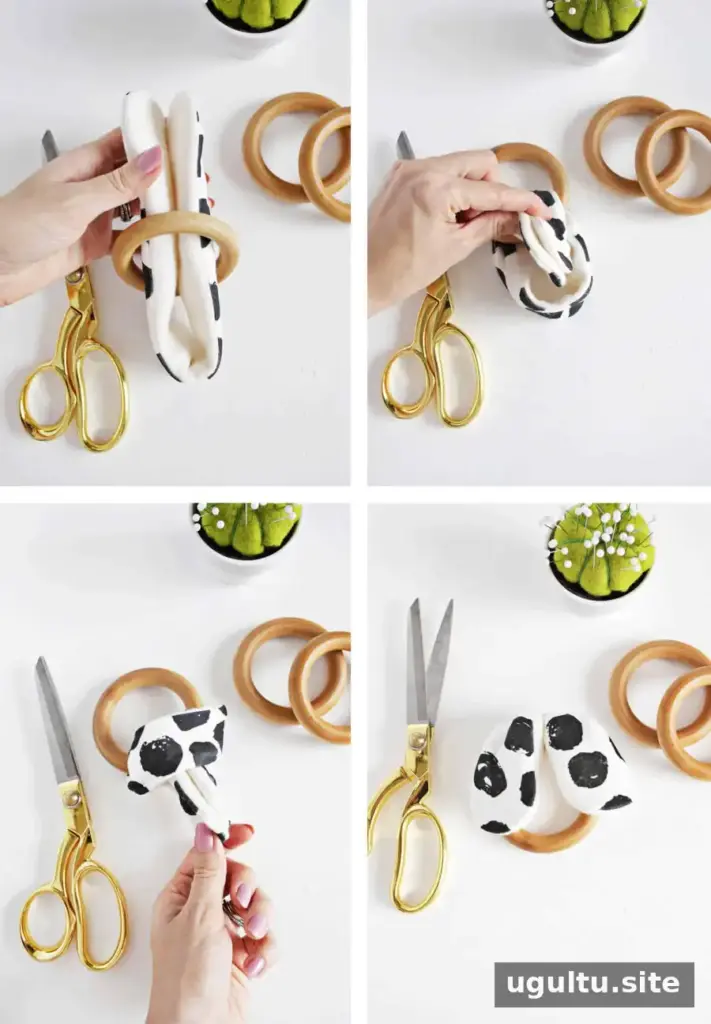
Fold the fabric ear in half and pass the folded midpoint through the wooden ring. Bring the two loose ends down over the ring and through the loop formed by the fold. Pull the ends to tighten the attachment. For puppy-style ears, fold the ears down; leave them upright for bunny or cat designs.
Adding felt details to a wooden ring crinkle teether
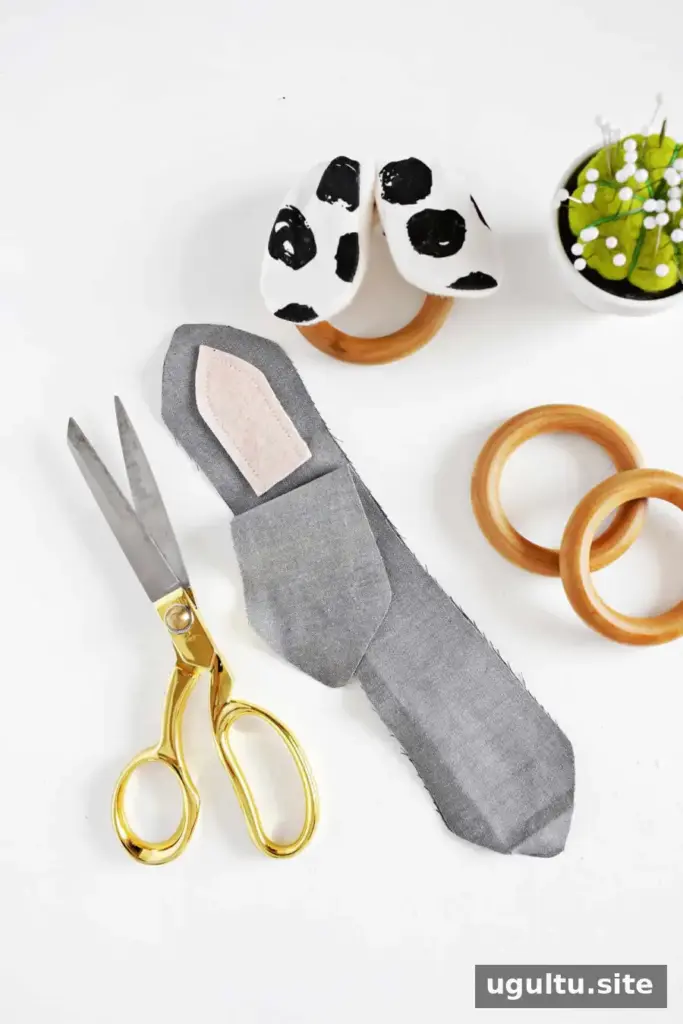
For the bunny and cat versions, cut out the felt details and topstitch the two pink sections onto one ear fabric piece before joining the fabric layers. Then sew around the ear and continue with the crinkle fabric and finishing steps. Keep the felt pieces firmly attached, with no loose edges.
Safety and care tips
- Before each use, inspect the ring, seams, fabric, and felt for damage, loose threads, or parts that could detach. Stop using the toy if anything is loose or worn.
- Use the teether only with an adult supervising. Do not attach it around a baby’s neck or leave it with a baby during sleep.
- Clean the wooden ring and fabric according to the materials’ care instructions, and allow the toy to dry completely before use.
- Choose a ring with a finish intended for infant use; “organic” labeling alone does not confirm that a product is suitable or safe for every baby.
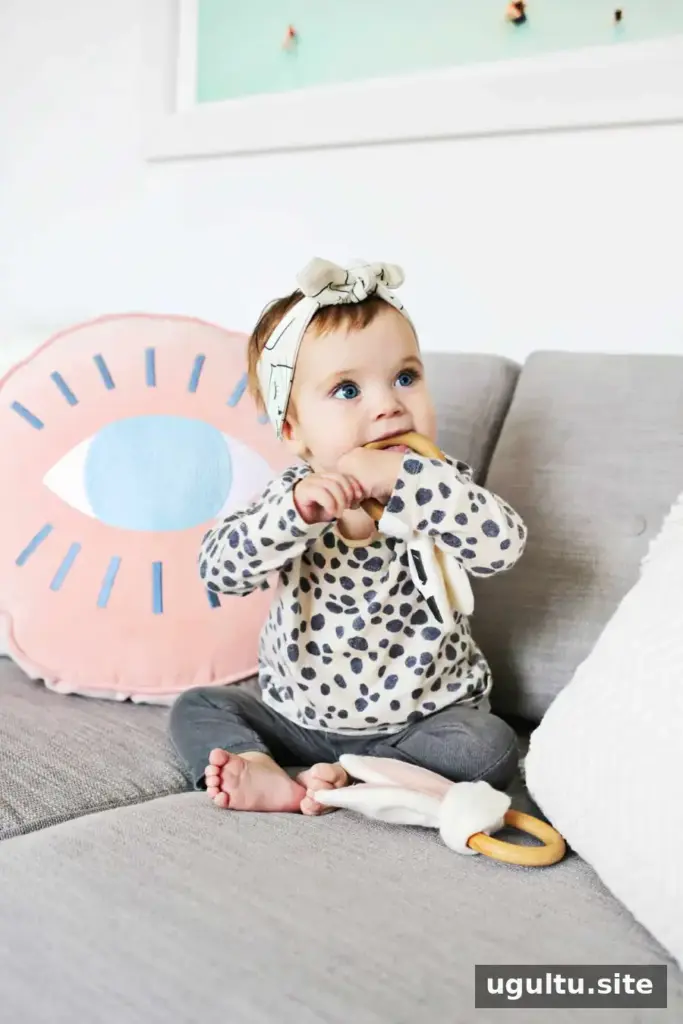
This project offers a simple way to make several fabric-ear designs for a wooden teether ring. Prepare and sew each piece carefully, then check the finished toy before giving it to a baby. With appropriate materials, secure construction, and close supervision, a wooden ring crinkle teether can make a handmade gift for a new parent. — Laura