admin
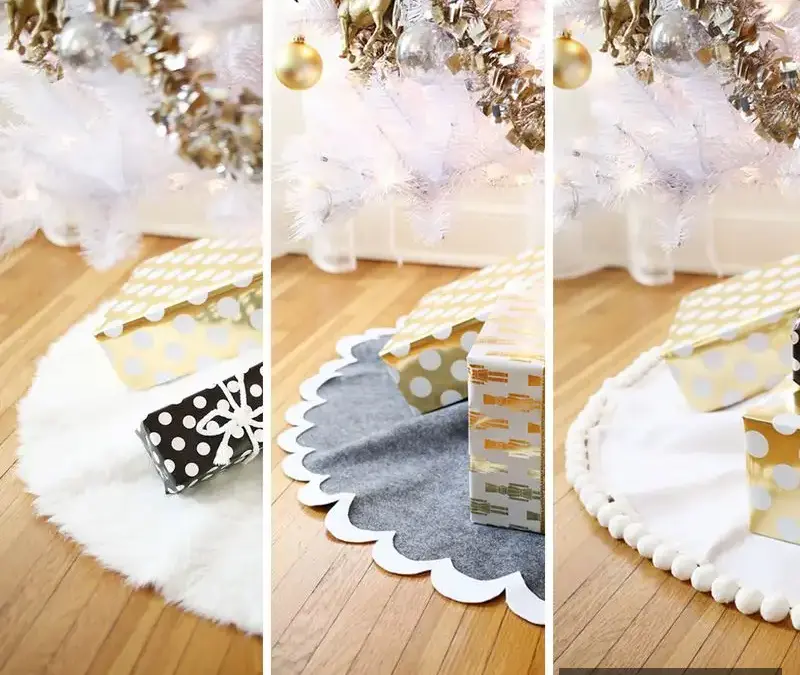
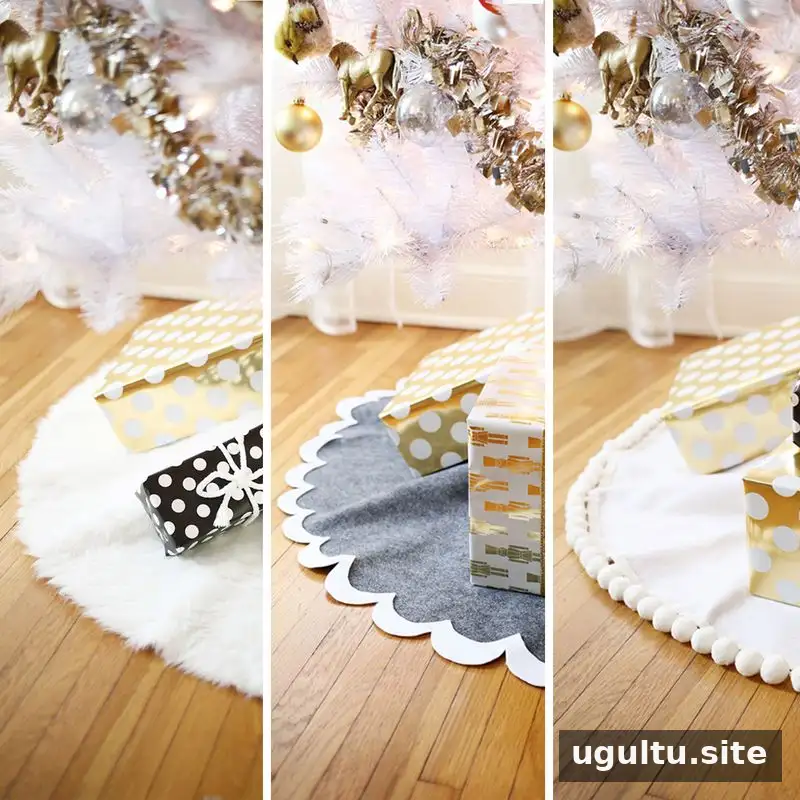
No-sew tree skirts are a quick way to give your Christmas tree a finished look without needing a sewing machine. These three DIY styles—a pom-pom edge, a scalloped design, and a faux-fur finish—use simple materials and the same basic circular pattern. Before cutting, check the space around your tree base so the skirt will be wide enough for your setup.
Supplies and tools for no-sew tree skirts
Choose felt or faux-fur fabric, then gather the items below. Matching ribbon creates ties to hold the opening closed around the tree base.
- Fabric, such as felt or faux fur
- Matching ribbon
- Fabric scissors
- Hot glue gun
- Ruler and marker
- Pom-pom trim or white felt, depending on the style
Use fabric scissors for clean cuts, and take care when handling hot glue. Let glued decorations cool completely before arranging the skirt around the tree.
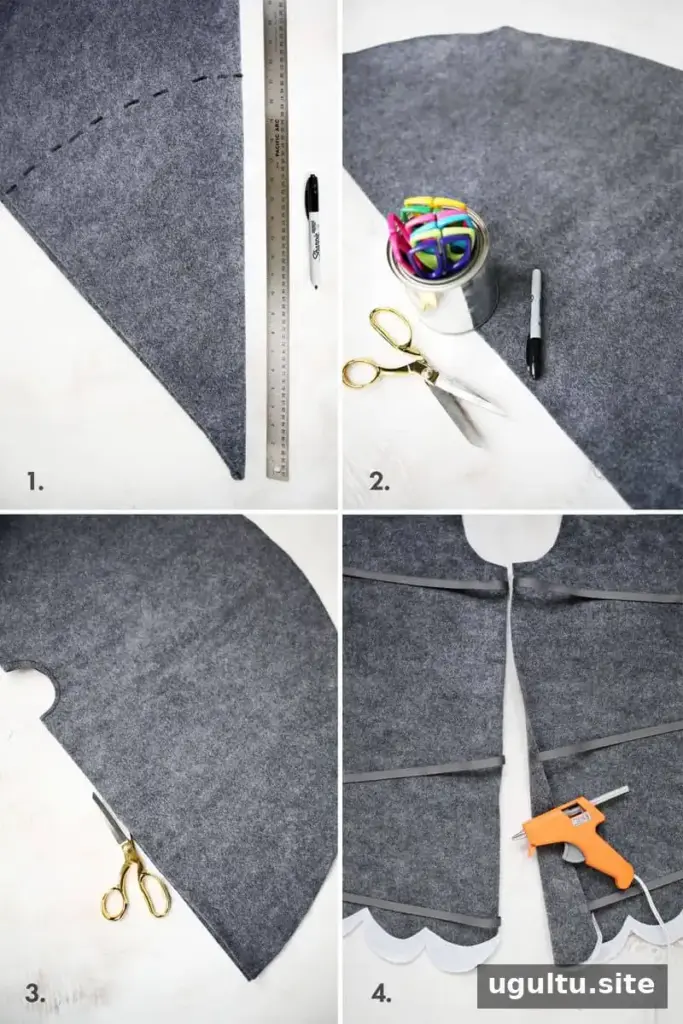
How to cut and assemble a tree skirt
These steps create the base for all three designs. The example below uses a square at least 40 inches wide for a small tree; measure your own tree area and adjust the fabric size as needed.
- Cut the large circle. Begin with a square of fabric at least as wide as the intended skirt. Fold it in half to form a 20-by-40-inch rectangle, then fold it in half again to make a 20-by-20-inch square. Thin felt can be folded once more into a triangle, while thick faux fur may be easier to handle with fewer folds.
- Mark the circle. From the center of the folded square, measure half the intended circle diameter—in the 40-inch example, that is 20 inches. Mark the cutting path across the folded fabric, then cut through the layers and unfold the fabric.
- Make the center opening. Fold the fabric circle in half. Place a round can or jar halfway across the center point of the fold, trace the half-circle, and cut it out to create the opening for the tree trunk.
- Create the side opening. Keep the circle folded and cut along one folded edge only. This slit lets the skirt fit around the tree base.
- Add ties. Cut six pieces of ribbon, each 6 inches long. Use hot glue to attach them to the underside in pairs, positioned so the ties can bring the slit closed around the base.
Check that the center opening fits around the trunk and that the outer edge covers the area you want before adding decorative trim.
How to make a pom-pom tree skirt
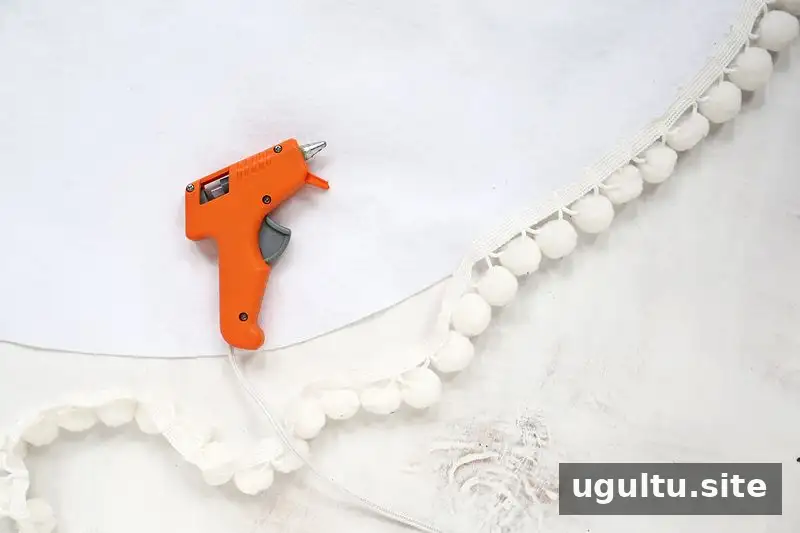
For a playful border, follow the basic instructions and hot-glue pom-pom trim around the skirt’s outer edge. Jumbo pom-poms create a bold look, while smaller trim gives the edge a more subtle finish. Before gluing, lay the trim around the circle to check its placement and make sure you have enough to cover the perimeter.


How to make a scalloped tree skirt
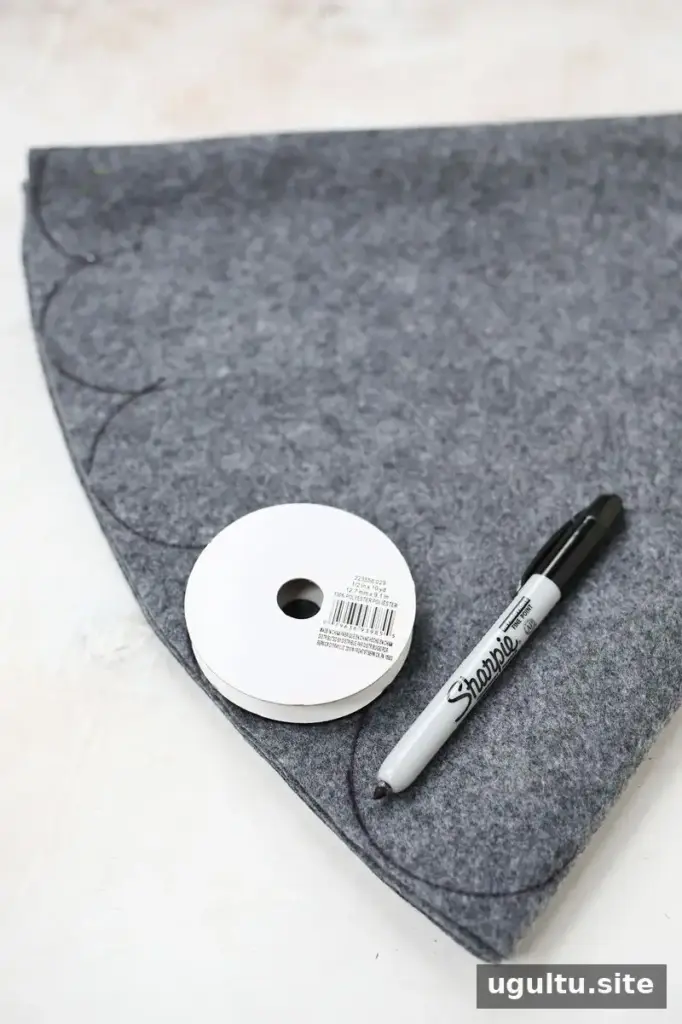
After cutting the large circle, make a scalloped edge by tracing the lower half of a round object—such as a ribbon spool—around the entire outer edge. Space the curves consistently for an even pattern, then cut along the marked line.
To add snow-like tips, trace the finished scalloped edge onto white felt and cut out the matching shapes. Use fabric glue or hot glue to attach the white pieces over the grey scallops. Test the placement around the skirt before gluing so the tips line up neatly.



How to make a faux-fur tree skirt
Faux fur needs little extra decoration, but careful cutting helps preserve the longer fibers along the edge. Use the folding method to mark the circle, then unfold and refold the fabric as needed to reach each section of the cutting line. Instead of cutting through every layer at once, cut one layer at a time with small, controlled snips.
Tip: Keep the lower blade of the scissors close to the fabric backing as you cut. This helps avoid shortening the fur fibers at the edge. Once the skirt is cut, take it outside and shake it well to remove loose fur pieces.

Each design uses the same basic cut-and-tie method, so the choice comes down to the finish you prefer: pom-poms for a cheerful border, scallops for a snow-inspired detail, or faux fur for a soft, simple look. Allow any glue to set before placing the skirt around the tree. Project by Laura.