admin
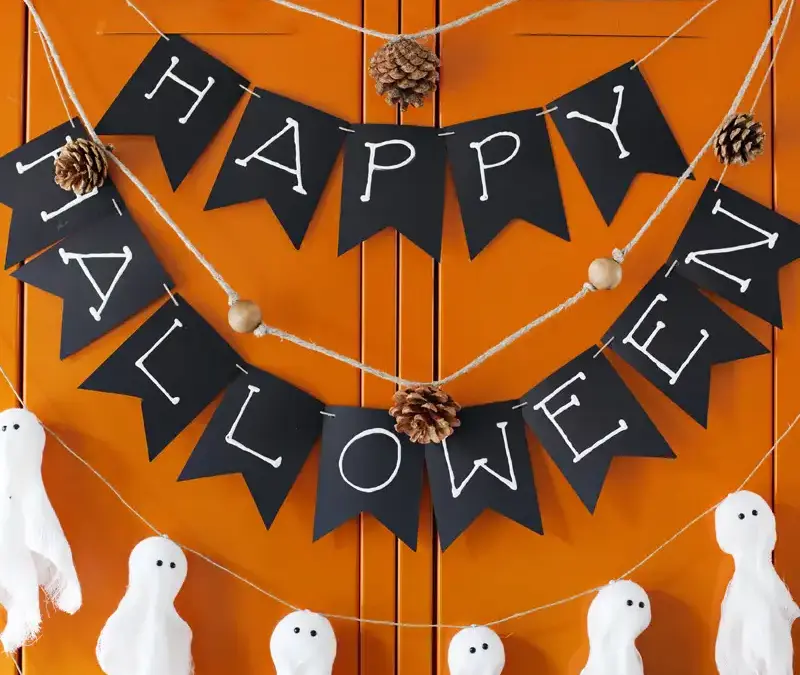
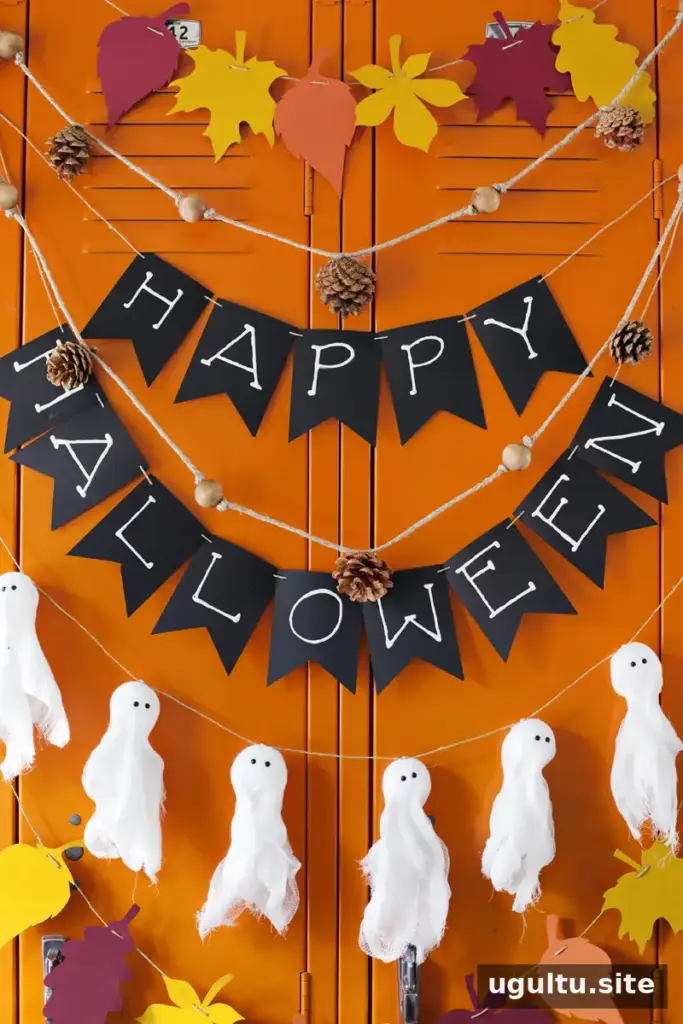
Fall garlands are a simple way to add seasonal color and character to a mantel, doorway, or blank wall. These four DIY ideas use accessible craft materials to create different looks, from natural pine cones and paper leaves to playful Halloween ghosts and a lettered pennant.
Choose a project to suit your space and supplies. Before you begin, measure the area where you plan to hang the garland so you can cut enough twine or string and space the decorations appropriately.
Fall Garlands: Paper Leaf Garland
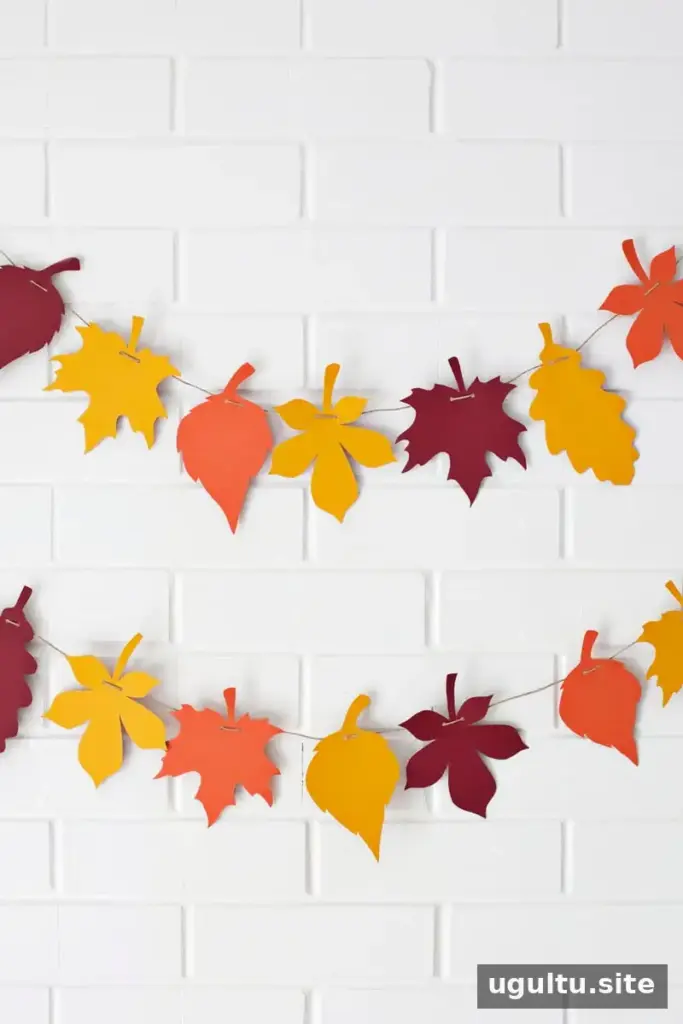
For a minimal, handmade alternative to store-bought leaf decorations, cut leaf shapes from colored paper or cardstock and string them along hemp twine. A printed leaf pattern can help keep the shapes consistent; the template shown here can be used to trace or print the leaves.
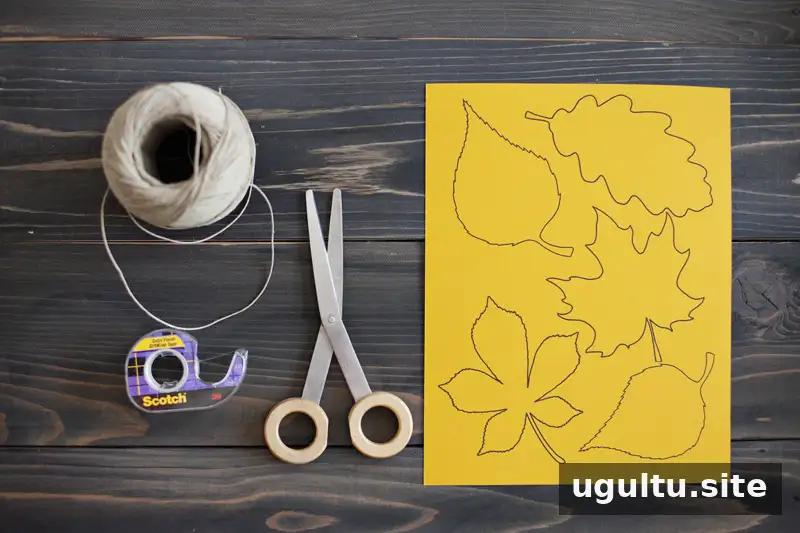
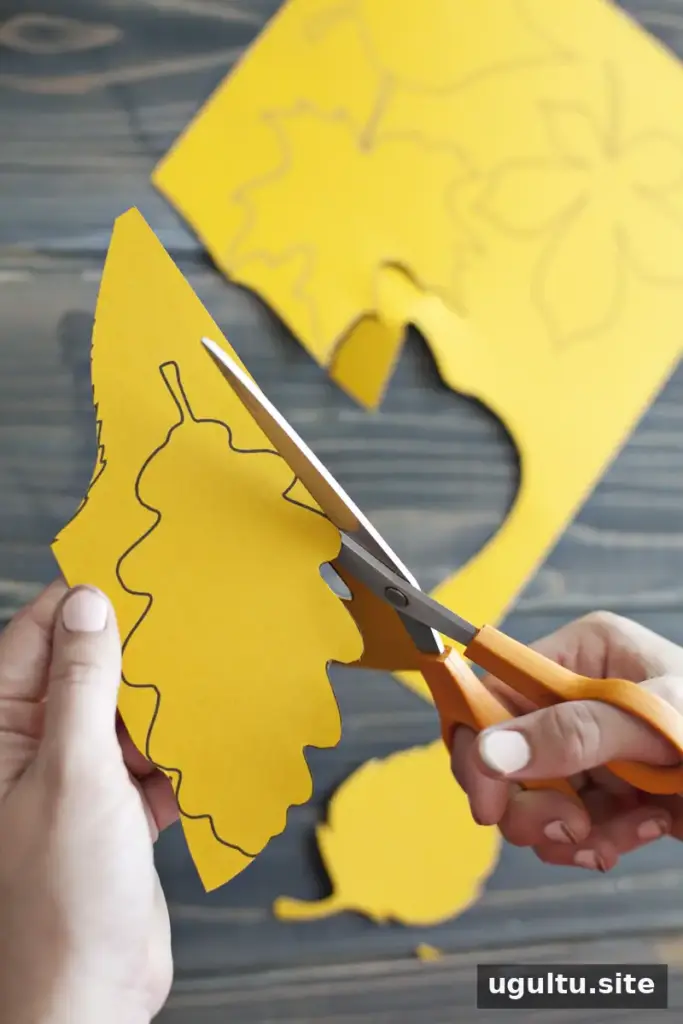
Cut out the leaves, then make a small hole in each one and thread the twine through. If you do not have a hole punch, attach the leaves to the twine with tape. Turn any visible template lines toward the back of the garland for a neater finish.
Cutting out multiple leaves takes the most time, so prepare them in batches. Mixing paper colors or sizes can give the garland a varied look while keeping the simple leaf motif.
Pine Cone Garland
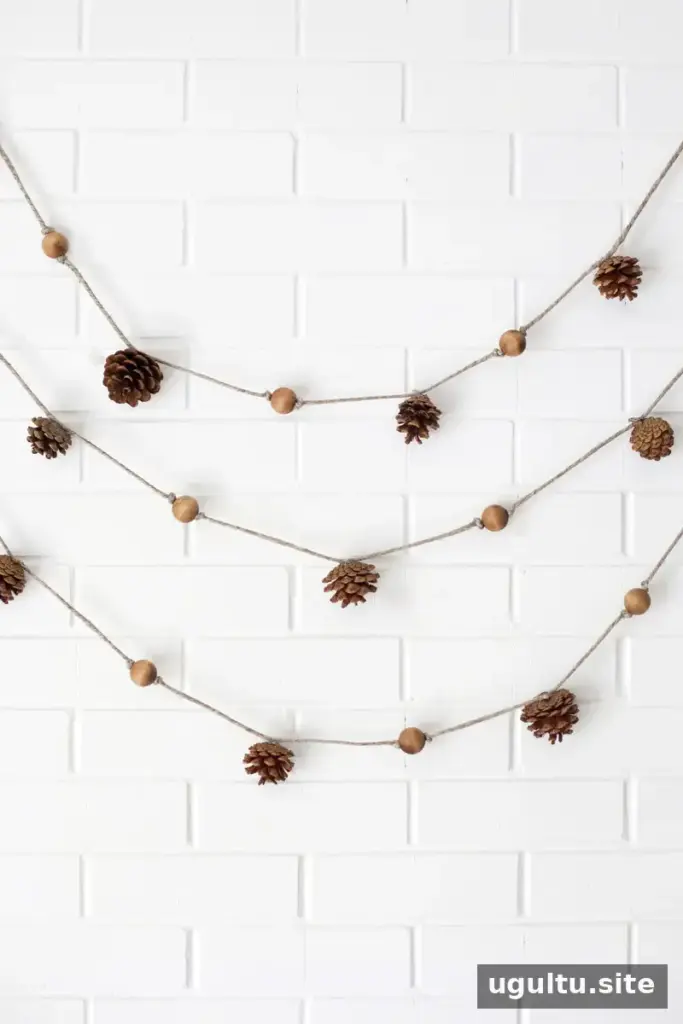
This understated garland pairs pine cones with wooden beads for an earthy seasonal accent. You will need rope or twine, wooden beads (natural or stained), pine cones, scissors, and a hot glue gun.
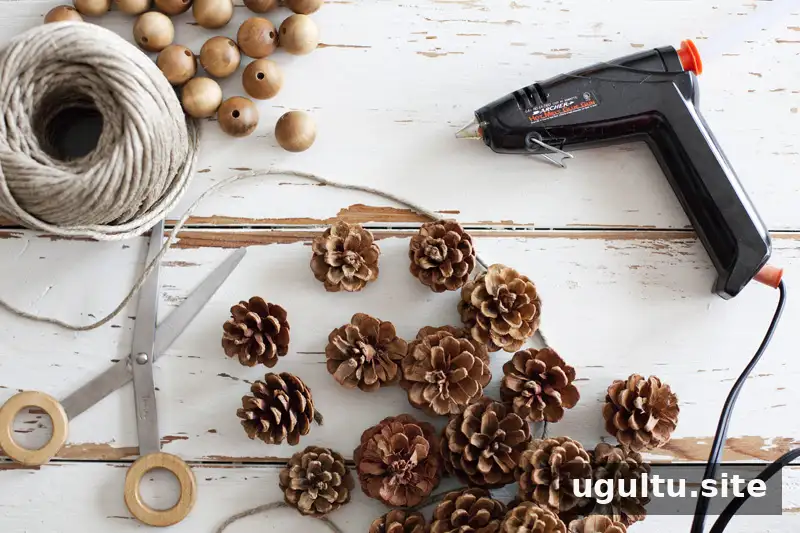
First, decide how much space you want between the decorations. Slide the beads onto the twine, tying a knot on each side of every bead to hold it in place. Once the beads are arranged, secure the pine cones to the twine with small amounts of hot glue.
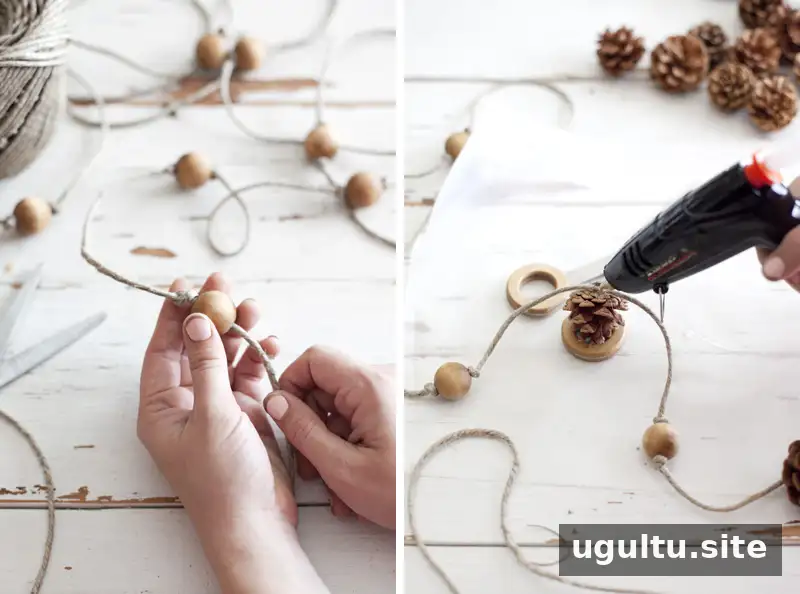
As an alternative, you can drill through the pine cones and thread them onto the twine as you add the beads. Use care with hot glue and allow it to cool before handling the finished garland. For a custom look, paint the pine cones, change the bead style, or adjust how closely the pieces are grouped.
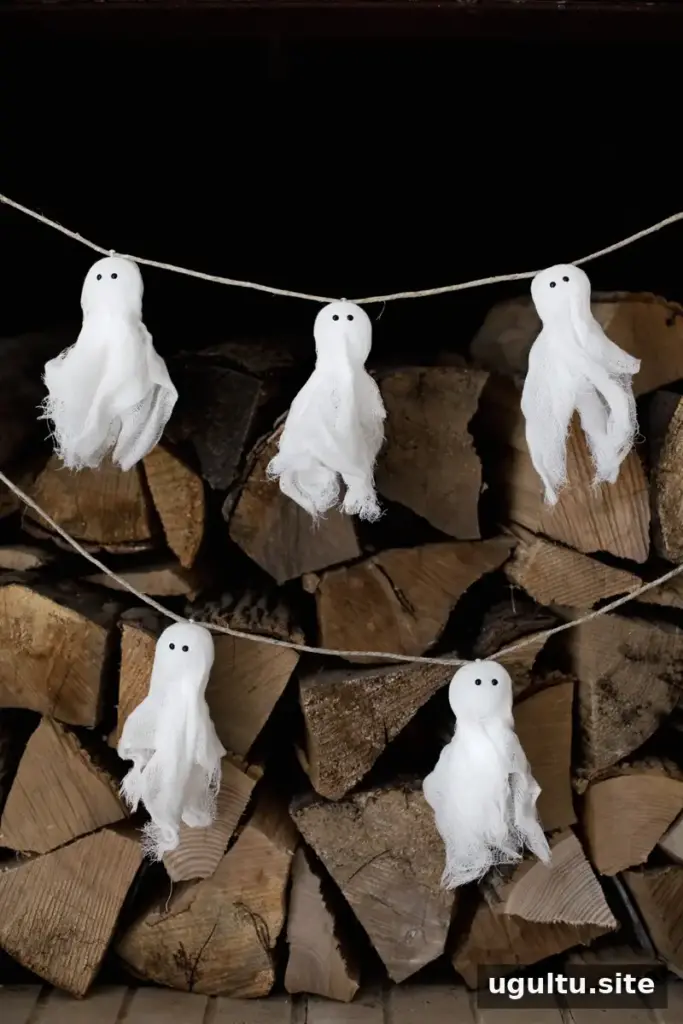
Ghost Garland
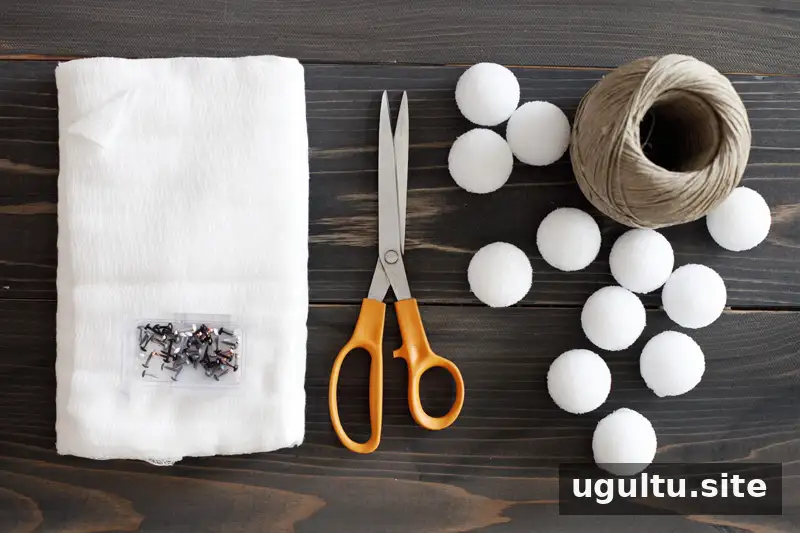
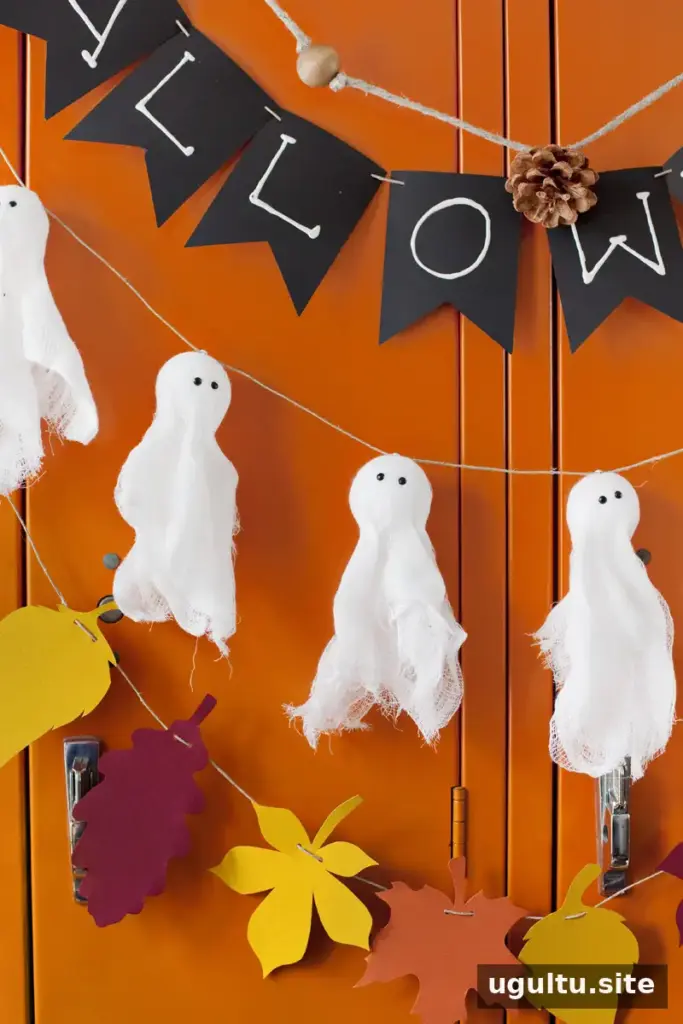
These gauzy ghosts make a cheerful addition to Halloween decorations, especially against a dark background. For each ghost, gather a 1.5-inch Styrofoam ball, cheesecloth, black and white brads, thin twine or string, and scissors.
Cut a square of folded cheesecloth large enough to cover the ball. Keeping the fabric in its existing layers, wrap it around the ball, then gently pull at the edges to create a loose, gauzy shape. Push two black brads through the cloth and into the ball to make eyes and hold the fabric in place.
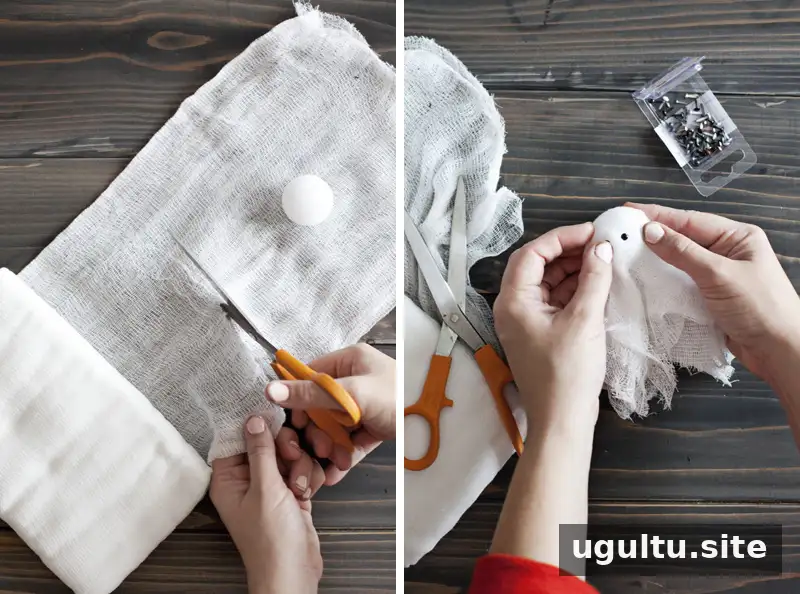
To hang a ghost, separate the prongs of a white brad, wrap them around the string, and bring the prongs together again. Push the brad through the top of the ghost to attach it.
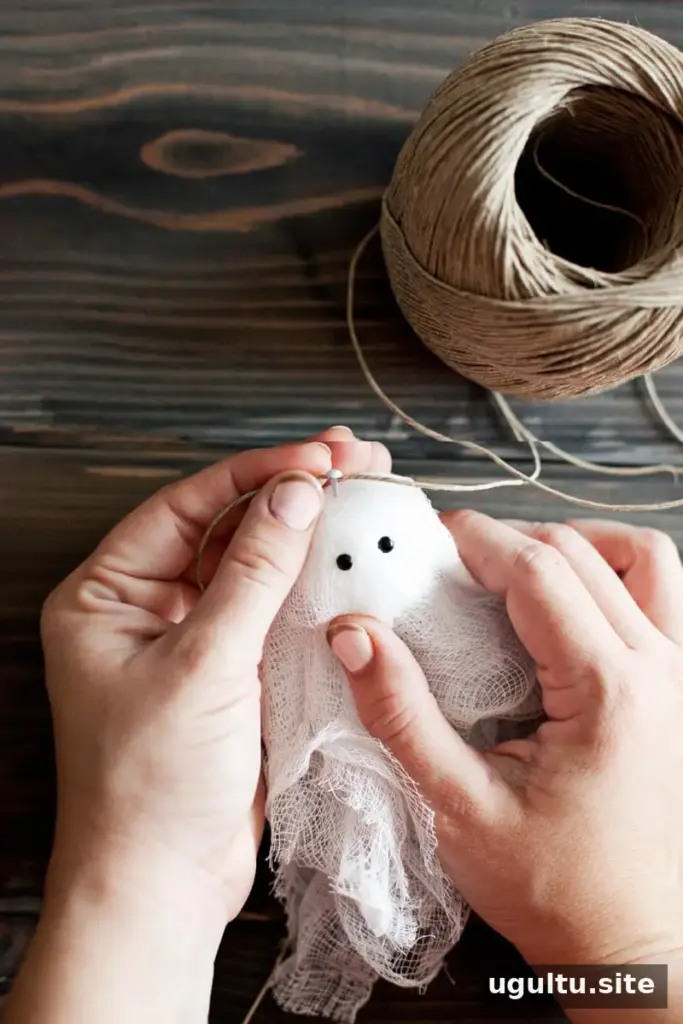
Hanging tip: Put the string in place before attaching the ghosts. This helps prevent them from slipping off while you hang or move the garland. Keep brads and other small pieces away from young children, and supervise children during crafting.
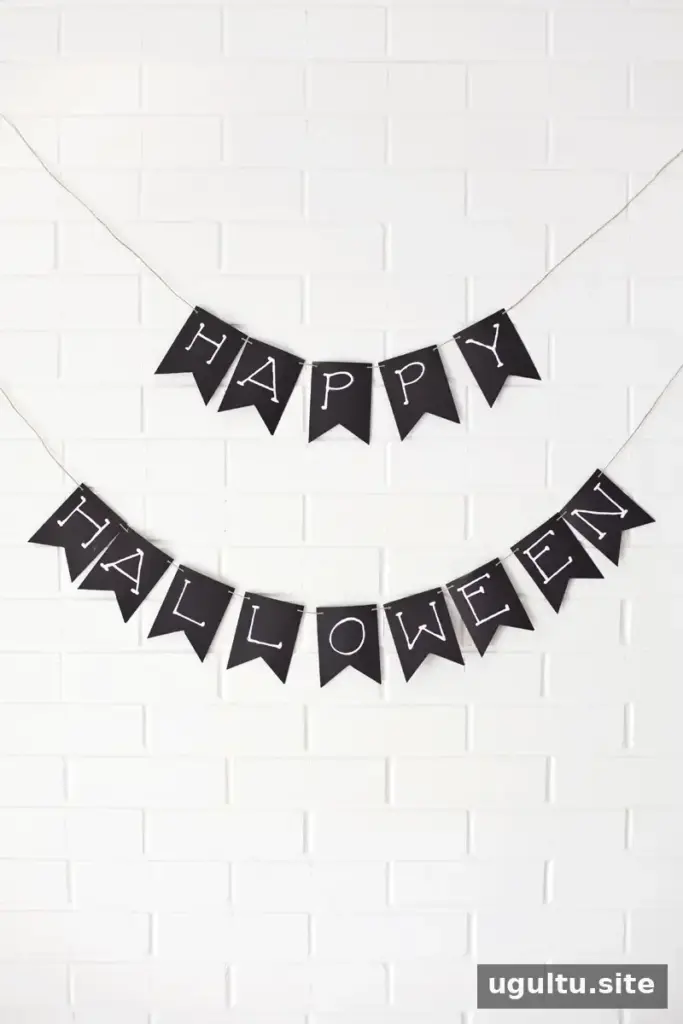
Happy Halloween Garland
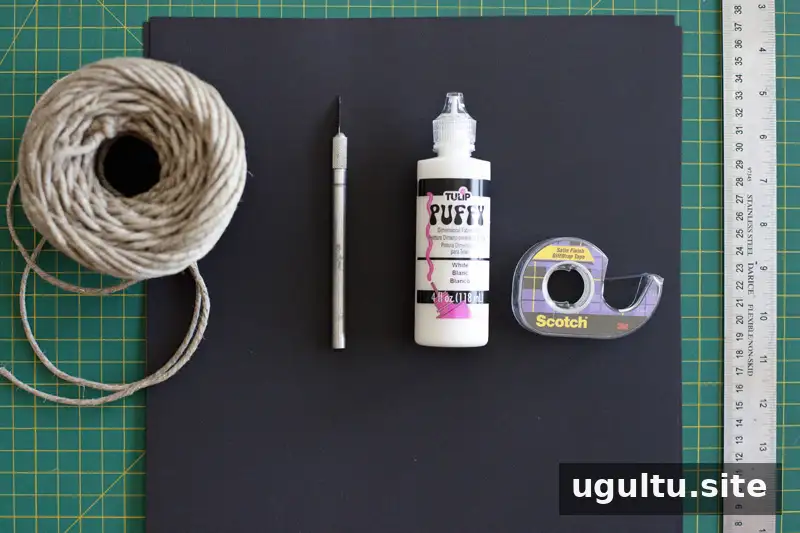
A black pennant garland with white lettering works for Halloween and can also suit birthdays or other celebrations. Gather black cardstock, white puffy paint, string or twine, tape or a hole punch, a craft blade, a cutting mat, and a steel ruler. A pencil is optional.
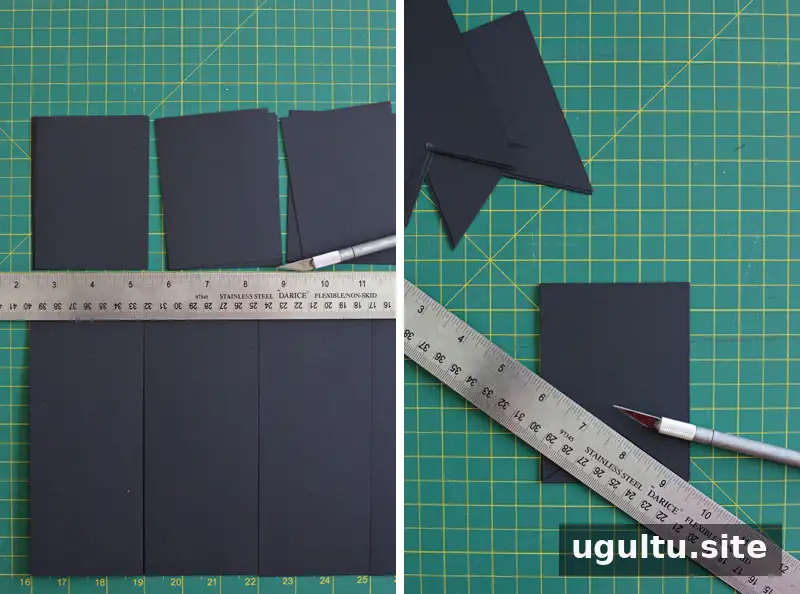
Cut the cardstock into 3-by-4-inch rectangles. At the bottom of each piece, cut out a 1-by-3-inch triangle to form a pennant shape. Use a ruler and cutting mat to help keep the edges straight, and handle the craft blade carefully.
Lightly sketch each letter in pencil, then trace the lines with white puffy paint. Let the paint dry for a few hours before handling the pennants. The paint bottle makes it easier to draw smooth lettering, and its opaque finish means one coat is enough.
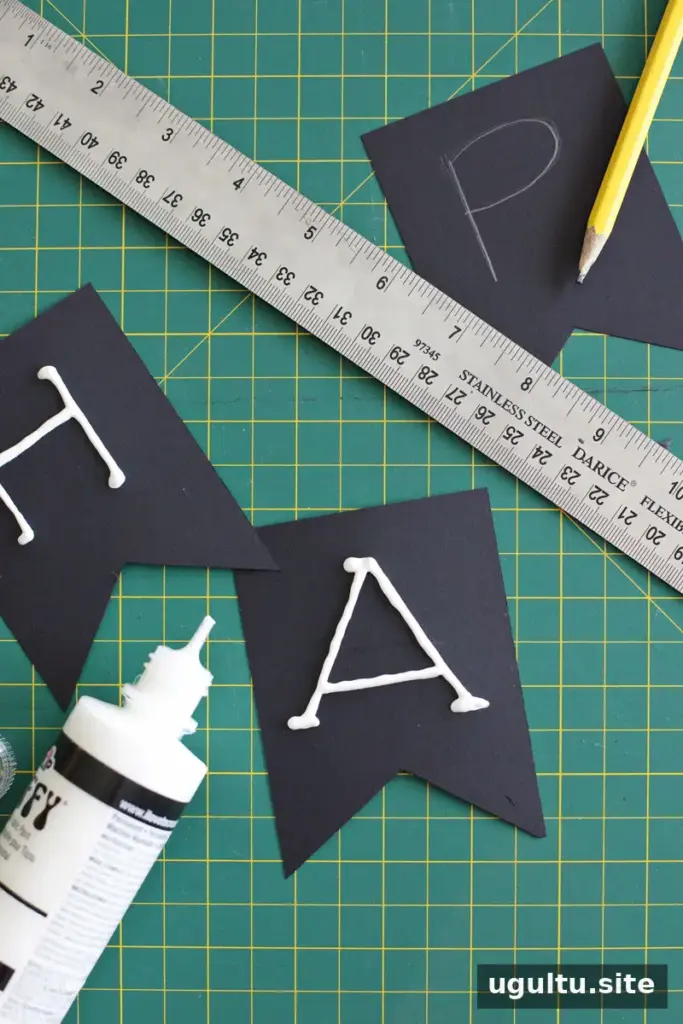
Make holes near the tops of the pennants and thread them onto the string, or use tape on the back to attach them. Check the spacing as you go so the message is easy to read once the garland is hung.
Choosing and Displaying Your Fall Garlands
Each of these fall garlands offers a different effect: paper leaves suit a simple autumn display, pine cones and beads bring in natural textures, ghosts add a playful Halloween touch, and pennants provide a clear seasonal message. Combine a project with other decorations if you like, but leave enough room around each piece so its details remain visible.
Project notes by Mandi.