
 admin

DIY mini photo magnets turn favorite snapshots into compact decorations for a refrigerator or magnetic board. This three-step project uses printable shrink-plastic sheets to create a firm photo surface, then adds an adhesive-backed magnet. Since the printed image shrinks to about one-third of its original size, planning the dimensions and choosing a clear photo are key to a good result.

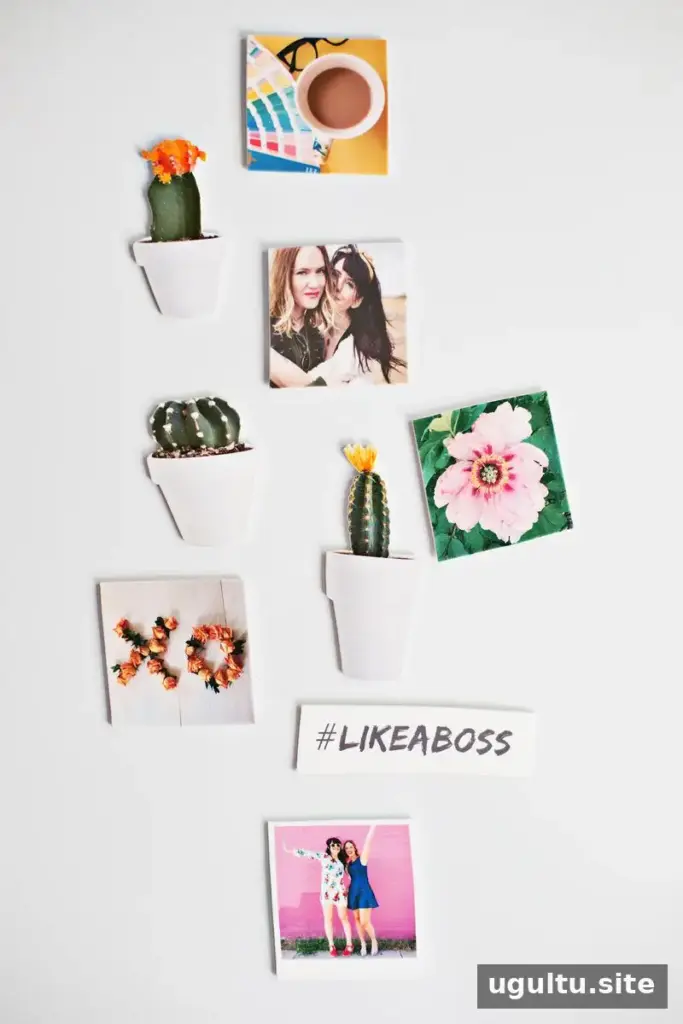
Personal photos, postcards, and announcements can all become small keepsakes. Pick images with a distinct subject and enough contrast to remain recognizable when reduced. Finished magnets can also make thoughtful personalized gifts; consider using a few photos that share a theme or occasion.
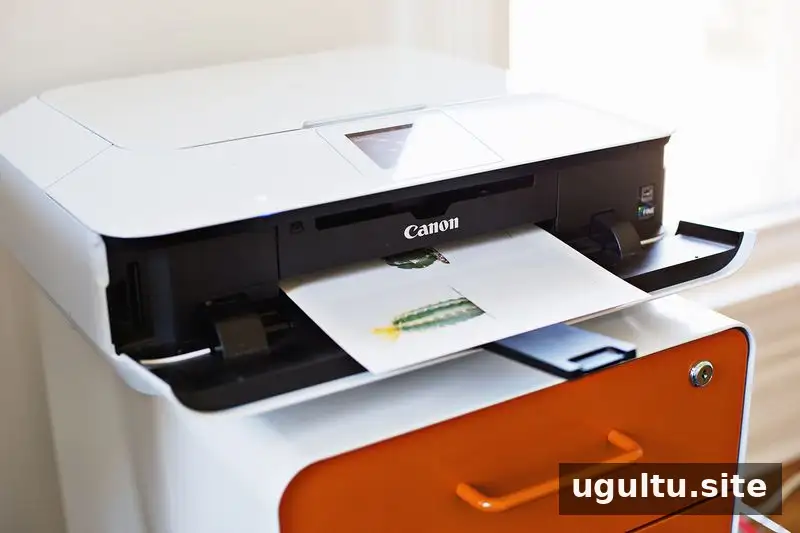
Supplies for DIY Mini Photo Magnets
Gather the materials before printing so you can prepare and bake the cutouts without interruption:
- Printable shrink-plastic sheets
- A printer compatible with the sheets
- Photo-editing software that can resize and lighten an image
- Scissors
- A toaster oven or conventional oven; a microwave will not work
- A baking sheet
- Brown craft paper or a clean brown paper grocery bag
- Magnets with adhesive backing
Read the sheet packaging before you begin. Printing settings and baking directions can differ between products, so use the manufacturer’s instructions when they vary from this general method. Set the oven on a stable, heat-safe surface and take care around the hot tray.
Step 1: Print and Prepare the Photos
Choose an image and use photo-editing software to lighten it by about 50%. Before baking, the print may appear washed out. As the plastic shrinks, the image’s color and contrast become stronger. Follow the sheet manufacturer’s printing guidance, including any recommended printer settings.
Because the image will shrink to about one-third of its starting size, print it larger than the dimensions you want for the finished magnet. If you are uncertain about the final size or appearance, try one small test image first. A test can help you see how the material works with your printer and how much detail remains after shrinking.
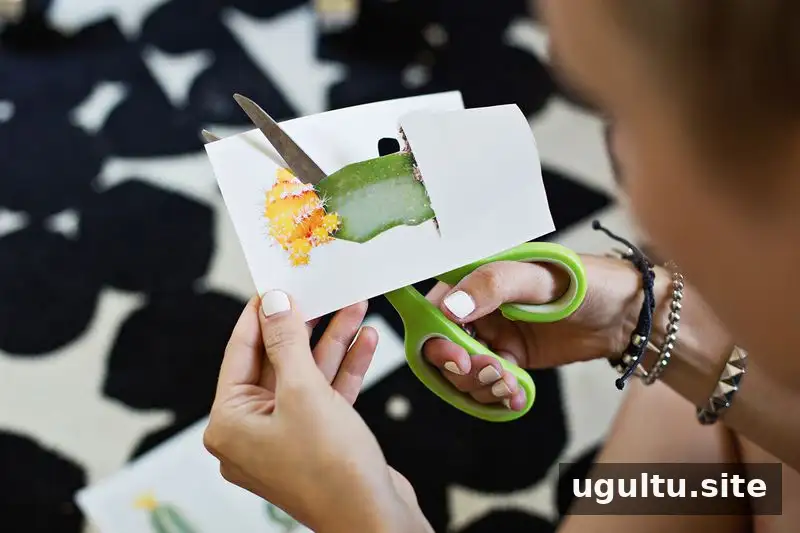
Step 2: Cut Out the Images
Use scissors to cut around each printed image. For a simple square magnet, trim close to the edge. Square photos, including social-media-style images, are easy to cut and display. For a Polaroid-inspired design, leave a narrow white border around the image and make the bottom border about twice as wide as the other sides.
Keep the cutouts free of extra plastic where possible, while leaving enough of a border for the look you want. Take your time with corners and edges so the finished pieces have a neat outline.
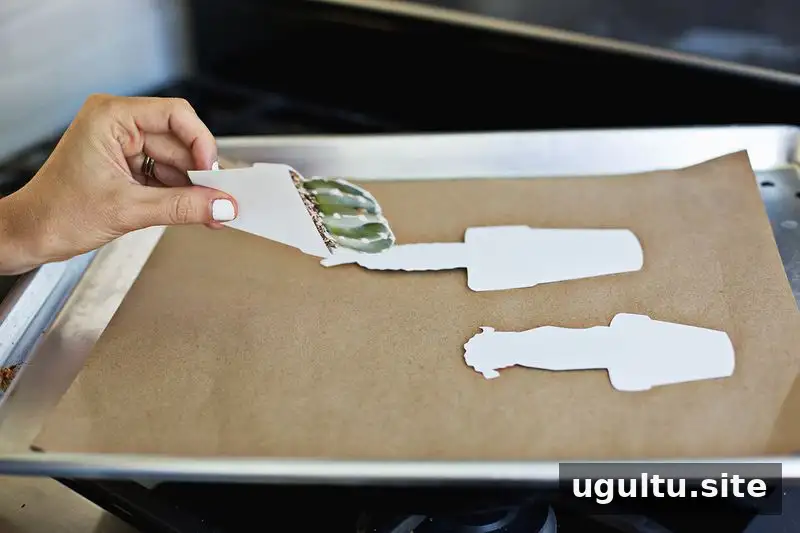
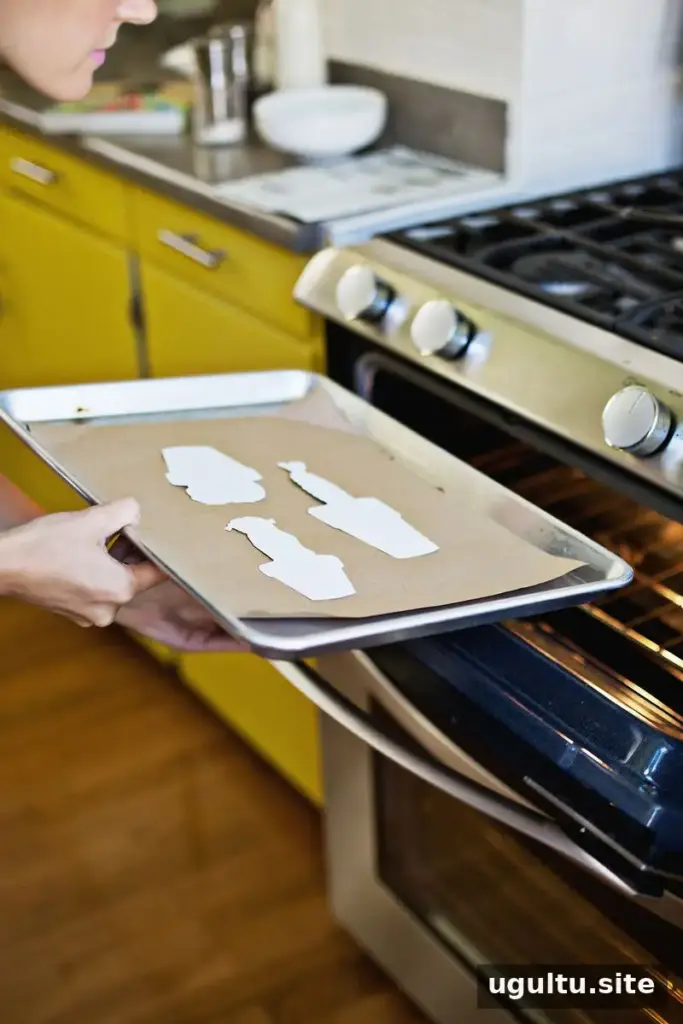
Step 3: Bake, Flatten, and Add the Magnet
Preheat the oven to 300°F. Line a baking sheet with craft paper or brown paper, then place the cutouts printed side down. Bake for 3–8 minutes. Timing depends on the image size and the oven, so watch the pieces closely rather than relying only on the timer.
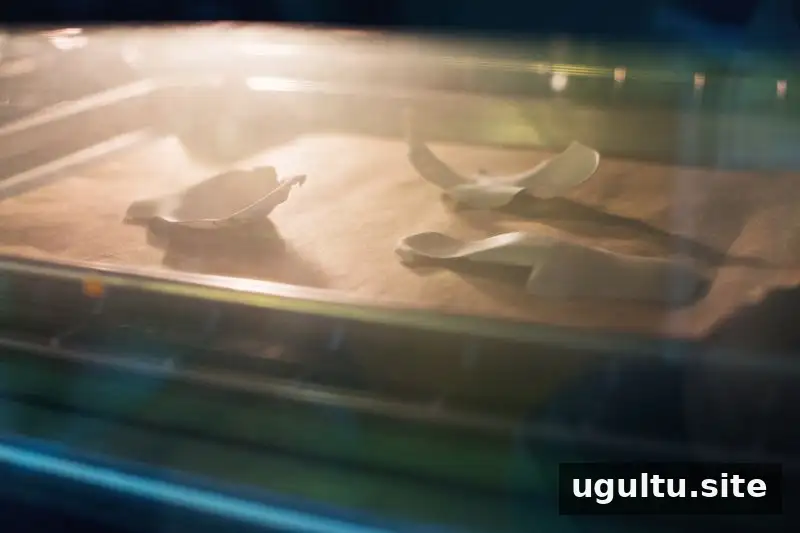
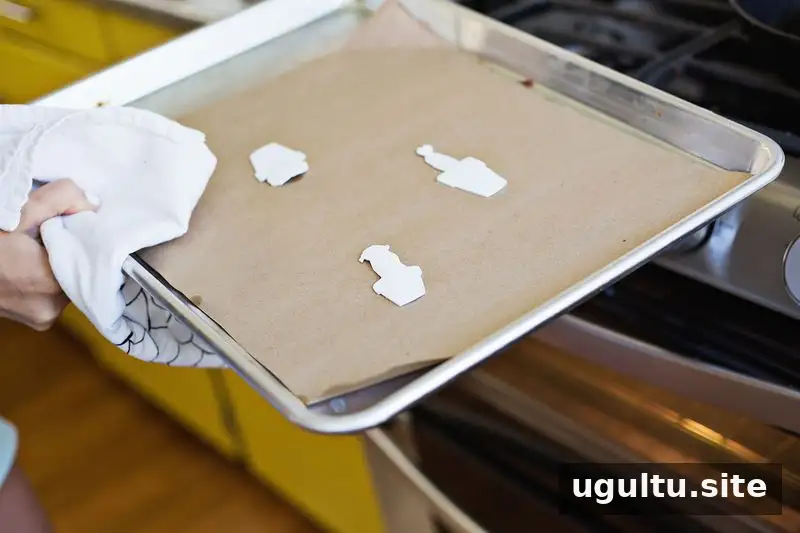
The plastic will curl as it heats, then begin to uncurl and flatten. Keep an eye on it through the oven window. Once a piece has mostly flattened and has not continued shrinking for about 30 seconds, carefully remove the tray. It does not need to be perfectly flat while it is still hot.
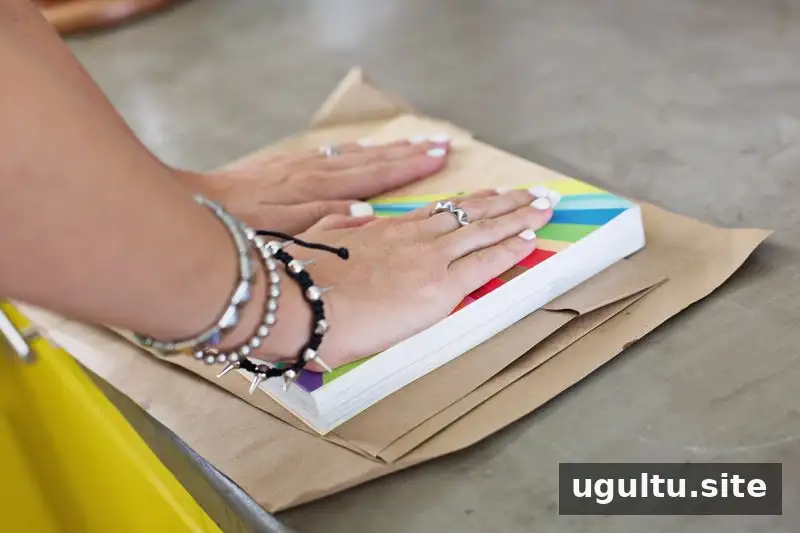
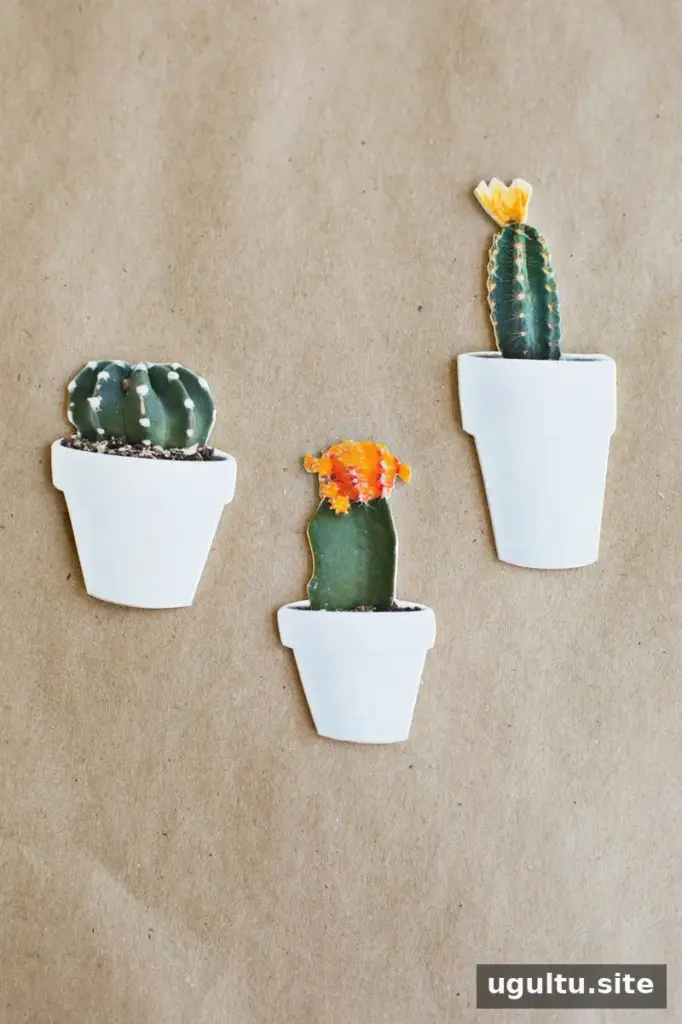
Quickly move the brown paper and photos from the baking sheet to a heat-safe counter. Place another piece of paper over the cutouts and press gently while they cool. The paper and plastic may remain hot, so handle them carefully and avoid touching the pieces directly until they are cool.
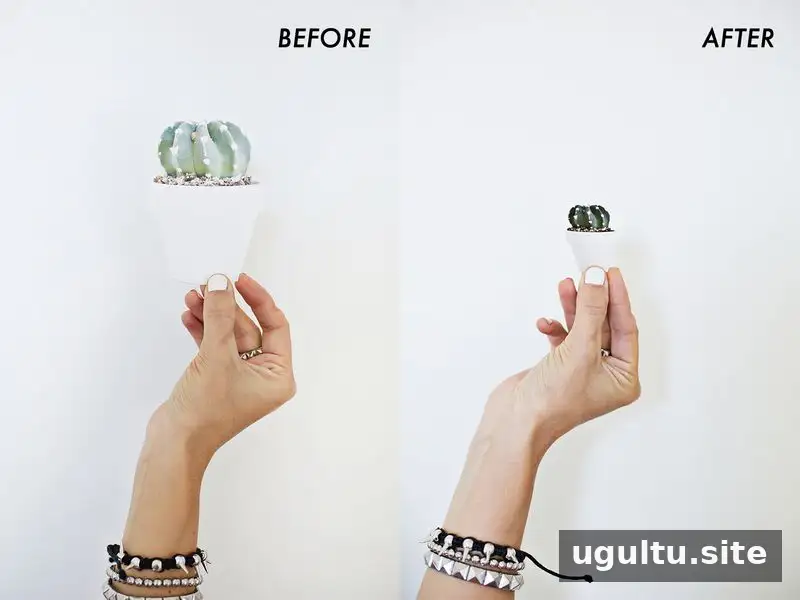
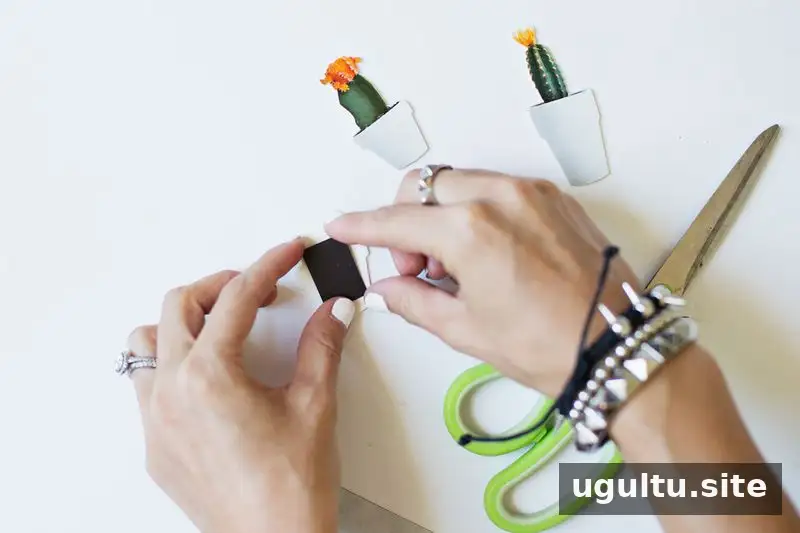
After the pieces have cooled completely, attach a strip of adhesive-backed magnet to the reverse side of each one. Let the adhesive sit against a firm, cool surface. The finished photo should be about one-third its original size, with the color and contrast strengthened by the shrinking process.
Tips for Better DIY Mini Photo Magnets
- Choose clear images: A distinct subject and good contrast make small photos easier to recognize.
- Check the product directions: Shrink-plastic sheets may have different printing and baking requirements.
- Watch while baking: The 3–8 minute range is a guide; oven performance and image size affect the timing.
- Cool before adding the magnet: Attaching it only after the plastic is completely cool helps it sit against a firm surface.
- Test before making a batch: One sample can help you check the print size and final appearance before preparing several magnets.
Make Personalized DIY Mini Photo Magnets
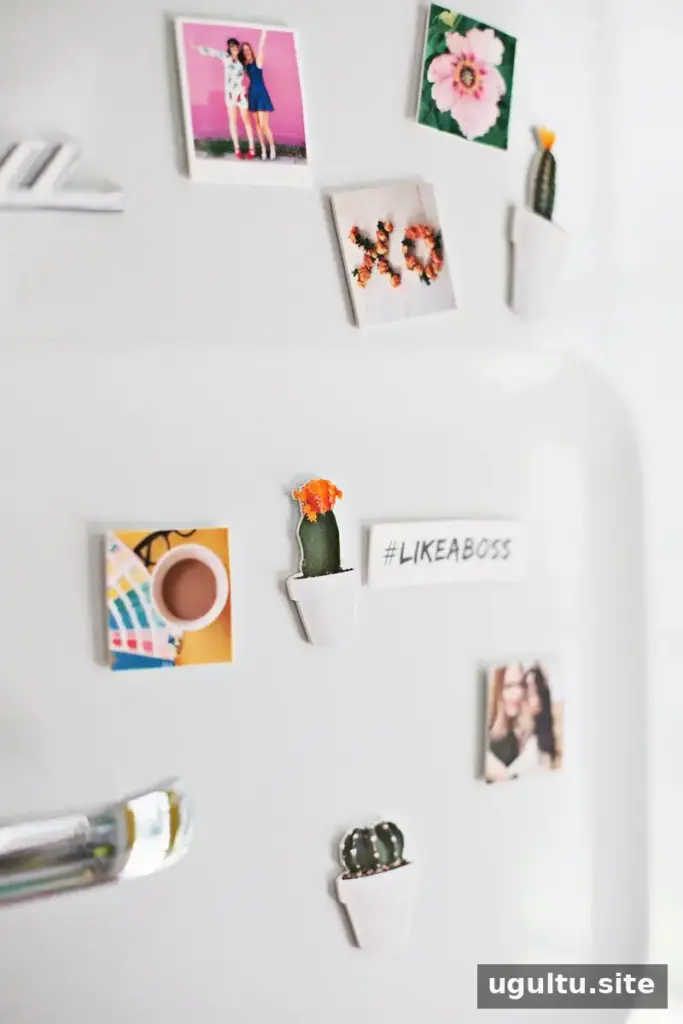
DIY mini photo magnets combine familiar snapshots with a compact shrink-plastic finish. Choose a photo that will stay recognizable, account for the reduction to about one-third of the printed size, and monitor each piece during its 3–8 minute bake. Once the cutouts are fully cool, add the adhesive-backed magnets for a small refrigerator decoration or a personalized handmade gift.
—Laura


