
 admin


A pixie cut can be styled in more ways than you might expect. These three pixie cut styles use simple techniques to add texture, shape, or a soft curl, making it easy to refresh your look at home. The steps work especially well when your layers are long enough to shape, but you can adapt them to suit your hair length and texture.
Pixie Cut Styles: Add Flipped-Out Texture
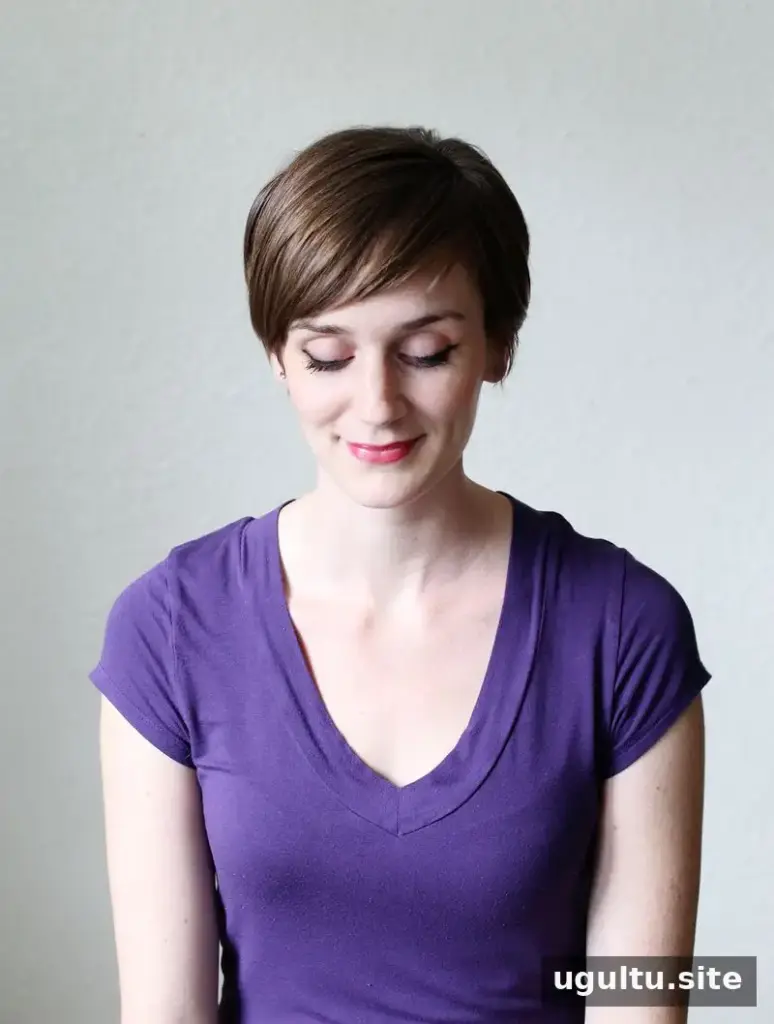
Start with dry hair. Longer layers give you more room to create movement, while shorter layers can still benefit from added texture and lift. Use a small amount of product at first, then build gradually if needed.
Steps
- Add texture and lift: Apply dry shampoo beneath the top layers, especially if your hair is fine or tends to lie flat. Take a few sections around the crown and backcomb gently at the roots for extra volume.
-
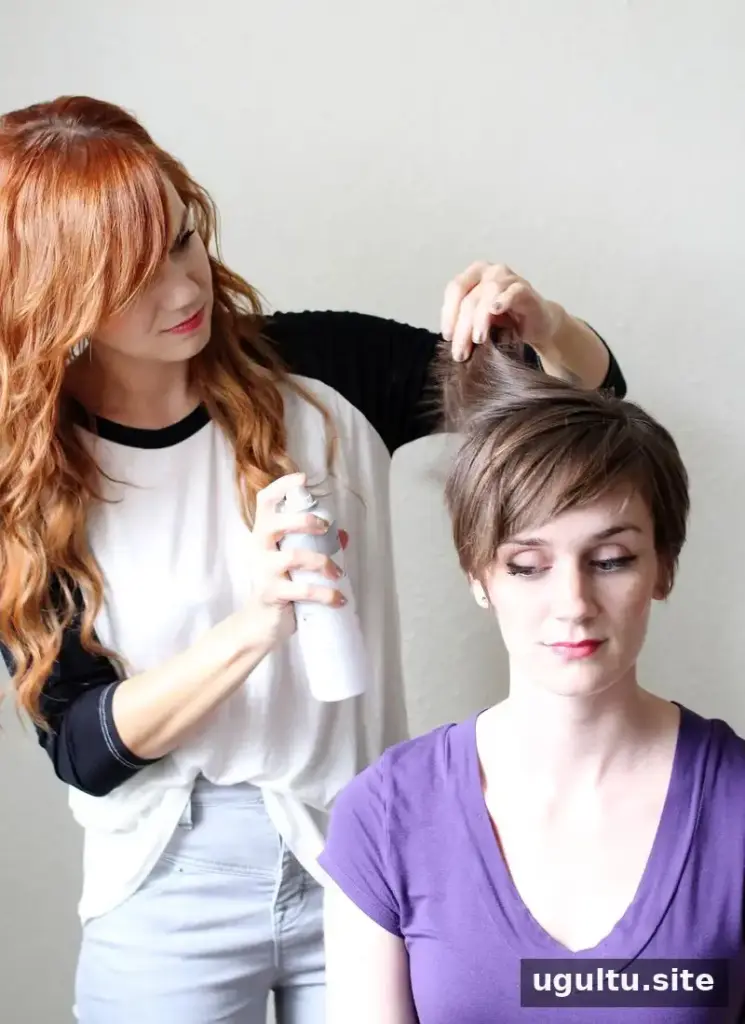
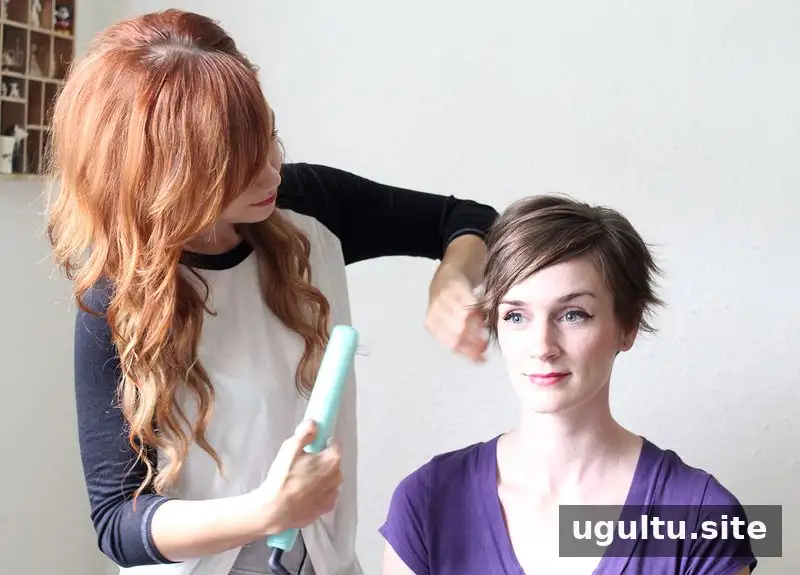
Shape the ends: With a straightener, turn the ends outward in small sections. Begin with a subtle bend and add more movement only where you want it. Avoid holding heat on one section for too long.
-
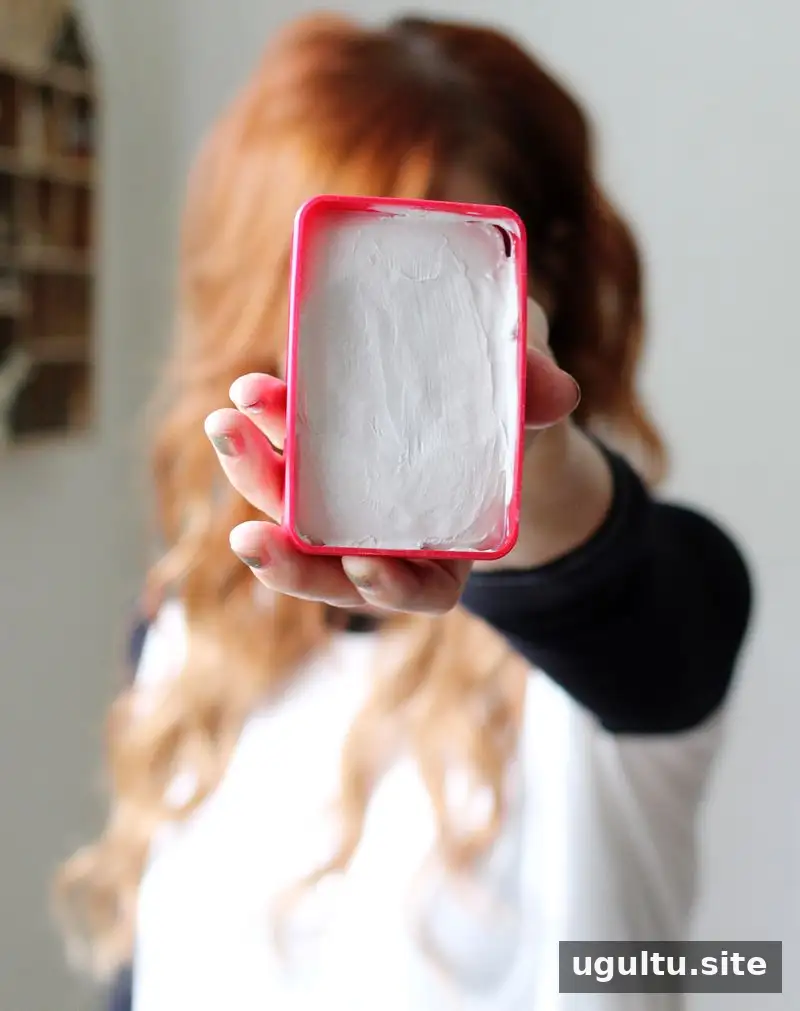
Define the finish: Rub a small amount of hair wax between your fingertips and work it through the ends to emphasize their shape. Too much wax can make hair feel heavy or sticky. Finish with a light mist of hairspray.
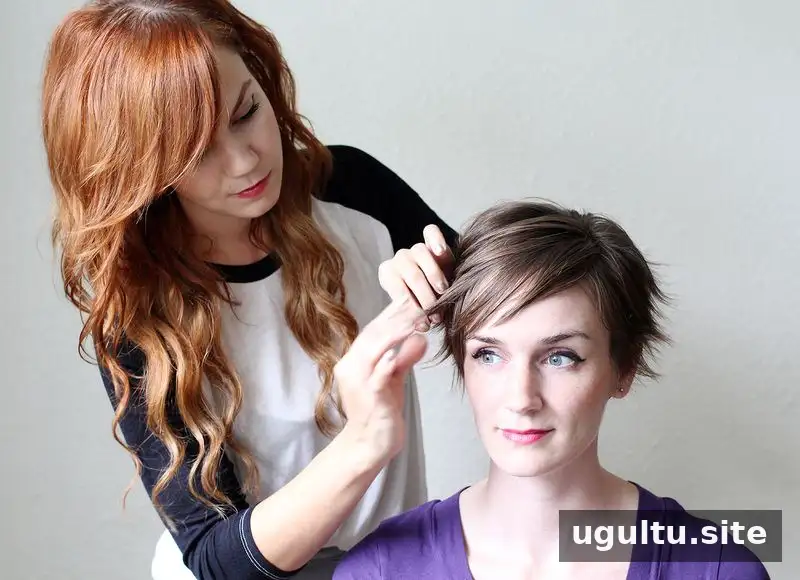
This textured finish creates a playful, piecey look. For fine hair, concentrate styling products near the roots and ends rather than coating the full length.
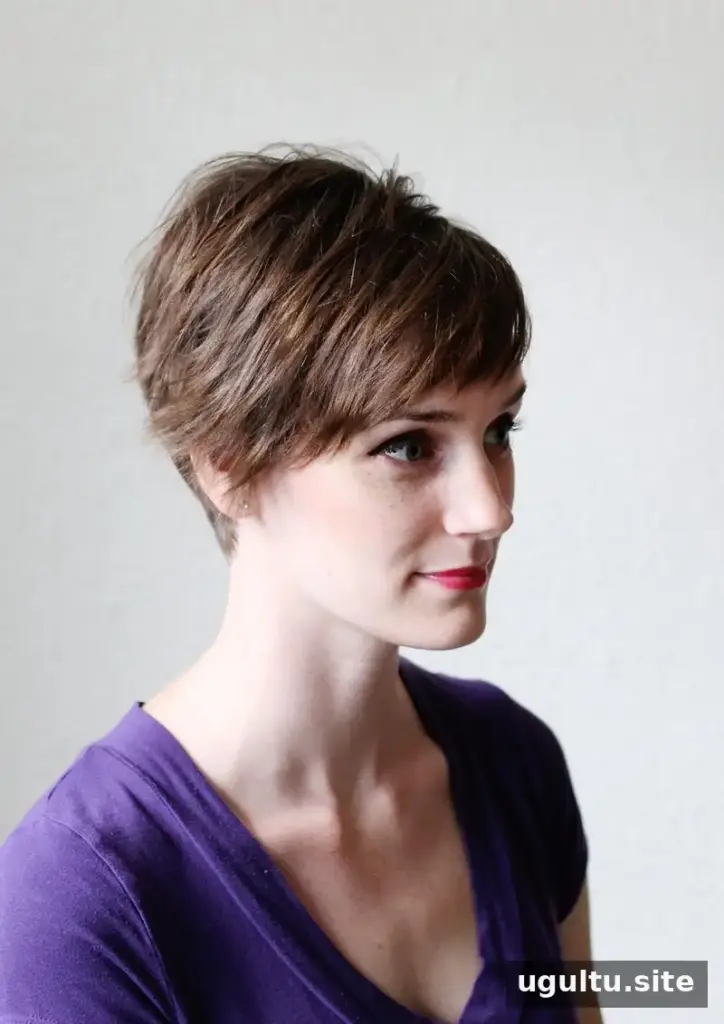
Create a Deep-Parted, Curled Pixie

A deep side part and a few curls add definition without requiring every section to be curled. This approach is useful when you want a more polished look while keeping some natural texture.
-
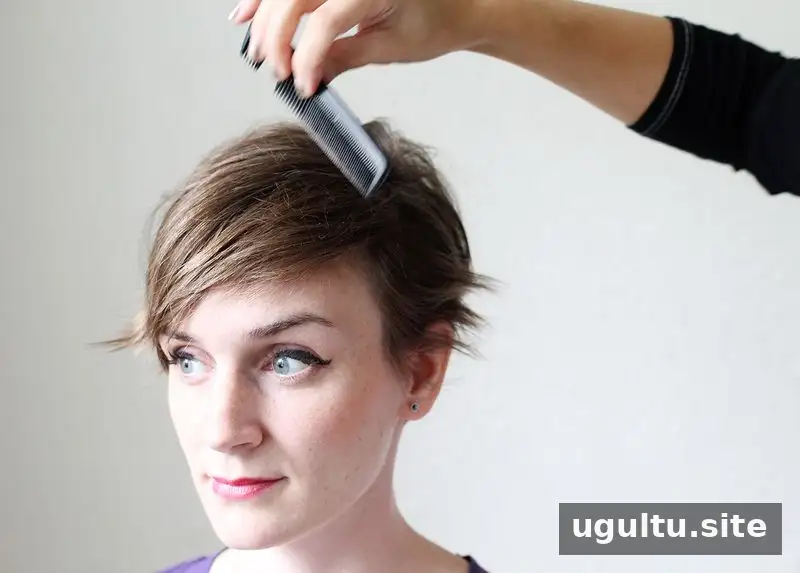
Make a deep part: Use a comb to create a part well to one side. Choose the direction that feels comfortable and lets the hair fall naturally.
-
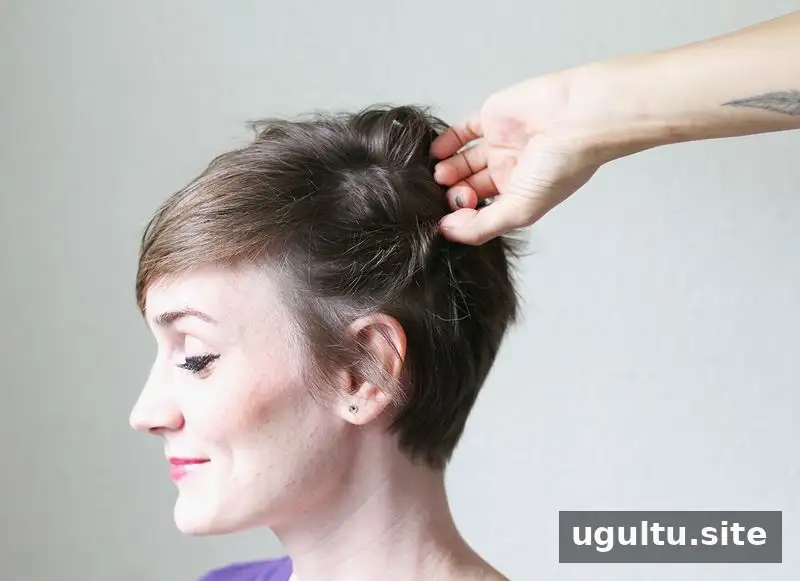
Secure one side: Take a section from the thinner side, twist it back, and hold it in place with a bobby pin. Position the pin close to the scalp so it stays secure.
-
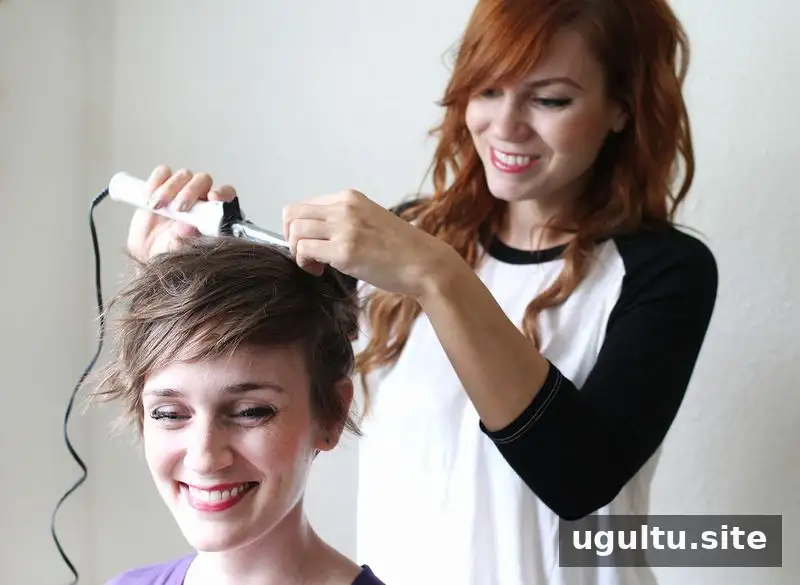
Add loose curls: Use a small-barrel curling iron or wand on the longer sections. If using a curling iron, leave the ends out of the clamp for a relaxed, textured finish. Let the hair cool, then apply a little hairspray. You can arrange nearby hair over the pin to conceal it.
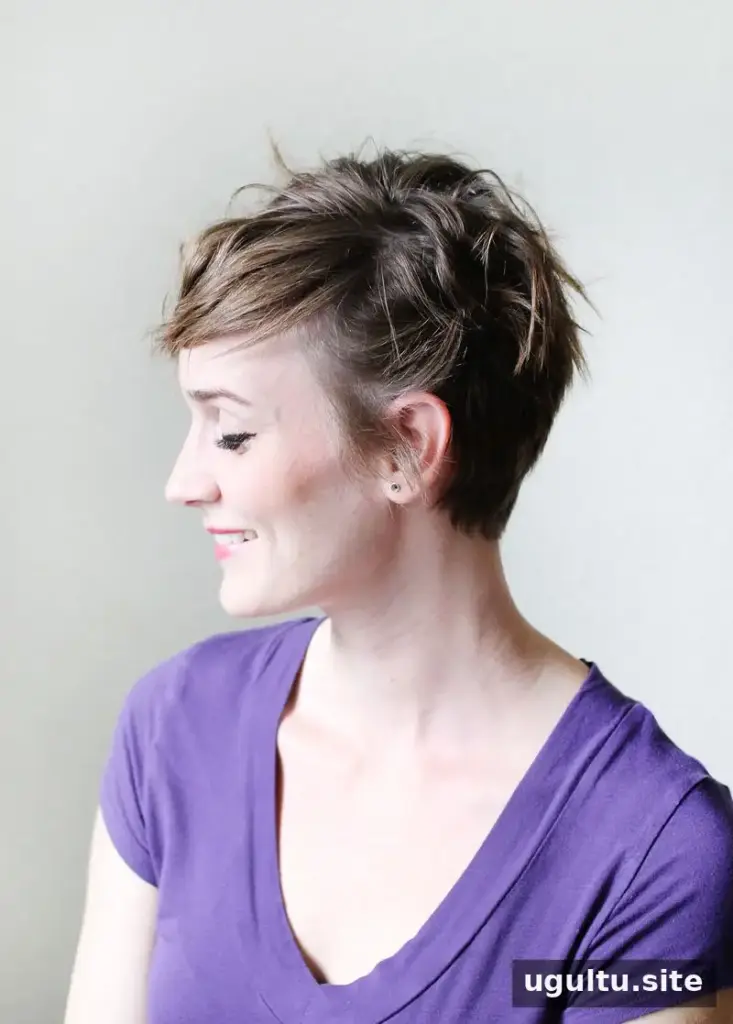

The result combines a defined part with soft movement. Keep the curls loose for an understated finish, or add a little more hairspray if you need extra hold.
Pin Back the Front for a Lifted Finish
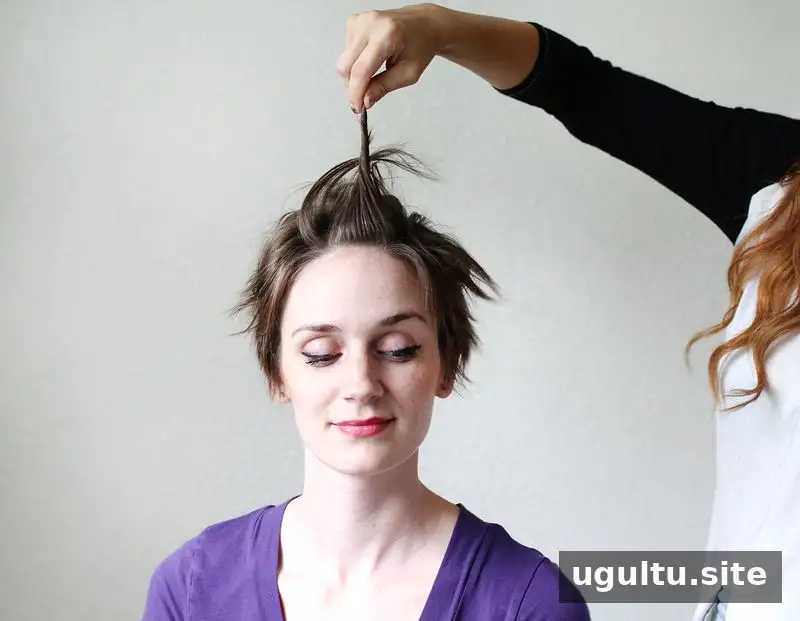
This final option uses texture at the crown and a pinned-back front section. It keeps hair away from the face while adding a little height.
- Build a textured base: Follow the first two steps of the flipped-out style: add dry shampoo if useful, backcomb lightly at the crown, and shape the ends with a straightener. Work a small amount of wax through the front section, taking care not to apply so much that it looks weighed down.
-
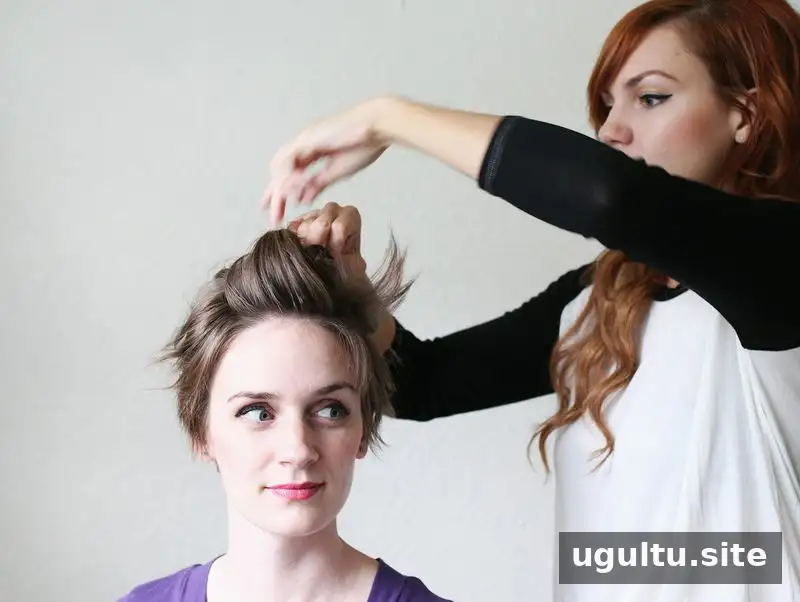
Backcomb and pin: Gently backcomb the underside of the front section. Smooth the visible top layer, then pull the section back and secure it with a bobby pin. A slight twist at the ends can help keep the hair in place.
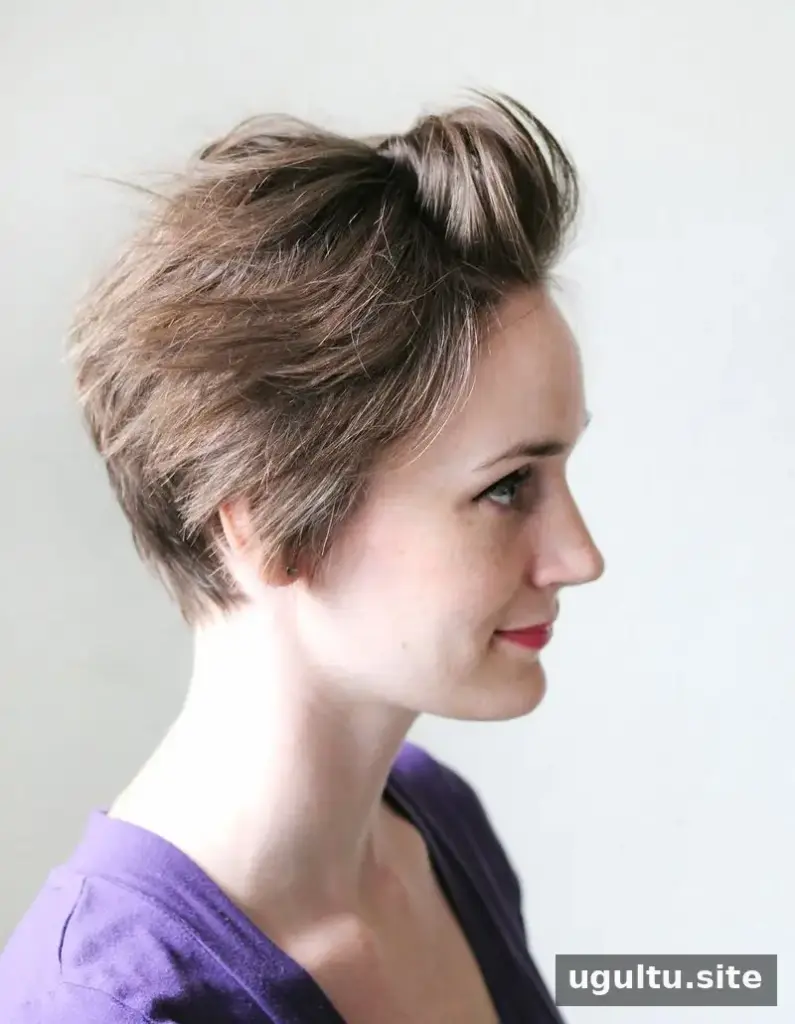

These three pixie cut styles offer different ways to refresh a short haircut: add flipped-out texture, create a deep side part with curls, or pin the front back for a lifted shape. Use heat tools carefully, apply styling products sparingly, and adjust each technique to your hair’s length and texture.
— Katie


