
 admin
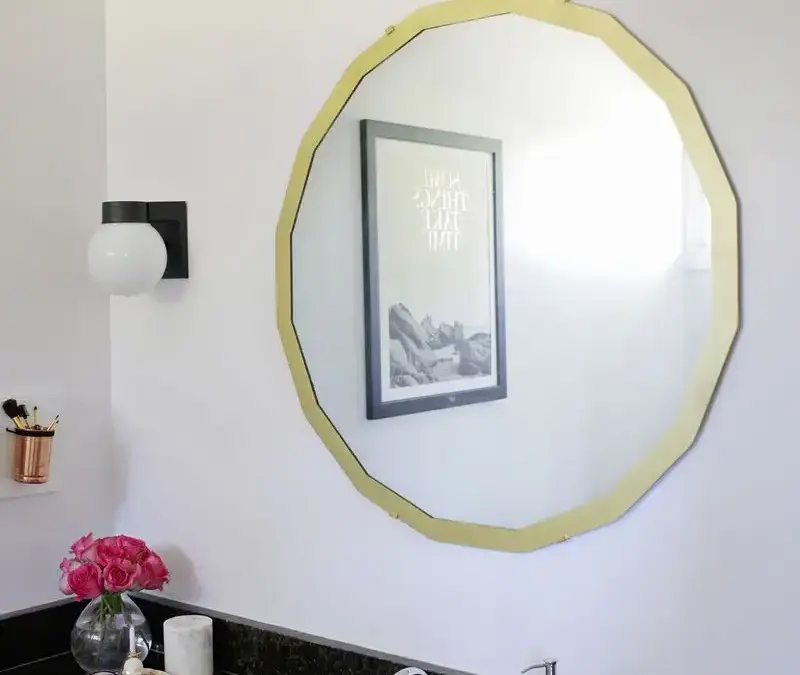
Dark spots on vintage mirrors can make an otherwise beautiful find look damaged, but the right approach depends on what has happened to the reflective backing. Some marks can be disguised with simple materials, while extensive damage may call for professional or more technical repair. Before you begin, inspect the mirror from the front and back to identify the affected areas and choose a suitable solution.
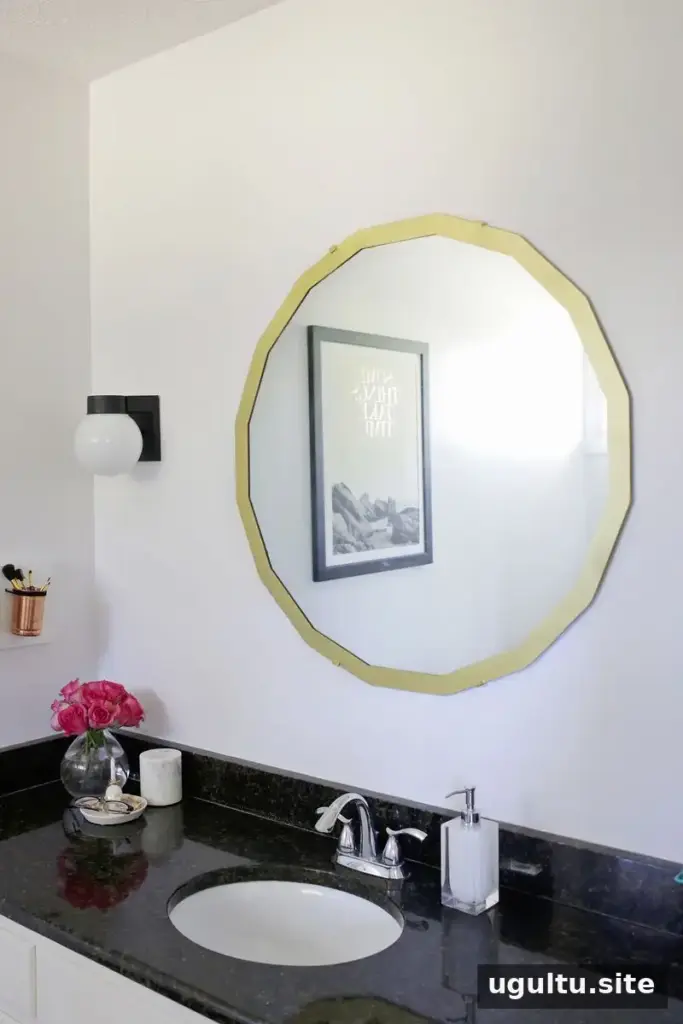
What Causes Dark Spots on Vintage Mirrors?
Many dark or opaque marks occur when moisture reaches the mirror’s reflective coating and causes it to deteriorate. In other cases, the backing may have been scraped or worn away, leaving a clear spot where you can see through the glass. These problems are usually related to damage behind the glass rather than dirt on the front surface, so ordinary glass cleaner will not remove them.
Practical tip: Clean and dry the glass before assessing the damage. This makes it easier to tell whether a mark is on the surface or within the backing.
Four Ways to Repair or Conceal Dark Spots on Vintage Mirrors
These options range from quick cover-ups to a more involved restoration. The first three mainly disguise damaged areas; re-silvering replaces the reflective layers.
1. Cover Small Clear Spots with Aluminum Foil
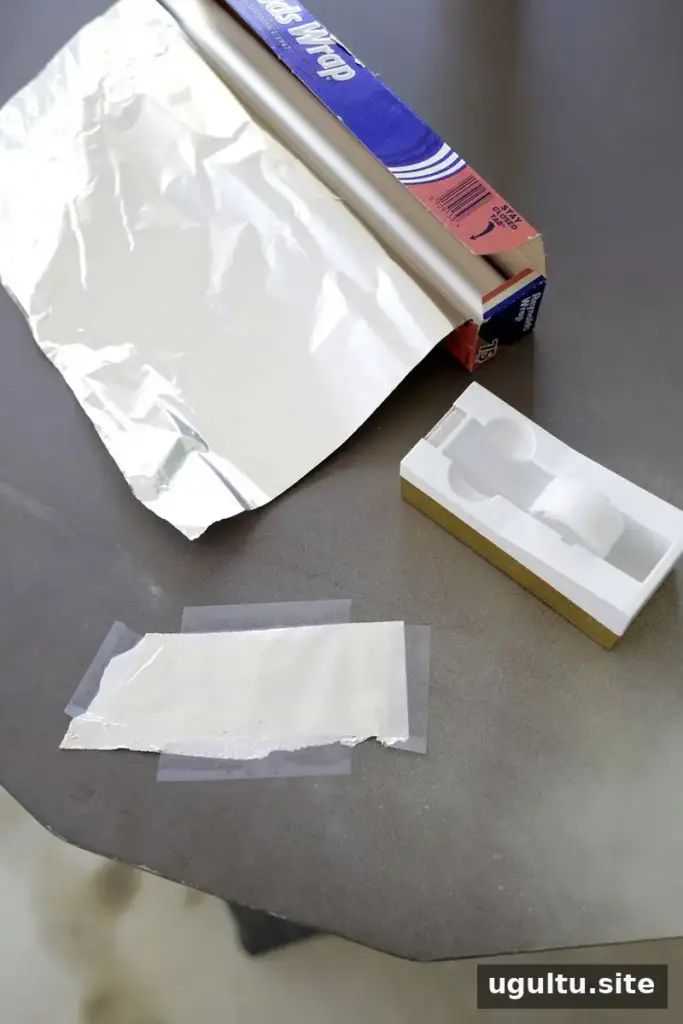
Aluminum foil can help disguise small areas where the backing has disappeared and the glass looks transparent. Smooth a small piece of foil, then secure it to the back of the mirror with clear tape. From the front, the foil reflects light and can make the damaged spot less noticeable.
This is an inexpensive option for a few isolated spots. Keep the foil flat and check its appearance from the front before hanging the mirror again.
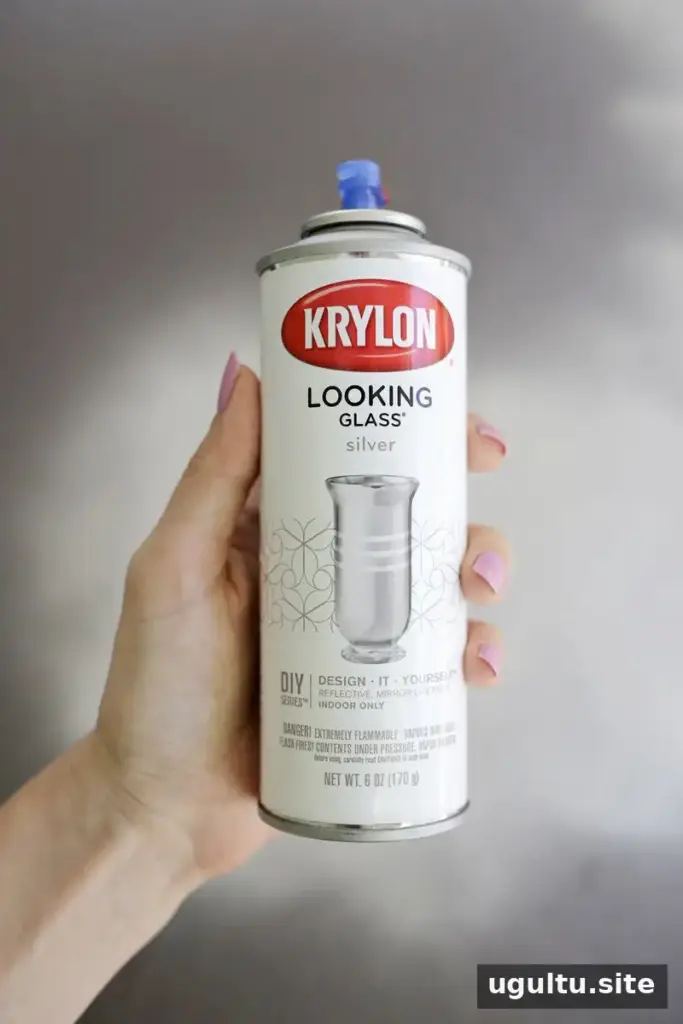
2. Apply Mirror-Like Spray Paint
Mirror-like spray paint can cover clear areas in a similar way to foil. When many small spots are scattered across the glass, coating the entire back may be more practical than applying separate foil patches.
Follow the paint label for surface preparation, application, and drying time. Work in a well-ventilated area and protect surrounding surfaces. If you are unsure how the finish will look, test the paint on a small craft mirror first.
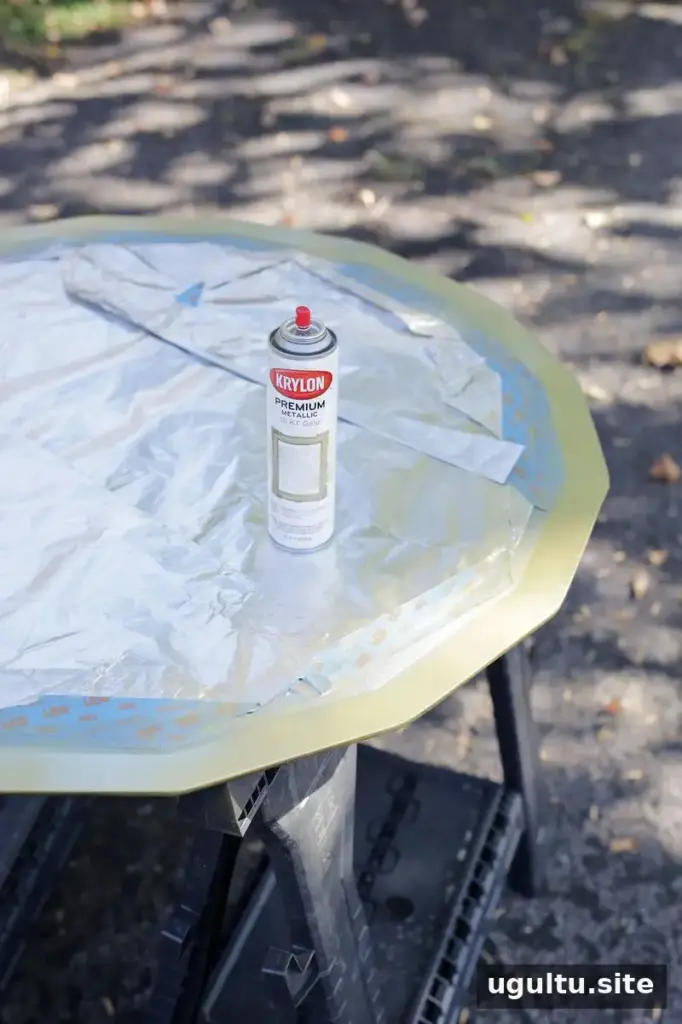
3. Paint a Border or Design to Hide Edge Damage
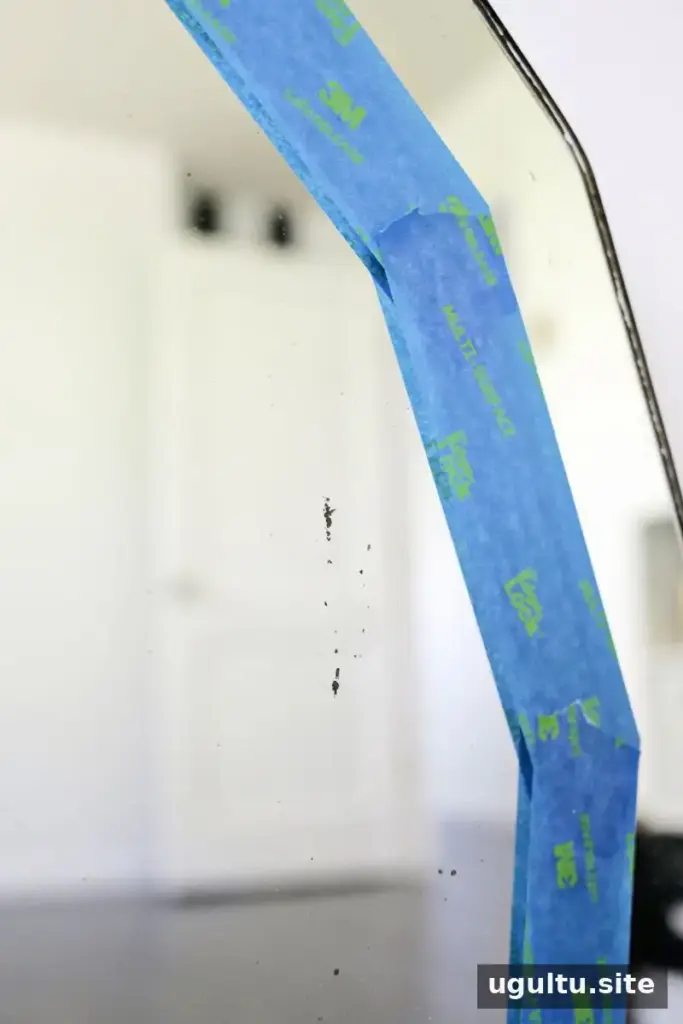
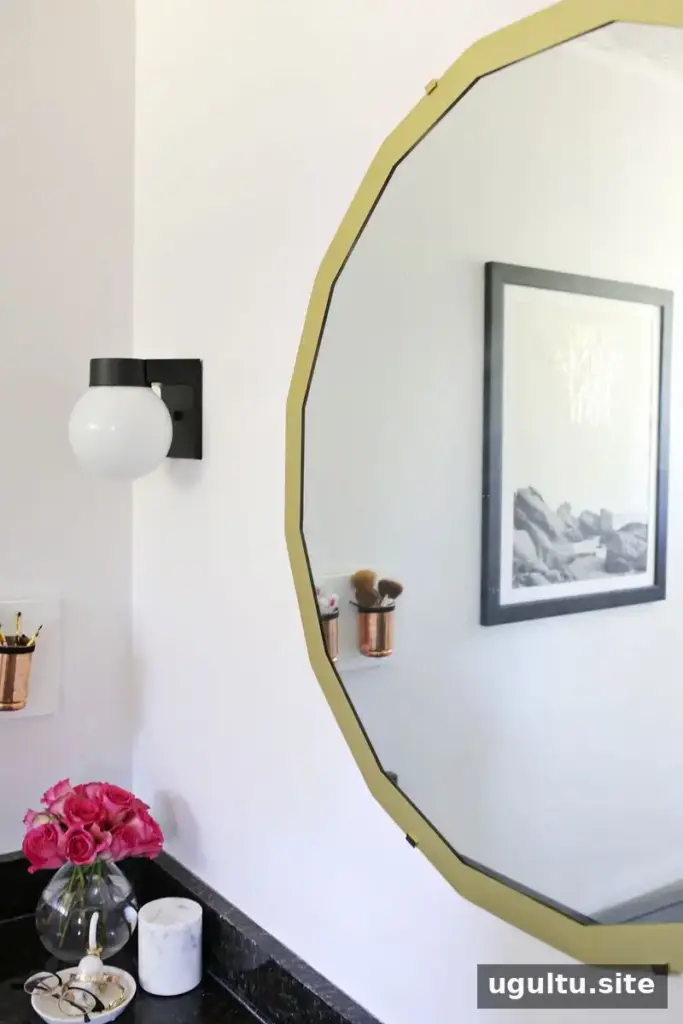
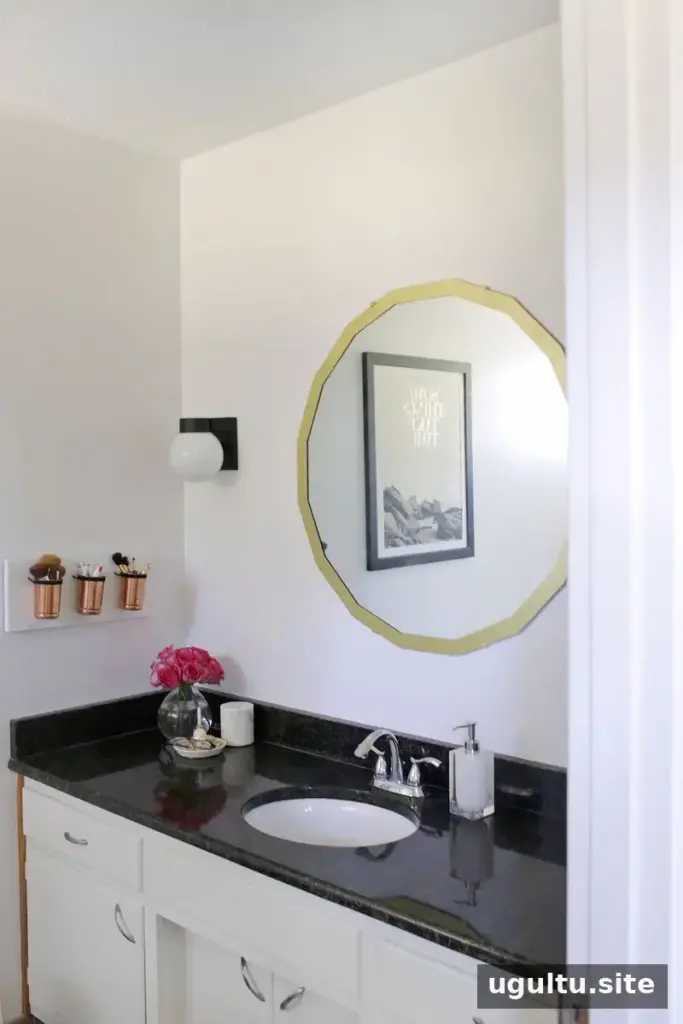
Moisture damage often appears around the edges, where splashes or steam may have reached the back of the mirror. A painted border or decorative design can conceal these marks while giving the mirror a refreshed look.
Use painter’s tape to outline the border or pattern, then apply a few coats of spray paint. Let the paint dry fully before removing the tape. Testing the paint on a small mirror first can help you check how it looks and holds up during cleaning.
4. Re-Silver the Mirror
Re-silvering involves removing the existing backing and applying new reflective and protective layers to the rear of the glass. It is a more technical process than covering a few spots, and larger mirrors can be especially challenging for a first-time repair.
Consider this option when the dark areas are extensive and simpler methods will not give a satisfactory result. If you are not experienced with the process, professional restoration may be a better choice.
Protect the Mirror After Repair
Because moisture can cause spotting, take steps to keep water and humidity from reaching the back of the mirror. After using foil or mirror-like spray paint, apply a protective layer of polyurethane to the back, as appropriate for the materials used. Follow the product instructions and allow the coating to dry before reinstalling the mirror.
Keep the mirror away from frequent splashes where possible, and avoid letting moisture collect along its edges. These precautions can help reduce the chance of further deterioration.

Choosing the Best Fix for Dark Spots on Vintage Mirrors
For a few clear spots, aluminum foil is a quick disguise. Mirror-like spray paint may be more convenient for widespread small areas, while a painted border can hide damage concentrated near the edges. Re-silvering is the most involved option and may suit severe damage. Assess the backing first, test materials when possible, and protect the mirror from moisture after making repairs.
— Laura


