
 admin
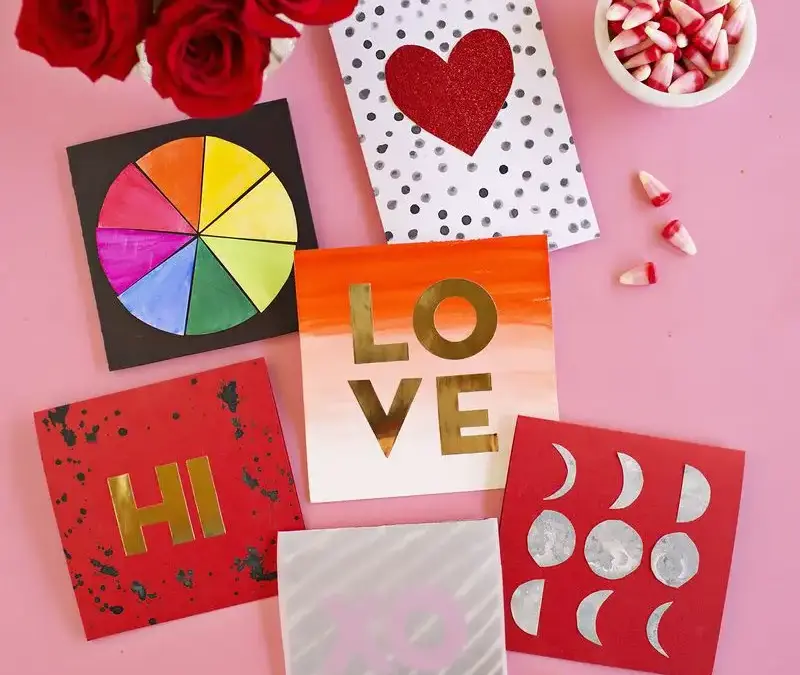
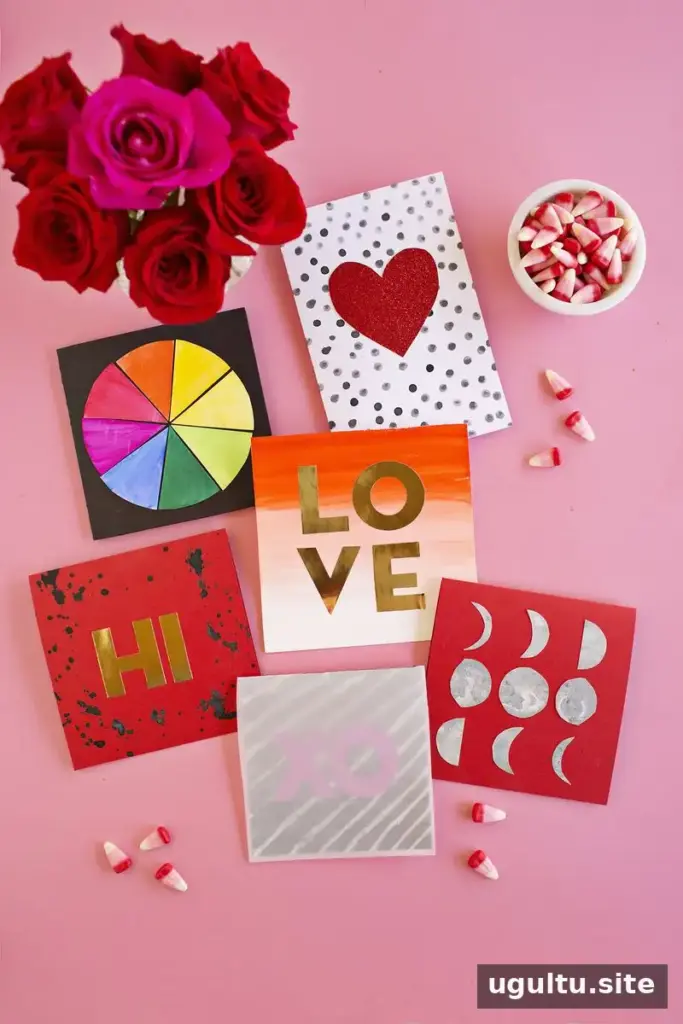
Looking for a simple way to make handmade cards more personal? These five watercolor techniques are easy to try with basic supplies and can be adapted for Valentine’s Day, birthdays, or other occasions. Each idea turns a painted sheet of paper into a distinctive card design.
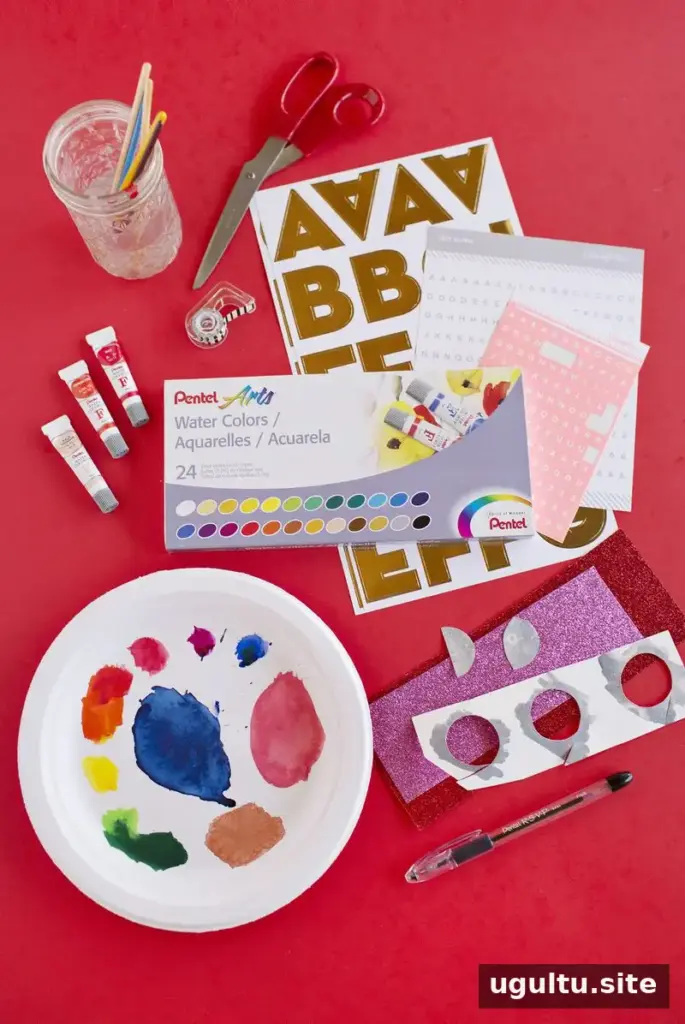
Gather watercolor paper or sturdy cardstock, watercolor paints, a brush, and a little water. Depending on the design, you may also want salt, a white crayon, a cotton swab, glitter paper, or stickers. Test your paint and paper together first; thinner paper may buckle when it gets wet.
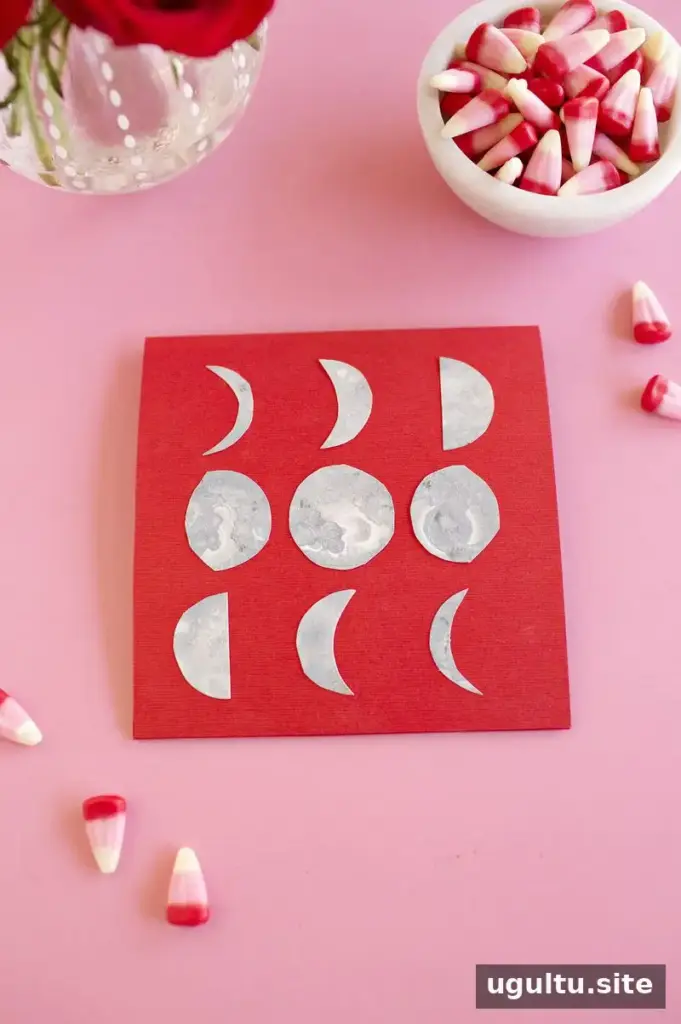
1. Add texture to watercolor moon phases

For a moon-phase card, paint a wash of color on watercolor paper and cut out moon shapes once the paper is completely dry. Arrange the phases across the front of a square card. The shapes do not need to be scientifically exact for the design to work; a simple row of crescents and circles makes the theme clear.
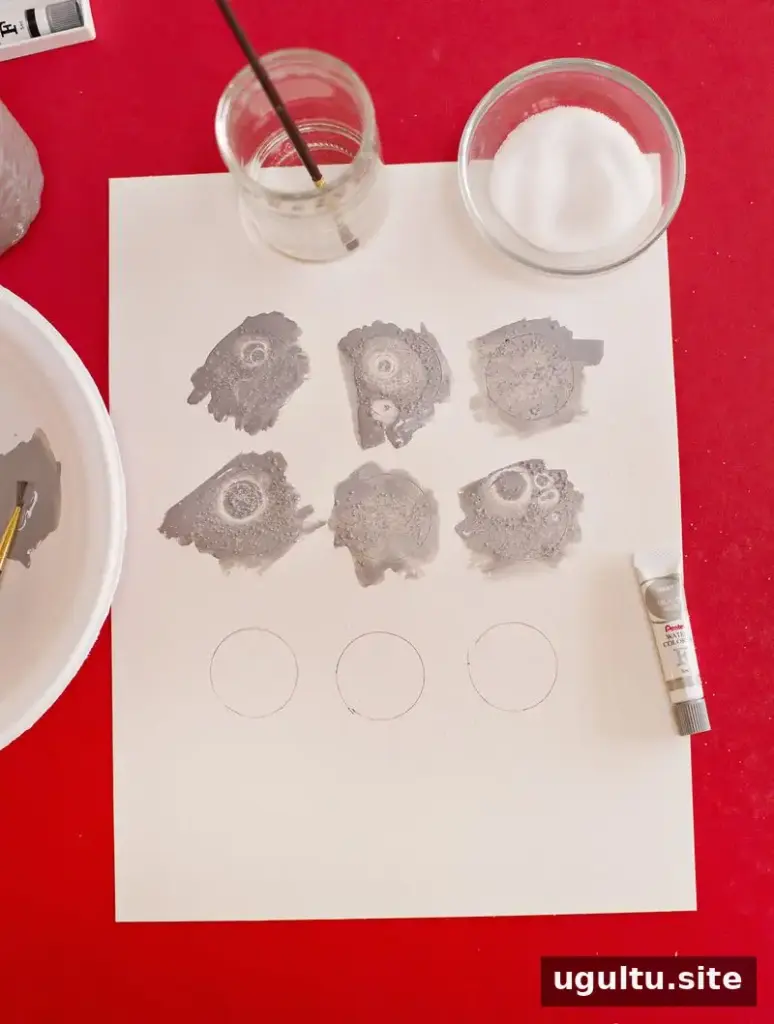
To create a crater-like texture, sprinkle table salt over the paint while it is still very wet. Let the paper dry fully, then gently brush away the salt before cutting out the shapes. The original design also uses nail polish remover; handle it according to its label, work in a well-ventilated area, and test it on a scrap first. Keep it away from heat or flames.
2. Try a crayon-resist design
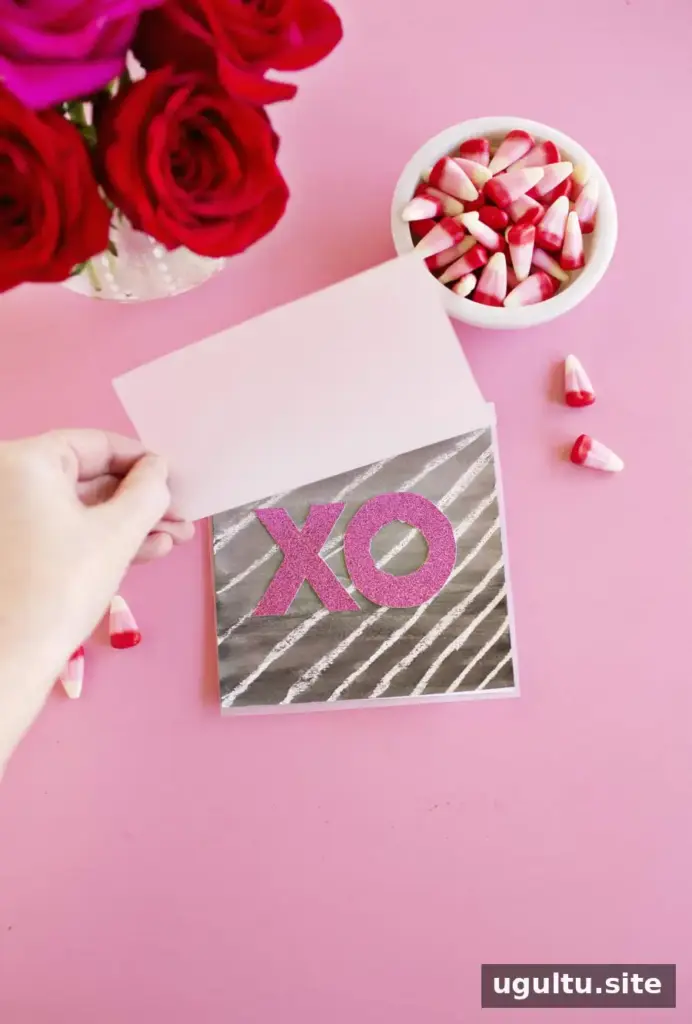
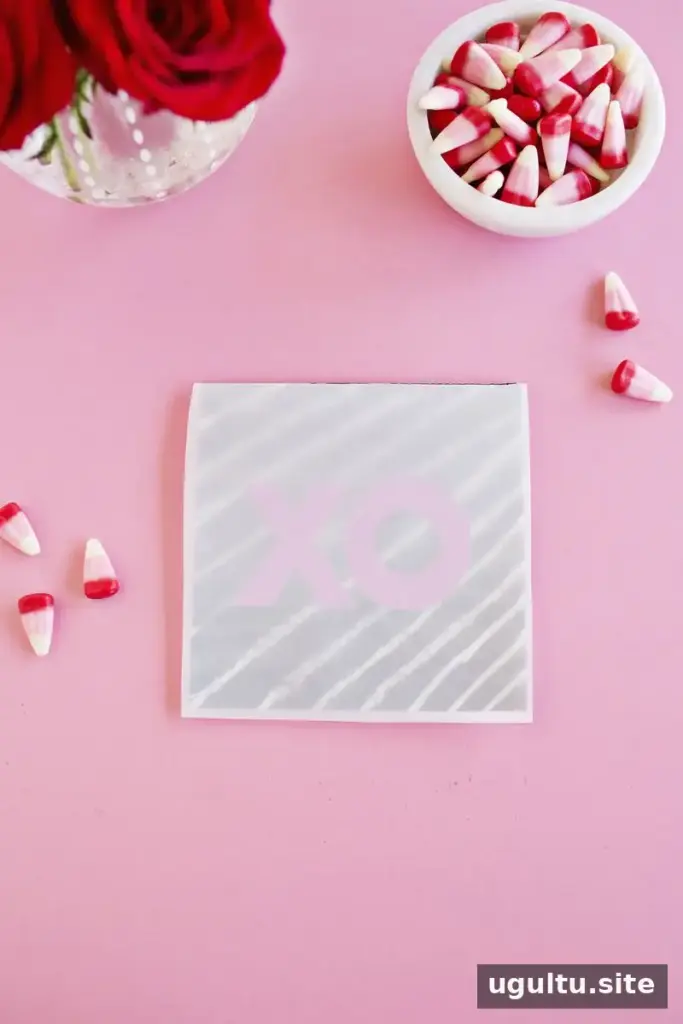
Draw a pattern on watercolor paper with a white crayon, then brush watercolor over the surface. The wax resists the paint, revealing the design as the color spreads across the page. Once dry, add cutout letters or shapes, such as an “XO” made from glitter paper. Vellum can add another layer; attach it with stitching or a simple stapler.
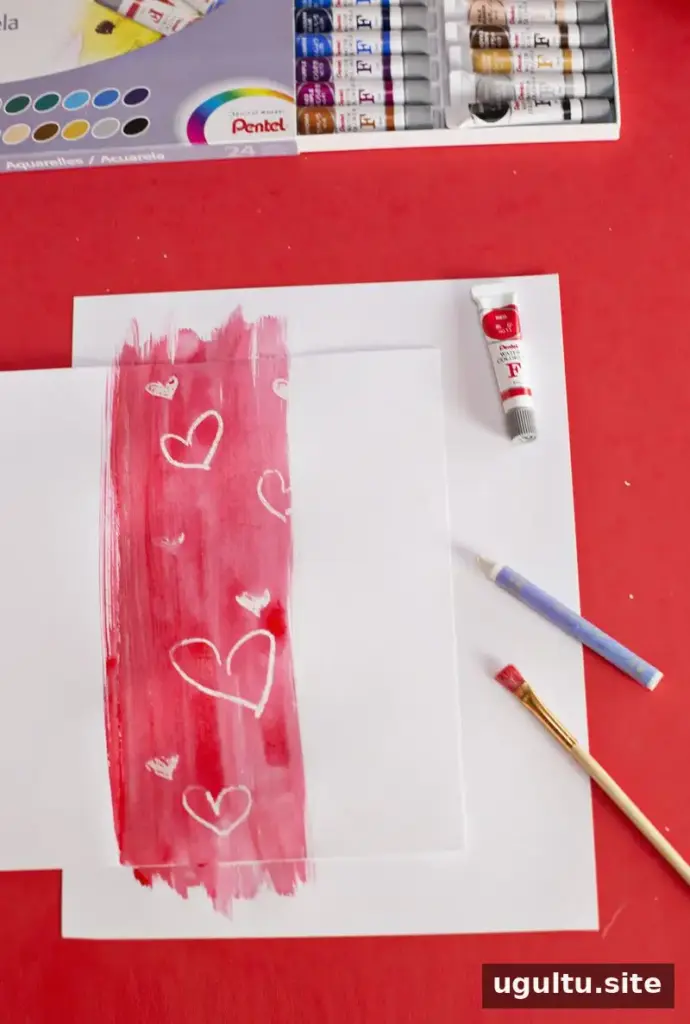
Stripes, stars, and simple outlines are easy patterns to start with. Press firmly enough for the crayon to leave a clear wax layer, and keep the paint wash even so the resist effect is visible.
3. Make an ombre watercolor wash
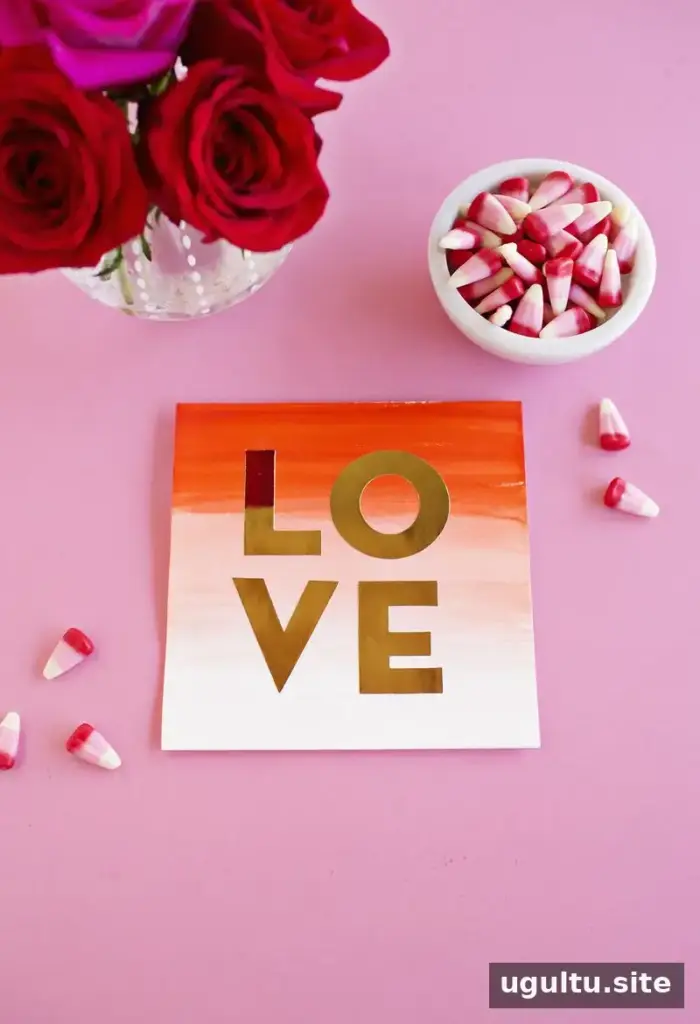
Use one color diluted with water to create a gradual ombre effect. Begin with a stronger wash at one edge and add water as you move across the paper, blending while the paint is still damp. Let the card dry completely before adding adhesive letters, stickers, or stamped details.
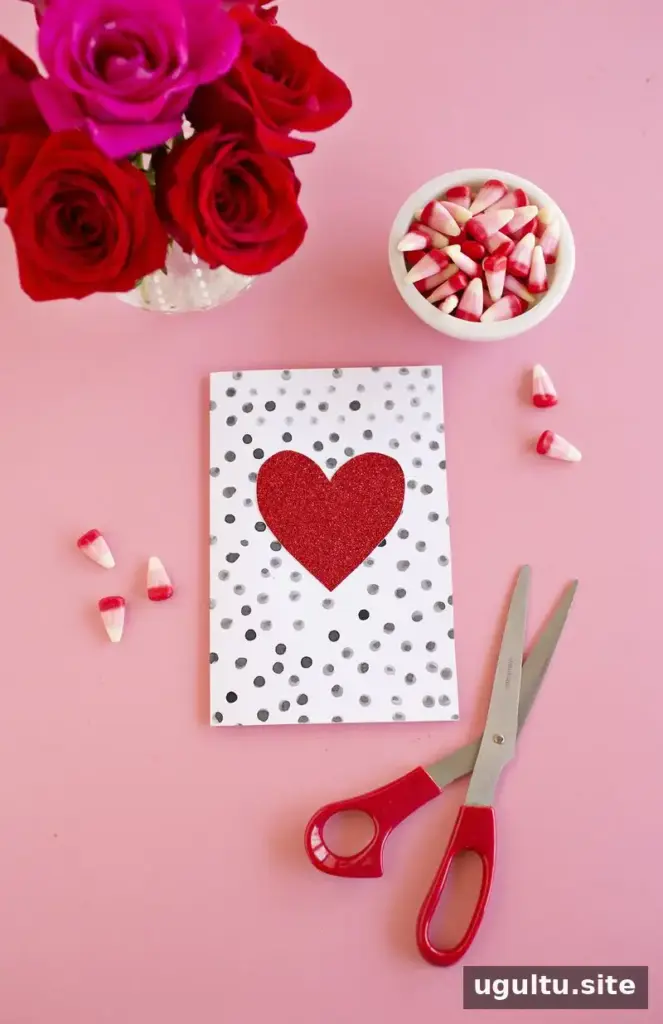
4. Stamp watercolor polka dots
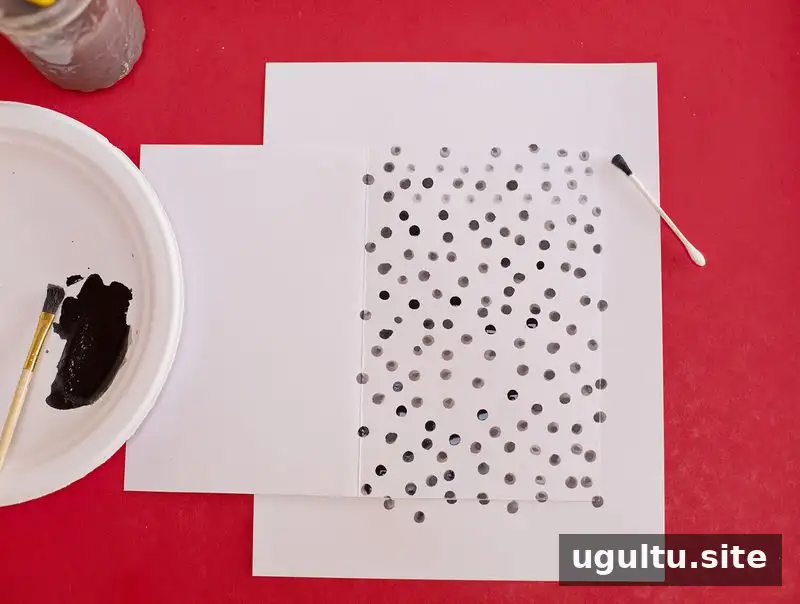
Dip a cotton swab into watercolor and press it onto the paper to make dots. Vary the amount of water and paint for a lively, imperfect pattern. Allow the dots to dry before adding a larger detail, such as a heart cut from glitter paper. Try different clean, small objects as stamps, testing their shape on scrap paper first.
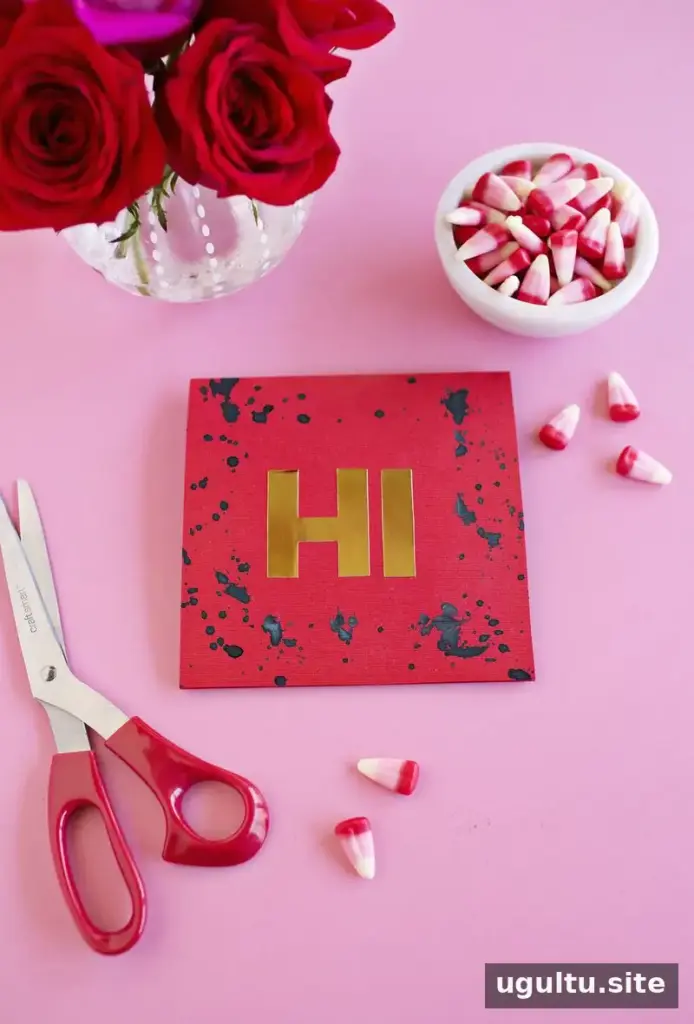
5. Frame a card with paint splatters
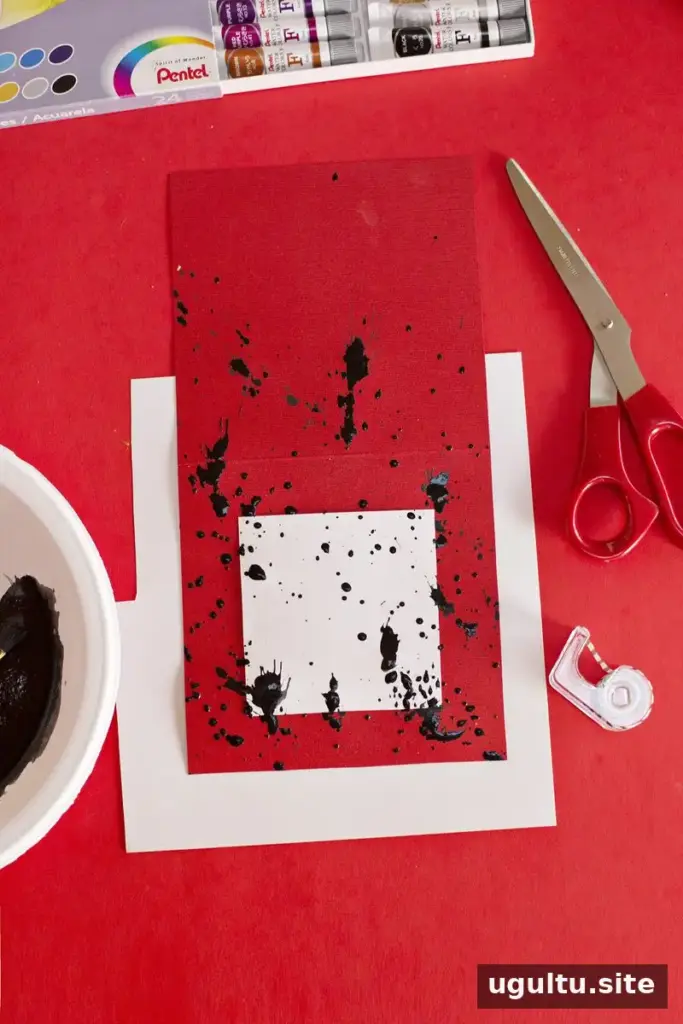
Load a brush with watercolor and gently flick it around the edges of a piece of paper to create a splattered border. Protect nearby surfaces before you begin; working over a sink or a washable tray can make cleanup easier. When the paint is dry, remove a paper mask from the center or write a short message in the open space.
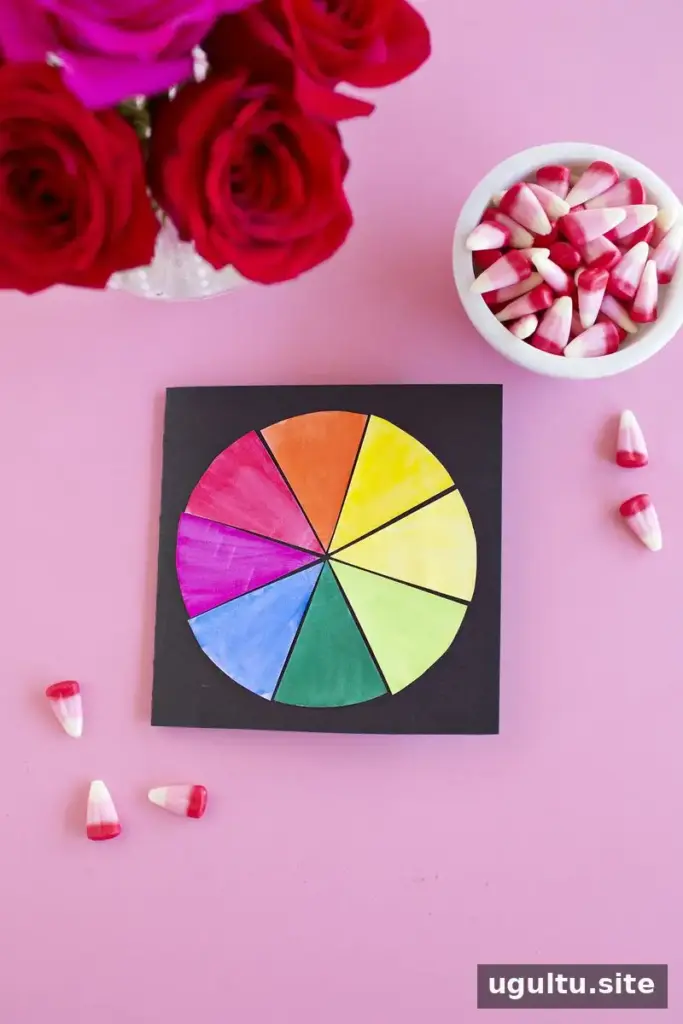
Bonus: Paint a watercolor color wheel
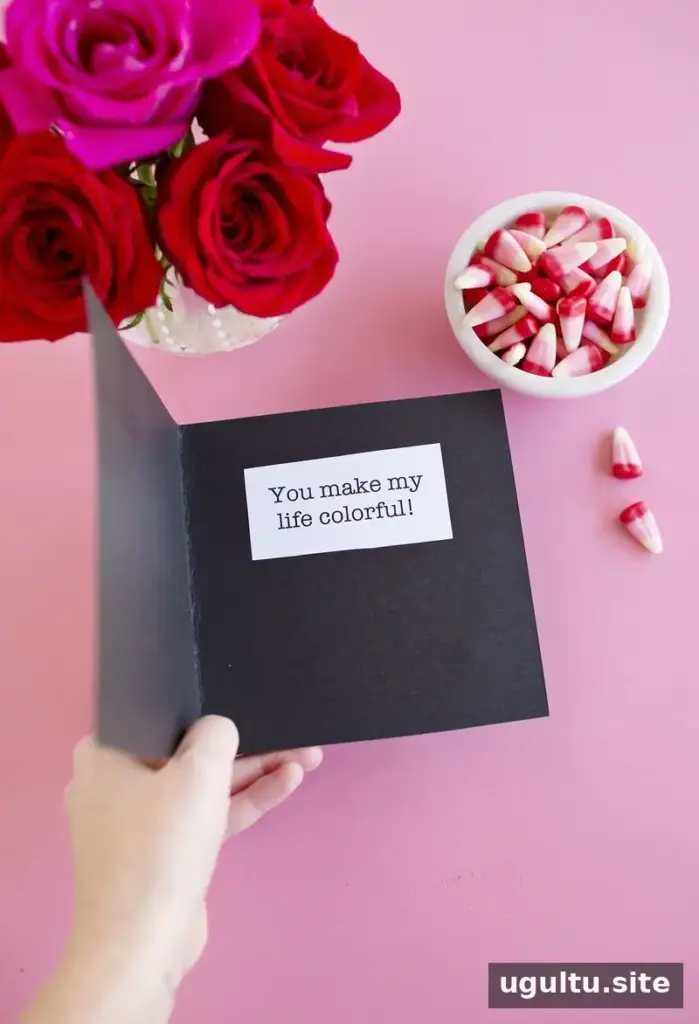
Paint eight solid-color triangles and arrange them in a circle to create a simple color-wheel design. Watercolor gives each section a softly varied texture. For clean edges, let neighboring triangles dry before painting the next one, or leave a small gap between shapes.
Put these watercolor techniques to use
These watercolor techniques offer several ways to personalize a handmade card without complicated tools: add salt for texture, use crayon to resist paint, blend a soft ombre wash, stamp dots, or splatter a border. Start with scrap paper, let each layer dry before adding paper decorations, and choose the method that suits your design. Card designs by Emma.


