
 admin
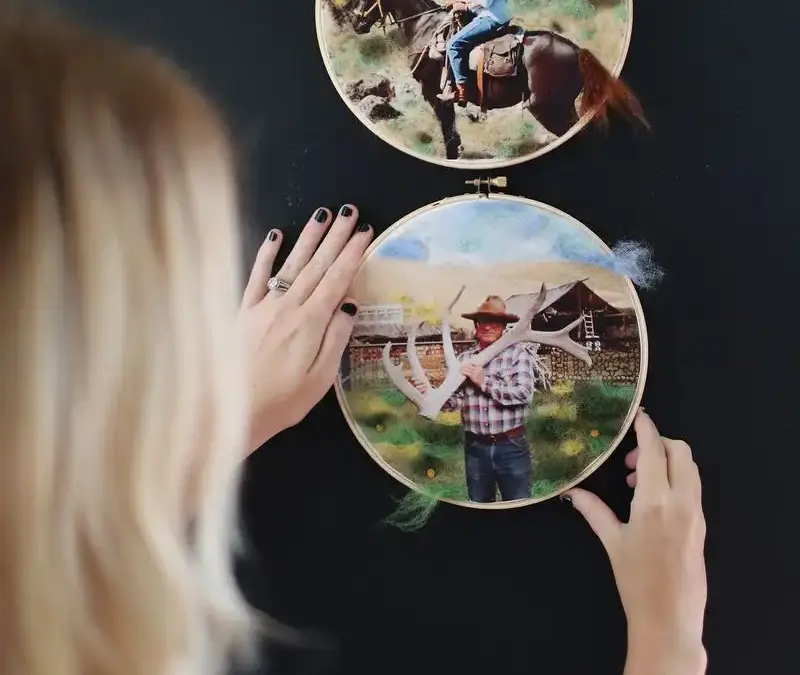
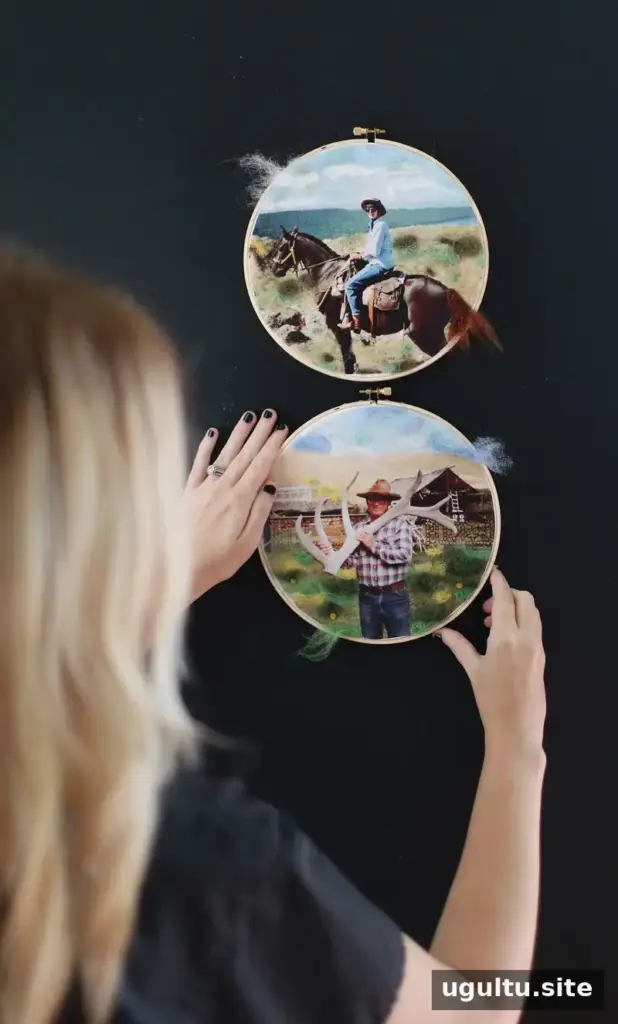
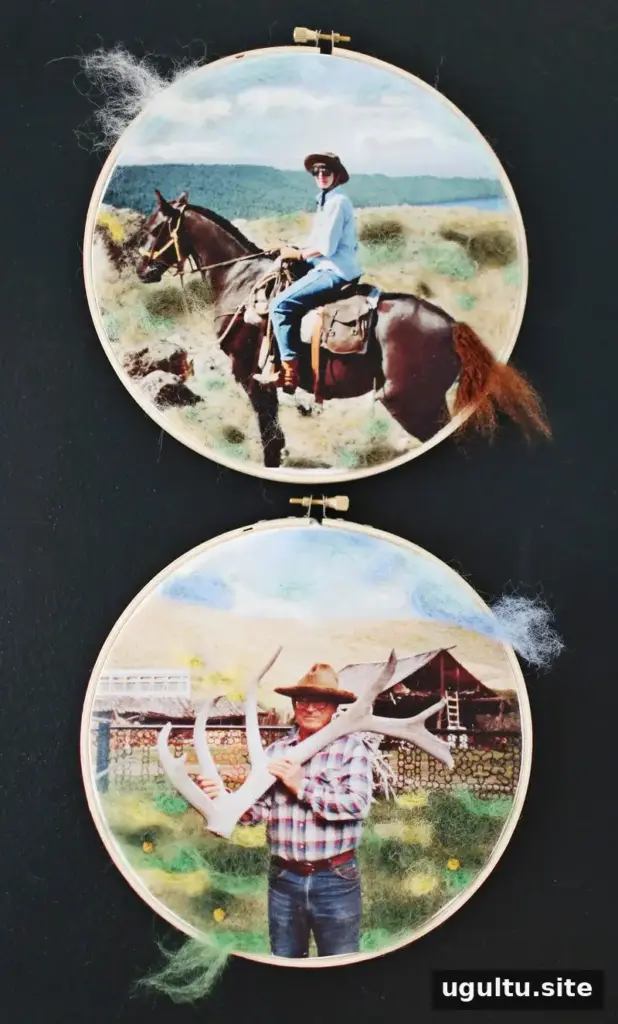
Needle felting on photos is a simple way to add color and raised, woolly details to a printed portrait. You don’t need sewing experience: the basic technique involves placing small amounts of wool roving on a surface and carefully poking it with a felting needle. With a few supplies and a little patience, beginners can create a playful piece to display.
The design can be as simple or detailed as you like. If this is your first project, start with a few colors and small areas rather than trying to cover the whole image. A little roving goes a long way, so add it gradually.
Needle felting on photos: what you’ll need
This project uses a transferred photo on cotton fabric as its base. Gather the following materials before you begin:
- Fabric transfer sheets and a photo to use
- Plain cotton fabric, such as off-white cotton
- An iron
- A needle-felting needle
- A foam block or old cushion to protect your work surface
- Wool roving in colors that suit the image
- Scissors
- A frame or embroidery hoop for display
Wool roving is the main project expense, but only a small amount is needed for modest details. The original project cost about $18, not including tools. Your total may differ depending on the materials you already have and the amount of roving you choose.
Prepare and transfer your photo
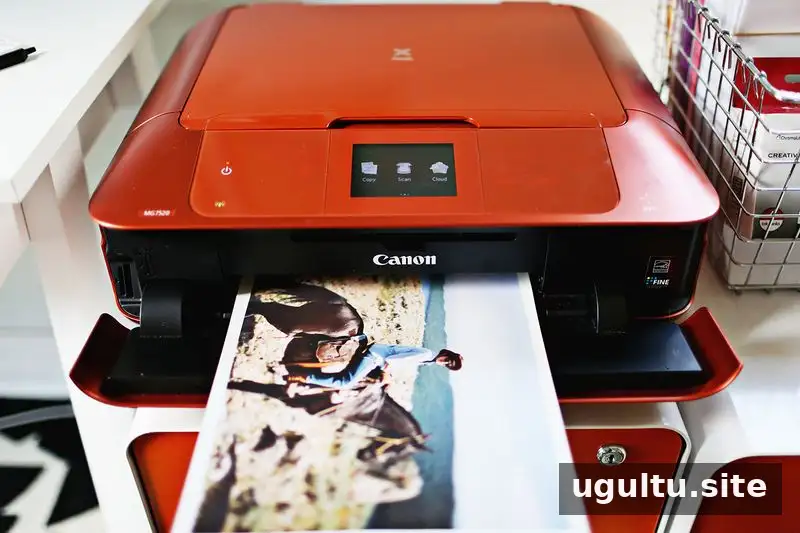
To keep an original photograph safe, make a digital copy and print from that instead. The image can also be adjusted before printing; for example, increasing color saturation may help a faded photo coordinate with the wool colors. Keep an unedited copy of the image so you can return to the original if needed.
Transfer the printed image onto cotton using the instructions supplied with your transfer sheets. Transfer products can have different requirements, so check their directions before ironing. Let the fabric cool and make sure the transfer is secure before adding wool.
How to add wool details
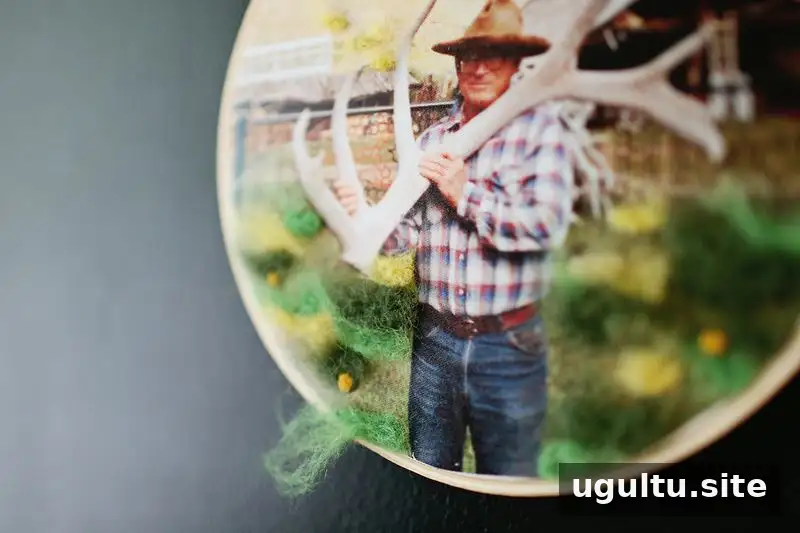
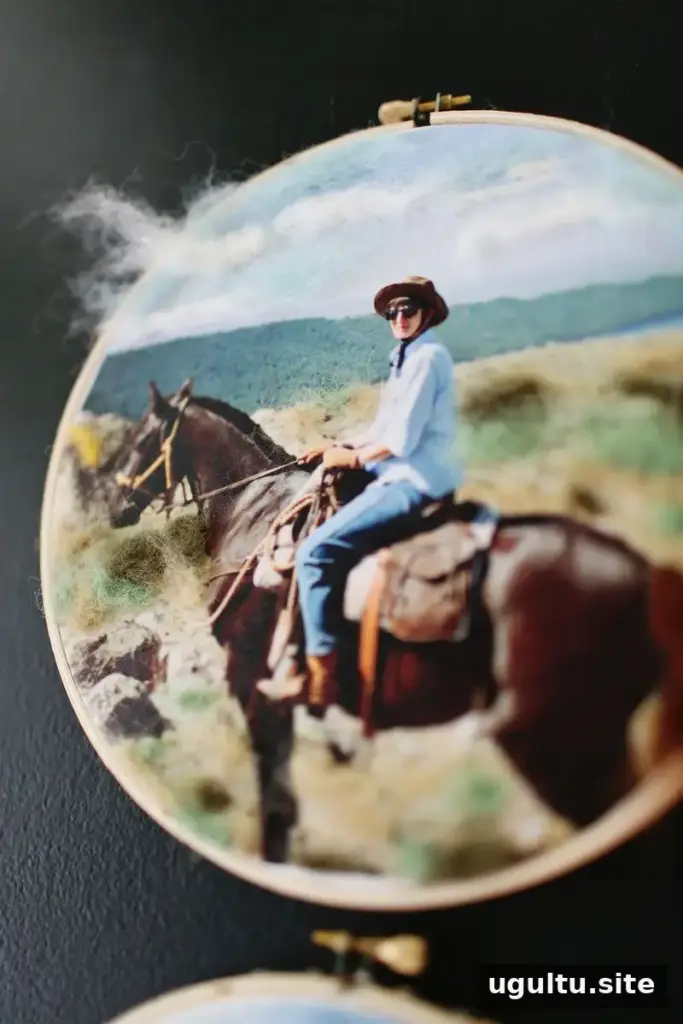
Place the fabric over a foam block or old cushion. Arrange a small tuft of roving where you want texture, then use the felting needle to poke it repeatedly into the fabric. Work carefully and keep your fingers clear of the needle, which is sharp. Add more wool in small amounts until the detail looks right.
For a portrait, keep most felted sections near the outer edges of the image. The raised texture naturally attracts attention, so leaving the central subject relatively clear helps it remain the focal point. You can let strands extend beyond the image edge—such as a tail or cloud detail—for a whimsical effect.
Finishing and displaying your project
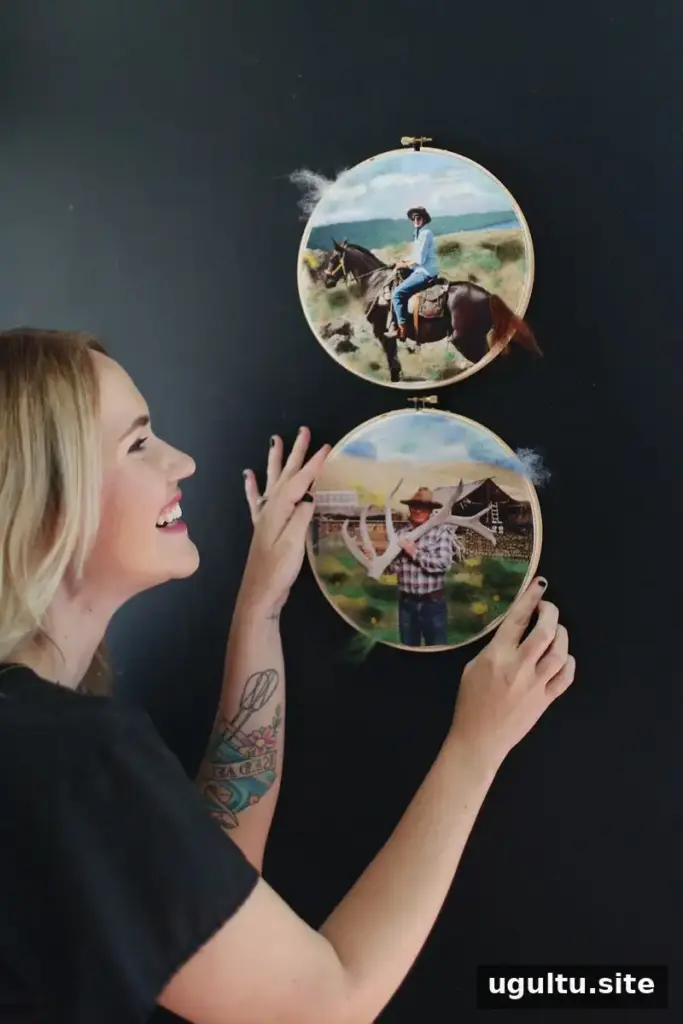
Once the wool details are in place, check that the composition feels balanced and trim any loose fibers with scissors. Mount the finished piece in a frame or embroidery hoop. If you are new to needle felting, practice a few pokes on a spare piece of fabric first, and use gentle, controlled movements rather than forcing the needle.
This technique can be adapted to different portraits and printed images. Choose a limited palette, keep the subject visible, and build the texture gradually. Needle felting on photos is an approachable starting project for anyone who wants to turn a printed picture into a tactile, personalized display piece.
Project by Emma.


