admin
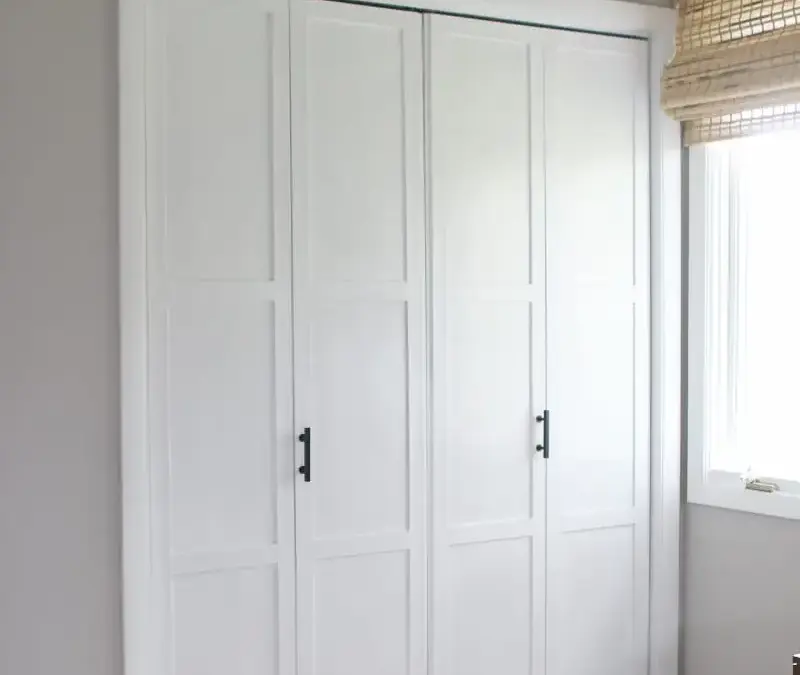
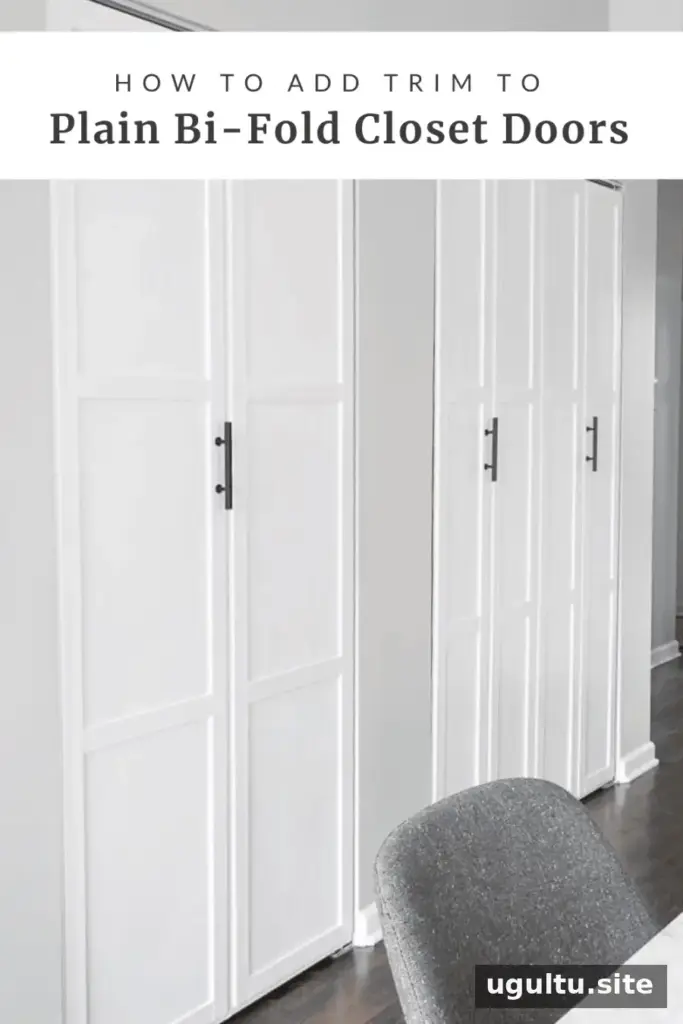
Learning how to add trim to plain bi-fold doors is a straightforward way to give flat doors a more detailed, custom look. This project uses narrow pine lattice, primer, paint, and basic tools to create a simple panel design. Plan the layout carefully, especially around the door edges, so the finished doors can fold and open without rubbing.
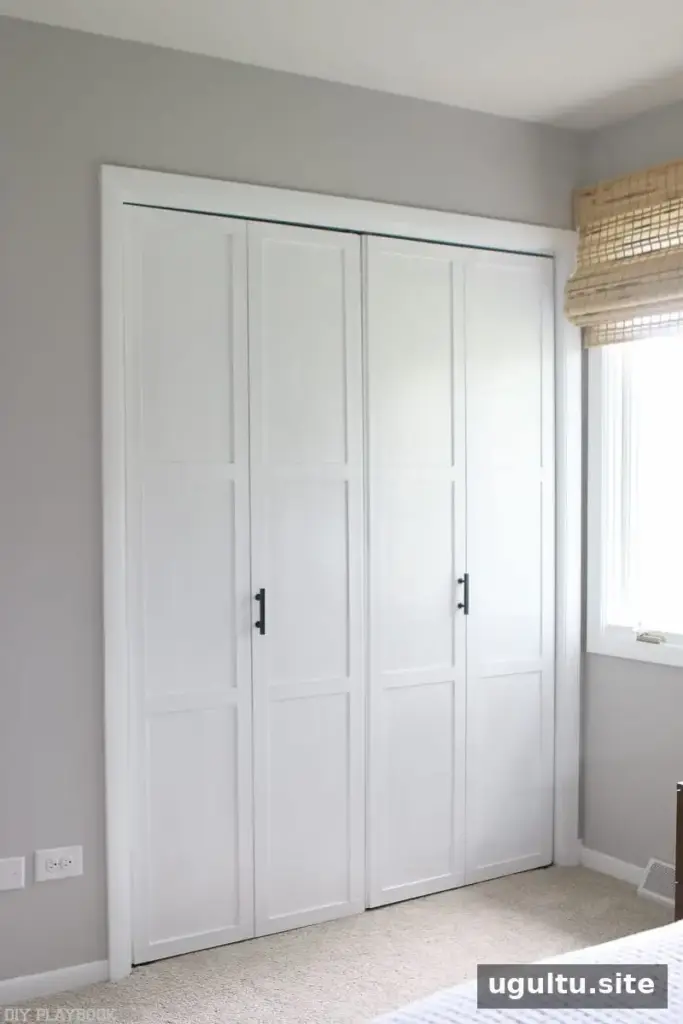
A trim upgrade can also help plain closet doors feel more finished and coordinate with other details in a room. The following steps explain how to prepare the doors, attach the trim, and complete the surface for painting.


The same general approach can be adapted to other flat doors, provided the trim does not interfere with their movement or hardware.
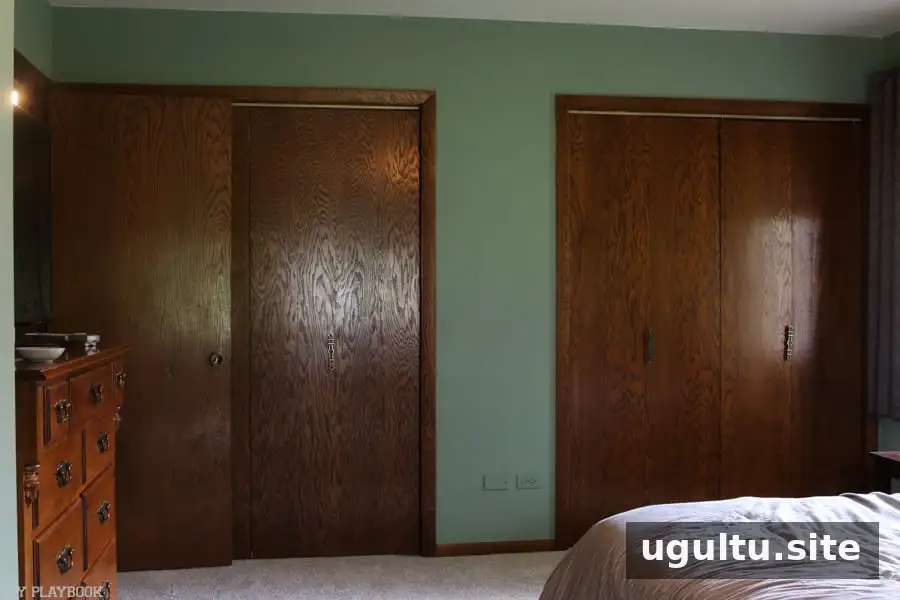
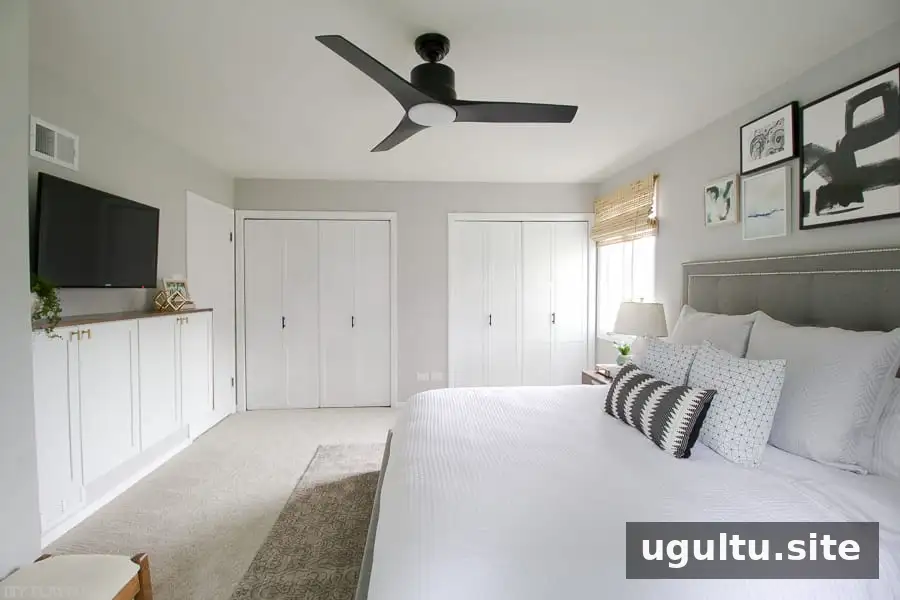
Check the Doors Before You Begin
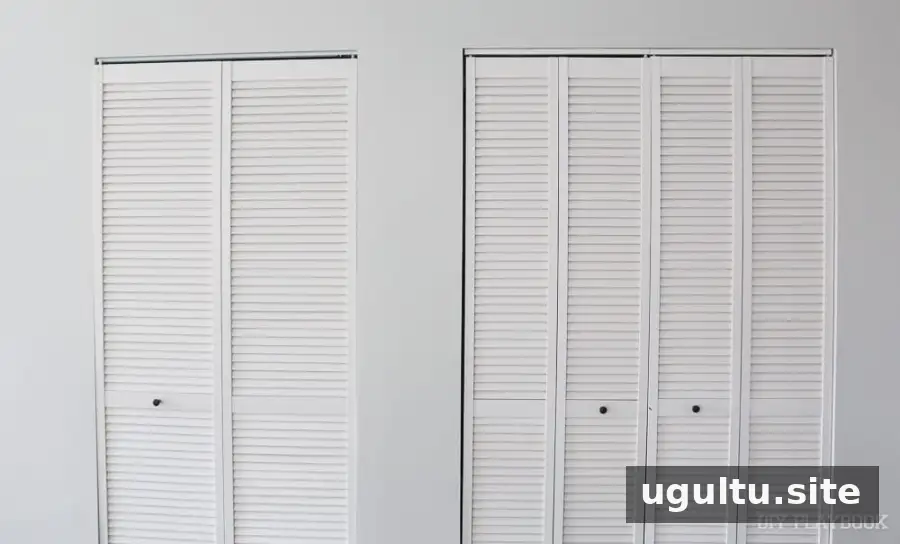
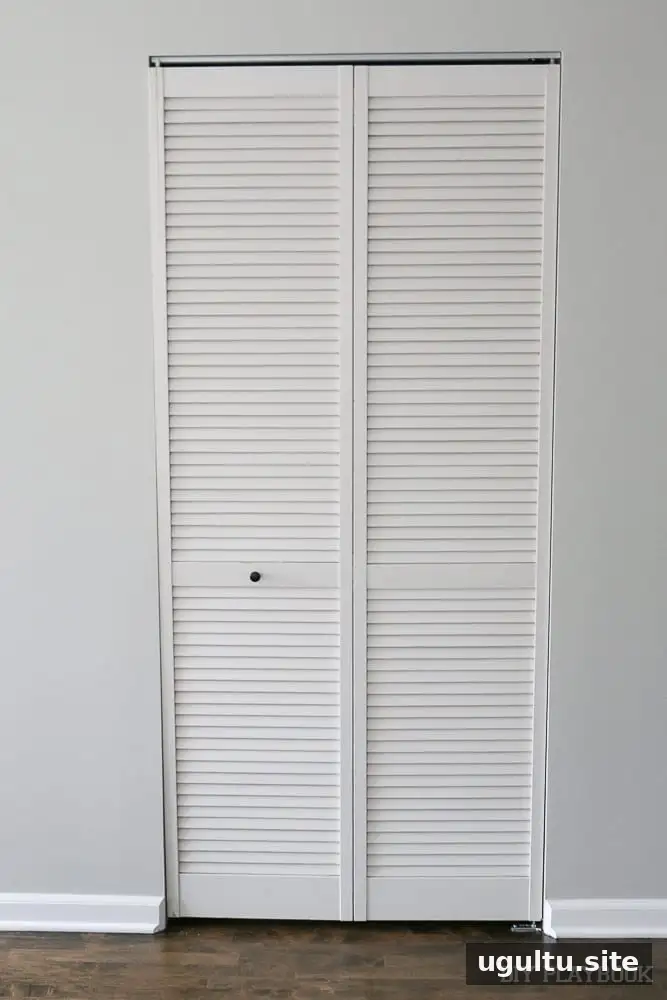
Start by checking the door type, opening clearance, and existing hardware. Louvered doors may be part of a space that needs airflow, particularly around heating, cooling, or water-heating equipment. Before replacing them with solid doors, confirm ventilation requirements with a qualified technician. For this project, the existing louvered doors were replaced with flat-panel doors after a service technician assessed the area.
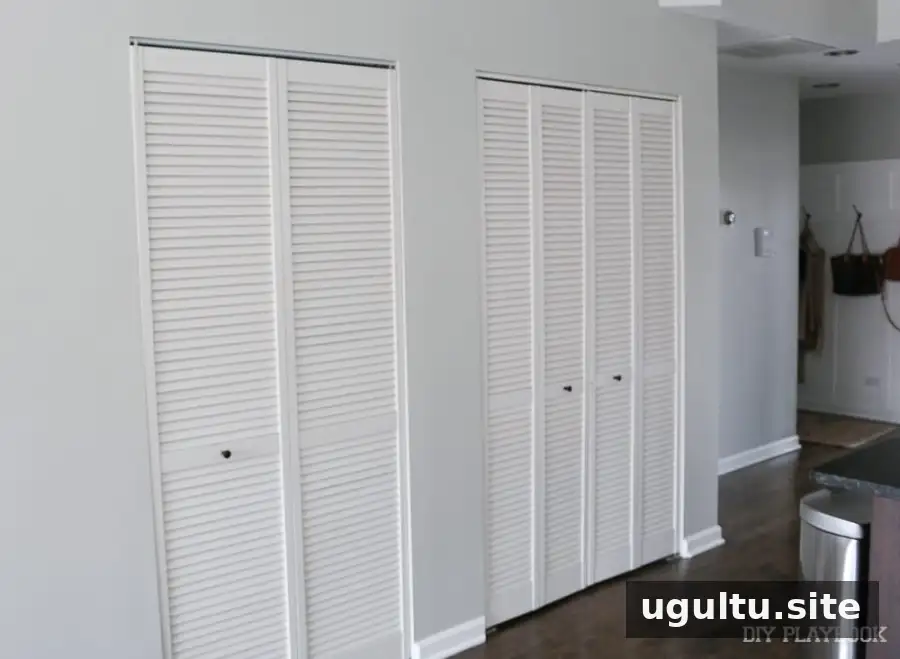
Solid doors may reduce some sound transmission compared with thin louvered doors, but they are not a substitute for proper soundproofing. Check that any replacement door is suitable for the room and its equipment.
Materials and Tools
Gather the supplies before starting so the doors and trim can be prepared in sequence:
- Flat-panel bi-fold doors, if replacing existing louvered doors
- Primer and paint
- Paintbrush, paint tray, and small roller
- Mitre saw
- Nail gun and 1-inch nails
- Construction adhesive
- Sanding block
- Caulk and caulk gun
- Painter’s putty
- Handles
- Drop cloths and sawhorses
- Pine lattice, 1/4 inch thick and 1-3/8 inches wide
- Tape measure and pencil
- Safety glasses
- Laser level
Measure the doors and sketch the trim layout before cutting. Wear safety glasses when cutting or fastening the lattice, and follow the tool manufacturers’ safety instructions.
How to Add Trim to Plain Bi-fold Doors
Use these steps to add a simple rectangular panel pattern. Test the doors in their opening before applying primer or trim so you can confirm the fit and understand where clearance is needed.
1. Fit the Doors
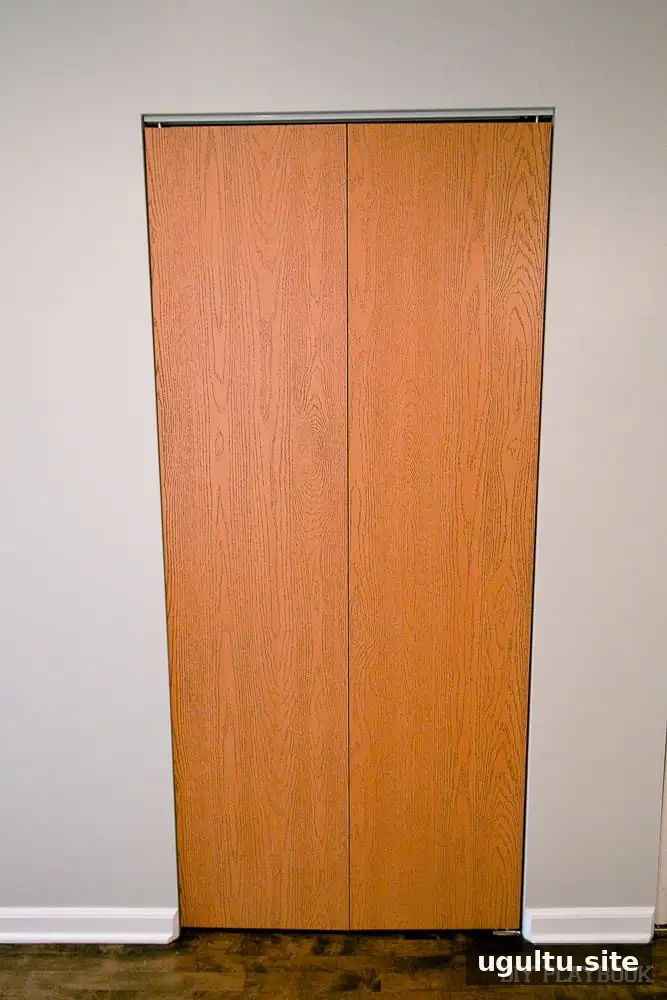
If the existing doors are unsuitable, install flat-panel replacements according to the manufacturer’s instructions. The replacement doors used for this project were oak and came with a track and hardware. Hang the doors first and check that they fit and operate properly. Then remove them for priming and trim work. If you already have plain bi-fold doors, you can begin with surface preparation.
2. Prime the Door Panels
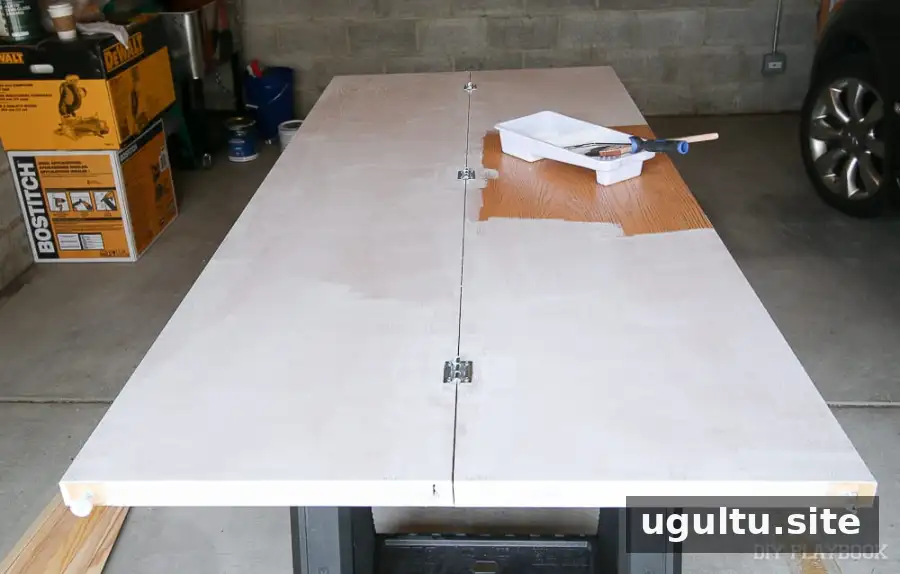
Lay the doors flat on sawhorses. Apply two coats of primer to each side, including the edges and recessed areas, using a small roller and brush where needed. Follow the primer’s drying instructions before handling the doors. Even coverage helps create a consistent base for the topcoat.
3. Prime the Lattice
Preparing the Trim
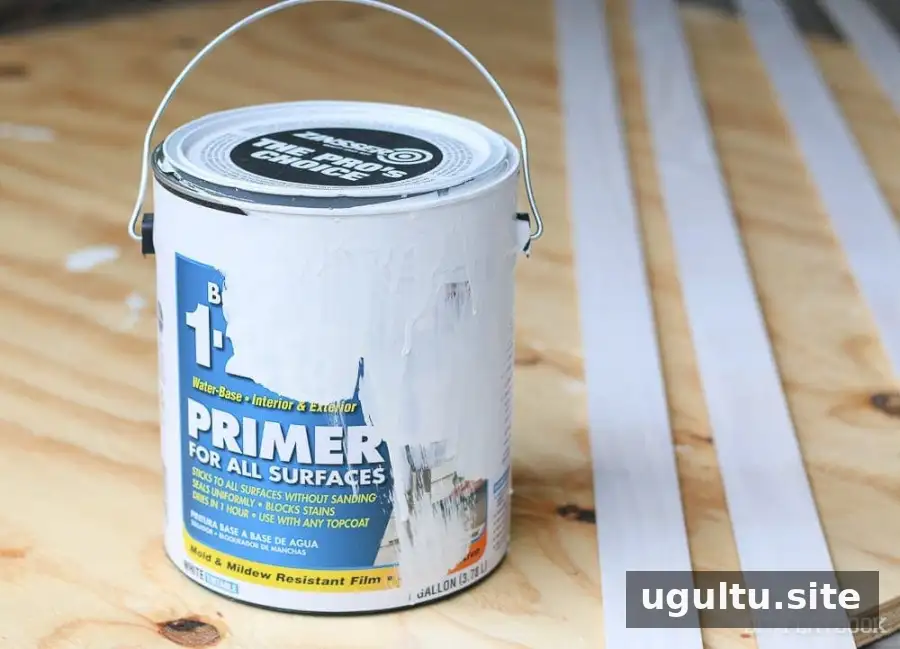
Apply a thin coat of primer to all sides of each lattice piece and allow it to dry. The project uses pine lattice measuring 1/4 inch thick by 1-3/8 inches wide. Priming the trim before installation makes it easier to cover its edges and surfaces.
4. Cut and Attach the Vertical Pieces
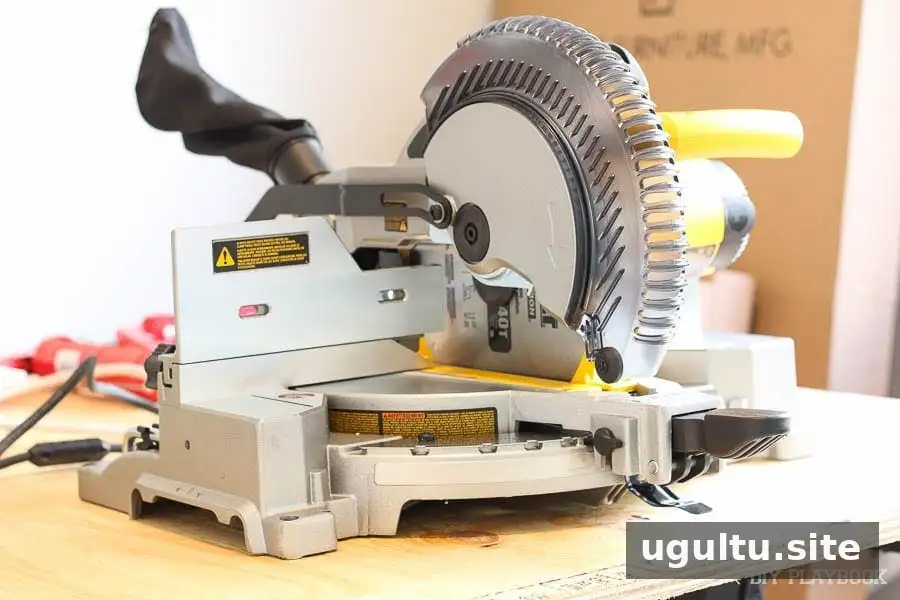
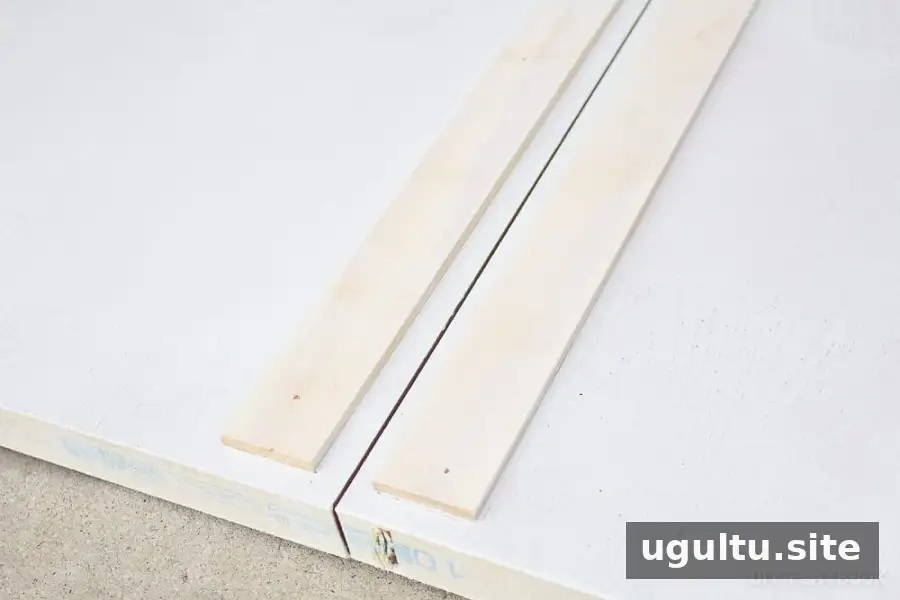
Measure and cut the long vertical pieces first. Position them 1/2 inch in from each door edge to leave room for the bi-fold panels to move. Cutting the matching vertical pieces together can help keep them consistent. Use a straightedge to check alignment, then attach each piece with construction adhesive and a nail gun using 1-inch nails.

Check that the adhesive and nails are suitable for the door material. Keep fasteners controlled and avoid placing them where they could interfere with the folding joints or door hardware.
5. Add the Horizontal Pieces
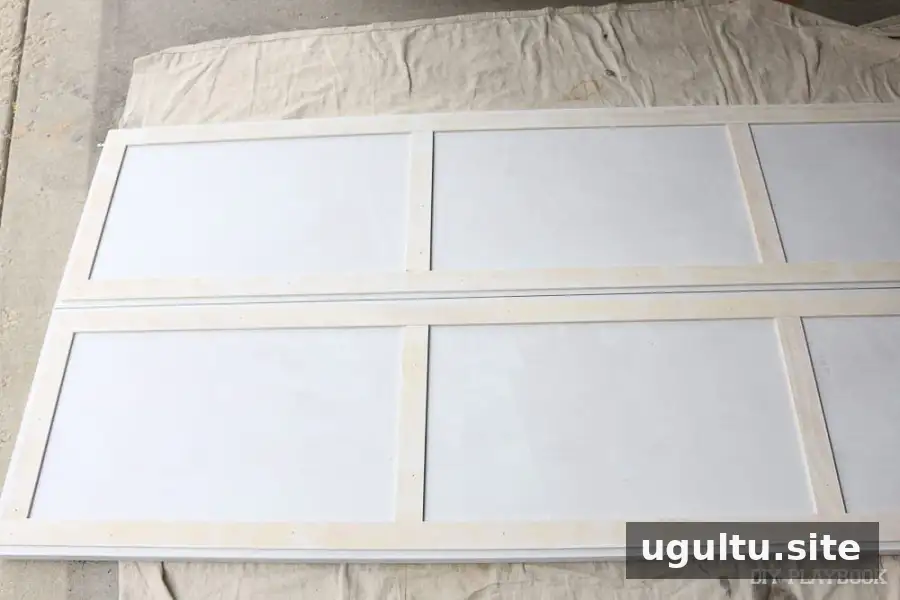
Measure the spaces between the vertical strips and cut the horizontal pieces to fit. The design shown has three rectangular sections on each half of the door, using eight horizontal pieces per door. Measure each opening individually, since small differences can affect the fit. Attach the pieces as you go and check that the rectangles remain level and evenly spaced.
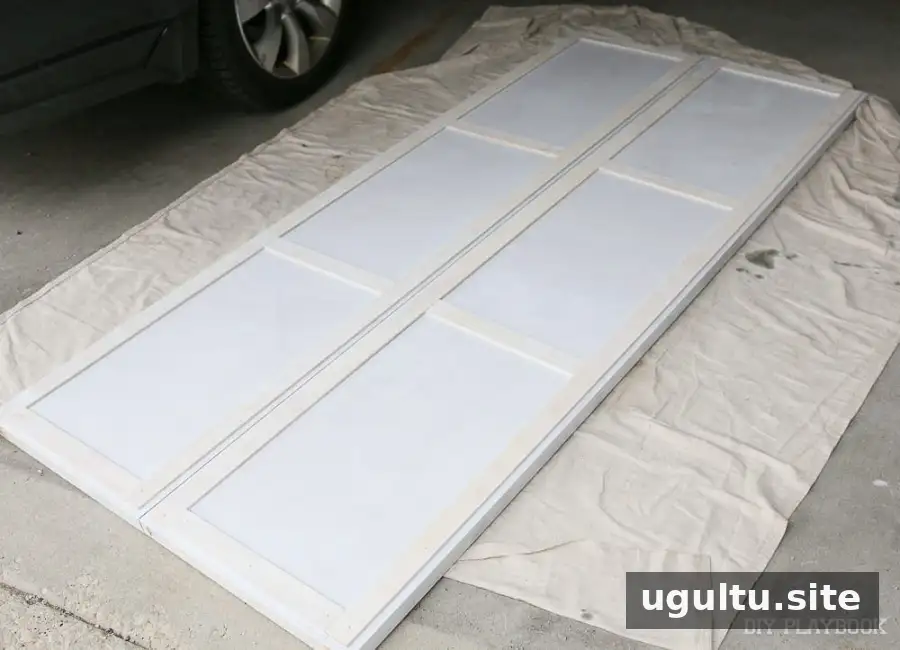
Practical tip: When finishing multiple doors, hang them temporarily before installing the horizontal trim. A laser level can help align the horizontal pieces across neighboring doors. Confirm that the doors still fold freely before securing the final layout.
6. Fill, Caulk, and Sand
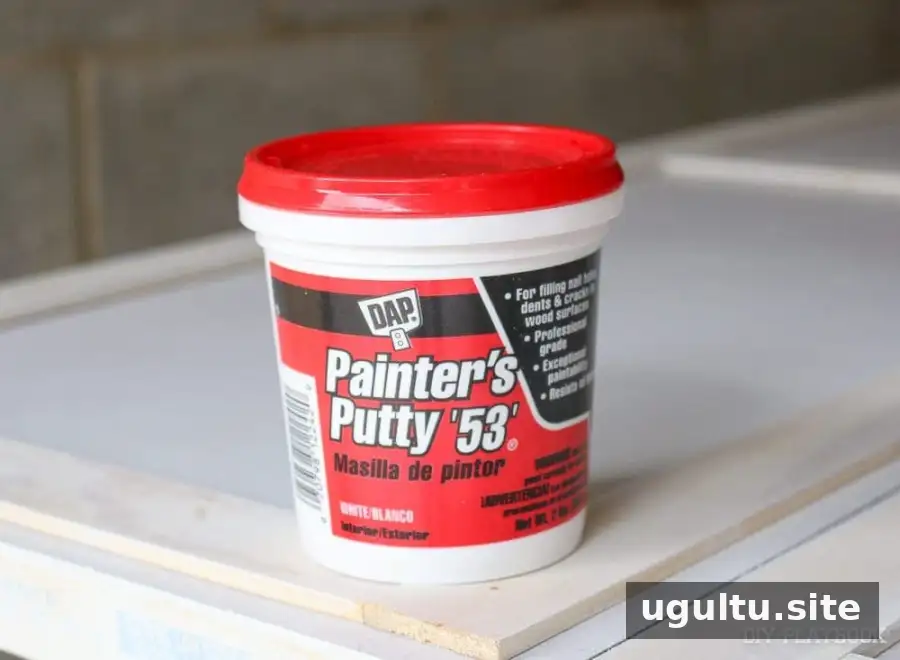
After the adhesive and fasteners are secure, fill the nail holes with painter’s putty and let it dry. Apply acrylic caulk along the seams between the lattice and door for a more continuous finish.
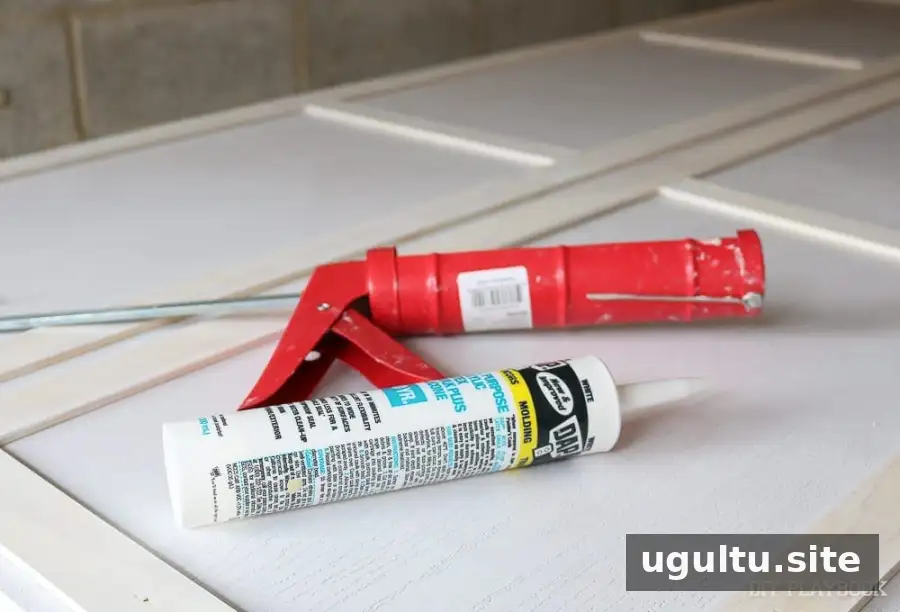
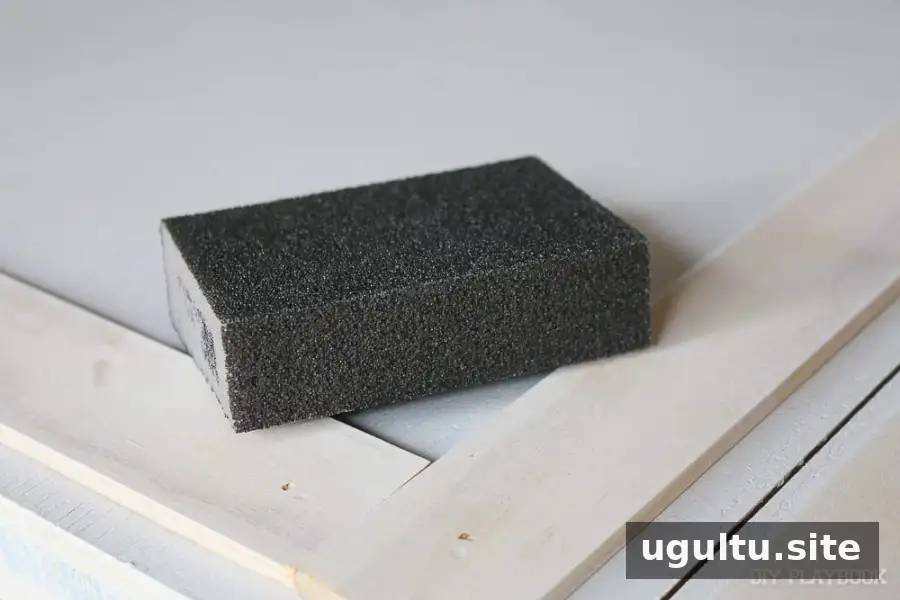
Use a damp cloth to tidy excess caulk while it is still workable. Once the caulk and putty are dry, sand the filled areas and any rough edges until smooth. Wipe away dust before painting so it does not spoil the finish.
7. Paint the Doors
Finishing the Bi-fold Doors
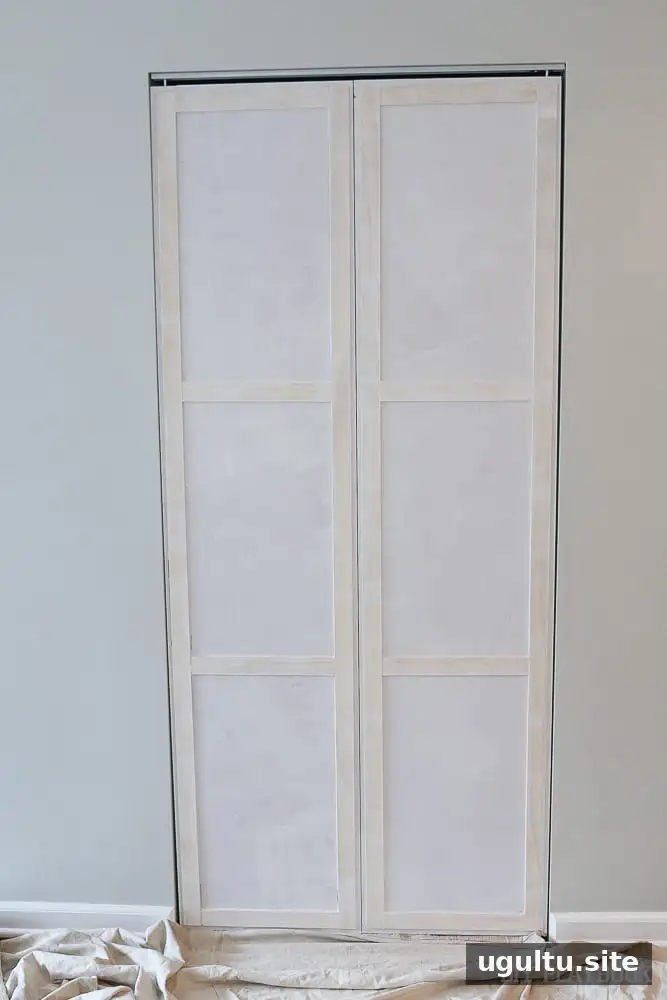
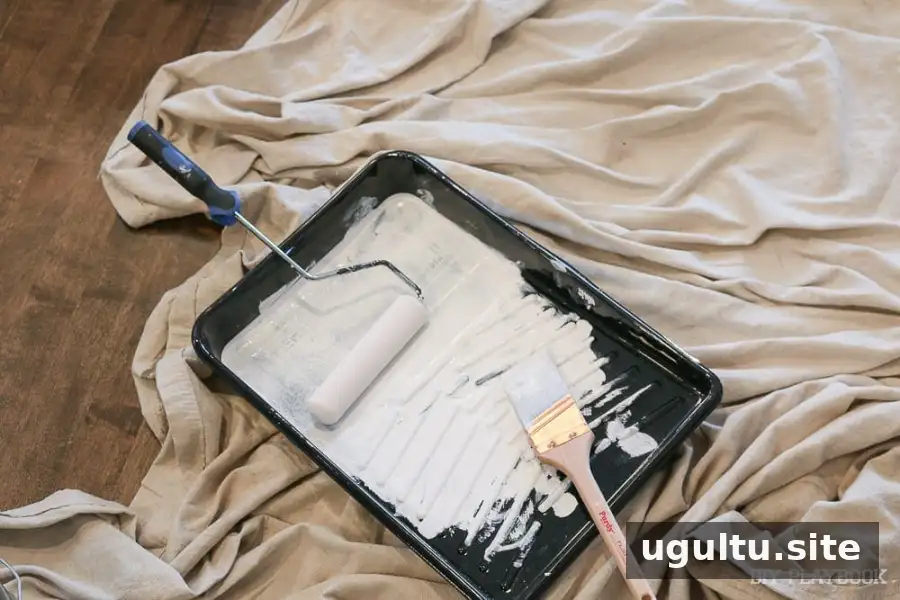
Paint the doors either while they are supported on sawhorses or after rehanging them. If painting them off the track, allow the finish to dry and cure as directed before reinstalling. Apply paint with a roller and brush, covering the panels, trim, edges, and creases. The example used white semi-gloss paint and required three coats for even coverage.

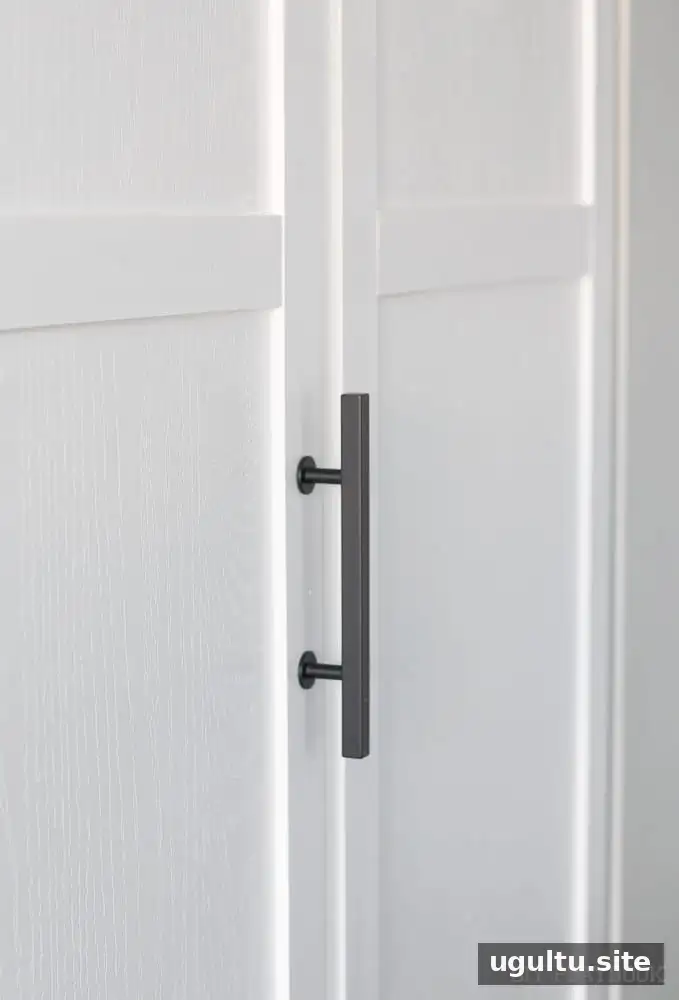
8. Install the Handles
Mark the handle positions and check that they will not obstruct the doors as they fold. Drill a pilot hole with an appropriately sized bit, then attach the handles securely. Follow the hardware instructions and avoid drilling too close to an edge.
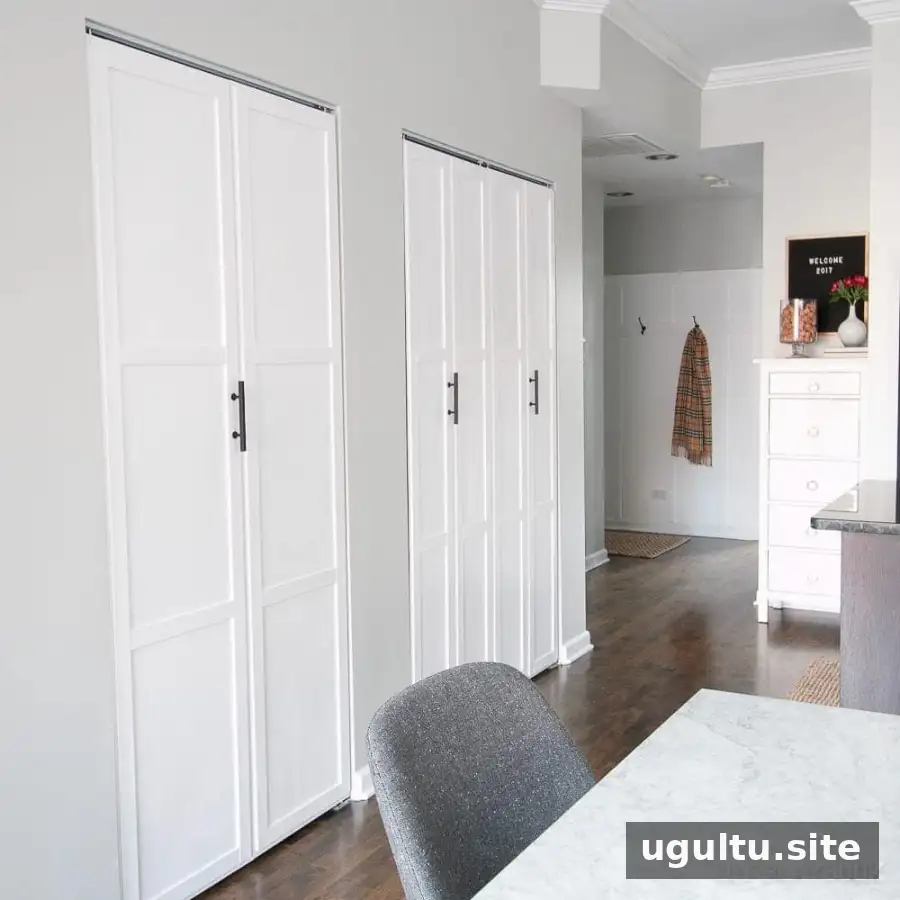
Result and Final Checks
Trimmed bi-fold doors can bring a more tailored look to a closet or utility area. Before considering the project complete, open and close each door several times to check for rubbing, loose trim, or misaligned hardware. Touch up paint as needed after the doors are fully dry.
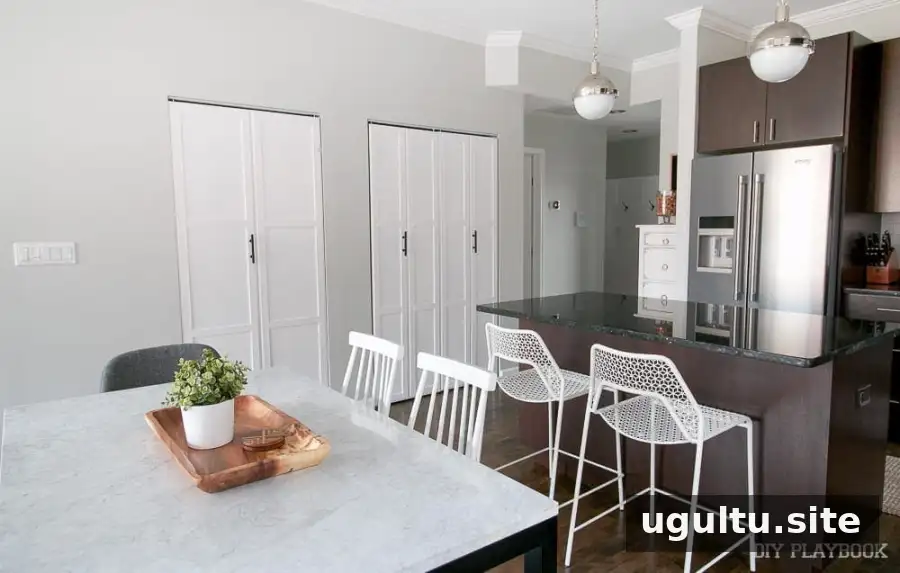
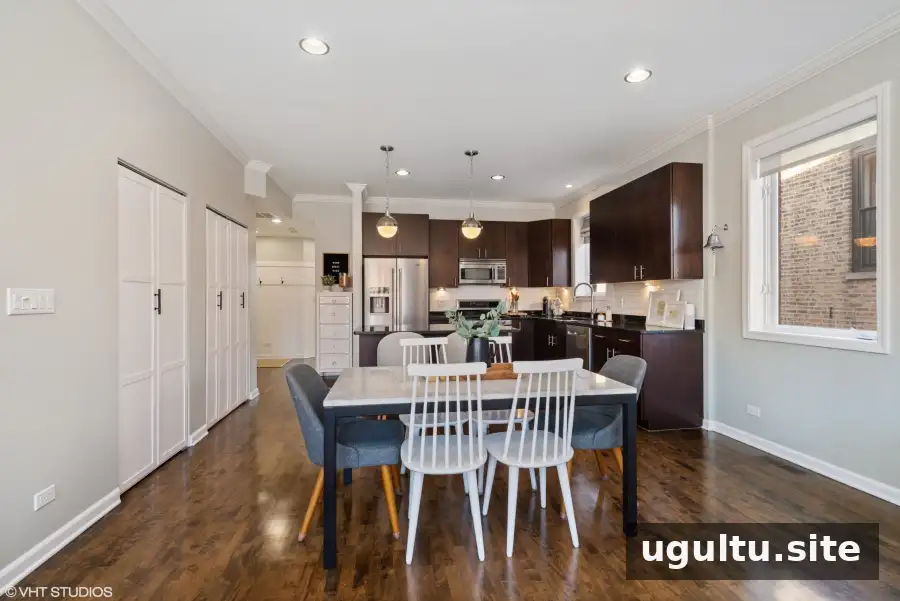

Using the same lattice dimensions on other projects can help create a consistent trim detail around a home.

For anyone planning to add trim to plain bi-fold doors, accurate measuring, the 1/2-inch edge clearance, and a final movement check are key to a clean result that still functions properly.
Casey