admin
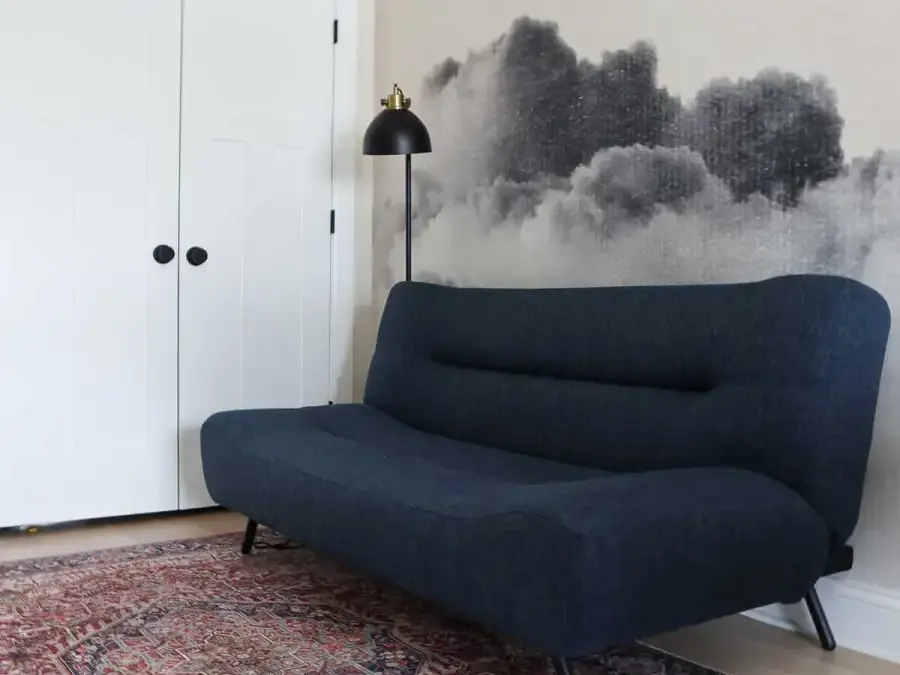
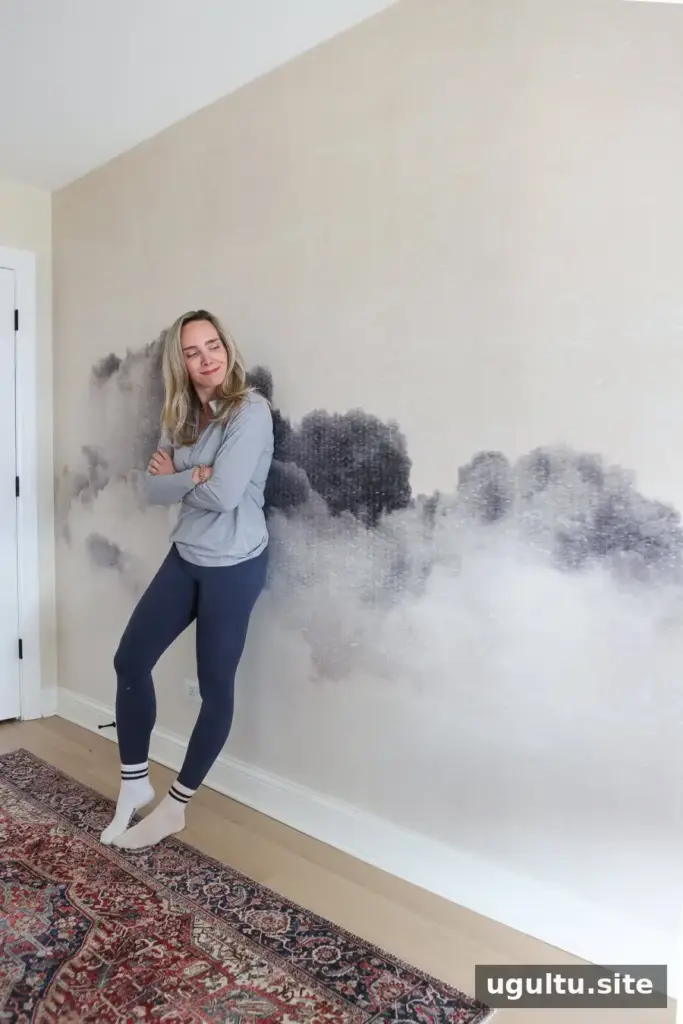
Learning how to remove wallpaper without damaging the wall underneath comes down to using enough moisture, choosing a gentle scraper, and working patiently in small sections. This method uses common supplies such as warm water, dish soap, and a plastic putty knife. It can work well for a wall mural or other wallpaper that releases with moisture, although the best approach depends on the wallpaper and the condition of the wall.
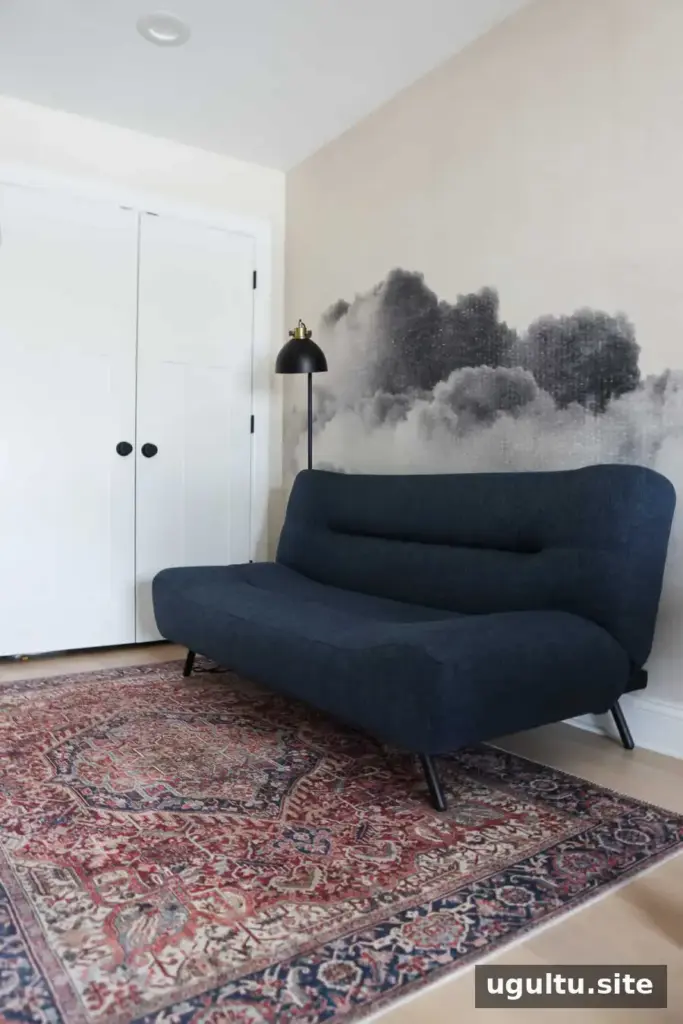
Removing wallpaper can take longer than expected, especially when the paper separates from its backing or adhesive remains on the surface. Plan for a half day or more, protect the room, and avoid rushing. The project described here took about five hours for one wall, including cleanup.
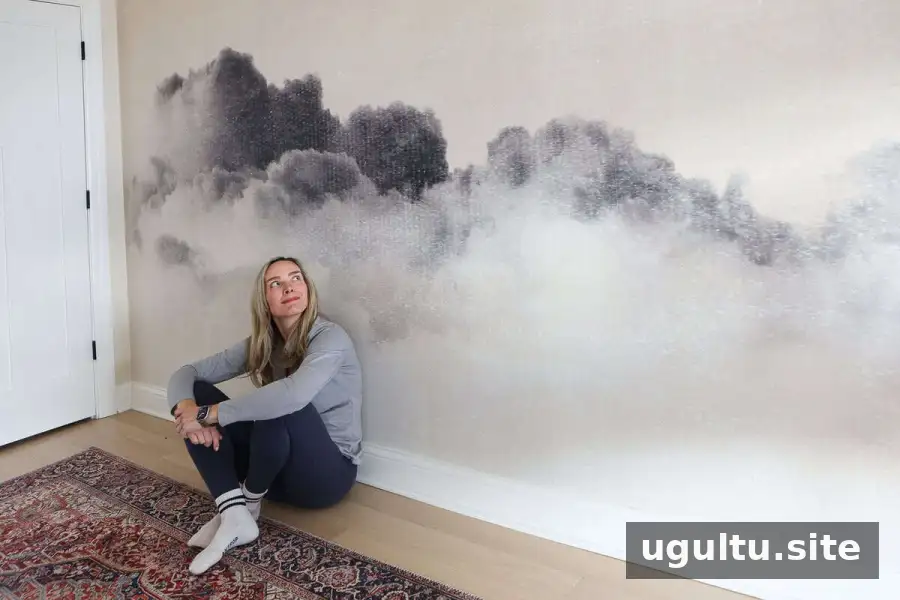
How to Remove Wallpaper: Project Overview
Difficulty: 2 out of 5
Estimated time: Half a day
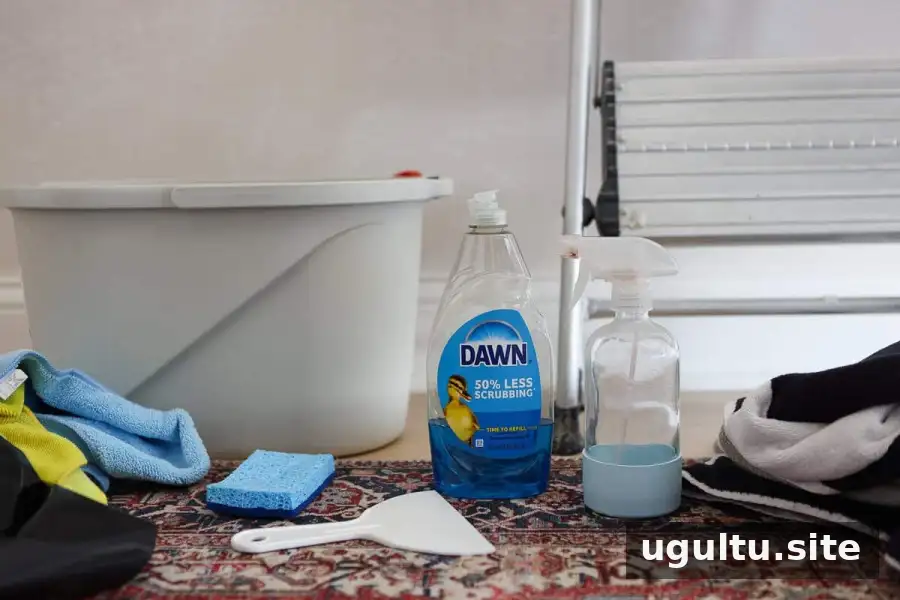
Supplies: Warm water, dish soap, towels or rags, contractor bags, white vinegar, a sponge, and joint compound
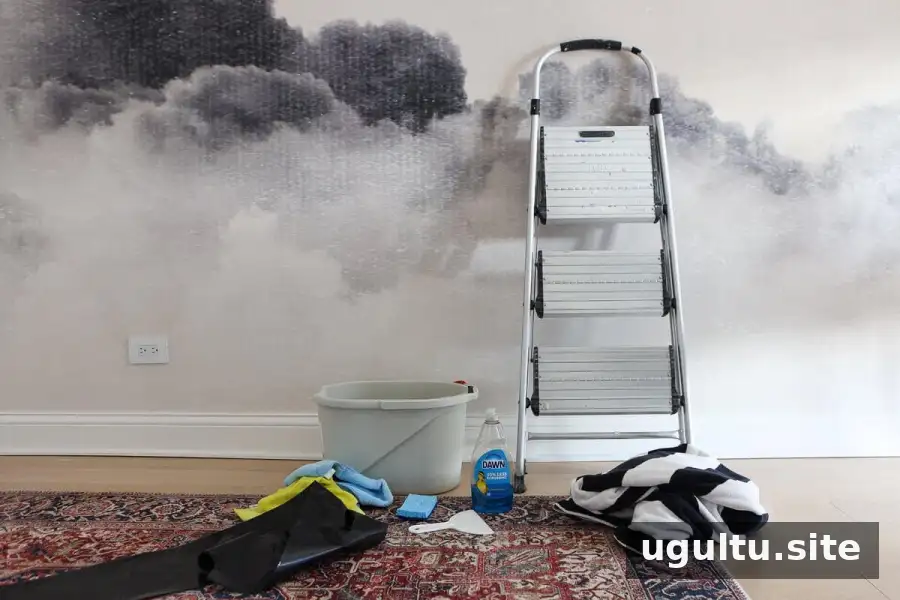
Tools: Spray bottle, stepstool, and plastic putty knife
Before starting, move furniture away from the wall and cover the floor with towels or a protective drop cloth. Keep water away from outlets and switches; turn off power to the work area before removing outlet covers or working near electrical fittings.
Step-by-Step Wallpaper Removal
1. Begin peeling at the top
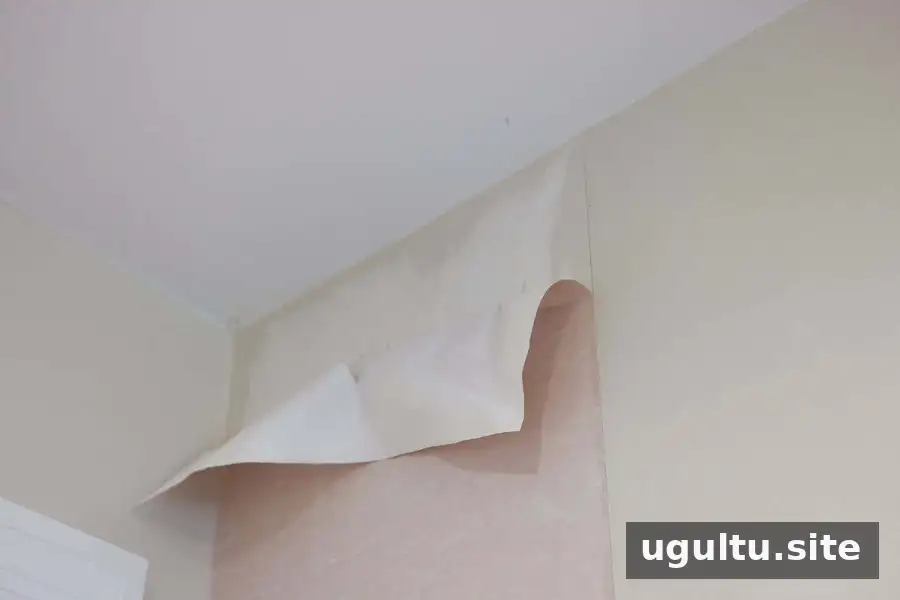
Use a stable stepstool to reach the top edge, then gently pull the wallpaper down by hand. Start at a loose corner or seam if possible. Some sections may peel away cleanly, while other areas may leave paper backing stuck to the wall. Avoid yanking hard, since force can lift the drywall surface or damage plaster.
2. Spray the wall as you work
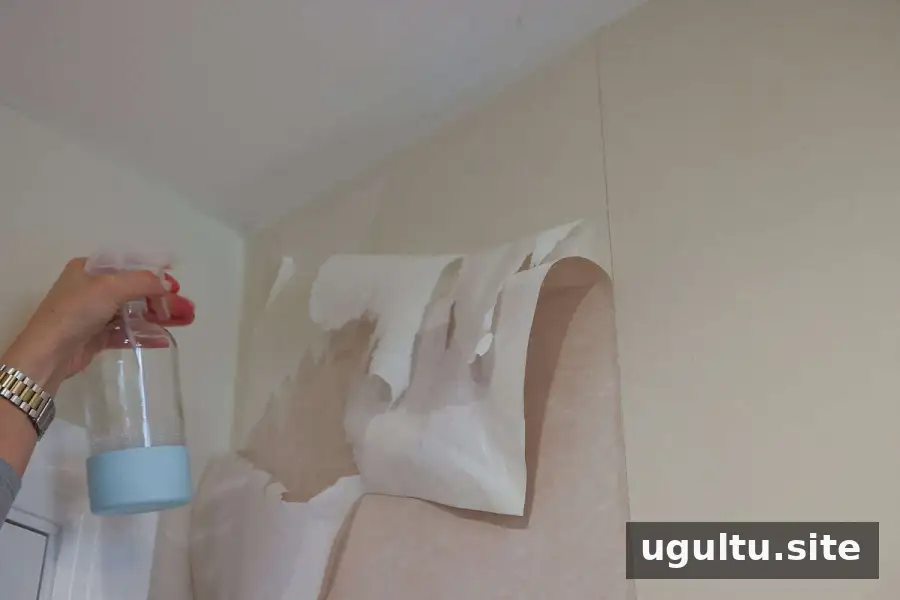
Fill a spray bottle with warm water and a small amount of dish soap. Peel away the loose wallpaper first, then spray the remaining backing so the moisture has time to soften the adhesive. Working in that order is often easier than trying to peel, spray, and scrape simultaneously.
3. Let the backing become thoroughly damp
Apply enough water to moisten the paper backing evenly, but do not flood the wall or let water run into electrical openings. Damp backing is easier to loosen because moisture helps soften the glue. If an area still resists, spray it again and wait a little longer instead of increasing scraping pressure.
Practical tip: Keep a damp sponge nearby. It can help wet larger areas more evenly and reduce trips to refill the spray bottle.
4. Use a plastic putty knife on stubborn areas
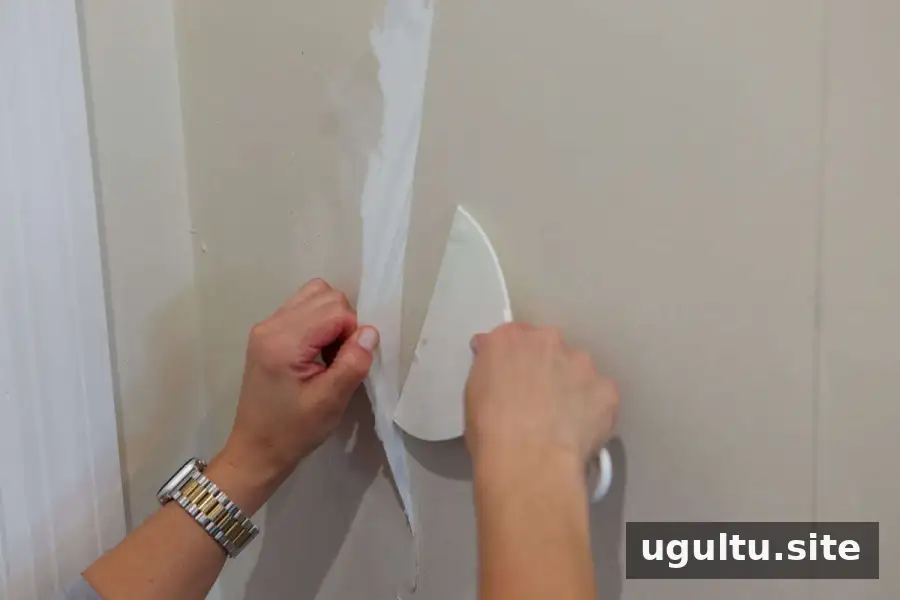
Once the backing is soft, slide a plastic putty knife beneath the residue and lift it gently. A plastic tool is less likely than a sharp metal blade to gouge drywall. If the paper does not release with light pressure, stop and add more water. Repeating the spray-and-scrape process is safer than forcing the tool against the wall.
5. Work in small sections
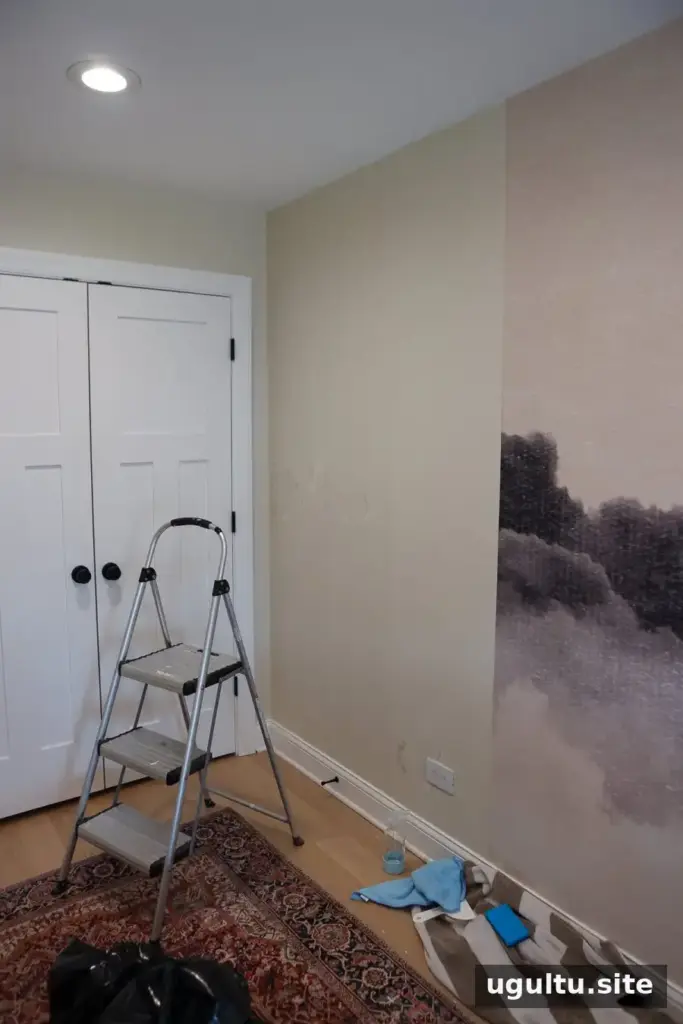
Move from the top of the wall downward, tackling one manageable section at a time. In this project, around 10 to 12 strips took roughly 20 minutes each. The time required can vary with the wallpaper type, adhesive, and wall condition. Put removed strips directly into a contractor bag to keep the work area easier to manage.
6. Expect some mess
Wet paper, softened glue, and cleaning water can make this a messy job. Wear clothes you do not mind getting damp, keep towels within reach, and clear the floor as you go. Taking short breaks can also help prevent tired hands from leading to overly forceful pulling or scraping.
7. Remove adhesive residue
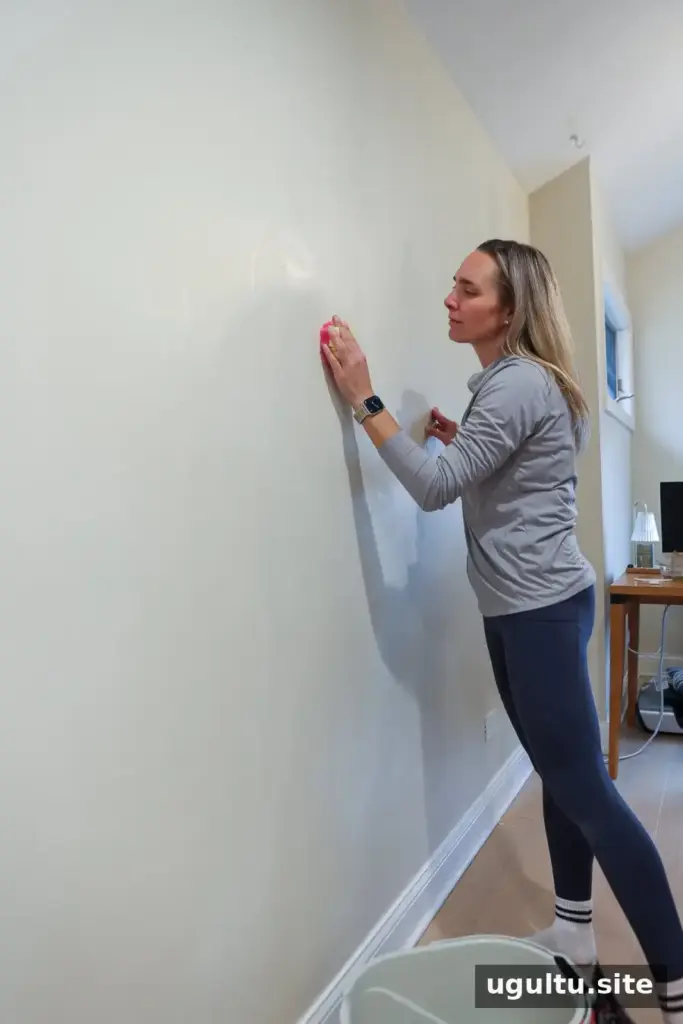
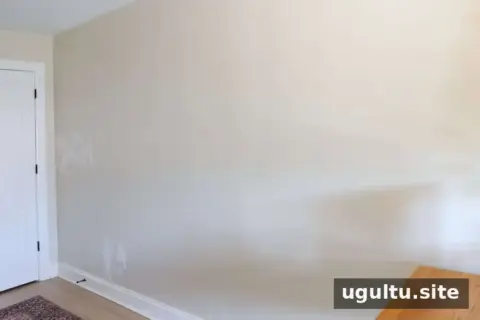
After the wallpaper is off, check the wall by touch. Leftover adhesive can feel sticky or tacky and may interfere with paint or new wallpaper. A water-and-white-vinegar solution can help loosen residue. Test it on a small, inconspicuous area first, then gently scrub and wipe the surface. Follow with a clean-water wash and allow the wall to dry fully.
Important: Do not apply paint or new wallpaper while the wall still feels tacky. Clean away remaining glue and let the surface dry before continuing.
8. Repair and prepare the wall
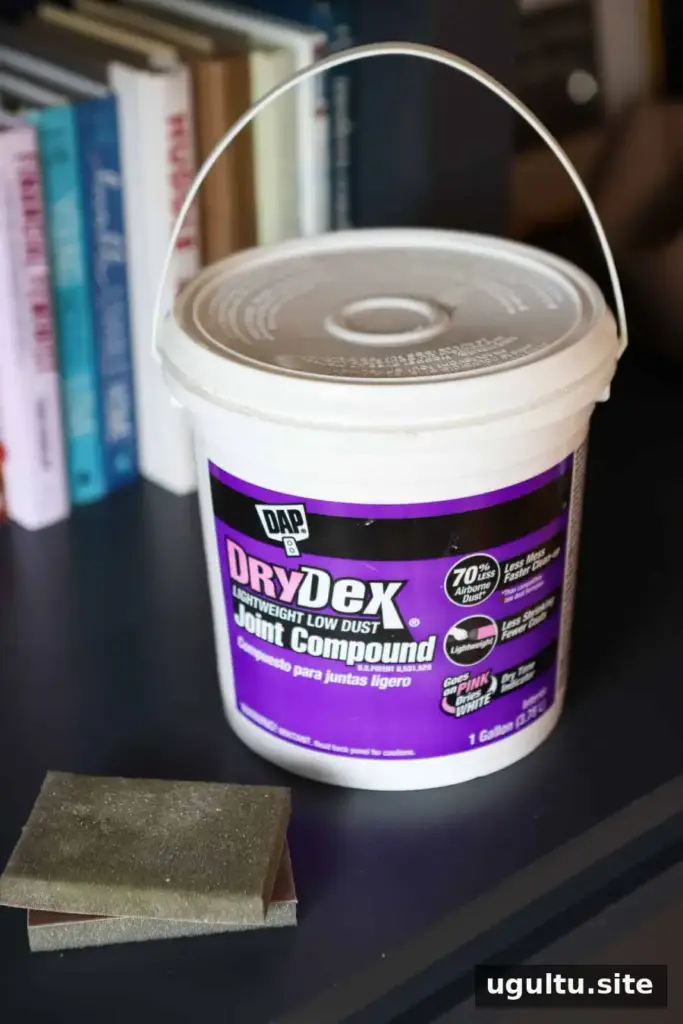
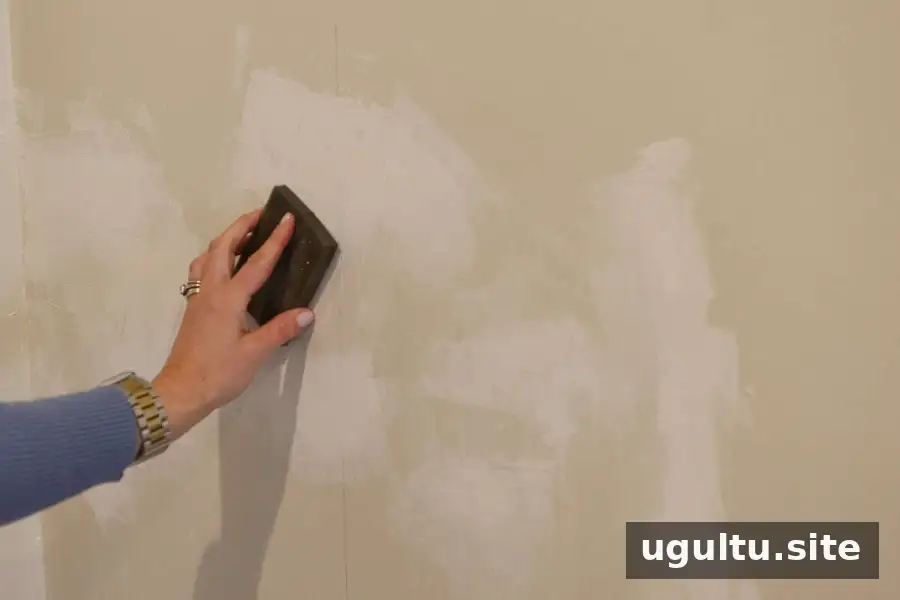
Small areas of drywall may lift during removal. Repair minor damage with joint compound, let it dry, and sand it smooth. Prime repaired areas before painting or installing new wallpaper so the finished surface is even.
Tips for Removing Wallpaper Without Damaging Walls
A careful approach helps protect drywall and plaster. These simple checks can make the job easier and reduce the chance of avoidable damage:
- Work in small sections: It is easier to control moisture and scraping pressure when you focus on one area at a time.
- Let water do the work: If the wallpaper will not lift with light pressure, dampen it again and give the adhesive more time to soften.
- Identify the wallpaper type: Strippable and removable wallpaper may come away more easily than traditional or vinyl-coated paper. Test a small area before choosing a method for the whole wall.
- Use a scoring tool cautiously: Scoring may help with some coverings, but it can create holes and increase the risk of wall damage. Skip it unless other gentle methods are not working.
- Protect the room: Cover floors and nearby furniture, and keep water away from outlets, switches, and other electrical fixtures.
Wallpaper Removal Methods
Warm water and dish soap are a straightforward starting point for wallpaper that responds to moisture. Other options may be useful depending on the material and how firmly it is attached:
- Warm water and dish soap: A simple method for softening backing and adhesive. Apply gradually and test first.
- White vinegar solution: Can help loosen adhesive residue. Test on a discreet area and avoid saturating the wall.
- Wallpaper steamer: Steam can soften stubborn or layered wallpaper. Follow the equipment instructions and take care around electrical fittings and heat-sensitive surfaces.
- Fabric softener solution: Some removal methods use fabric softener mixed with hot water. Check the wallpaper and wall requirements before applying any solution.
- Chemical wallpaper stripper: A product option for difficult coverings. Follow the label directions, ventilate the room, and use suitable protective equipment.
Final Takeaway
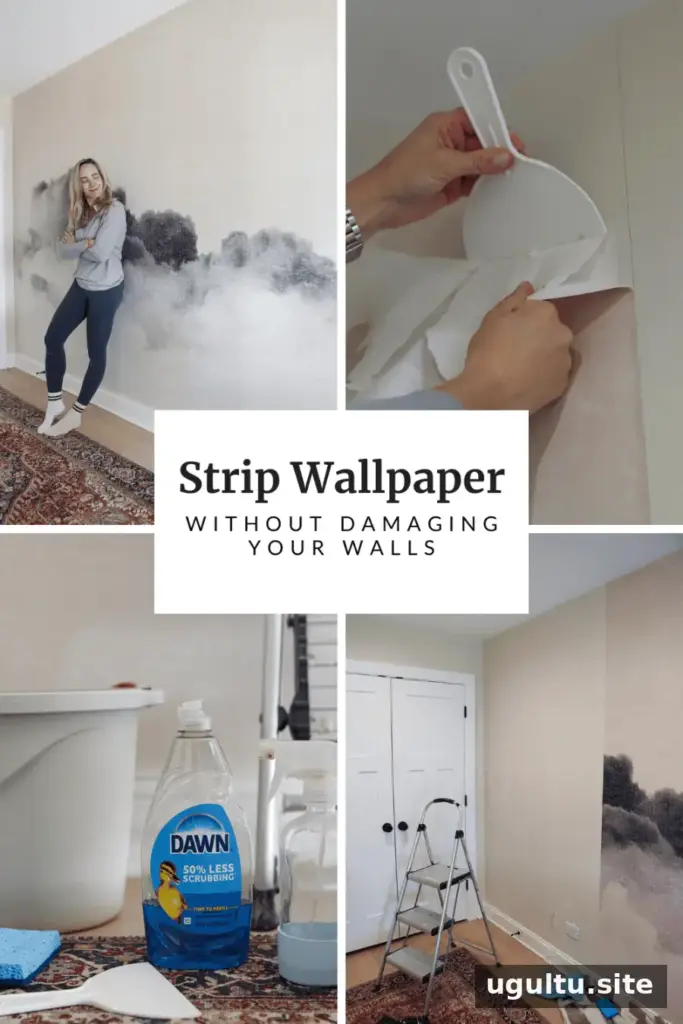
For this wall, removing the mural took about five hours, including the additional adhesive cleanup. The process did not require many tools, but it did require patience, plenty of water, and careful work section by section. Results vary depending on the wallpaper and wall surface, so start gently and adjust the method only when needed. With the right preparation, how to remove wallpaper becomes a manageable DIY task—and a clean, dry, repaired wall is the best starting point for paint or new wallpaper.