admin

Painting a bathroom vanity is a practical way to update a bathroom without replacing the cabinetry. A cabinet painting kit can simplify the process by combining a cleaning solution, tinted base coat, and protective finish. Careful preparation and patience between coats are essential for an even result that can stand up to everyday use.
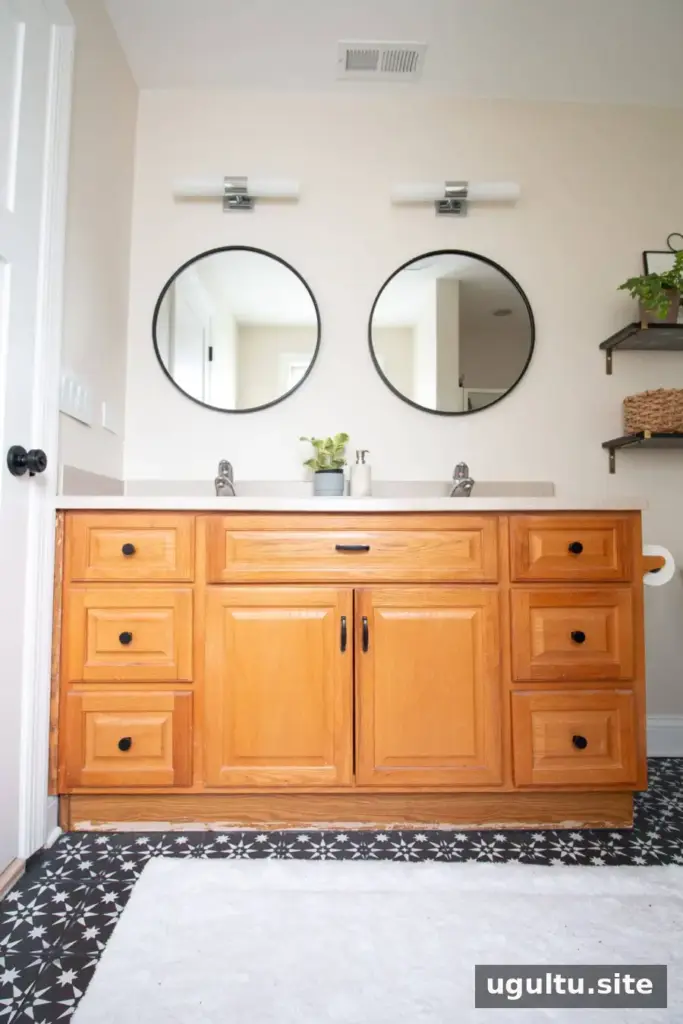
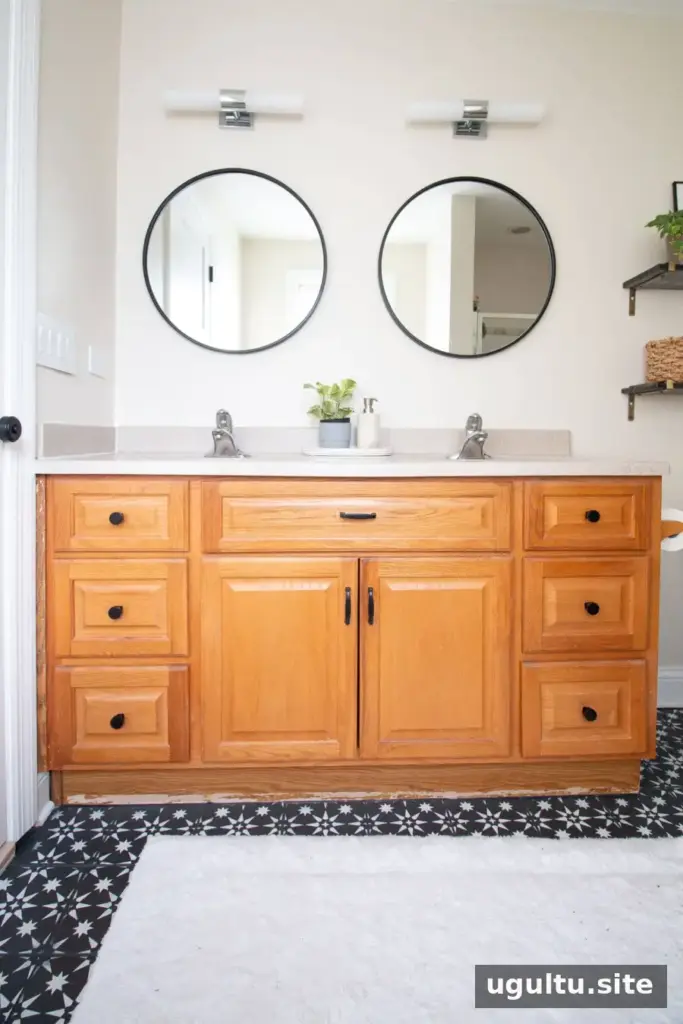
This vanity was painted after the bathroom floor had been refreshed. The existing faux-wood finish had also peeled in one spot on the toe kick, making a new coat of paint a useful short-term update ahead of a future renovation.

Painter’s tape had lifted part of the faux-wood surface during the floor project. Before painting any vanity, inspect the cabinet for peeling finish, dents, or holes so you can address them before applying a new coating.
Painting a Bathroom Vanity: Choosing a Method
Previous vanity projects involved sanding and priming before painting. For this project, a Cabinet Transformations kit was used instead. Its process relies on thorough cleaning with a deglosser rather than stripping, sanding, or applying a separate primer. Follow the product instructions, and check that this approach is suitable for your cabinet’s existing finish.
Regular wall paint had been used on other vanities, and those surfaces remained in good condition. A cabinet-specific coating is designed for cabinetry, while the kit’s protective top coat adds another layer over the painted surface. For any paint project, test the process on a small, inconspicuous area if you are unsure how the existing surface will respond.
Vanity Painting Video
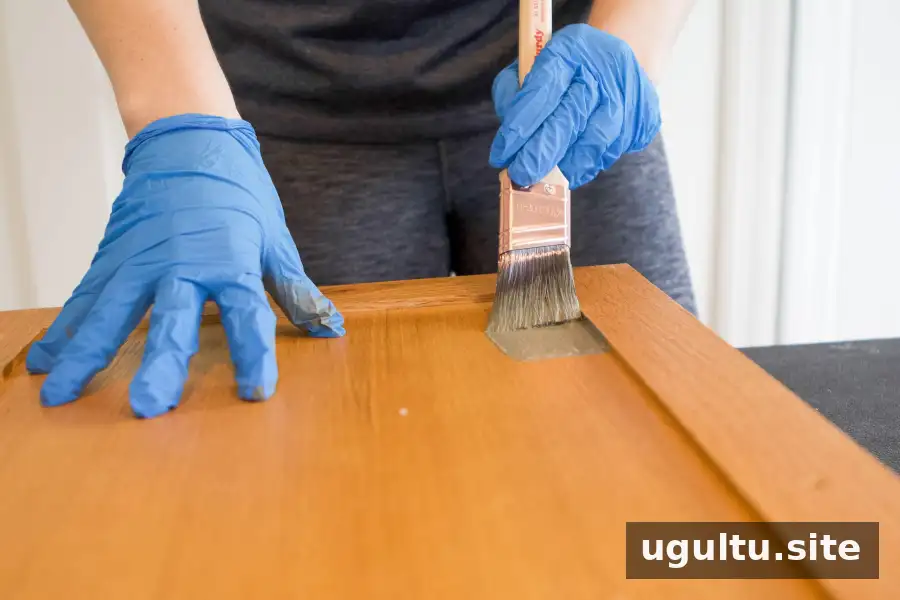
A step-by-step video accompanies this project and demonstrates the process. Video can be especially useful for seeing how to apply the base coats and clear finish. Keep the written product directions nearby as well, since instructions and drying times can vary between products.
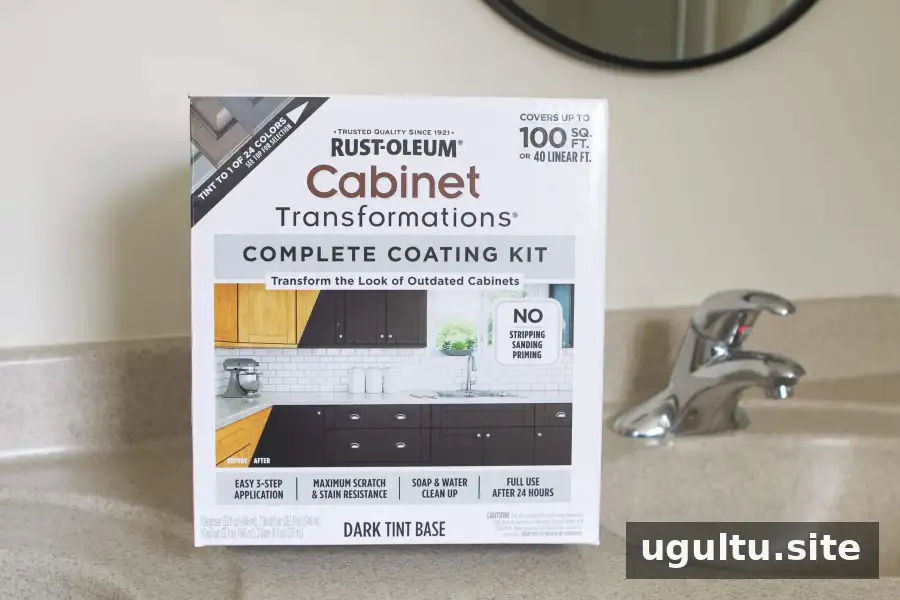
What Comes in the Cabinet Transformations Kit?
One kit was used for this bathroom vanity. The amount needed depends on the surface area being painted, so check the coverage information on the package before purchasing. A larger kitchen project may require more than one kit.
The selected shade was Bayleaf, a grayish green available in the dark-tint base family. The kit includes a deglosser, two scrub pads, two cans of tinted base coat, an optional decorative glaze, and a protective top coat. Color can look different depending on the surrounding tile and lighting, so compare samples with the bathroom finishes before choosing a shade.
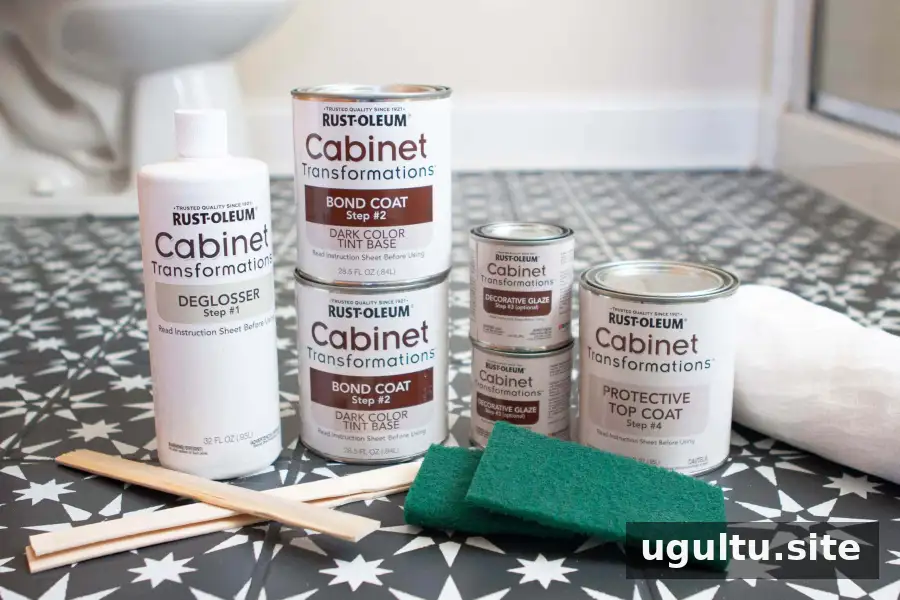
Supplies for Painting a Vanity
Gather the tools before starting so the cabinet can be prepared and painted without unnecessary interruptions.
- Painter’s tape and drop cloths
- Gloves
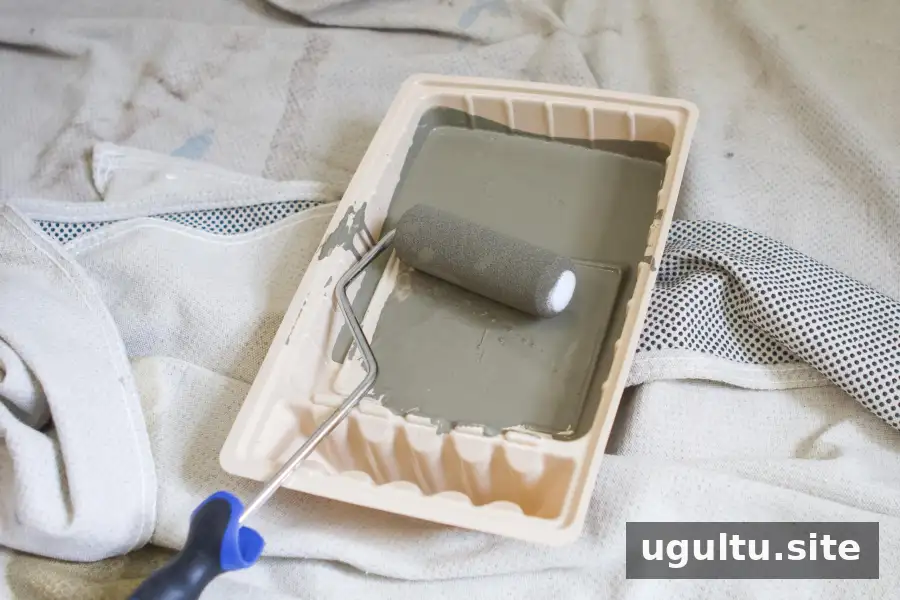
- Paint brushes and a 1/4-inch nap roller
- Paint trays
- Drill
- Plastic bags for storing hardware and hinges
- Work table
- Painter’s putty or wood filler, if there are holes to repair
Labeling hardware and keeping screws with the correct doors can make reassembly easier. Protect nearby floors and fixtures with drop cloths before cleaning or painting.
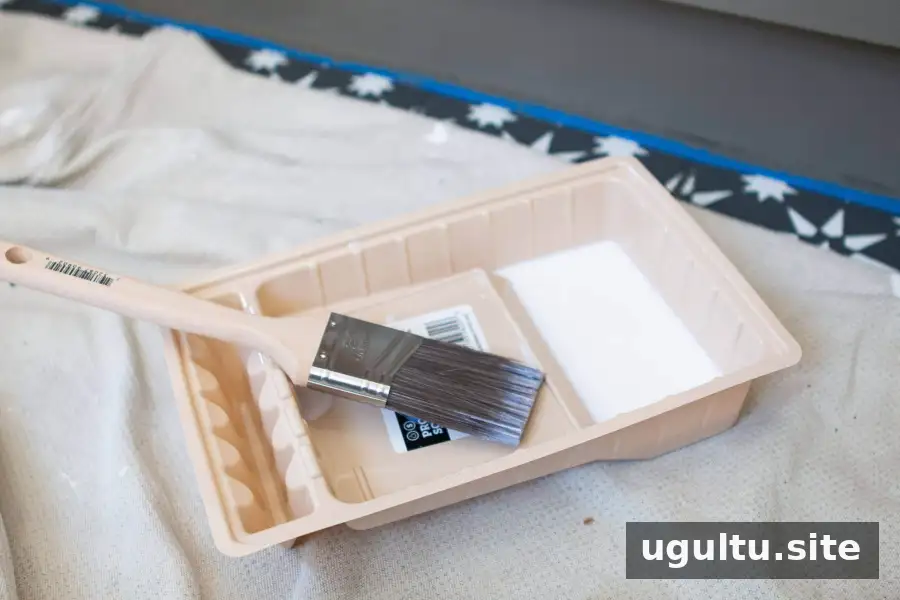
Preparation and Application Tips
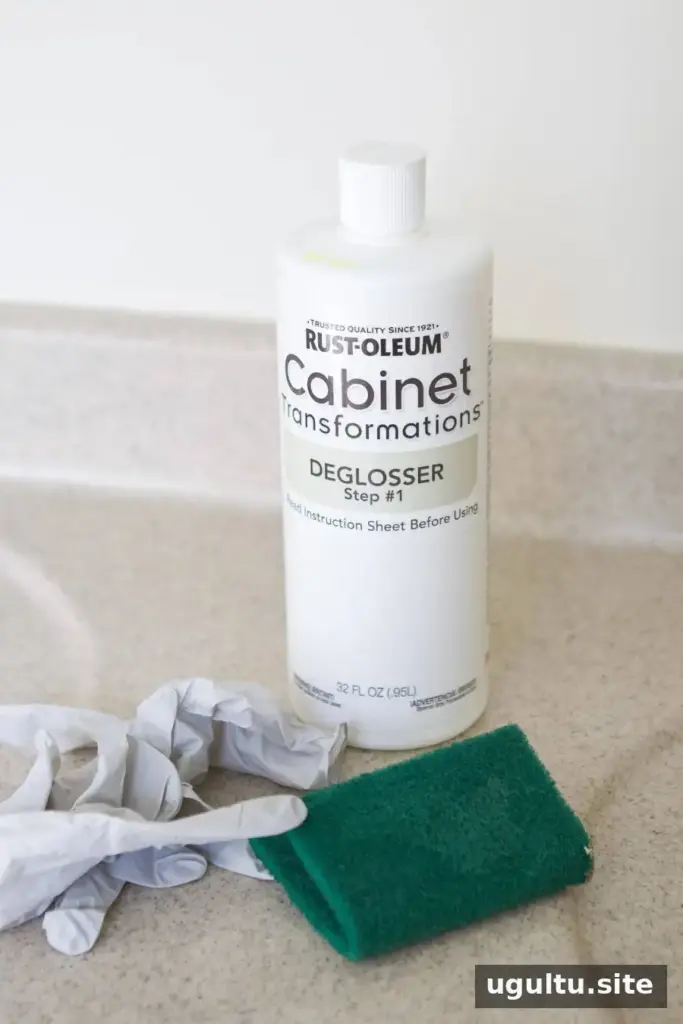
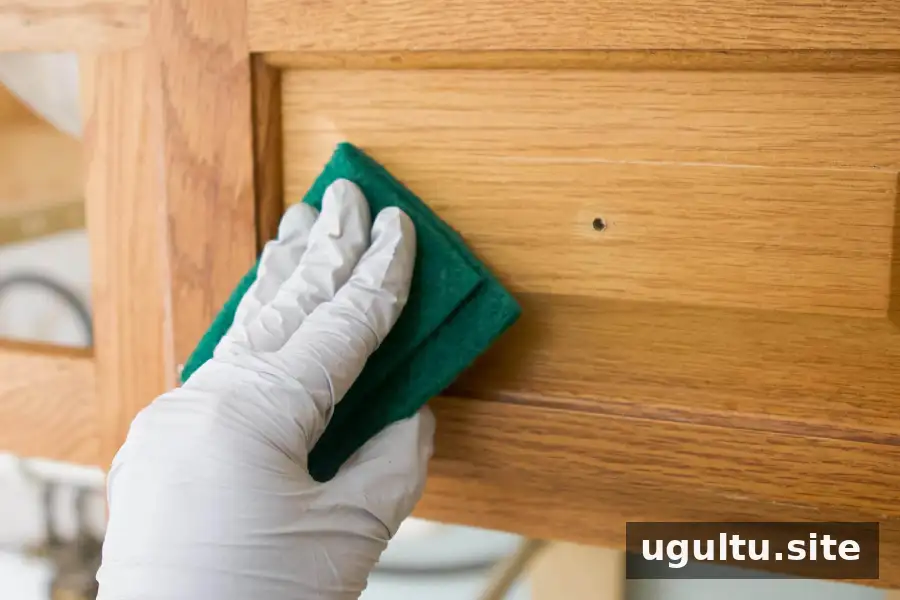
Thorough cleaning is the most important preparation step in this method. Wear gloves and scrub the cabinet surfaces carefully with the deglosser and scrub pads. Bathroom cabinetry can collect product residue and grime; kitchen cabinets may also have grease. Remove buildup before applying paint, and let the surface dry for the time specified in the kit instructions.
Because cleaning takes the place of separate stripping, sanding, and priming steps in this kit’s process, it needs to be done thoroughly. Remove cabinet doors and drawers where practical, and take off the hardware so the coating can be applied more evenly around edges and openings.
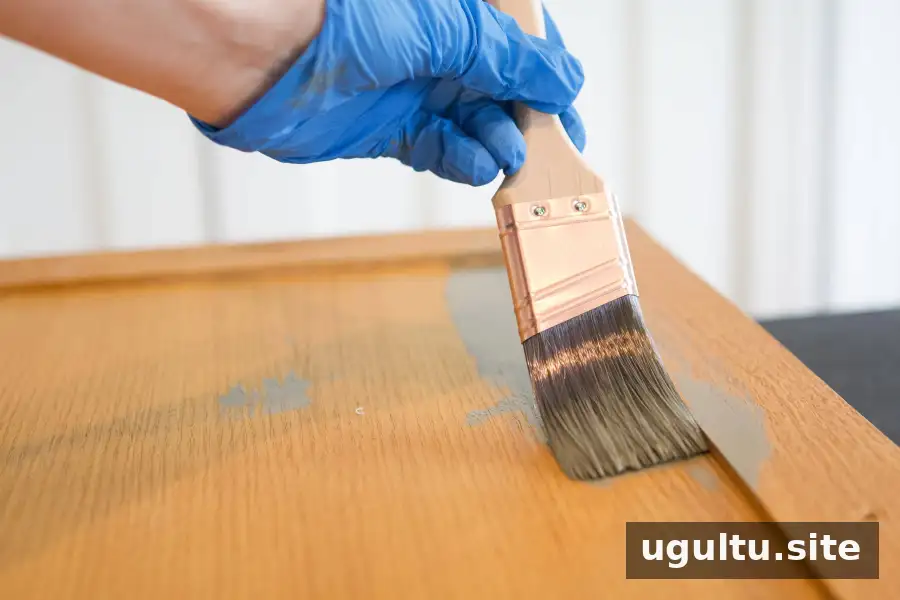
The tinted paint applied smoothly with a brush in this project. A 1/4-inch nap roller is another option and has been used for similar vanity projects. Use steady strokes and avoid applying a heavy coat; check the product directions for the recommended application method and number of coats.
Apply the Protective Top Coat Carefully
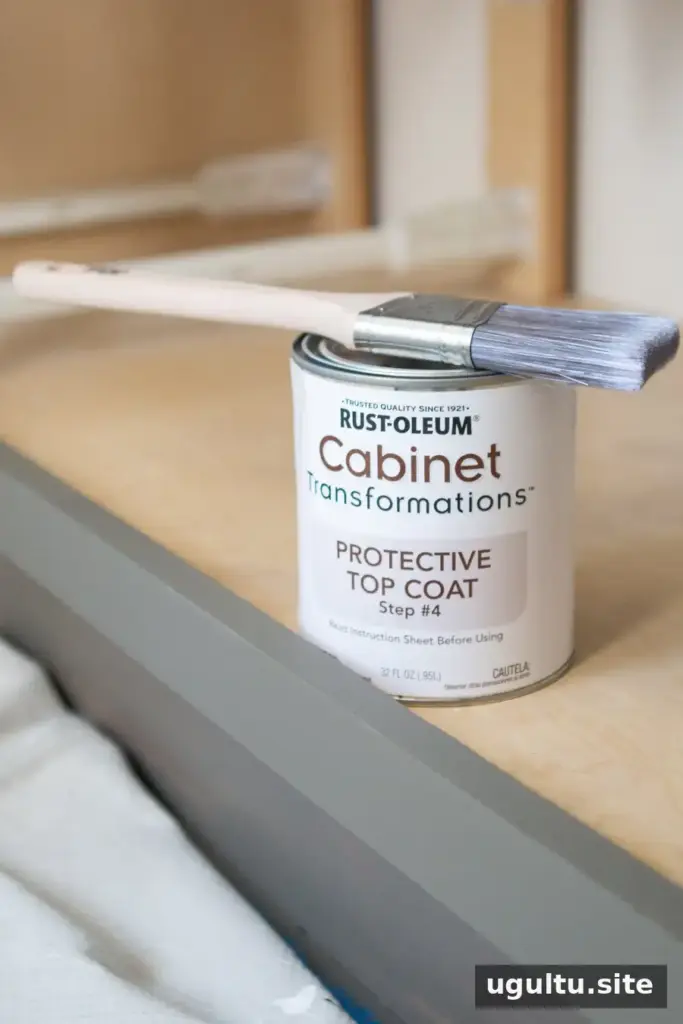
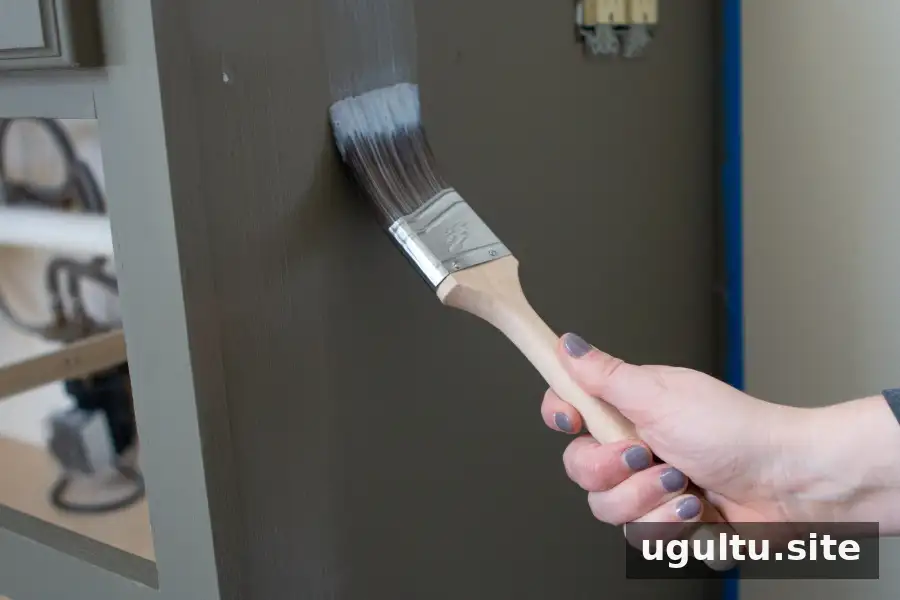
The clear protective top coat is intended to provide a more durable finish with resistance to stains and scratches. Apply it evenly over the painted cabinetry. Since it dries fairly quickly, avoid brushing back over an area once it has begun to dry; doing so can disturb the finish. Work in manageable sections and maintain a wet edge where possible.
Follow Drying Times Closely
Allowing each layer to dry for the recommended period helps the coating set as intended. The timings used for this project were:
- After deglossing: wait 1 hour
- After the first base coat: wait 2–3 hours
- After the second base coat: wait 2–3 hours
- After the top coat: wait 12 hours before reinstalling drawers and doors
- After the top coat: wait 24 hours before normal use
The work was completed in one day, but the drawers and doors were put back the following morning. Full curing takes seven to ten days, so handle the newly painted cabinets gently during that period. Always use the drying and curing instructions on the specific product you choose.
Bathroom Vanity Before and After
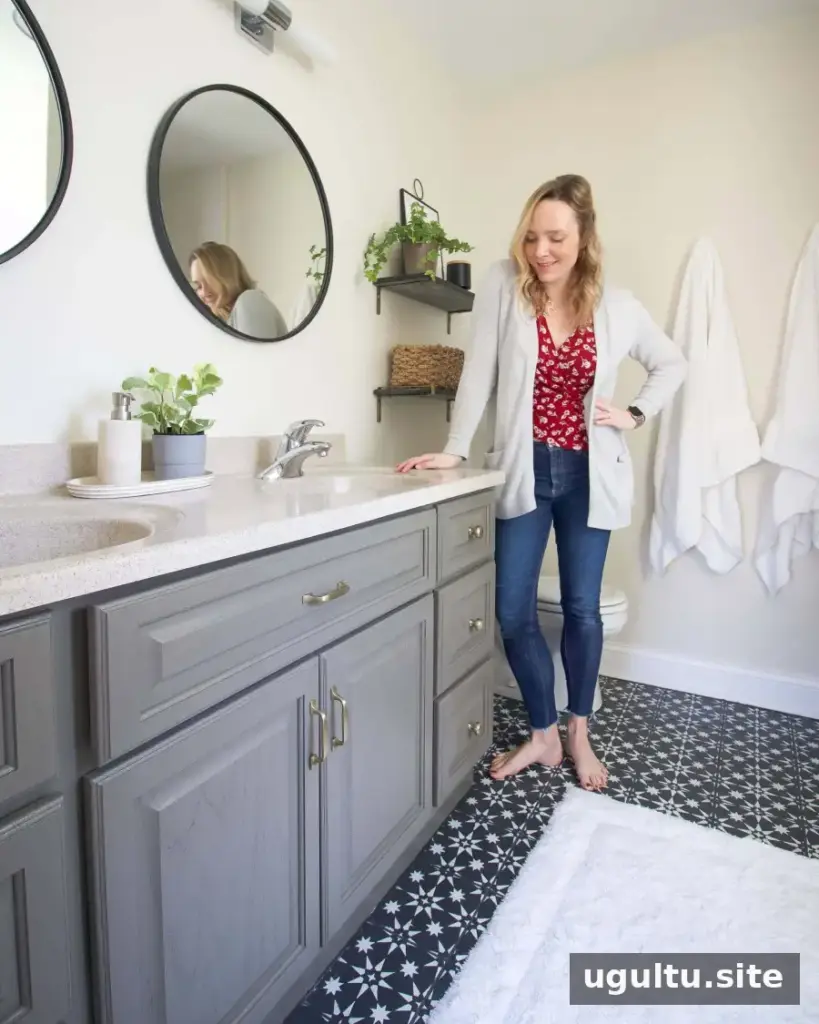
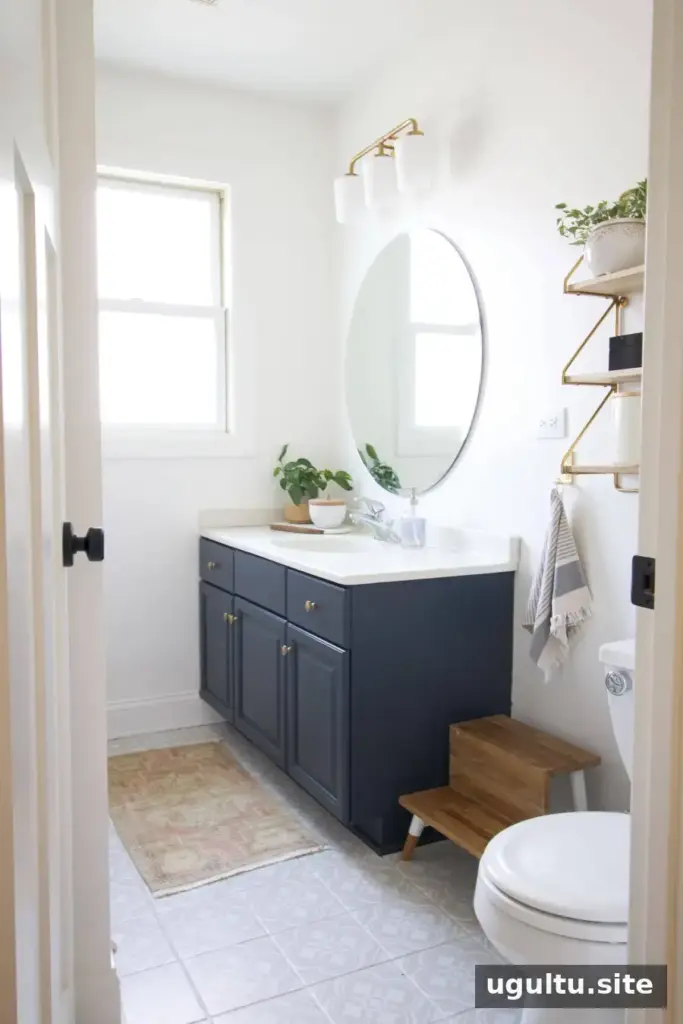
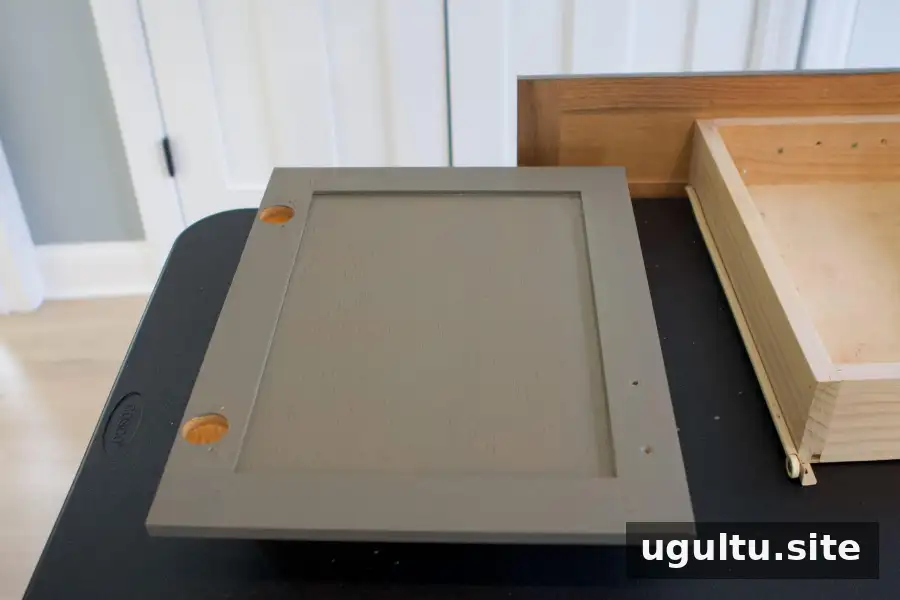
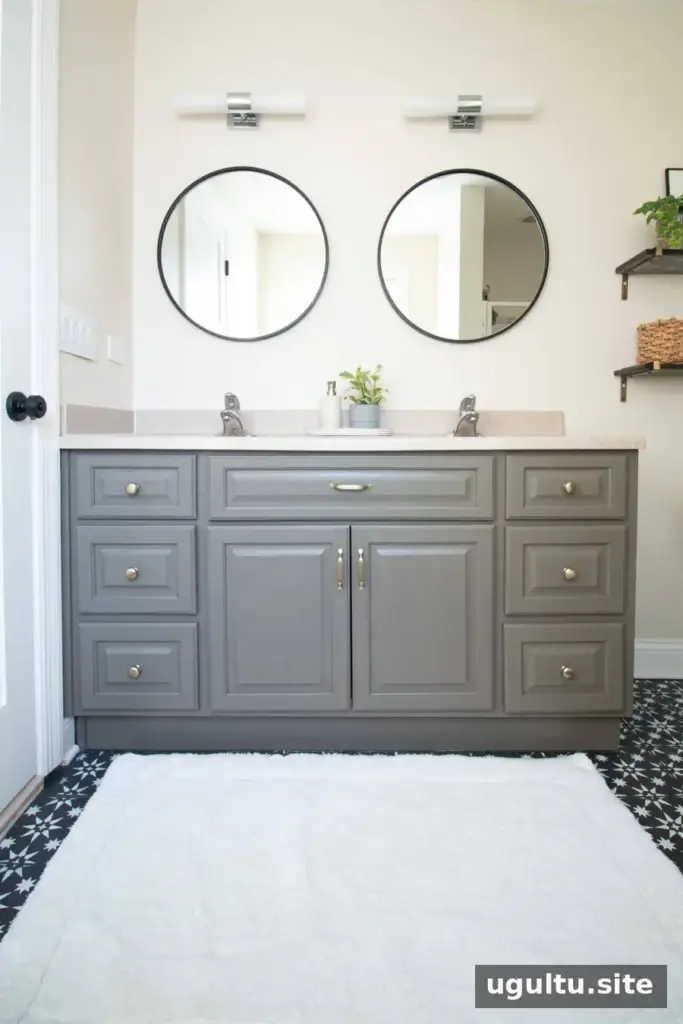
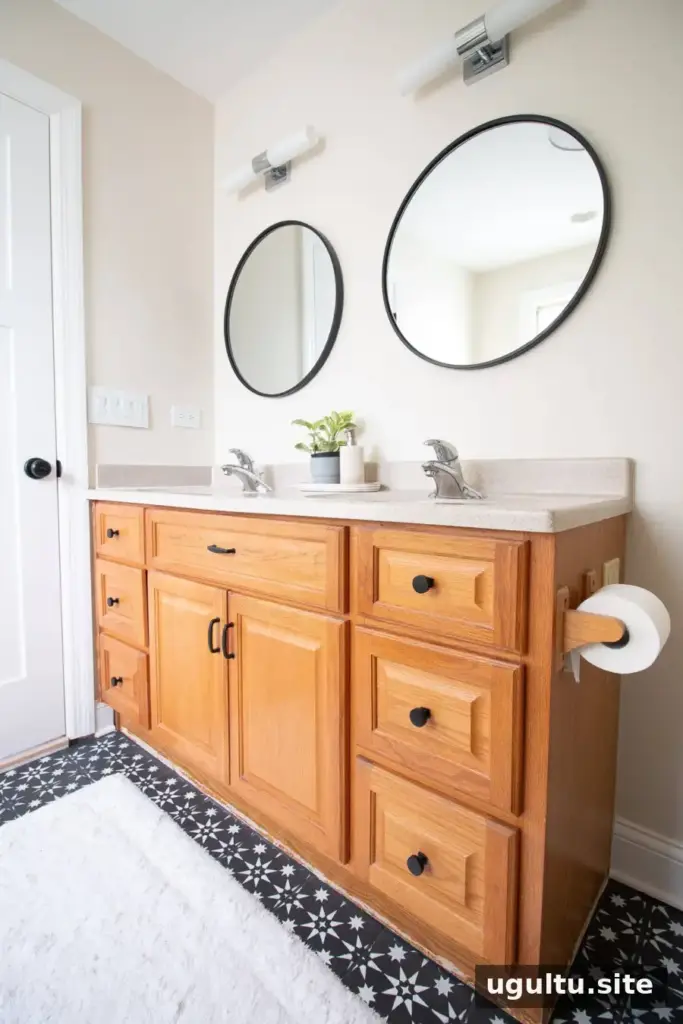
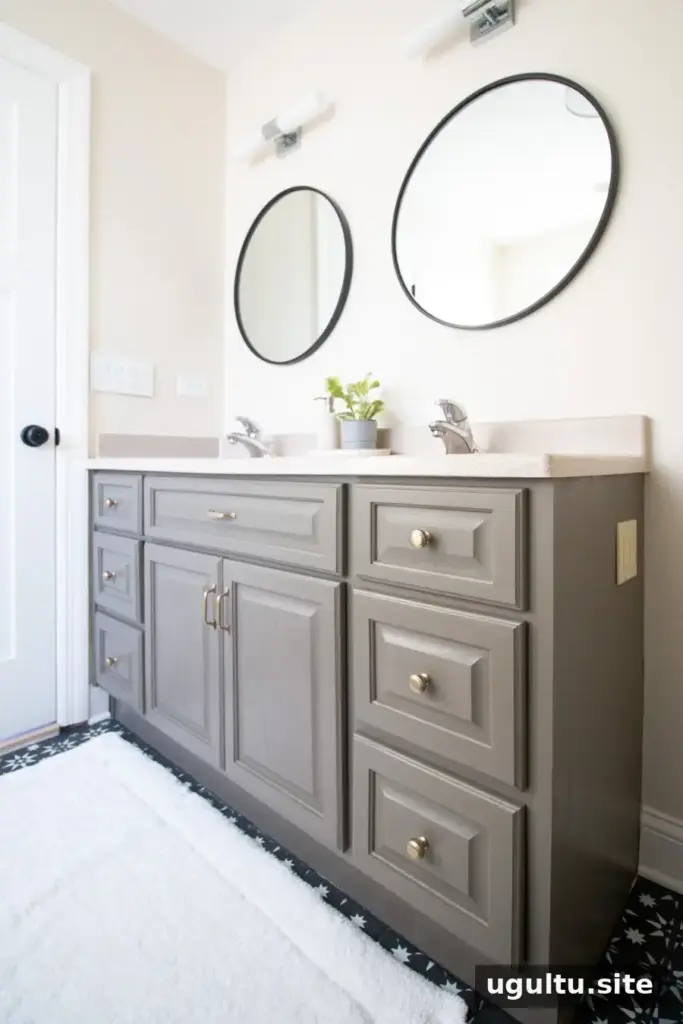
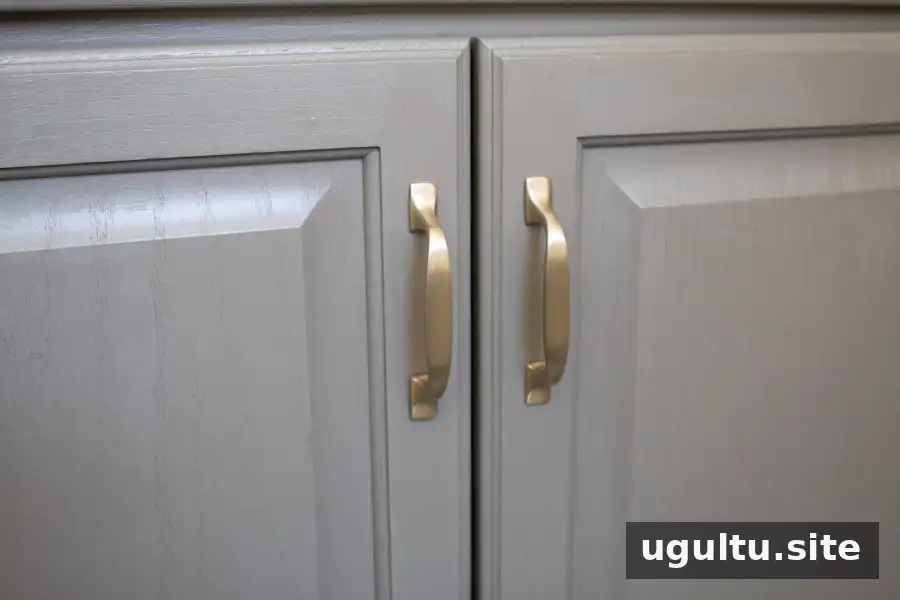
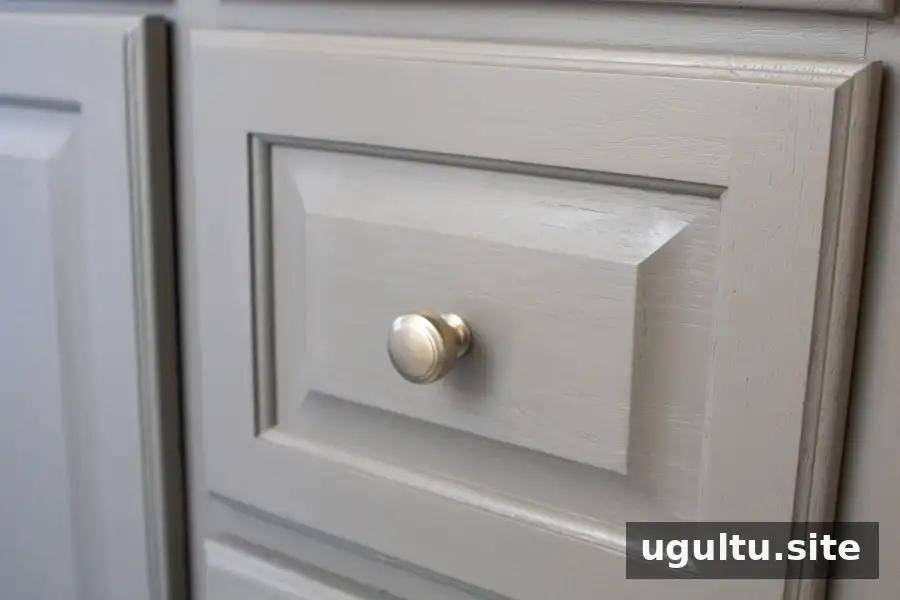
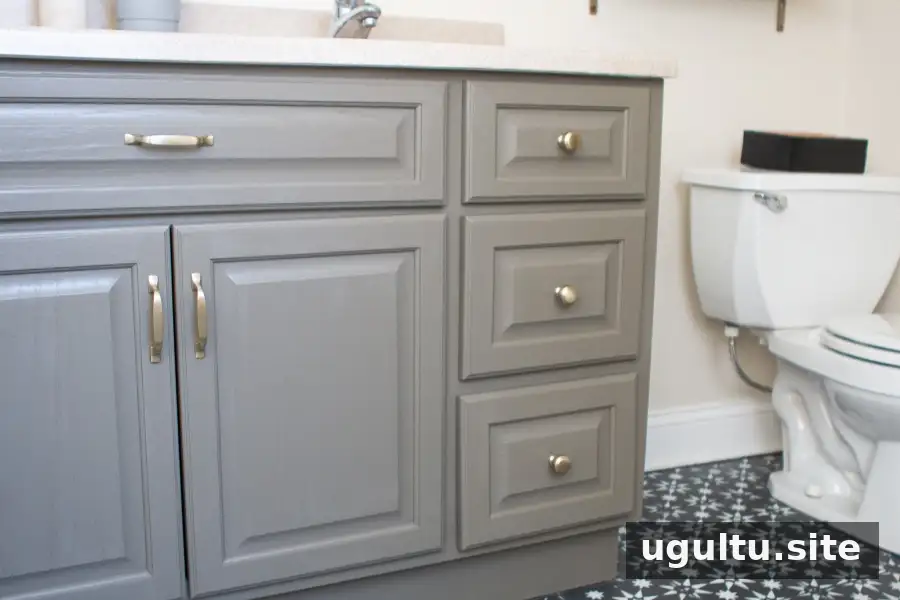
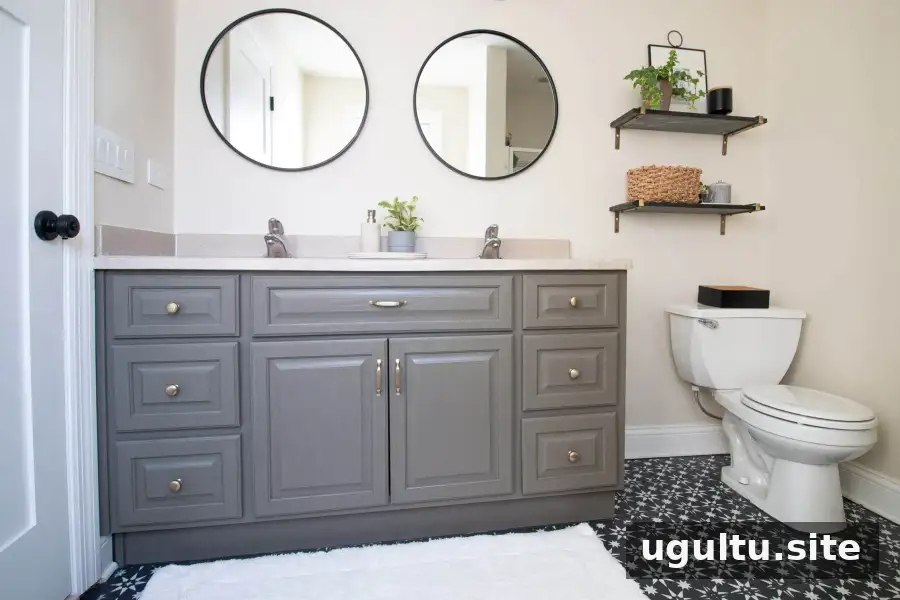
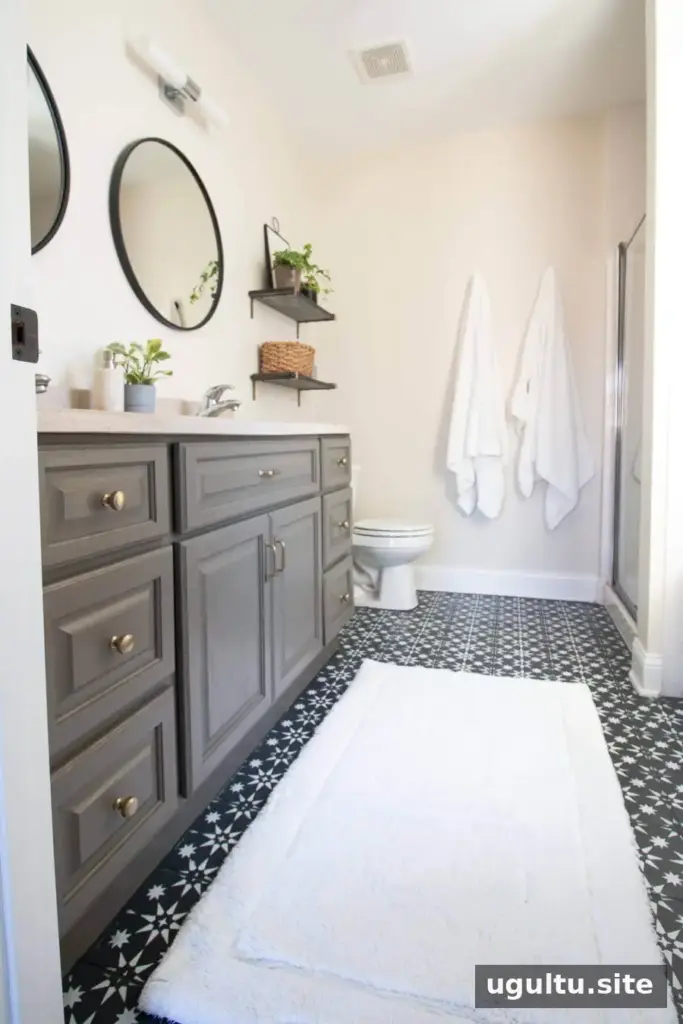
The updated vanity replaced the worn, orange-toned faux-wood appearance with a gray-green finish. Gold pulls and knobs were used to add contrast against the paint. Repeating a finish or color found elsewhere in a home can also help different rooms feel visually connected.
Choosing a Color That Works with Your Bathroom
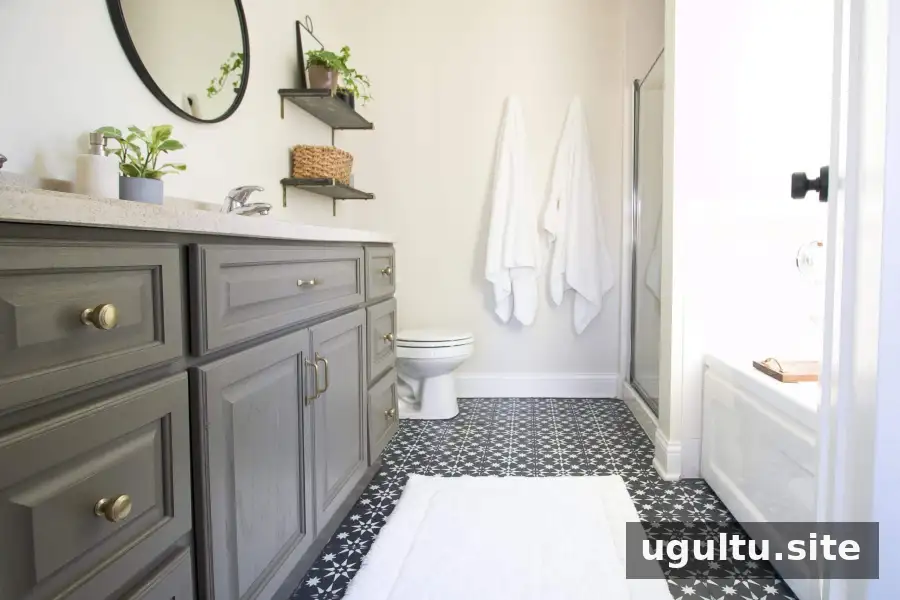
Bayleaf is a warm gray with a green undertone. Depending on the light and nearby finishes, it can appear sage-like or more like a grayish taupe. In this bathroom, the black-and-white tile did not feel like the ideal pairing for the chosen shade. A cream-and-white palette may have complemented it better, while a deeper emerald green was another color considered for the space.
Before committing to a cabinet color, compare it with the floor, wall color, tile, and metal finishes. A sample viewed in the room at different times of day can help reveal how the shade changes with the light.
Main Bathroom Sources and Finishes
The bathroom’s other finishes include Ballet White walls, Simply White trim, black-and-white floor tile, mirrors, vanity lights, a flush-mount light, black shelves, and white towels and rug. Gold knobs and pulls coordinate with the vanity hardware.
Conclusion: Is Painting a Bathroom Vanity Worthwhile?
Painting a bathroom vanity can refresh cabinetry while postponing a larger renovation. In this project, the cleaning-focused kit process avoided the sanding and separate priming used on earlier vanities, and the protective top coat added an extra finish layer. The most useful takeaways are to clean thoroughly, choose a color that suits the room, follow the stated drying times, and treat the cabinets gently until they have fully cured.
The bathroom’s first update phase is complete, with a larger renovation planned for the future. Until then, the refreshed vanity offers a more cohesive look for the space.
Casey