admin
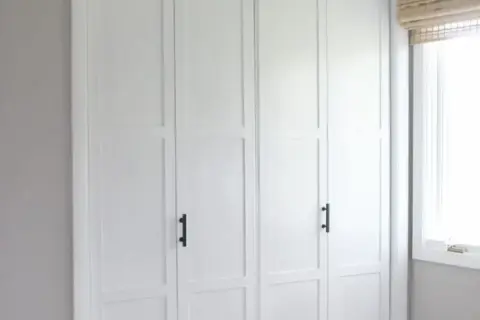
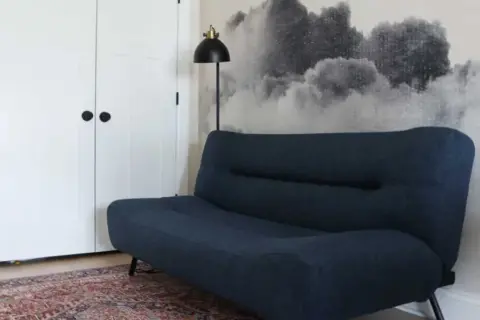
An office accent wall with decorative molding can add structure and character without making a room feel overly busy. In this design, chair rail and picture frame molding run throughout the office, while a larger focal wall features additional frames intended for wallpaper. The approach creates a cohesive look while giving one wall extra visual interest.
The project is a useful example of how to plan molding around existing features such as built-ins, windows, and tall ceilings. The measurements below describe this room; treat them as a starting point and adjust the layout to suit your own walls.
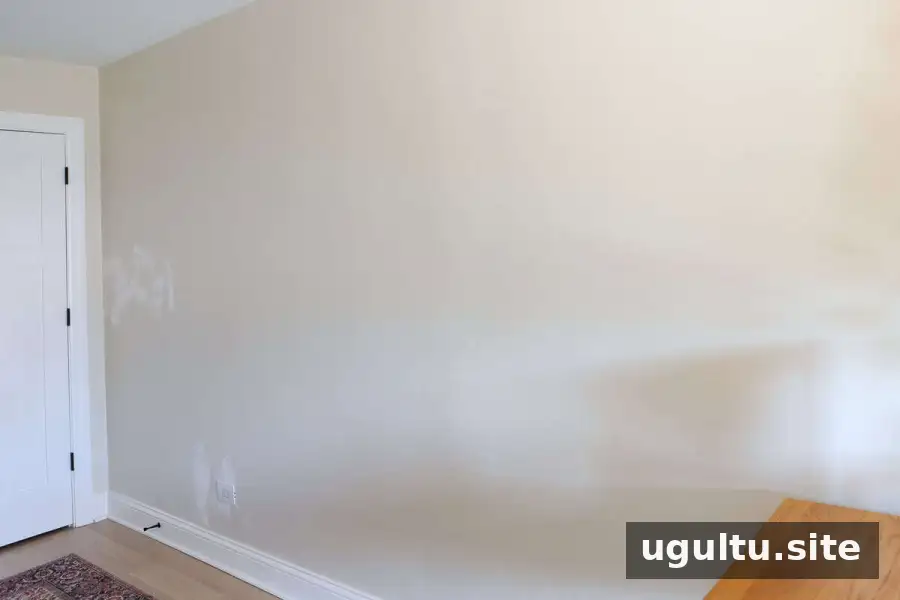
A large blank wall before the molding was installed.
Planning an Office Accent Wall with Decorative Molding
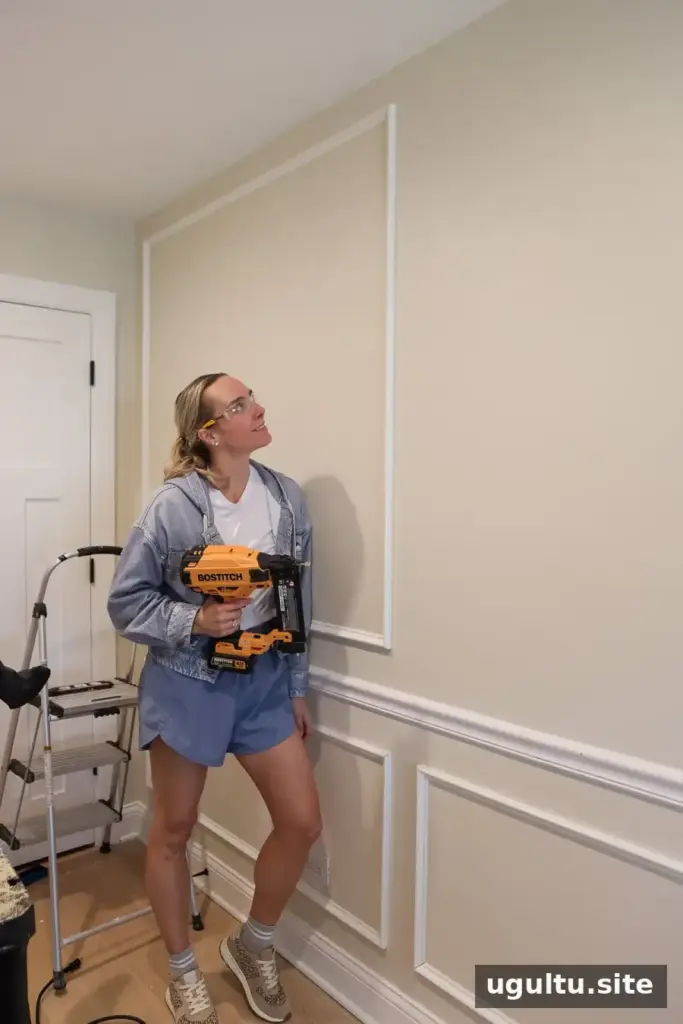
The design combines chair rail and picture frame molding around the room, with a second row of larger frames above the chair rail on the main focal wall. Wallpaper is planned for the upper frames, but the molding creates a finished design on its own.
Keeping the treatment consistent around the room helps it feel connected. Limiting the more elaborate detail to one wall also avoids competing with the built-ins and other visual features.
Project Scope and Preparation
This overview focuses on design, layout, and how the project was organized rather than providing a complete installation tutorial. Before starting, check that you have the appropriate tools and are comfortable using them. A miter saw, nail gun, and laser level were used for this project.
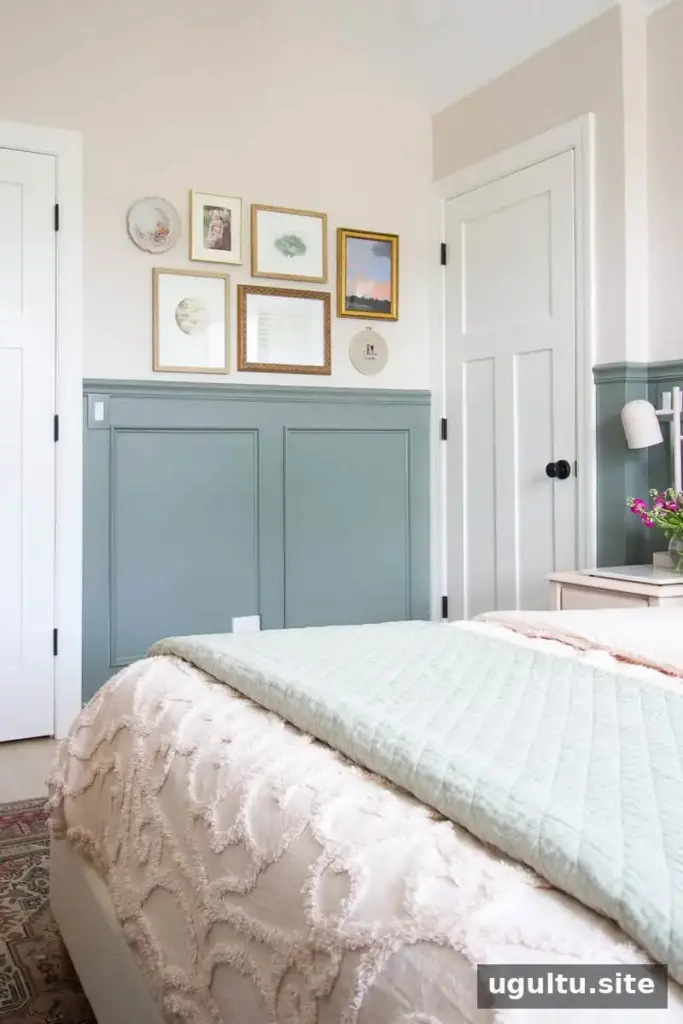
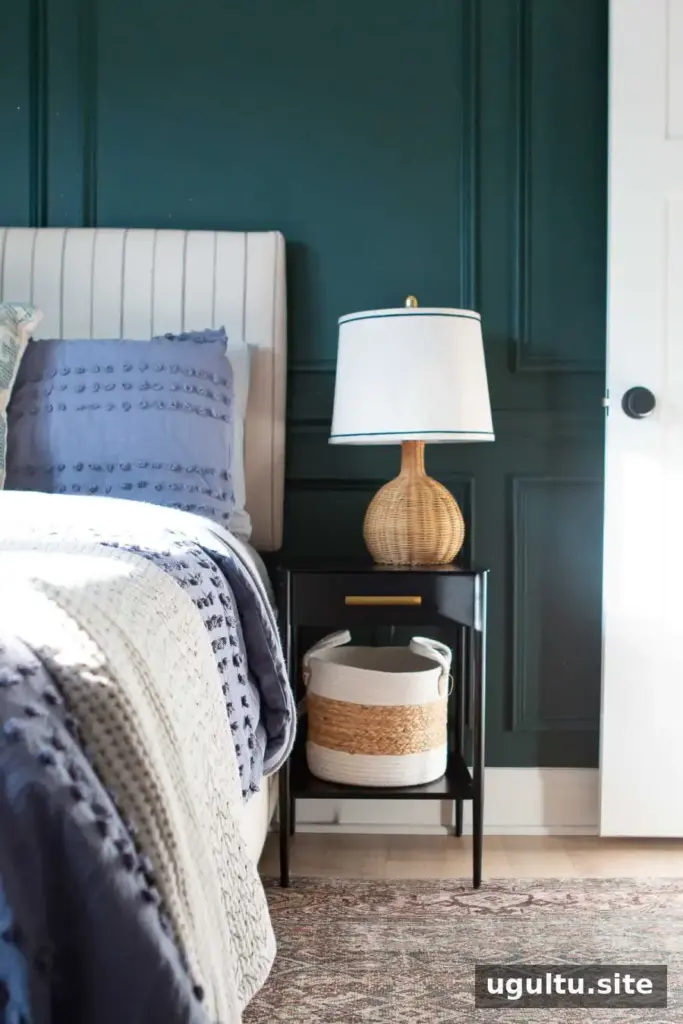
Plan the layout before cutting any pieces. Measure each wall, note windows and other obstacles, and use painter’s tape to preview the frame positions. This makes it easier to spot proportions that look off while changes are still simple.
The Room-Wide Molding Layout
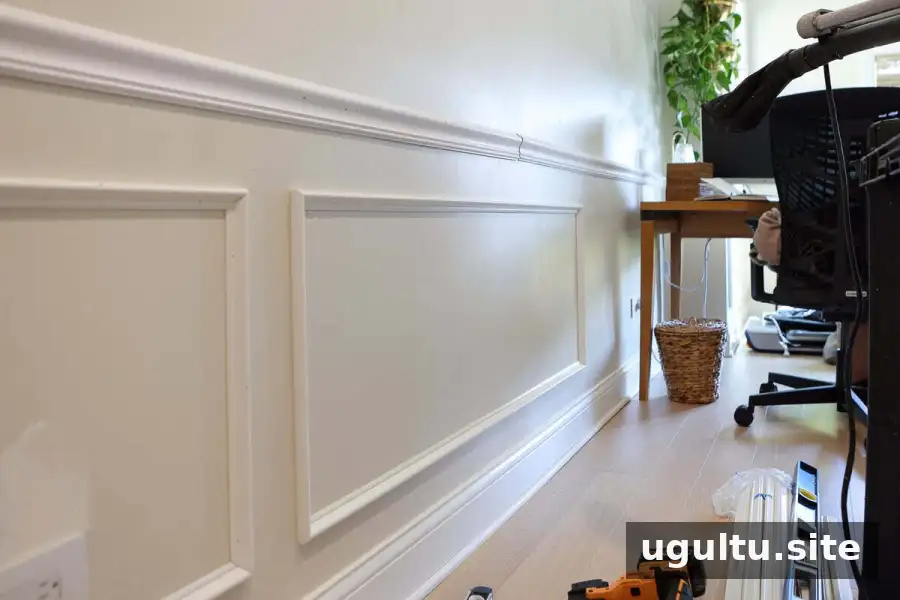
Chair rail was installed at a consistent height of about 32 inches from the floor, with picture frame molding below it on every wall. The large focal wall also has frames above the rail. Smaller walls have one frame, while the long wall has three wider frames in each row.
This arrangement gives the room a consistent lower treatment and a clear focal point. When adapting the idea, account for baseboards, furniture placement, windows, and the height of the ceiling before settling on the rail height.
Measurements and Spacing
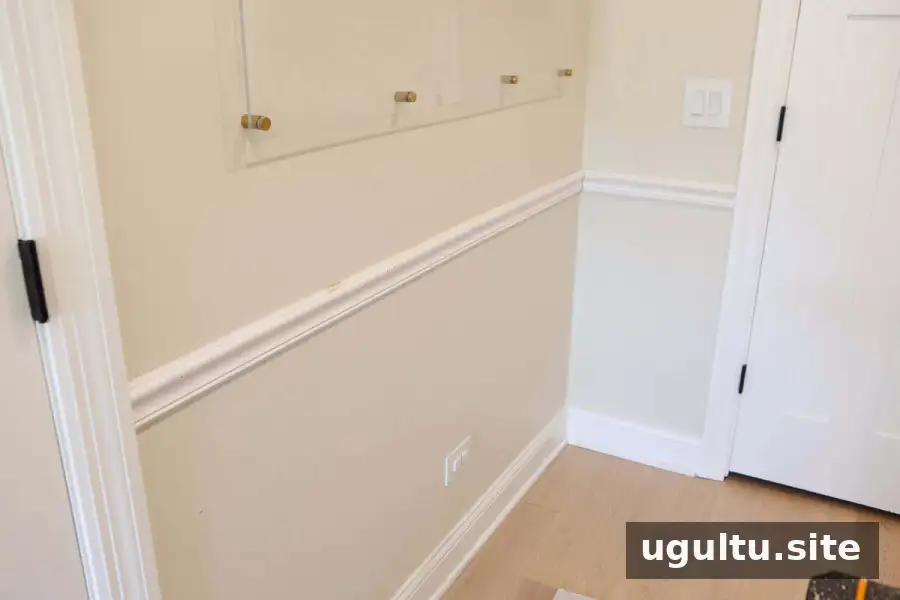
The spacing below was kept consistent, while the frame dimensions were adjusted to fit each wall. Measurements are in inches.

Spacing used throughout the room
- 4 inches from the walls
- 4 inches below the chair rail
- 4 inches above the baseboard
- 4 inches between frames
Practical tip: Cut a 4-inch spacer and use it to mark repeated gaps. A simple spacer can speed up layout work and help keep the spacing uniform.
Wall 1: 65.5 inches wide
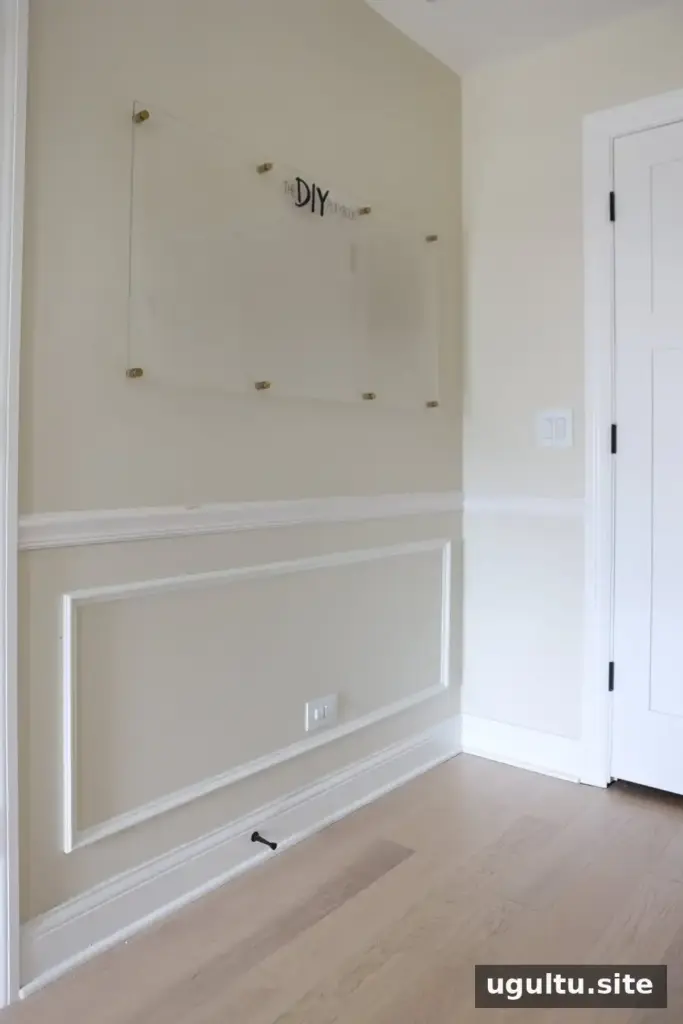
- Frame: 57.5 inches wide × 20.5 inches high
Wall 2: 60 inches wide
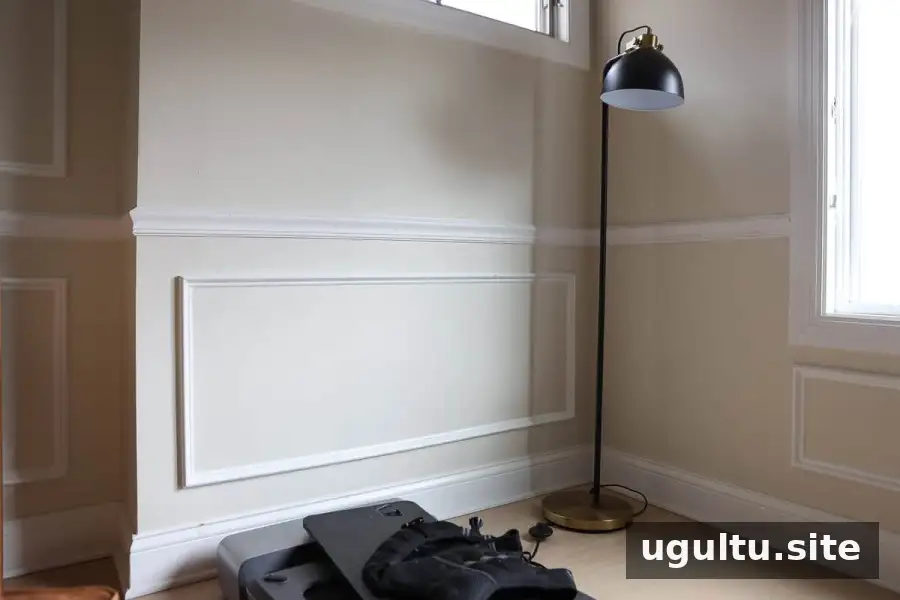
- Frame: 52 inches wide × 20 inches high
Long wall: 175 inches wide
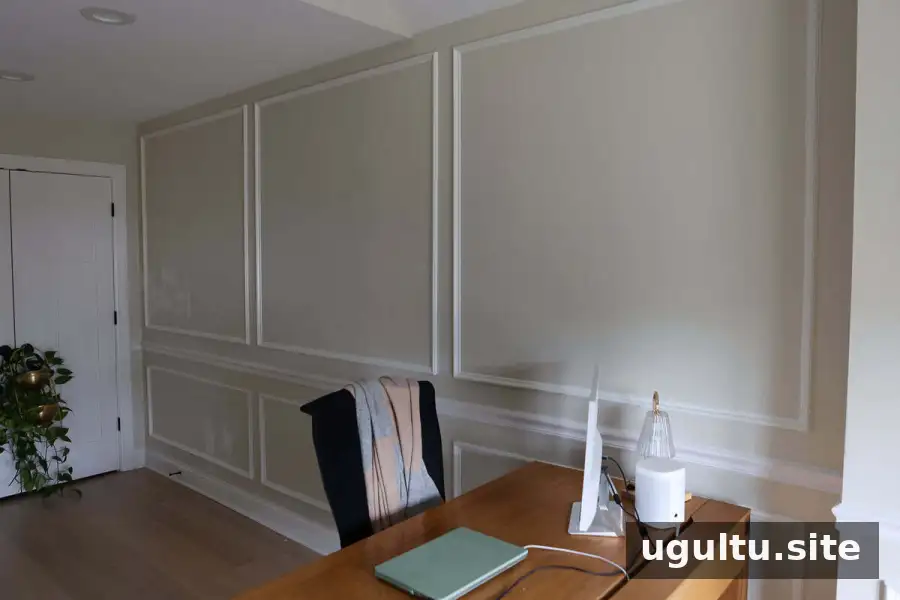
- Bottom three frames: 53 inches wide × 20 inches high
- Top three frames: 53 inches wide × 52 inches high
Window wall
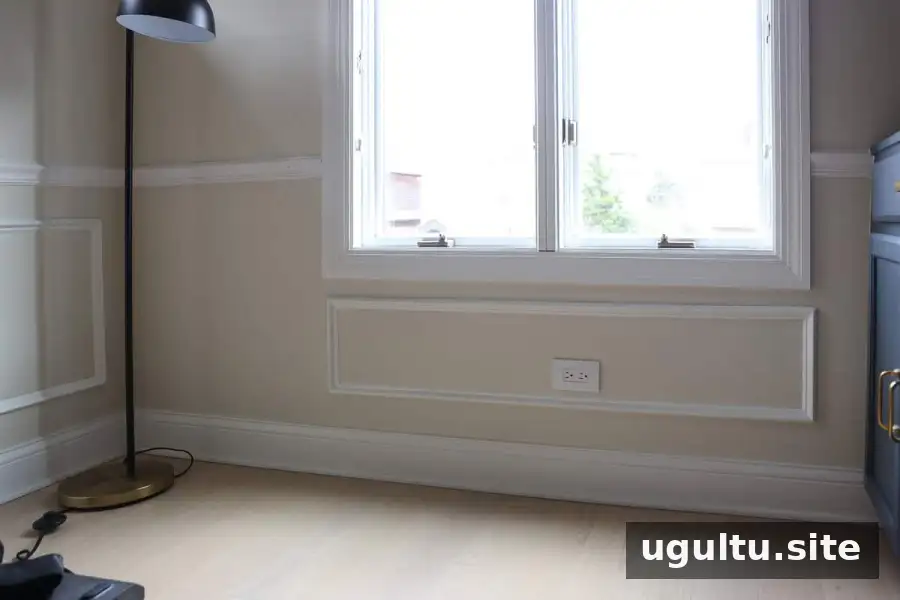
- Frame: 55 inches wide × 20 inches high, using the window width as a guide
Before cutting: Use painter’s tape to mark the planned frames on the wall. Check the spacing and alignment from several positions in the room, and make adjustments to account for actual wall conditions.
Installation and Project Schedule
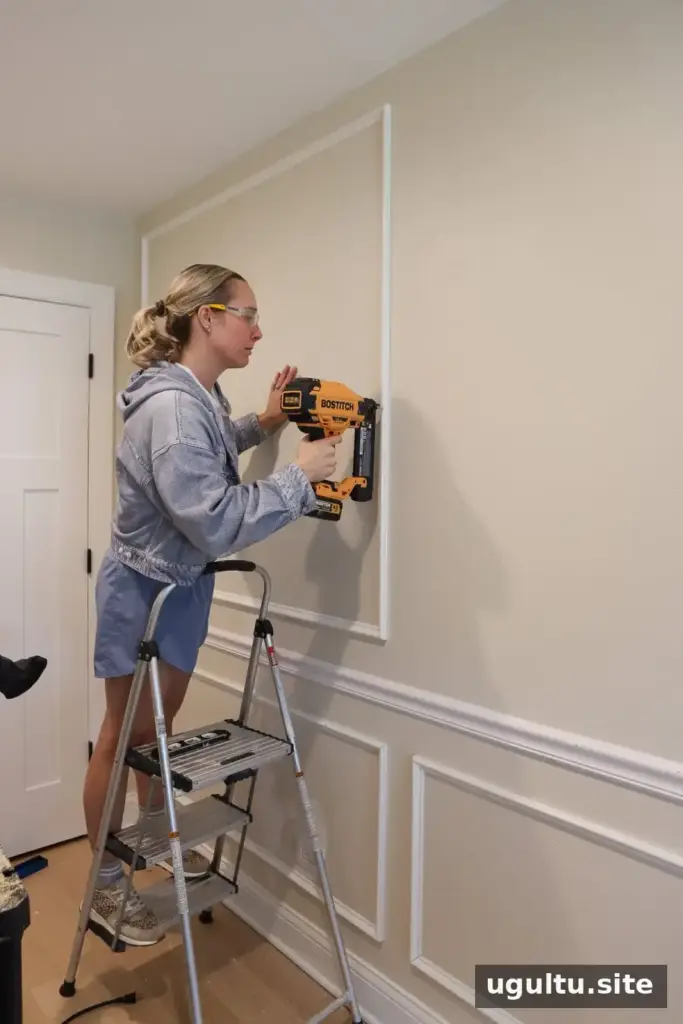
Buy a little more molding than the measurements suggest you need. Extra material allows for test cuts, mistakes, and pieces that cannot be reused. The work was spread over four days:
- Day 1: Install chair rail, about 2 hours
- Day 2: Install picture frame molding, about 4–6 hours
- Day 3: Fill nail holes and caulk, around 2 hours
- Day 4: Paint, with two people working from about 9 a.m. to 2 p.m.
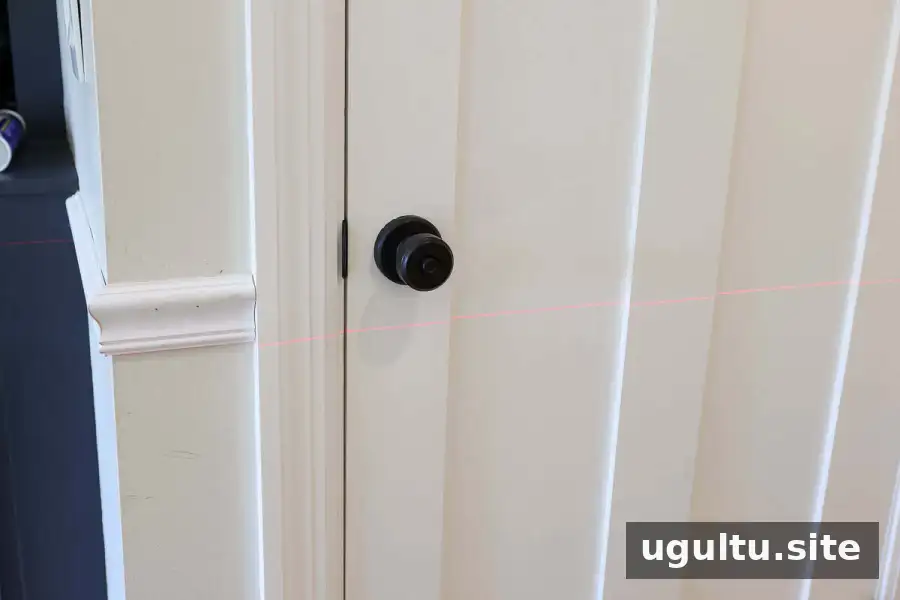
A laser level can help keep lines straight, especially across a long wall. The molding in this project was fastened with a nail gun, without wood glue. Use a fastening method suitable for your wall and trim, and follow the tool and material instructions.
Walls are not always perfectly level or square, particularly in older homes. Caulk can fill small gaps and create a neater transition, but it should not be used to hide major measurement or fit problems. Fill nail holes and allow finishing products to dry as directed before painting.
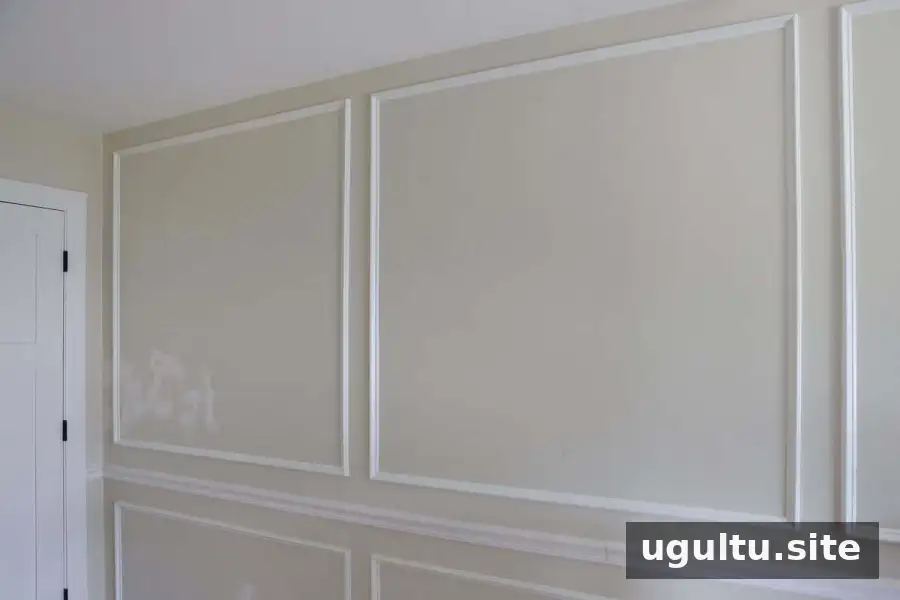
Painting the Molding

The molding was painted in Chimney Smoke, satin finish, matching the built-ins. Using the same color across these elements helps the room feel coordinated. Three coats were applied.
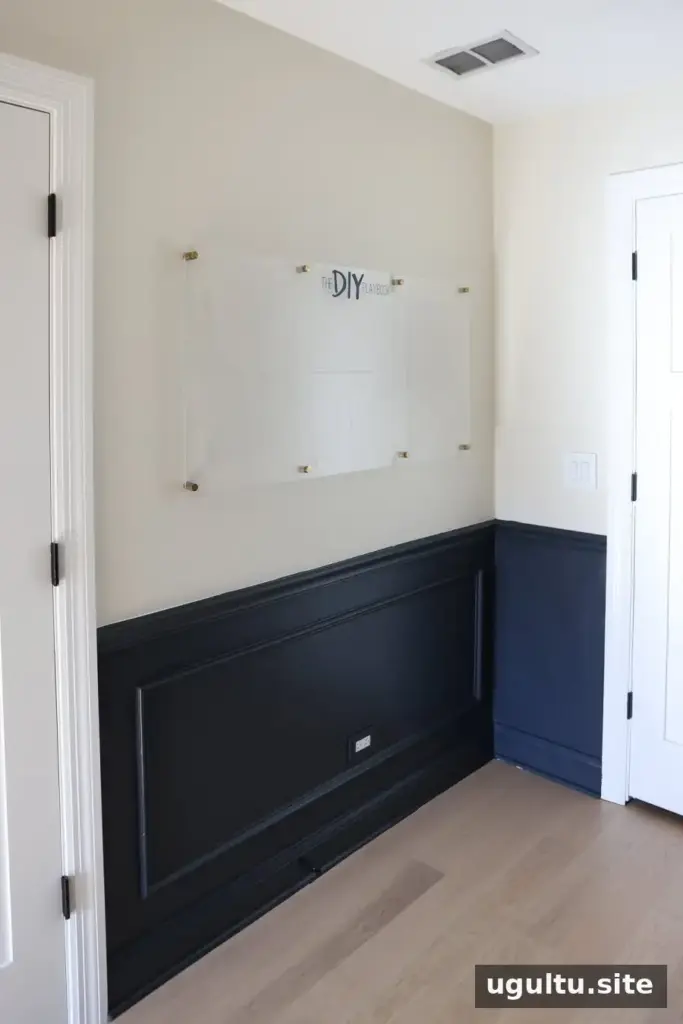
For a large room or a lot of trim, plan enough time for preparation, multiple coats, and drying between coats. Having another person help can make painting a broad area more manageable.
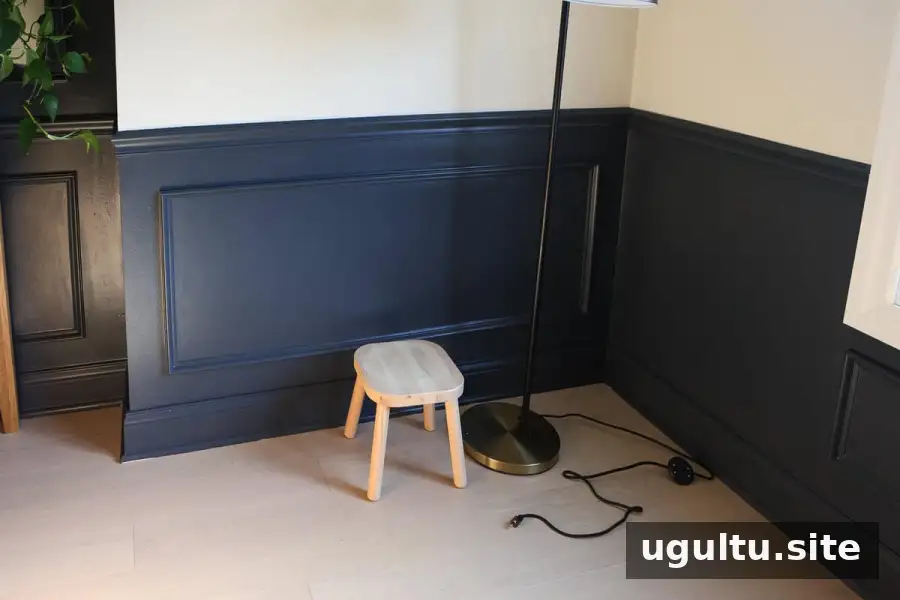
A darker paint color can make a room feel more enclosed, but it can also add warmth and depth. Consider the amount of natural light, the color of nearby furniture, and whether the trim should blend with or contrast against the walls before choosing a finish.
Finishing the Office Accent Wall with Decorative Molding
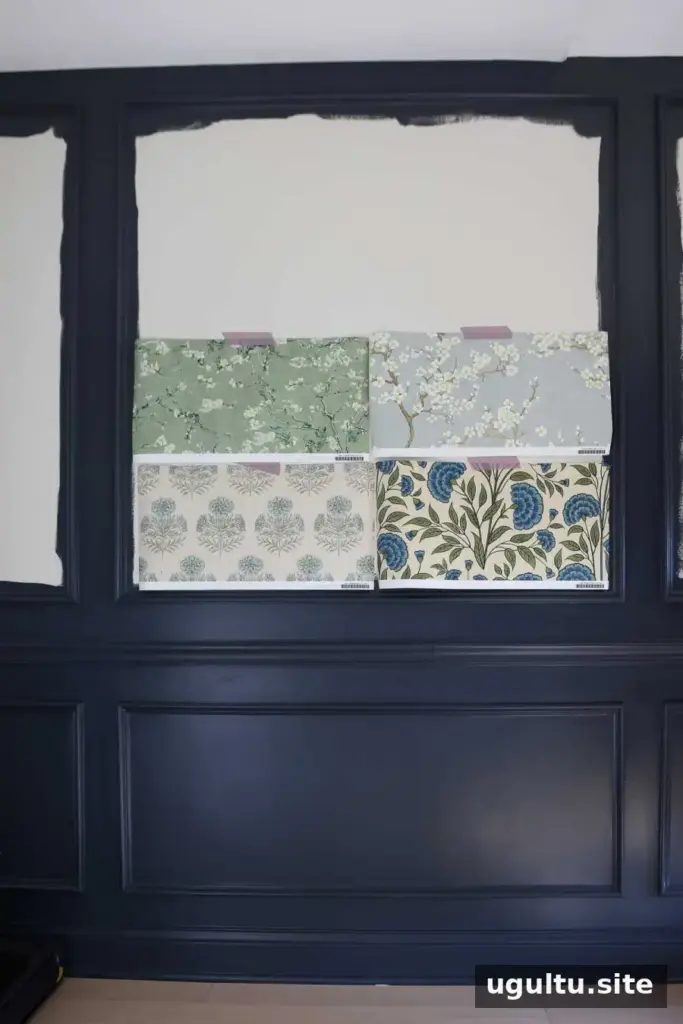
Wallpaper is planned inside the picture frame molding on the accent wall, adding pattern within a defined area rather than across the entire upper wall. This is one way to introduce color or print while keeping the overall design controlled.
The same molding idea can be adapted for an office, dining room, living room, or bedroom. For a successful office accent wall with decorative molding, start with accurate measurements, test the layout with painter’s tape, and choose frame sizes that suit the wall rather than copying dimensions without adjustment.