admin
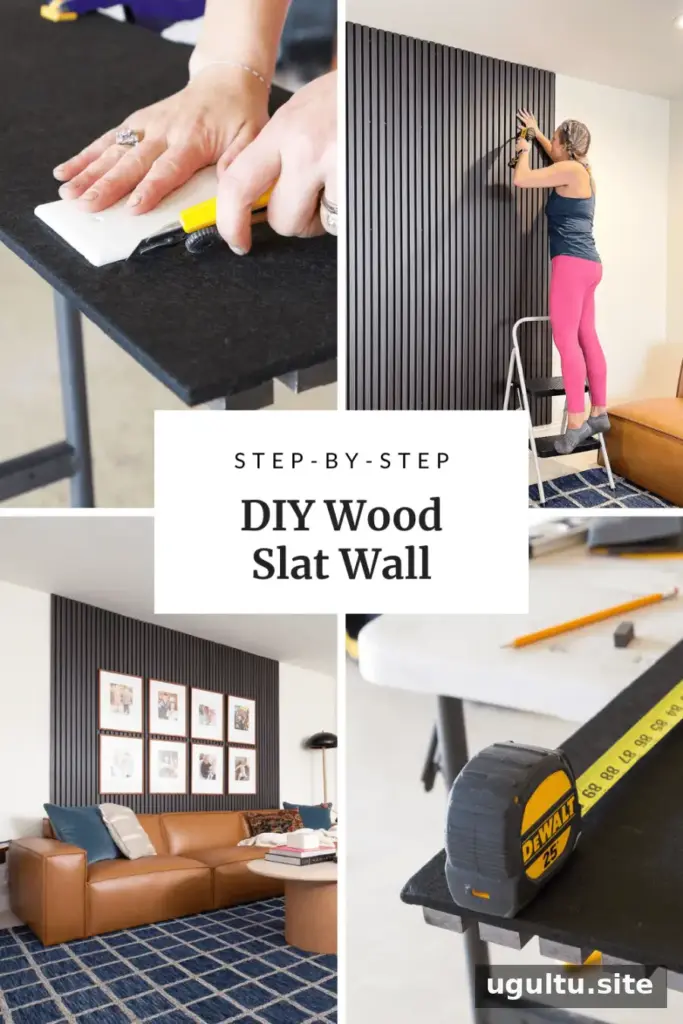
Wood slat wall panels can turn a plain wall into a warm, modern feature without the lengthy finishing work of some other accent-wall projects. This step-by-step guide covers planning the layout, cutting panels to size, fastening them securely, and working around electrical outlets. Careful measuring and safe tool use help the installation go smoothly.
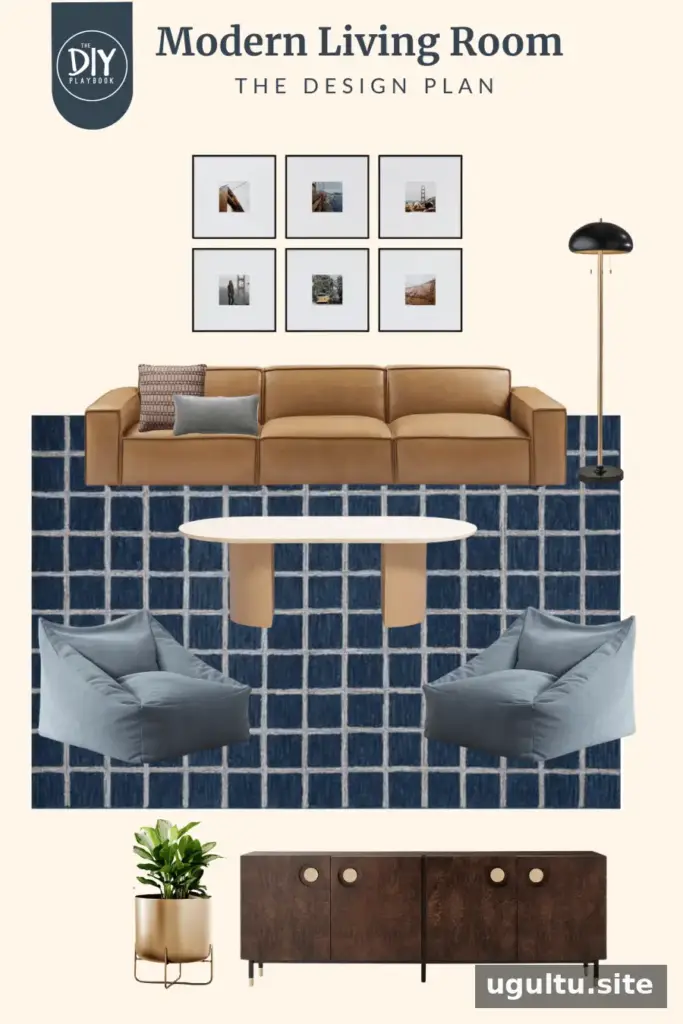
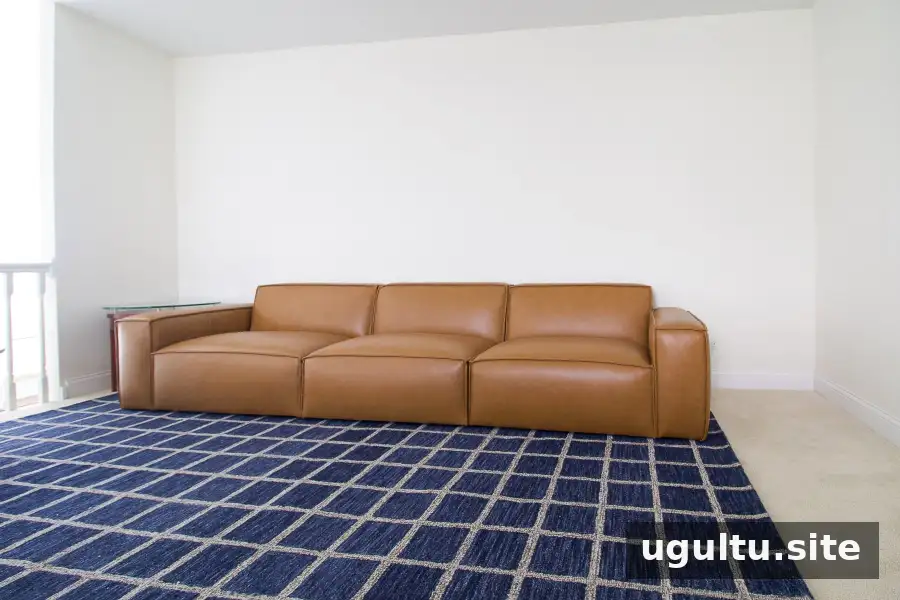
A vertical slat feature can add visual height and create a backdrop for a sofa or framed artwork. Before starting, consider how wide the feature should be and whether it will cover the entire wall or only part of it.
Choosing Wood Slat Wall Panels
Wood slat panels are available in different finishes, including black walnut, white oak, and cherry oak. Vertical slats draw the eye upward, while a darker finish can provide contrast against a light-colored wall. Use painter’s tape to outline the proposed feature area first; this makes it easier to judge the scale in the room before cutting or installing anything.
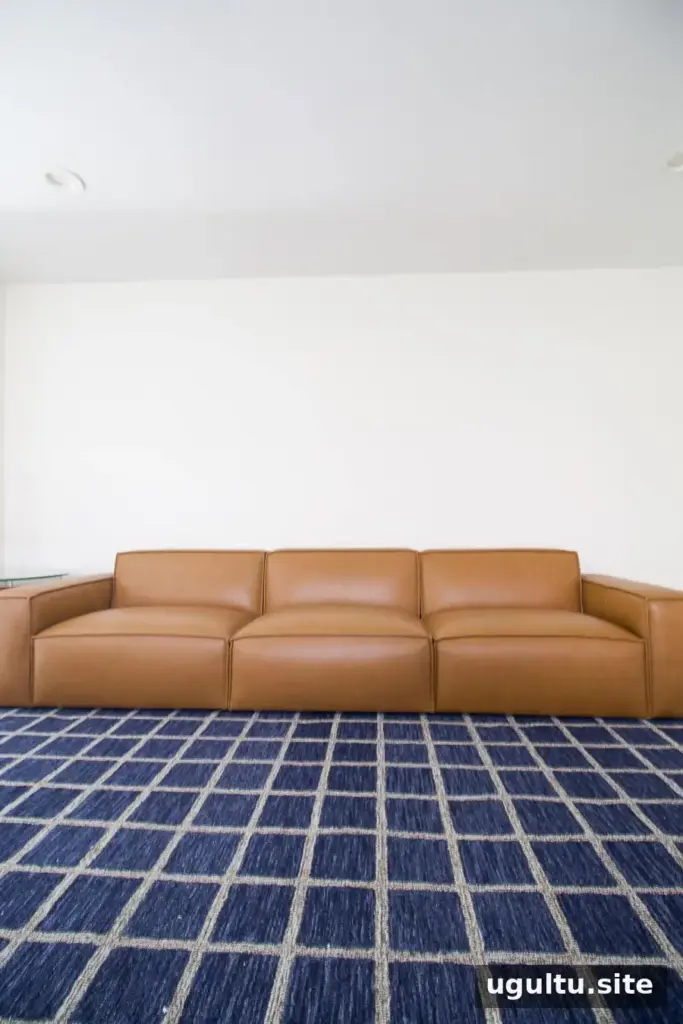
Panel sizes and quantities vary by product. In this project, each box contained two panels measuring 1 foot by 8 feet. Six boxes were ordered to allow for extra material in case of cutting mistakes. Check the dimensions and coverage listed for your panels before calculating how many boxes you need.
Supplies for a DIY Slat Wall
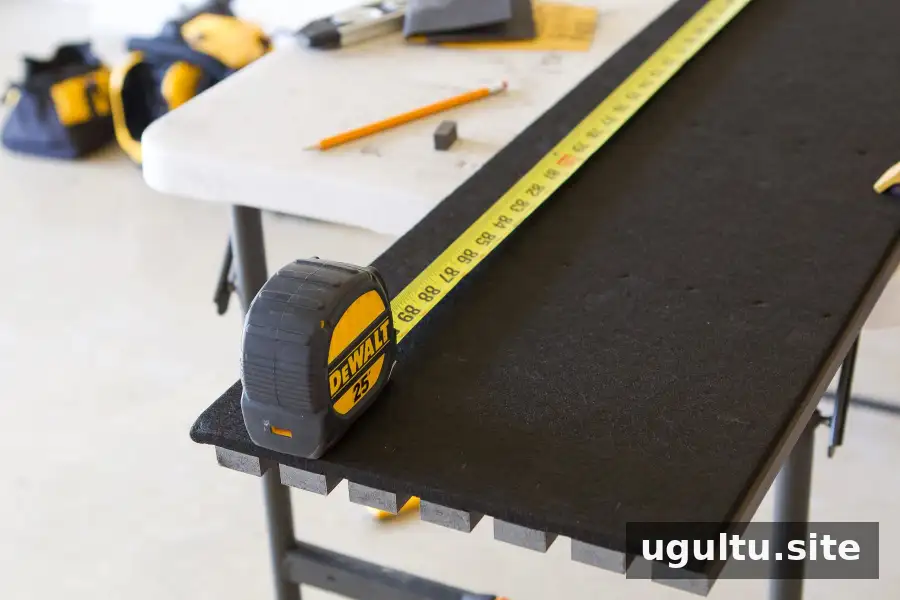
Gather the tools and materials before beginning. A clear work area and a stable cutting surface make measuring and cutting easier.
- Wood slat panels
- Speed square
- Black screws
- Drill
- Jigsaw
- Utility knife
- Sandpaper or orbital sander
- Circular saw
- Construction adhesive (optional)
- Tape measure
- Spirit level
- Clamps
- Safety gear, including eye and hearing protection
How to Install Wood Slat Wall Panels
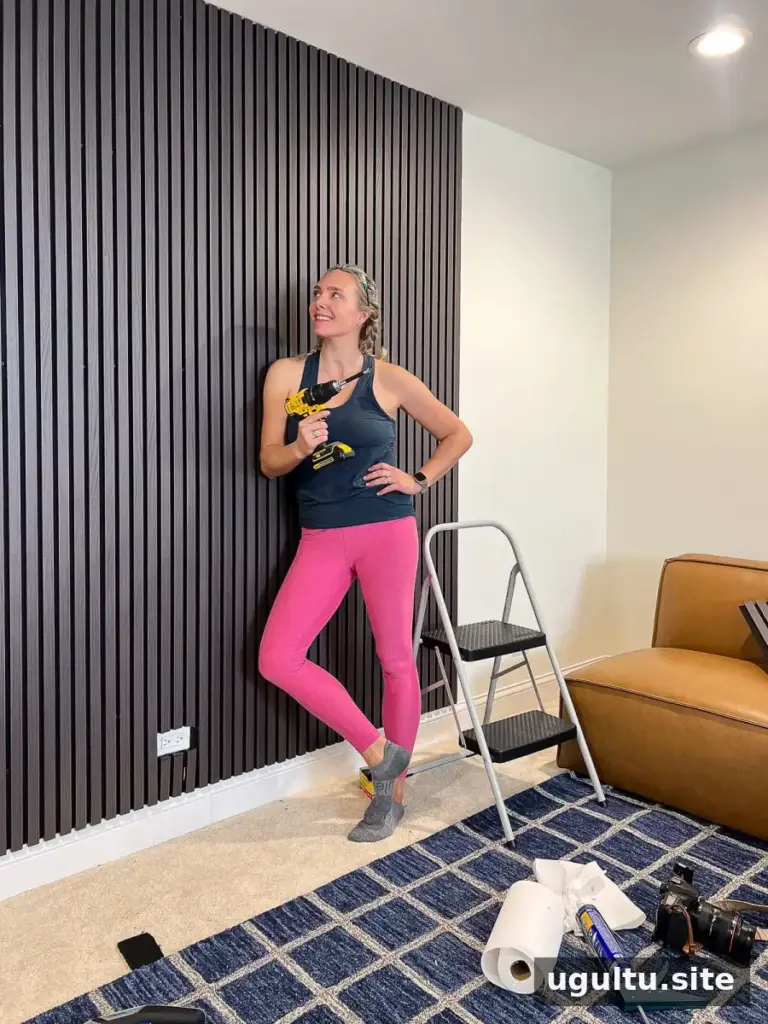
Plan the layout, measure the wall, cut the panels to height, and then fasten them in place. Follow the panel manufacturer’s installation instructions and choose fasteners suitable for the wall construction.
1. Plan the feature-wall layout
Decide whether the panels will span the full wall or form a narrower accent area. For this project, painter’s tape helped visualize a section about 100 inches wide, covering most of the sofa’s length while leaving some wall visible on either side.
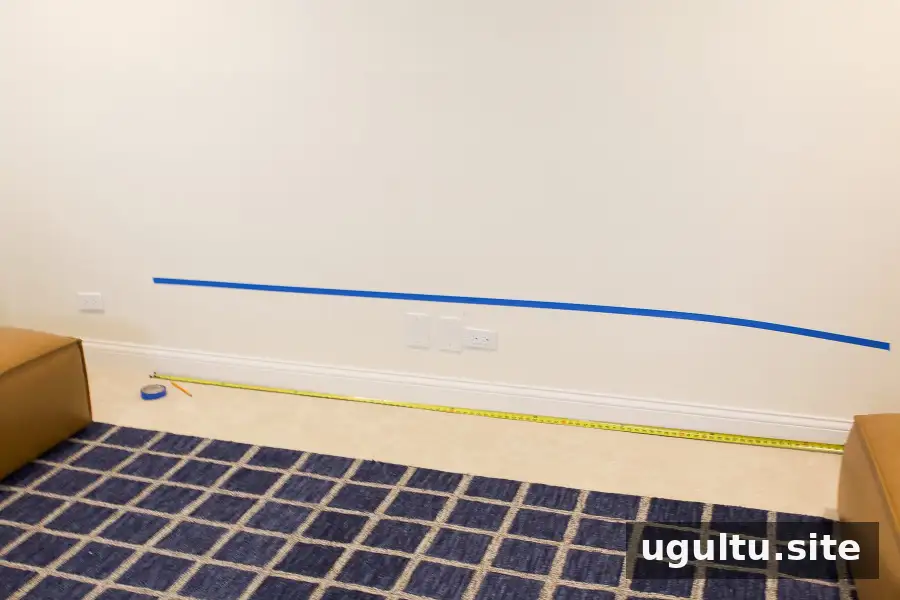
Consider the baseboard before setting the final panel height. If the bottom edge will be visible, removing the baseboard can allow the panels to meet the floor more neatly. If furniture will cover that area, leaving the baseboard in place may be suitable, depending on the room and panel design.
2. Measure and mark a plumb starting line
Choose whether to work from one side or from the center. Mark a vertical plumb line for the first panel using a level. This first line is an important guide: if it is not straight, later panels may also appear crooked.
Measure from the top of the baseboard to the ceiling, or to the desired top edge of the feature. Measure in more than one place if the ceiling or floor may be uneven, and use the appropriate measurement for a close fit.
3. Cut the panels to height
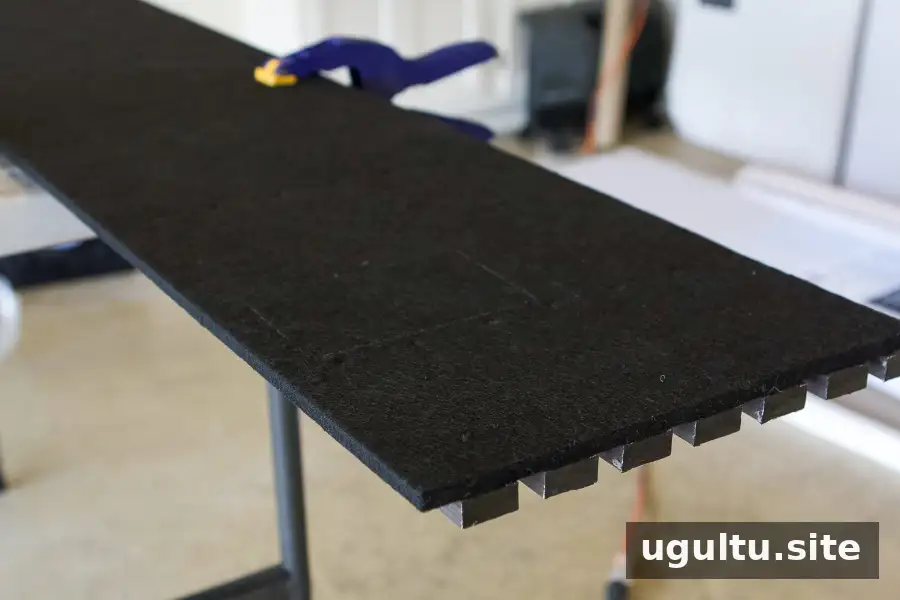
Mark the measurement on the felt backing. A colored marker can be easier to see than a pencil on dark or textured backing. Use a level or speed square to draw a straight cutting line, then clamp the panel securely to a stable work surface.
Use a circular saw to trim the excess from the panel. Wear safety gear and keep hands clear of the blade. Smooth any rough cut edges with fine-grit sandpaper before bringing the panel to the wall.
4. Fasten the first panel

Position the cut panel against the starting line and check that it is straight. In this project, black screws were driven through the felt backing rather than through the wood slats. About 8–10 screws were spaced evenly along each panel, making them less noticeable against the dark backing.
Fastening requirements depend on the wall and panel system. Locate studs or use suitable wall anchors when needed, and follow the product instructions so the panels are securely supported.
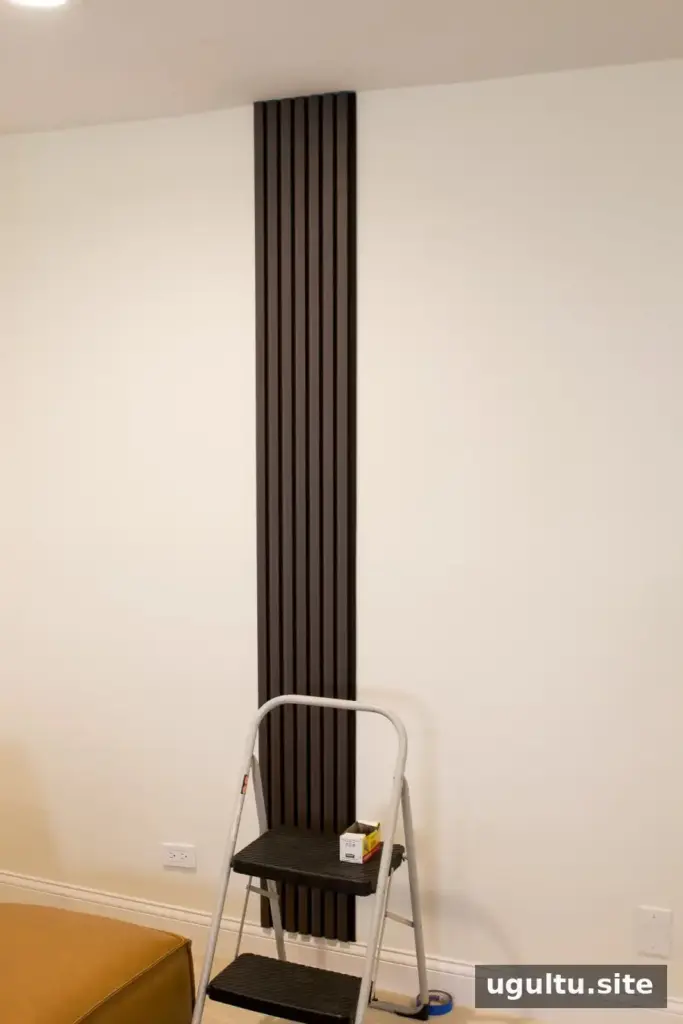
Construction adhesive is another possible fastening method when approved for the panels and wall surface. Adhesive was not needed for this installation because screws provided the required hold. If using adhesive, follow its directions for application, ventilation, and curing time.
5. Cut around outlets and switches
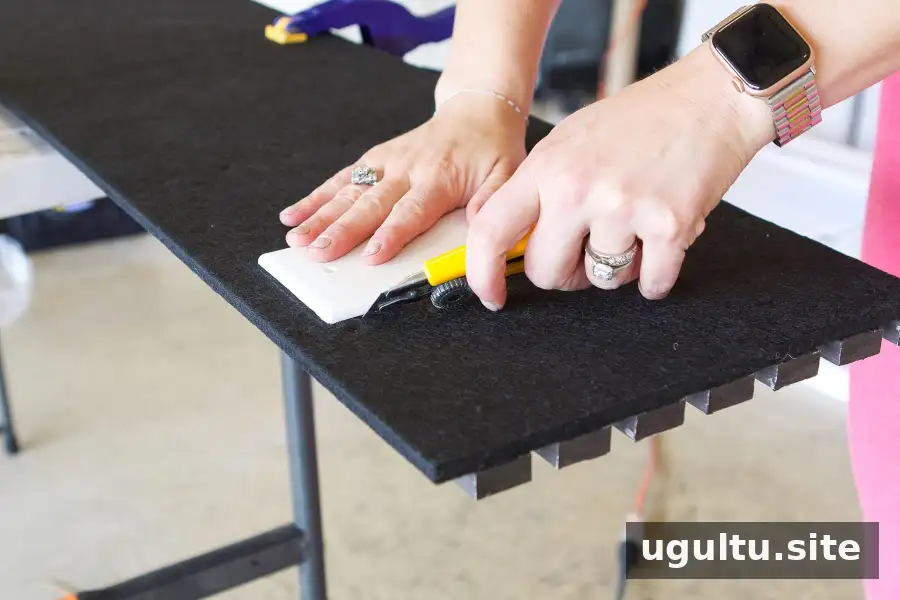
Measure the outlet or switch location carefully and transfer those measurements to the back of the panel. Score the felt with a utility knife, then use a jigsaw to cut an opening that provides enough clearance for the electrical fitting.
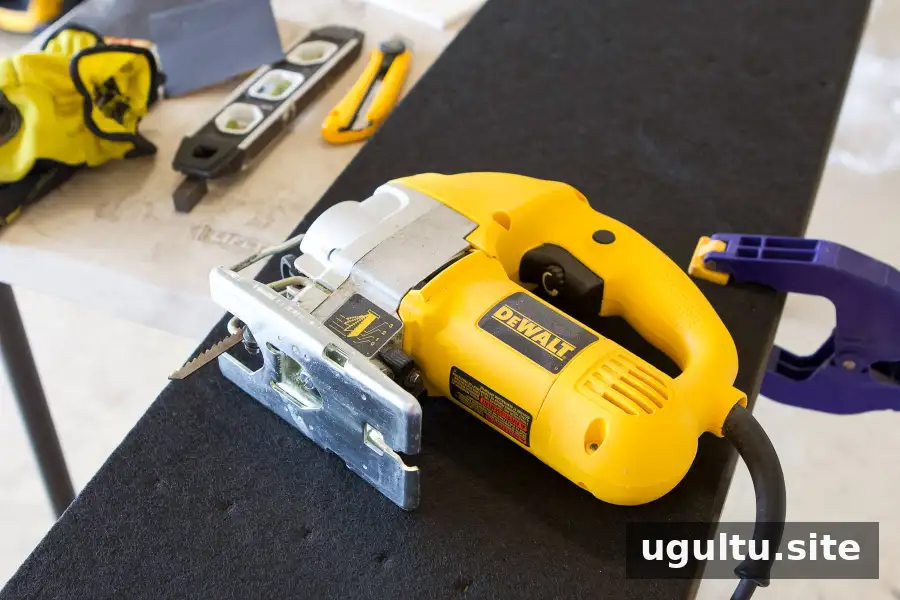
Before cutting near electrical components, turn off power to the relevant circuit and verify it is off. If you are unsure how to work safely around an outlet or switch, consult a qualified electrician. Measure twice and test the opening’s position before fastening the panel.
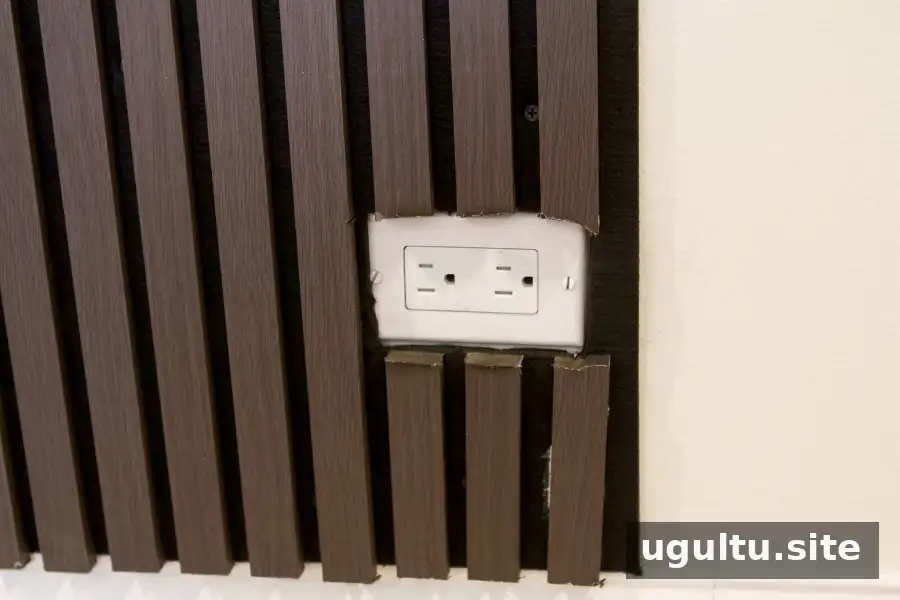
If a small slat separates from the backing during cutting, it can be reattached with an appropriate construction adhesive. Let the adhesive cure according to its instructions before putting pressure on the repaired area. The completed wall in this project used eleven boards and took a few hours to install.
Finishing the Wood Slat Wall
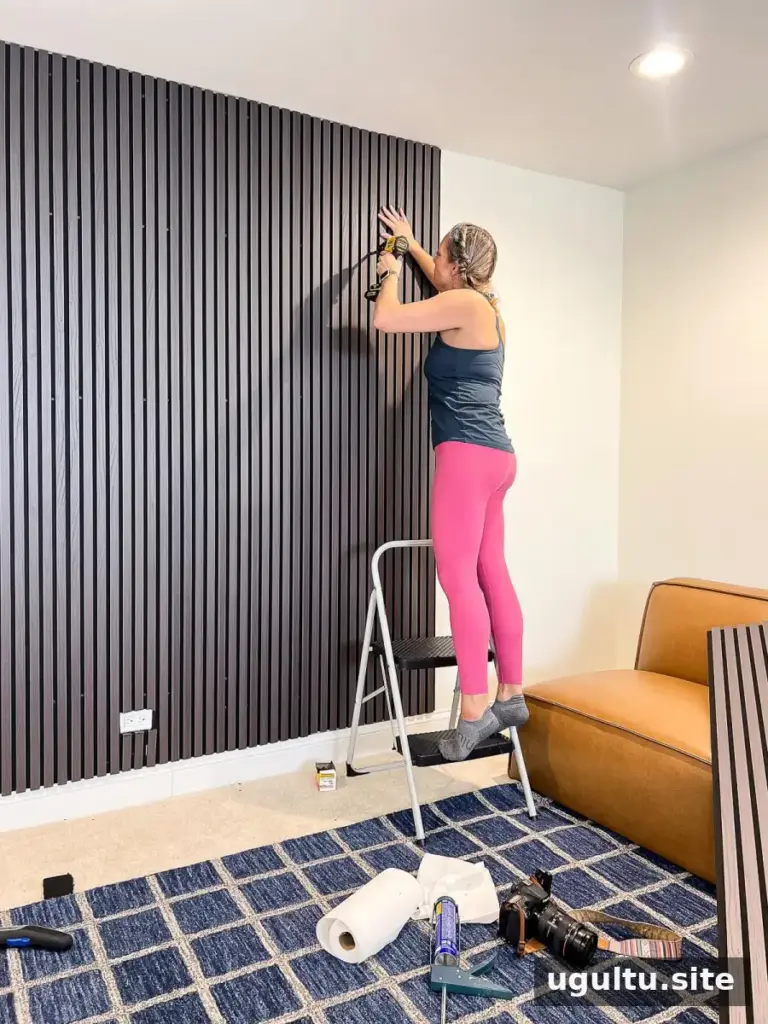
These panels required only a cut at the end and fastening to the wall, so the installation did not need painting, caulking, or wood filler. A clean cut and careful alignment help the finished feature look polished without extra finishing steps.
Final Look: Wood Slat Wall Panels Before and After
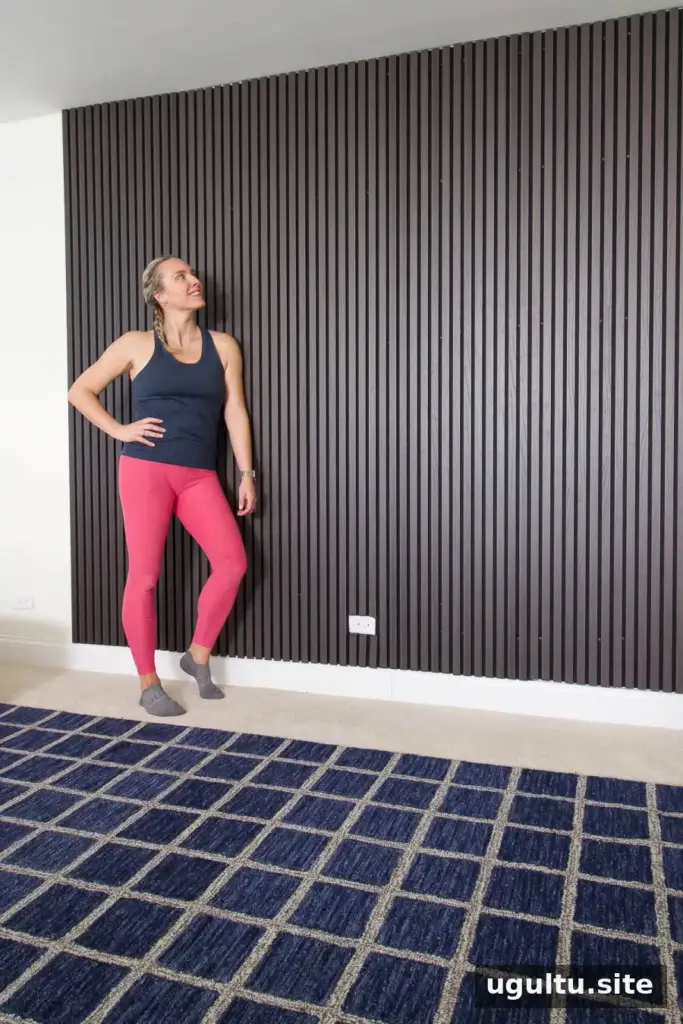
A vertical wood slat wall can make a large, blank area feel more defined and add a mid-century modern touch to a room. Dark panels create a contrasting background, while lighter wood finishes can keep the look airy.
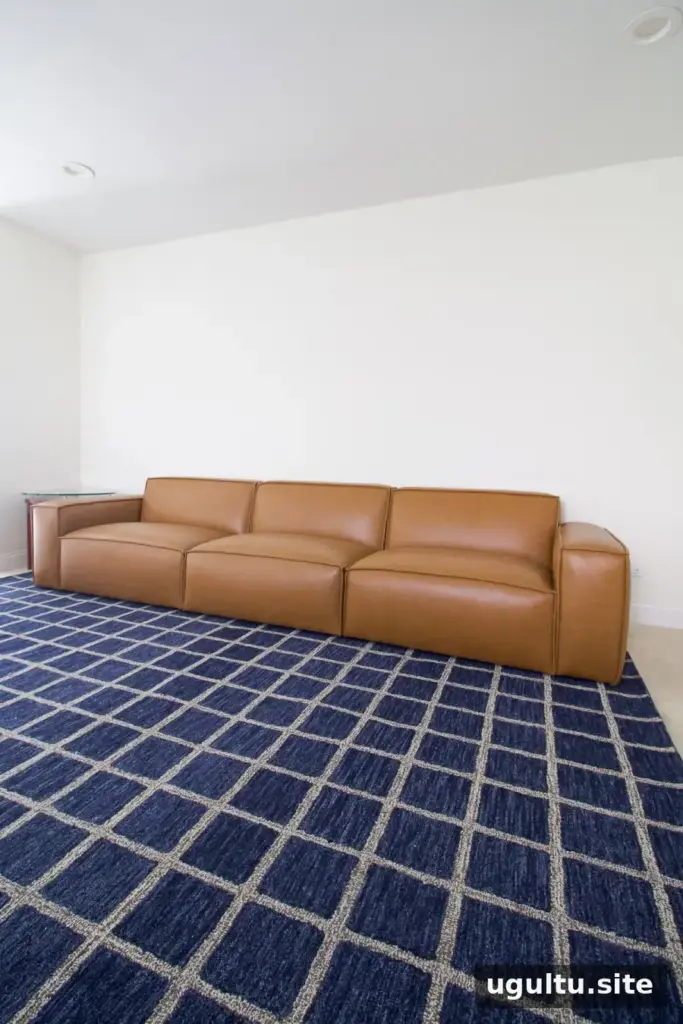
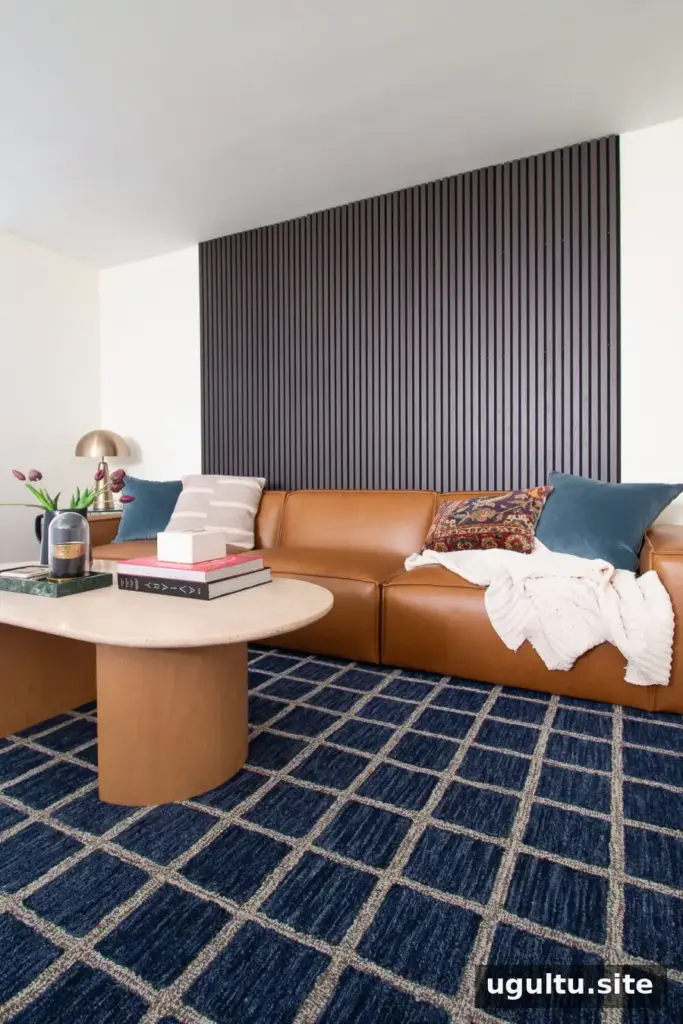
The finished vertical slats give the wall more texture and help it feel less expansive and bare.
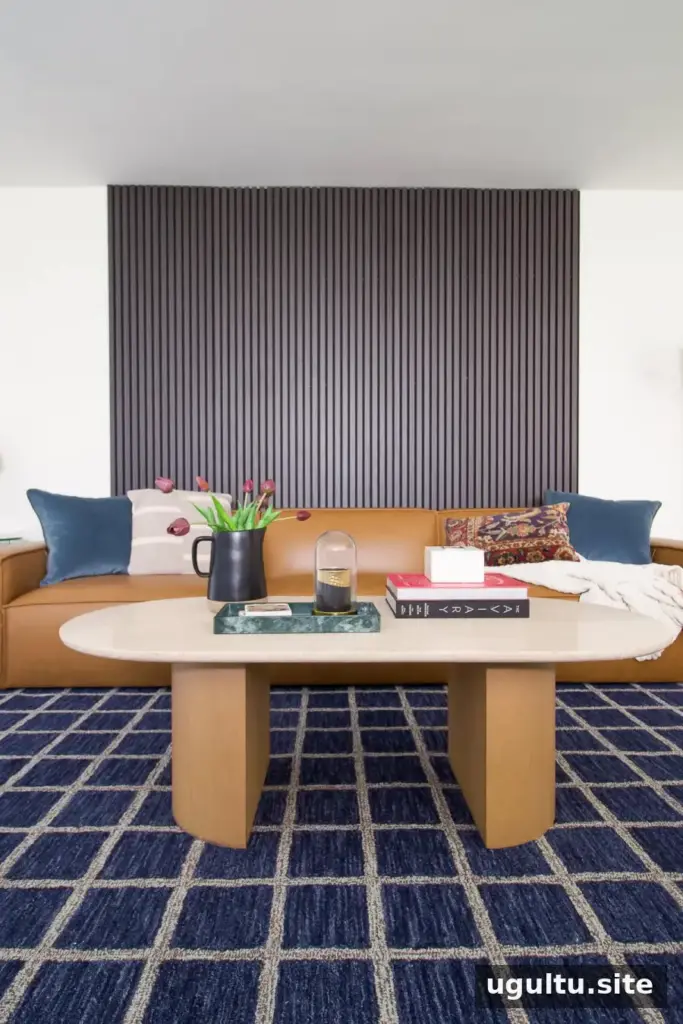
The vertical lines also complement mid-century modern furnishings and decor.
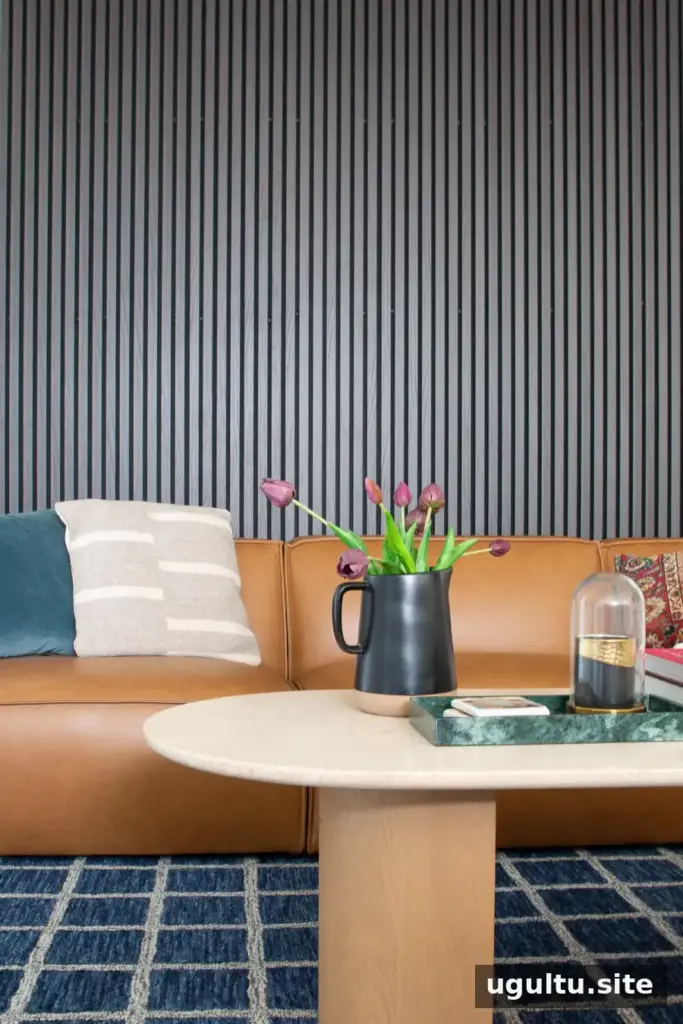
Pairing the panels with artwork or a gallery wall can make the feature more personal. Use appropriate fixings for hanging frames, and avoid placing screws where they could interfere with the panel’s attachment or hidden services in the wall.
Adding Artwork to a Slat Wall
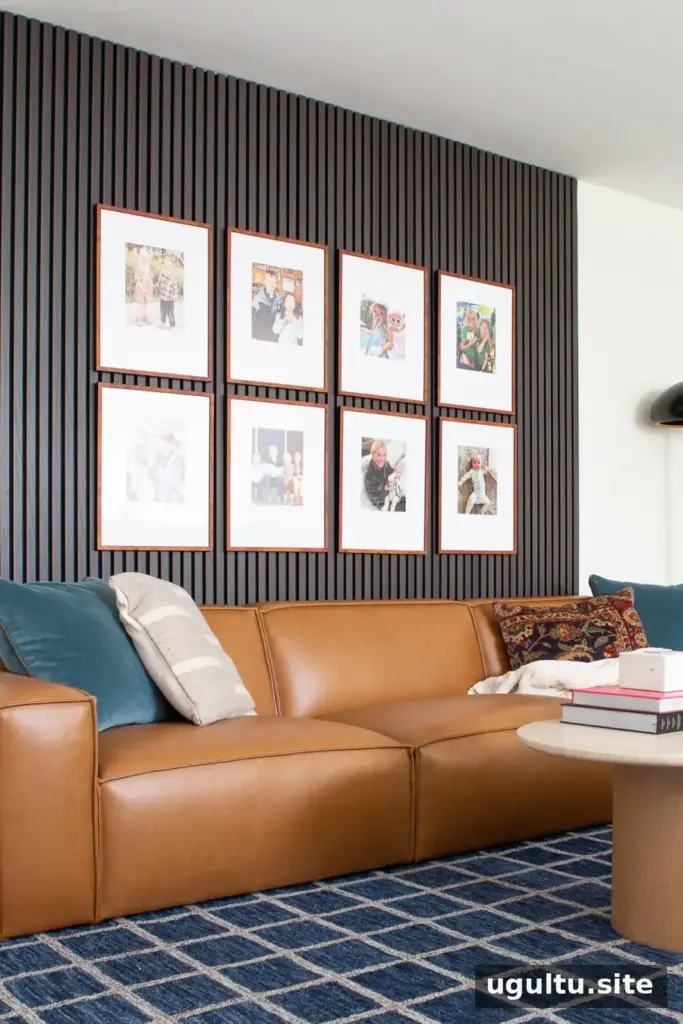
A gallery wall placed over the slats adds color and personal detail. Plan the arrangement on the floor first, or use paper templates on the wall to check spacing before hanging frames.
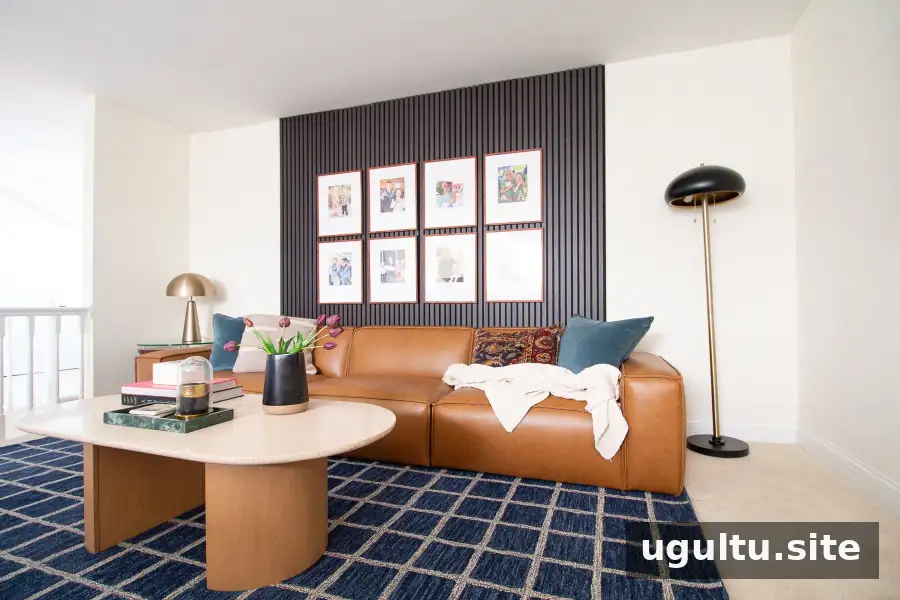
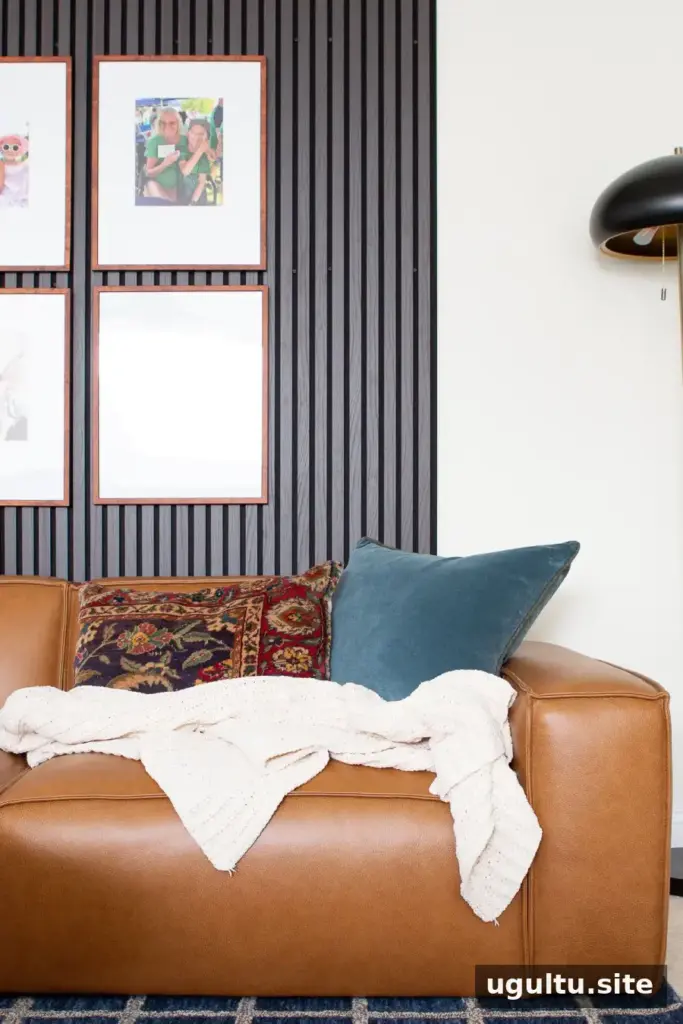
The darker background helps picture frames stand out and replaces the plain white wall with a more layered focal point.
Project Wrap-Up
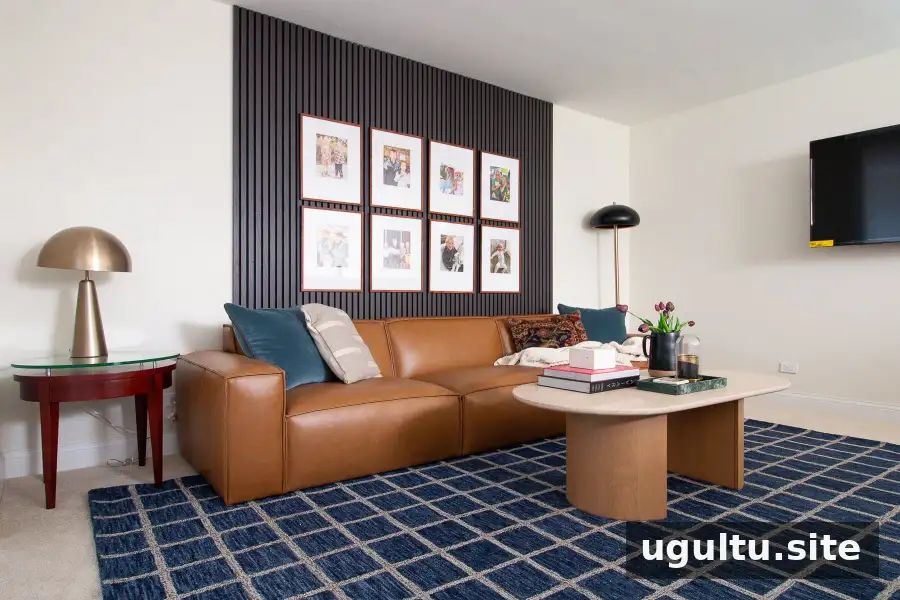
Before calling the project complete, check that every panel is secure, the edges are smooth, and any cutouts sit neatly around outlets or switches. Keep any remaining panels or finish details in mind if the room makeover is still in progress.
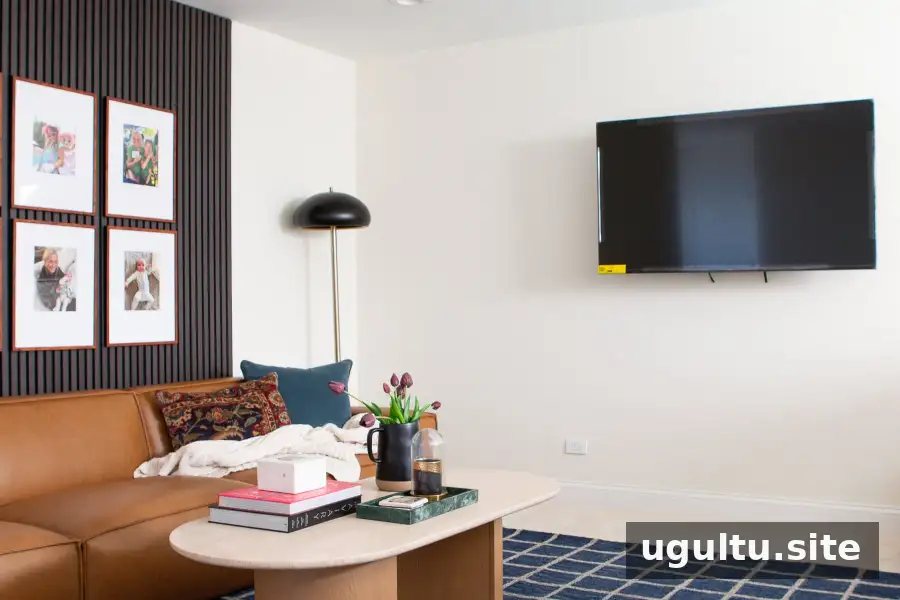
With thoughtful planning, careful measurements, and suitable fasteners, wood slat wall panels can create a striking accent wall in a few hours. The most important details are establishing a plumb starting line, cutting safely, and checking panel alignment as you work.