admin

Learning how to install a light fixture can make a simple room update more manageable. With the right tools, a compatible ceiling electrical box, and careful safety checks, many homeowners can replace an existing fixture. This guide covers the process from switching off the power to testing the finished installation.

Every home and fixture is different, so take time to read the fixture manufacturer’s instructions and check the existing wiring before starting. If you find damaged or unfamiliar wiring, stop and contact a licensed electrician rather than guessing.
Project Overview: How to Install a Light Fixture
A straightforward replacement typically takes about 30–60 minutes. The time can vary depending on the fixture, ceiling box, and condition of the wiring.
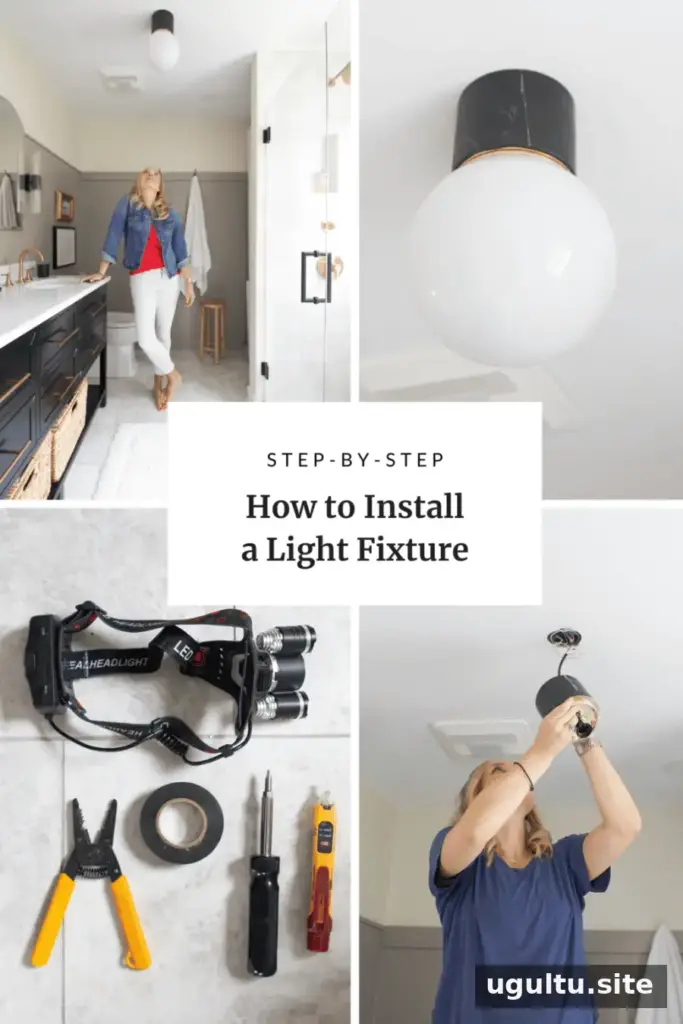
- Supplies: Wire nuts, electrical tape, and the new fixture
- Tools: Screwdriver, drill, wire cutters or wire strippers, ladder, and voltage tester
- Optional: A headlamp can help if the room has limited natural light
Gather everything before climbing the ladder. Keeping tools and small parts within reach reduces interruptions and helps you work steadily.
How to Install a Light Fixture: Quick Steps
- Switch off the fixture’s circuit breaker and verify the wires are not live with a voltage tester.
- Remove the old fixture and take a clear photo of the existing connections.
- Install the new mounting bracket if the fixture requires one.
- Connect the fixture wires according to the manufacturer’s instructions and the wiring in the ceiling box.
- Secure the fixture, fit its canopy or decorative plate, and install the bulbs or covers.
- Restore power and test the light.
Step-by-Step: Installing a Ceiling Light Fixture
1. Turn Off the Power
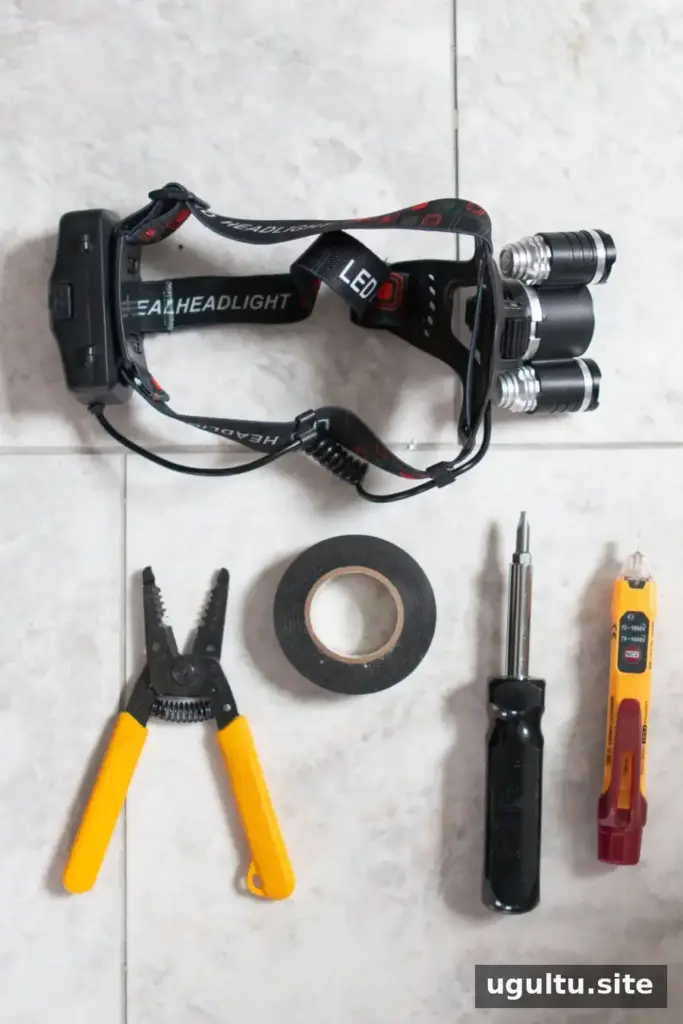
Switch off the circuit breaker that supplies power to the light. If you are unsure which breaker controls it, turn the light on and switch off breakers one at a time until the light goes out. Then return to the electrical panel and make sure the correct breaker is off.
Check the wall switch, then use a voltage tester on the ceiling wires and inside the electrical box before touching them. Do not rely on the wall switch alone to confirm that power is off. Follow the tester’s instructions, and if you cannot verify that the wires are de-energized, stop and get help from a qualified electrician.
2. Remove the Old Fixture and Photograph the Wiring
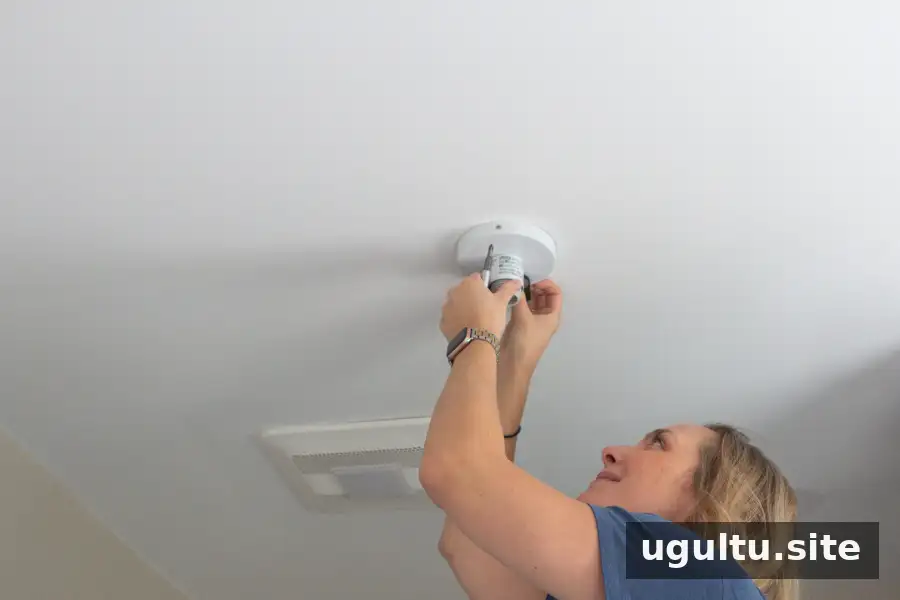
Support the old fixture while loosening its screws. Lower it carefully to expose the wire connections, and avoid letting the fixture hang from the wires.
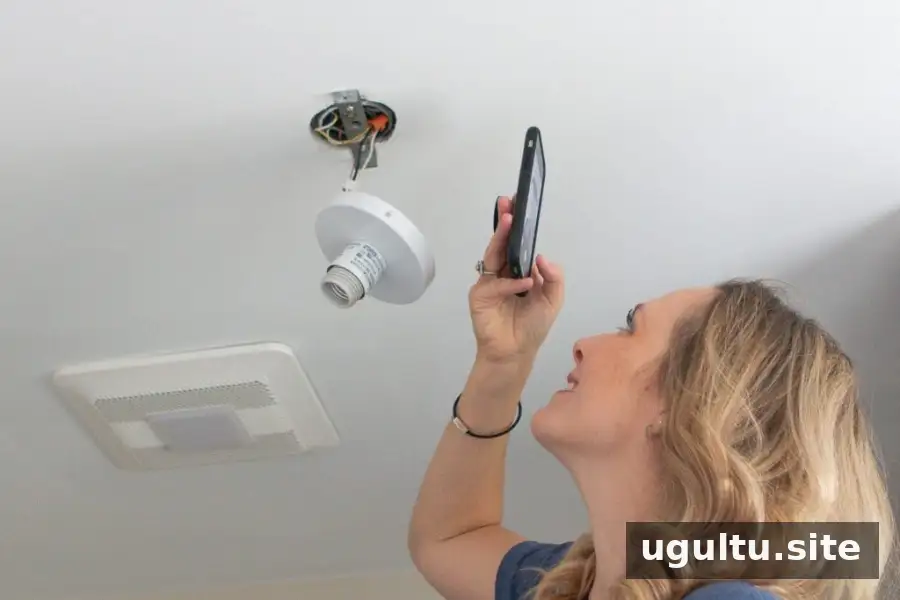
Before disconnecting anything, take a clear photo of the wiring and how it connects to the fixture. This can be a useful reference during installation, but it does not replace the instructions for the new fixture or an electrician’s advice.
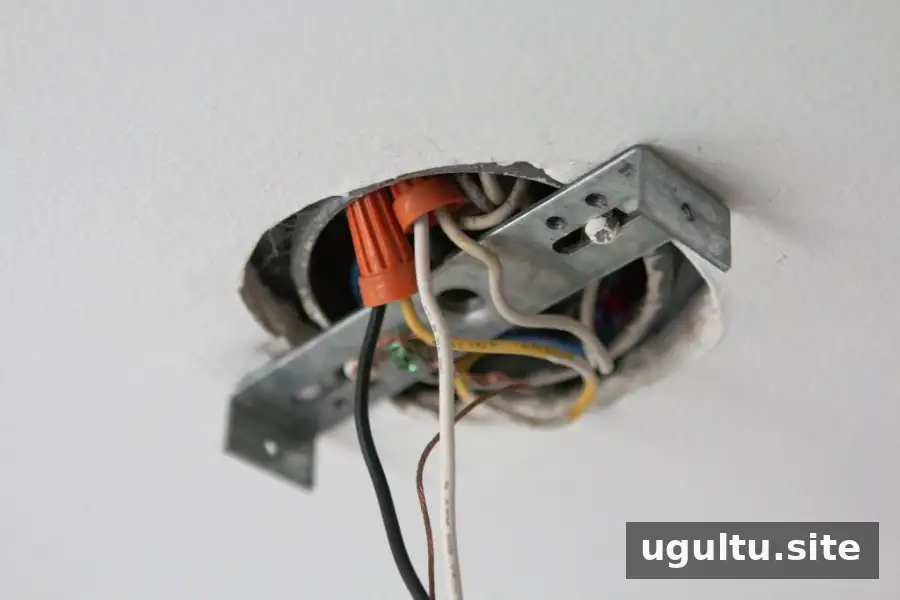
In one common setup, a copper ground wire is attached to a grounding screw, white neutral wires are joined together, and a black fixture wire is connected to a hot wire. Wiring colors and arrangements can vary, particularly in older homes, so never assume that color alone identifies a wire.
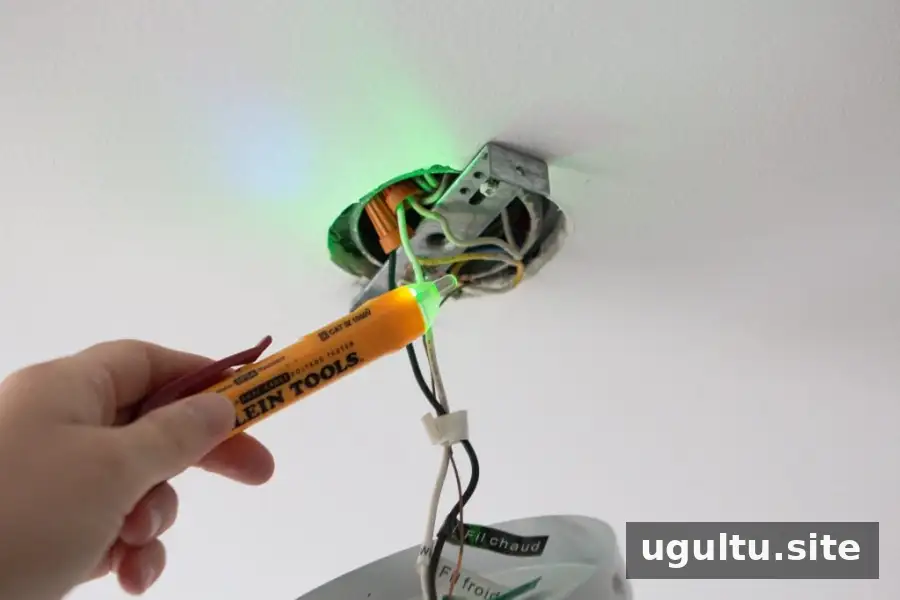
Use the voltage tester again to confirm the wires are not live before disconnecting them.
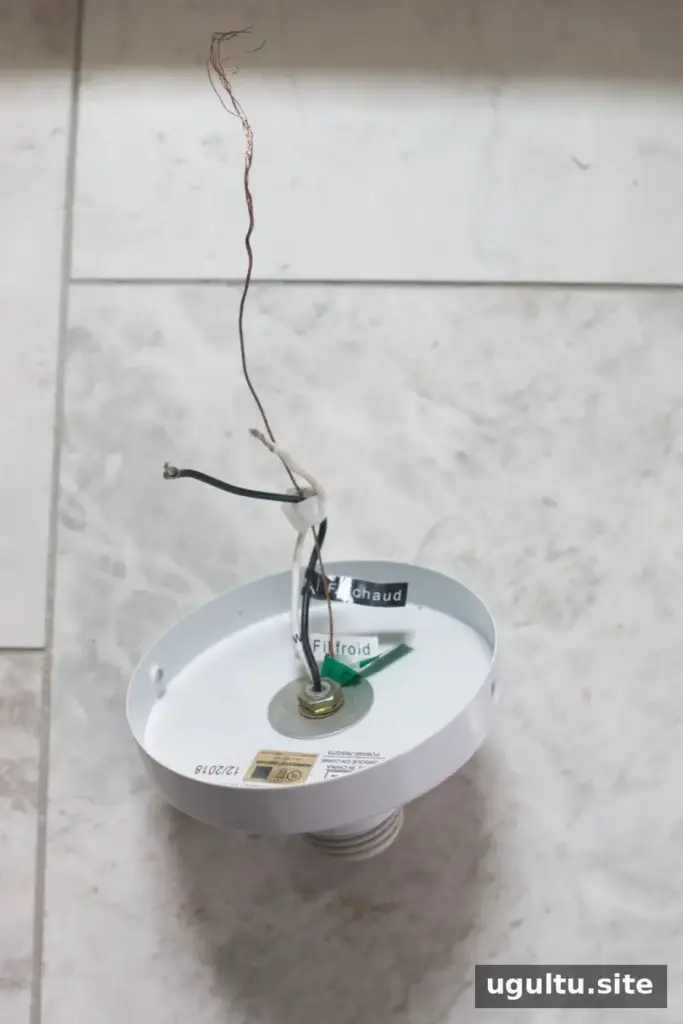
Remove the wire connectors and separate the old fixture wires from the ceiling wires. Keep the wires in the electrical box accessible and avoid damaging their insulation.
3. Inspect the New Fixture and Prepare Its Wires
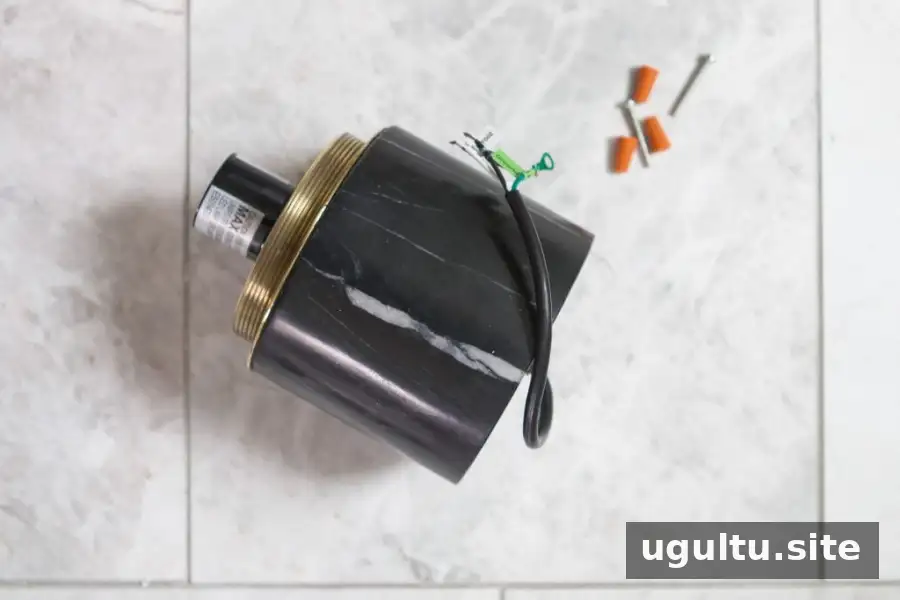
Read the manufacturer’s instructions before installing the fixture. Check how its mounting bracket, canopy, and hardware fit together, and confirm that the fixture is suitable for the existing ceiling box. A heavy fixture may require a properly rated support box; do not assume a standard box can support any fixture.
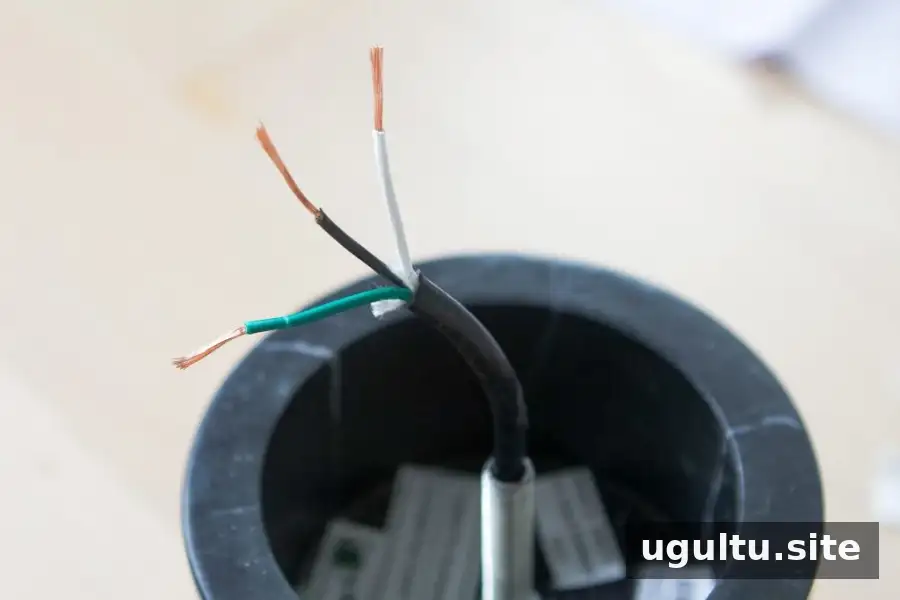
Many fixtures have a black hot wire, a white neutral wire, and a green or bare copper ground wire. However, the wiring can differ by fixture and location. Follow the supplied instructions and consult a licensed electrician if the wires do not match the expected arrangement.
If wire ends need to be stripped, use wire strippers and expose only the amount specified in the fixture instructions. Avoid nicking or cutting the conductor. Do not shorten the fixture cord unless the manufacturer allows it and the installation instructions explain how.
4. Arrange Your Tools and Get Into Position
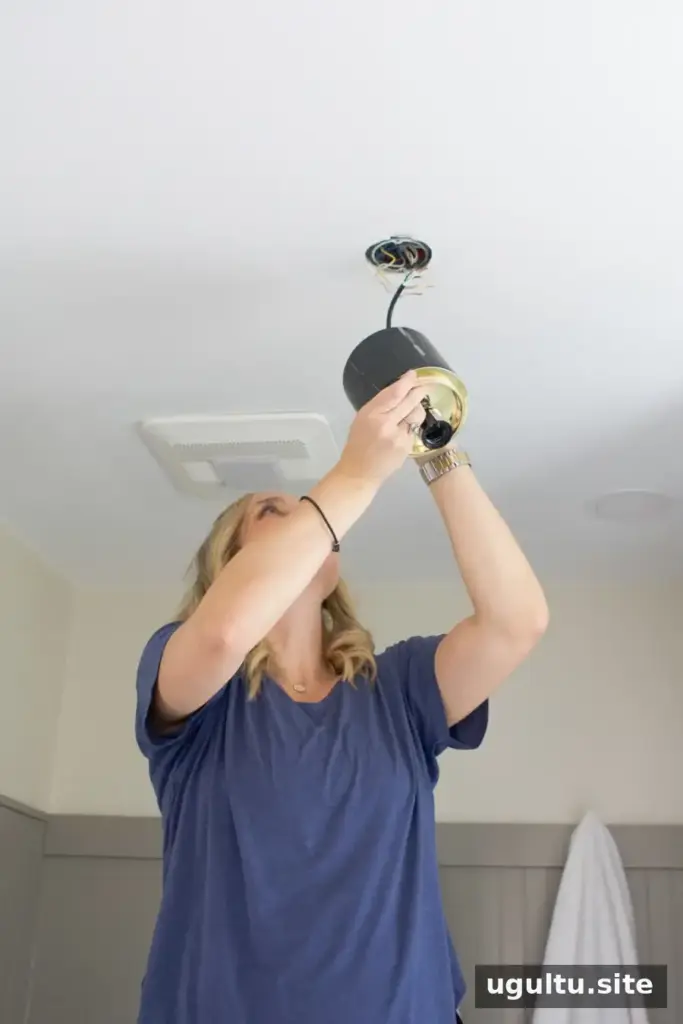
Connecting wires while holding a fixture can be awkward, especially with a heavy light. Ask someone to support the fixture if possible. A helper can keep it steady while you make the connections and attach it to the bracket.
Set the ladder on a stable, level surface and gather your tools, wire connectors, and small hardware before you climb. Keep both hands available when climbing; do not carry loose tools in a way that could affect your balance.
5. Attach the Mounting Bracket
Most fixtures include a mounting bracket or bar that fastens to the ceiling electrical box. Secure it using the hardware provided, following the fixture instructions. The bracket and ceiling box must be suitable for supporting the fixture’s weight.
Before proceeding, check that the bracket is firmly attached and correctly positioned. If the box is loose, damaged, or appears unsuitable for the new fixture, do not continue until it has been assessed.
6. Connect the Fixture Wires
Common fixture wires include black for hot, white for neutral, and green or bare copper for ground, but wire colors are not a guarantee of function. Use the fixture instructions and the verified wiring configuration, and stop if anything is unclear.
For a typical compatible installation, the ground wire connects to the fixture’s designated grounding point, such as a green screw or grounding wire. Hot and neutral conductors are connected as directed by the manufacturer. Use wire connectors rated for the conductors, and check that each connection is secure without exposed bare wire outside the connector.
- Prepare connectors and tools before lifting the fixture.
- Keep connections neat and avoid pinching or stretching wires.
- Gently place the connected wires inside the electrical box without forcing them into a tight space.
7. Secure the Fixture to the Ceiling
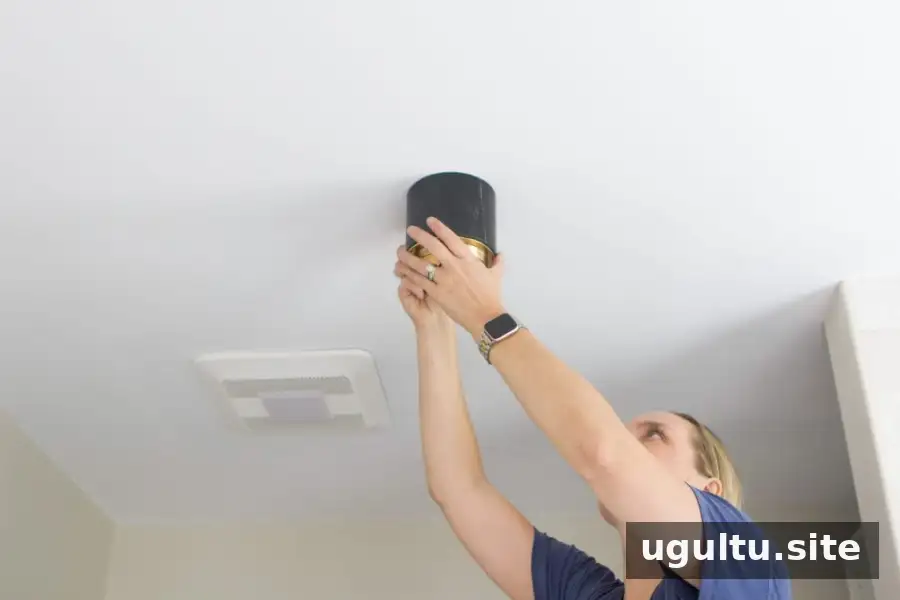
Attach the fixture to its bracket using the method described in the instructions. Depending on the design, it may fasten with screws, twist onto a mounting bar, or use a canopy or decorative plate. Keep the fixture supported while securing it; its weight should not rest on the electrical connections.
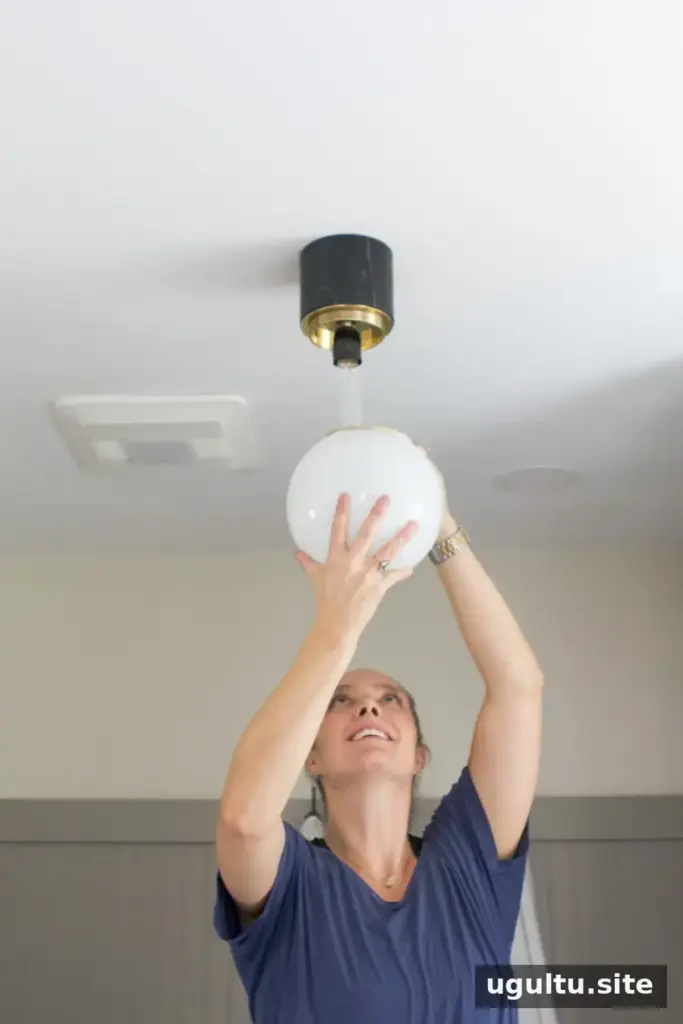
If the fixture does not sit correctly, do not force it into place. Turn the breaker off again before inspecting the connections. Check that connectors are secure, wires are not trapped, and the canopy sits flush against the ceiling. Once the fixture is attached, fit the bulbs and any covers or detachable parts.
8. Restore Power and Test the Light
When the fixture is fully secured and all parts are in place, switch the circuit breaker back on and test the wall switch. If the light does not work, turn the breaker off before inspecting anything. Do not touch or adjust wiring while the circuit is energized.
If the fixture still fails to work, or the breaker trips, stop troubleshooting and contact a licensed electrician. Repeatedly restoring power without identifying the cause is not a safe solution.
9. Touch Up the Ceiling
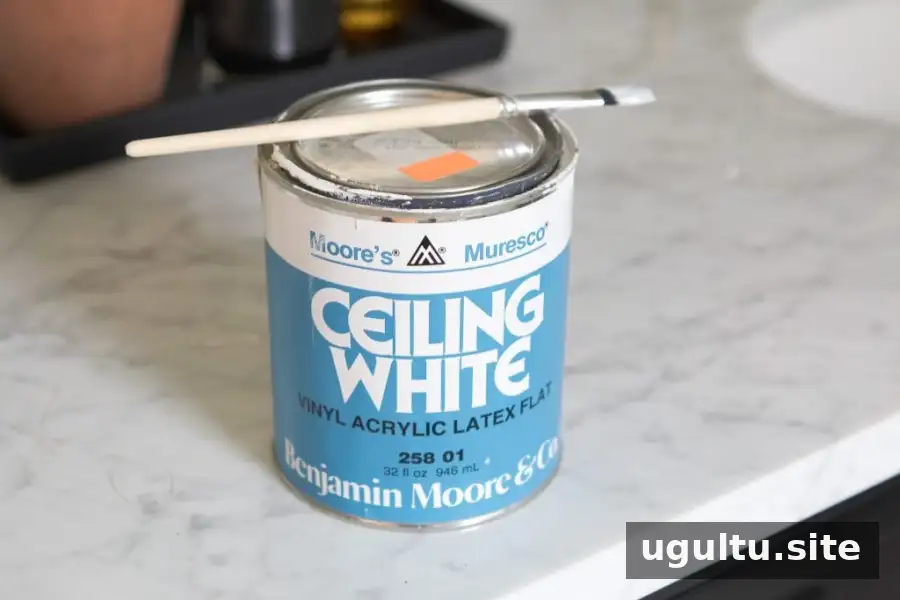
After installation, check the ceiling around the canopy for marks or small gaps. A careful paint touch-up can improve the finish, but wait until the fixture is securely installed and avoid getting paint on electrical parts.
Frequently Asked Questions About Installing a Light Fixture

Can you install a light fixture yourself?
Many homeowners can replace a fixture when an appropriate ceiling box and familiar, undamaged wiring are already in place. Turn off the breaker, verify the wires with a voltage tester, and follow the manufacturer’s instructions. If the wiring is unusual or you are uncertain about any connection, ask a licensed electrician.
Do I need an electrician to replace a ceiling light?
An electrician is a good choice if you are moving the fixture, installing a heavy light that needs additional support, or dealing with damaged, old, or unfamiliar wiring. Local rules may also affect who can perform electrical work, so check the requirements where you live.
Which wires connect to each other?
Many fixtures use black for hot, white for neutral, and green or bare copper for ground. These conventions are not universal, and existing wiring may differ. Confirm each connection using the manufacturer’s instructions and, when needed, guidance from a qualified electrician.
How long does it take to install a light fixture?
A basic replacement often takes about 30–60 minutes. A heavy fixture, an unfamiliar mounting system, or unexpected conditions in the ceiling box can extend the job.
Final Thoughts on How to Install a Light Fixture
Installing a light fixture can be a manageable project when the existing setup is suitable and each step is completed carefully. The essential points are to switch off and verify the power, support the fixture, follow its instructions, and stop if the wiring or ceiling box raises questions.
If you are unsure at any stage, contact a licensed electrician. A cautious approach is more important than finishing the installation quickly.
Casey