admin
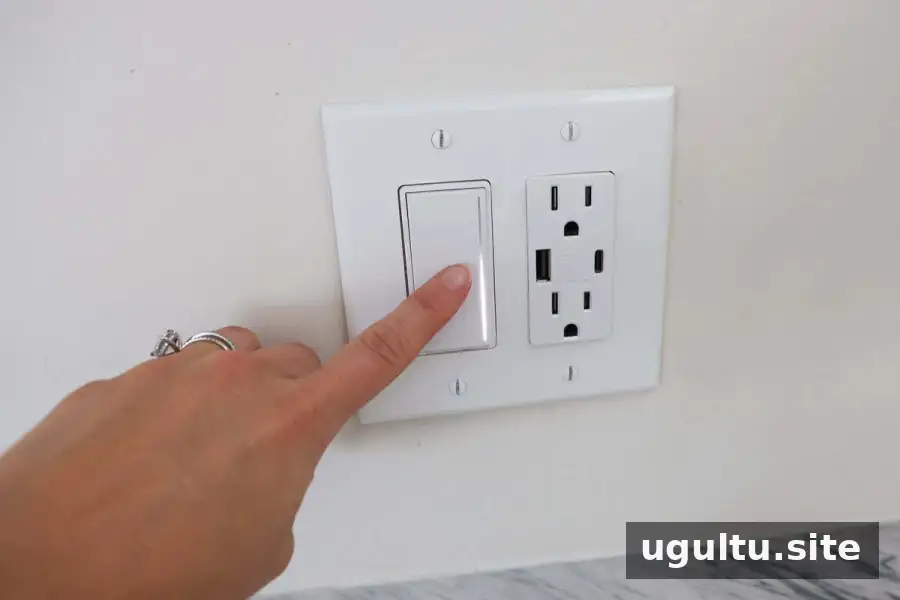
Learning how to install a dimmer switch can help you adjust a room’s lighting without replacing the fixture. A standard single-pole switch can often be replaced with a compatible dimmer, but the bulbs, switch type, and wiring must all match. Electrical work carries a risk of shock, so turn off power at the breaker and contact a licensed electrician if anything about the wiring is unclear.
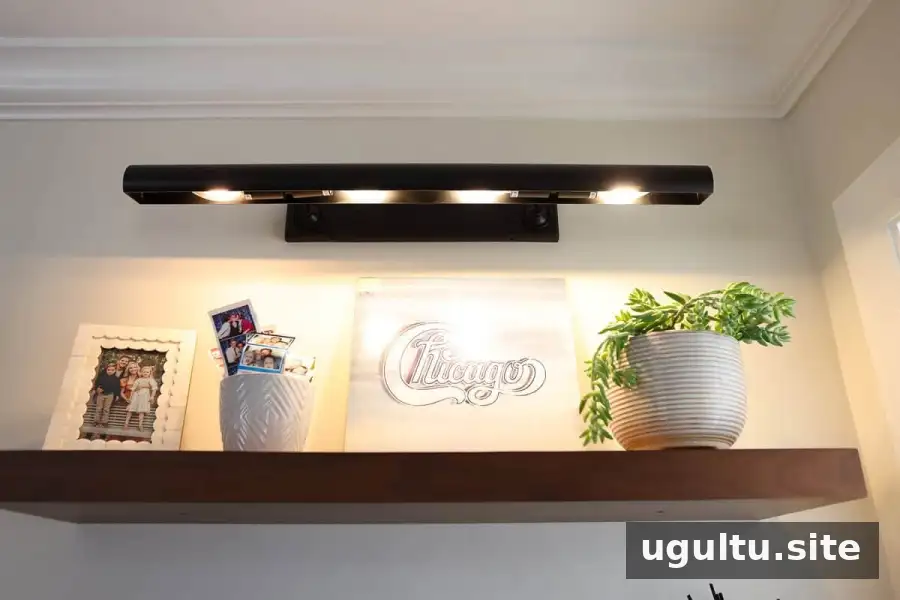
A dimmer can make a bright light more comfortable in the evening and give you greater control over the atmosphere in a room. Before starting, confirm that the light bulbs are dimmable and that the dimmer is rated for your fixture and electrical setup.
Can You Replace a Regular Switch With a Dimmer?
In many cases, an existing switch can be replaced without adding wiring, provided the dimmer is compatible with the circuit and light. First, identify whether the switch is single-pole or 3-way:
- A single-pole switch controls a light from one location.
- A 3-way switch lets the same light be controlled from two locations, such as both ends of a staircase.
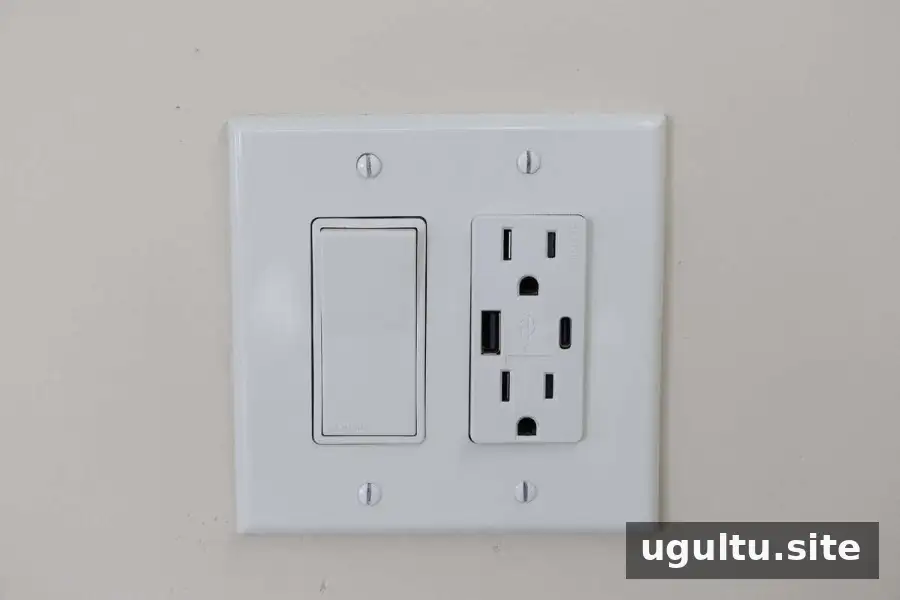
Choose a dimmer made for the type of switch and bulbs you have. Some models require a neutral wire, while others do not. Check the product’s wiring diagram and requirements before buying; do not assume wire color alone identifies a wire’s function.
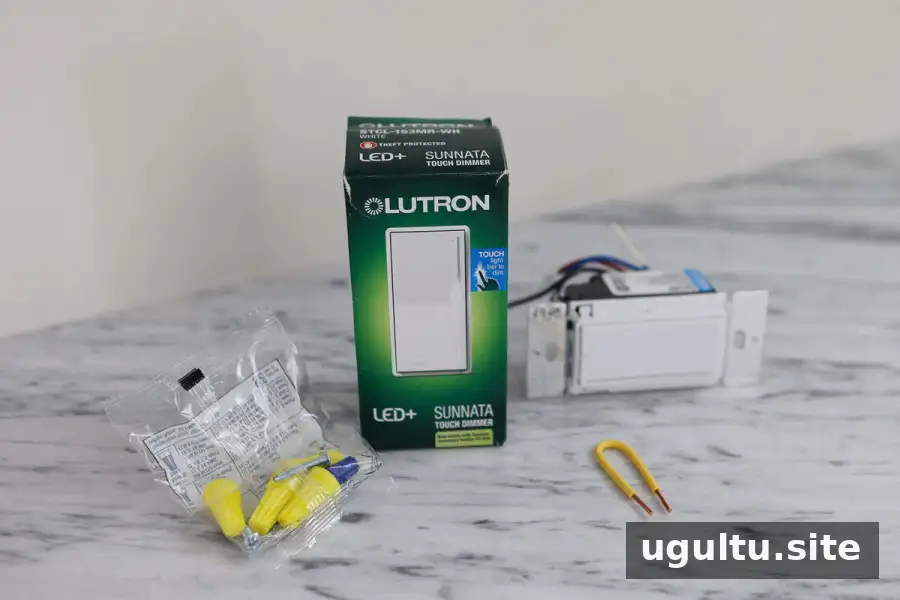
Project Overview and Supplies
Difficulty: 2 of 5
Estimated time: 10 minutes
Supplies: New compatible dimmer switch; wire nuts, if needed
Tools: Flathead screwdriver, Phillips screwdriver, wire strippers if needed, and an optional voltage tester
Set out the dimmer’s instructions and tools before switching off the circuit. If your wiring does not match the diagram or you are unsure whether the circuit is de-energized, stop and consult a licensed electrician.
How to Install a Dimmer Switch
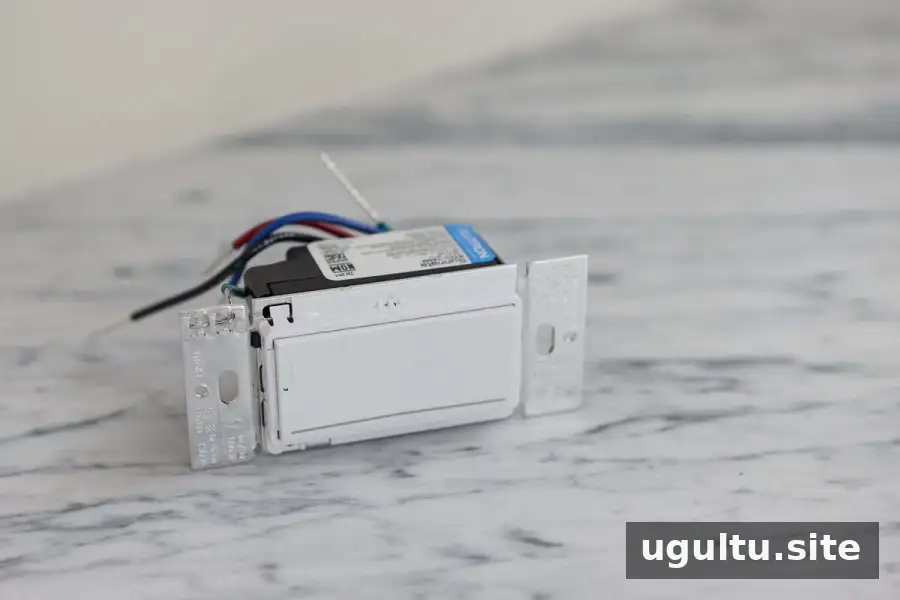
The steps below describe replacing an existing single-pole switch. Dimmer models and household wiring differ, so the manufacturer’s instructions take priority over any general guide.
Step 1: Turn Off the Power
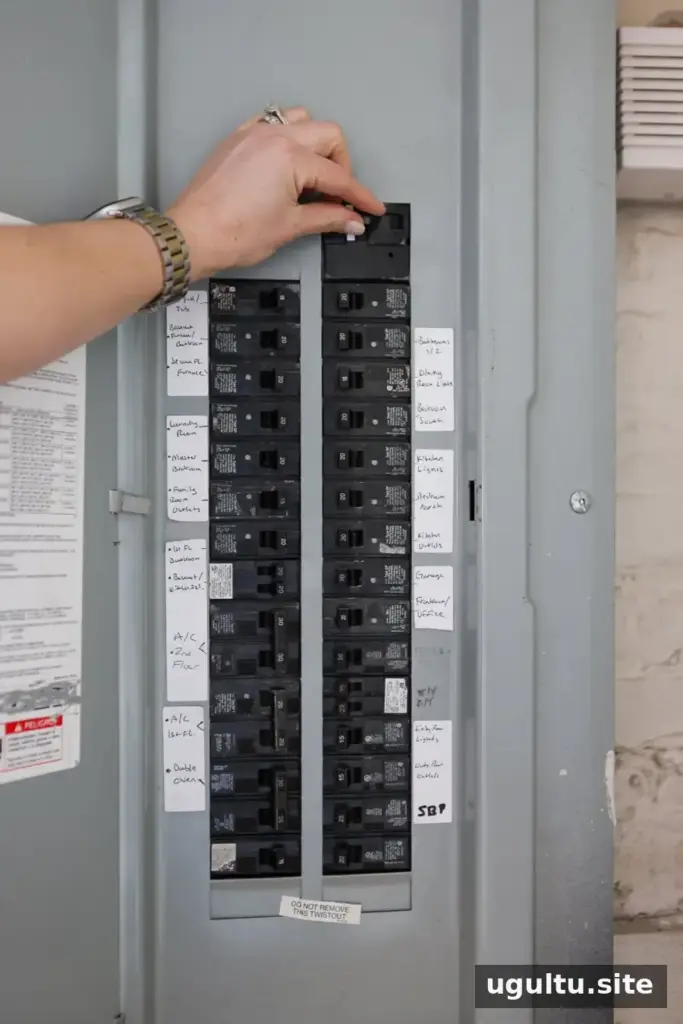
At the breaker box, switch off the circuit that supplies the light. Try the wall switch to confirm the light no longer turns on, then use a voltage tester according to its instructions to check the conductors before touching them. A light that stays off is not, by itself, proof that the wiring is safe to handle.
Step 2: Remove the Existing Switch
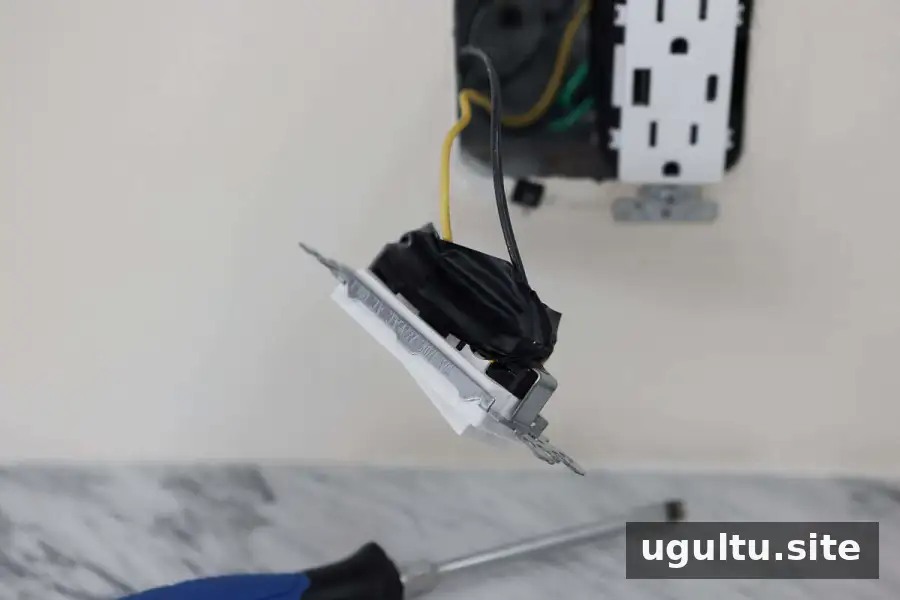
Remove the wall plate, then unscrew the old switch from the electrical box and gently draw it forward. Before disconnecting anything, take a clear photo of the existing connections. This can help you document the original arrangement, but it does not replace the dimmer’s wiring diagram.
Step 3: Disconnect the Old Switch
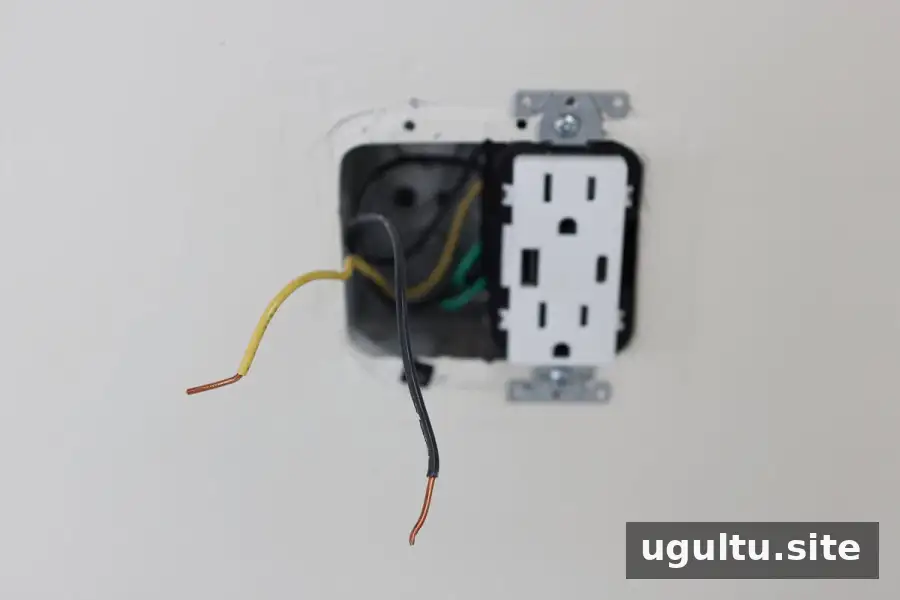
Depending on the switch, wires may be secured under terminal screws or inserted into push-in openings. Disconnect them only after verifying the power is off. Note where each conductor was attached. Wiring varies between homes, and a box may contain black, white, green, or bare copper wires, among others.
Step 4: Connect the Dimmer
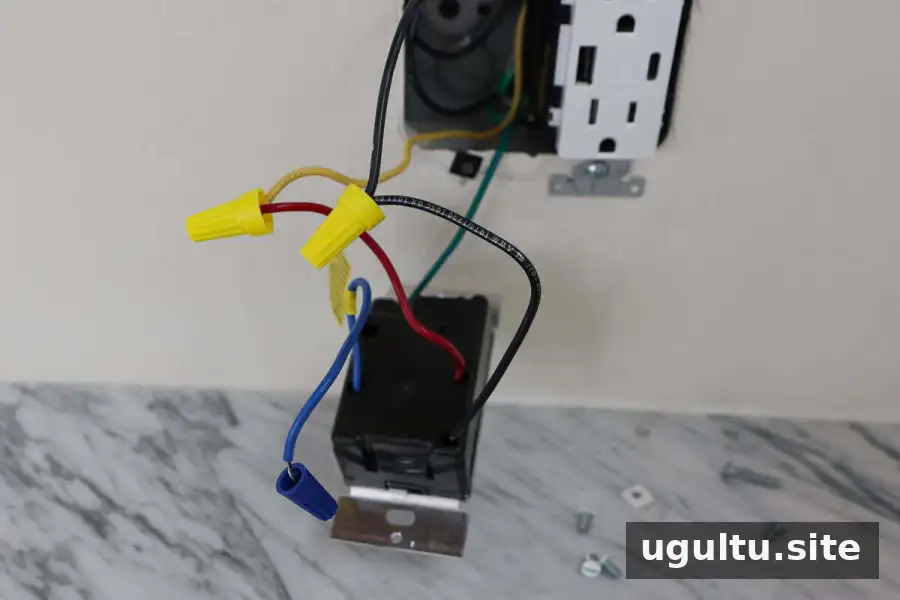
Follow the wiring diagram supplied with your specific dimmer. One example single-pole dimmer has black, red, green, and blue leads. In the example installation, the black lead connected to a black conductor, the red lead to a yellow conductor, and the green ground lead to the grounding conductors. The blue lead, designated for a 3-way setup on that model, was capped because the light was controlled from one location.
These connections are specific to that example and are not a universal wiring guide. Do not copy them unless the manufacturer’s instructions confirm they apply to your setup. Use appropriate connectors, and stop if you cannot identify a conductor or the wiring differs from the diagram.
Step 5: Fit the Dimmer and Wall Plate
Carefully fold the connected wires into the electrical box without forcing or pinching them. Position and secure the dimmer according to its instructions, then attach the wall plate. Keep the power off while completing the installation.
Step 6: Restore Power and Test
Once the dimmer is secured and the wall plate is in place, turn the circuit breaker back on. Test the light and adjust the dimmer through its range. If the light flickers, will not dim properly, or the switch feels or smells unusual, turn the breaker off and seek qualified help.
How to Install a Dimmer Switch: Final Checks
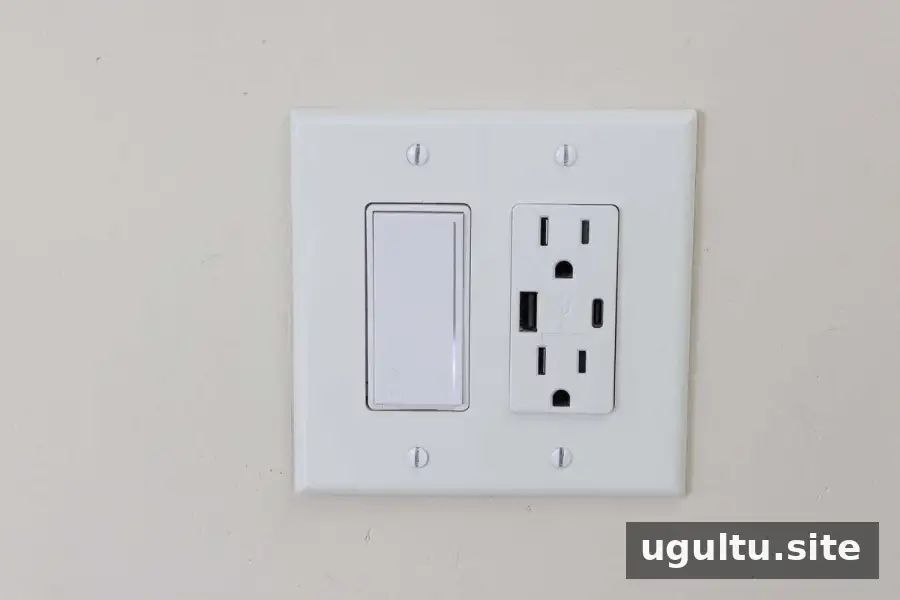
After installation, confirm that the dimmer and bulbs are compatible and that the switch operates smoothly. A dimmer can make a room’s lighting more flexible, but careful identification of the circuit and correct wiring are essential. If you are uncertain at any point, leave the power off and call a licensed electrician.