admin
Knowing how to replace a garbage disposal can help you handle a worn or leaking unit without guesswork. This guide covers the basic swap, from disconnecting the old disposer to checking the new one for leaks. It applies when a suitable electrical supply and existing mounting assembly are already in place; new wiring or a new electrical circuit should be handled by a qualified electrician.
A disposal that leaks from its housing, jams repeatedly, or makes unusual grinding noises may be nearing the end of its useful life. Many units last about 10–12 years, although lifespan varies with use and maintenance. A unit that is 13 years old and leaking from its base, for example, may be a good candidate for replacement rather than repair.
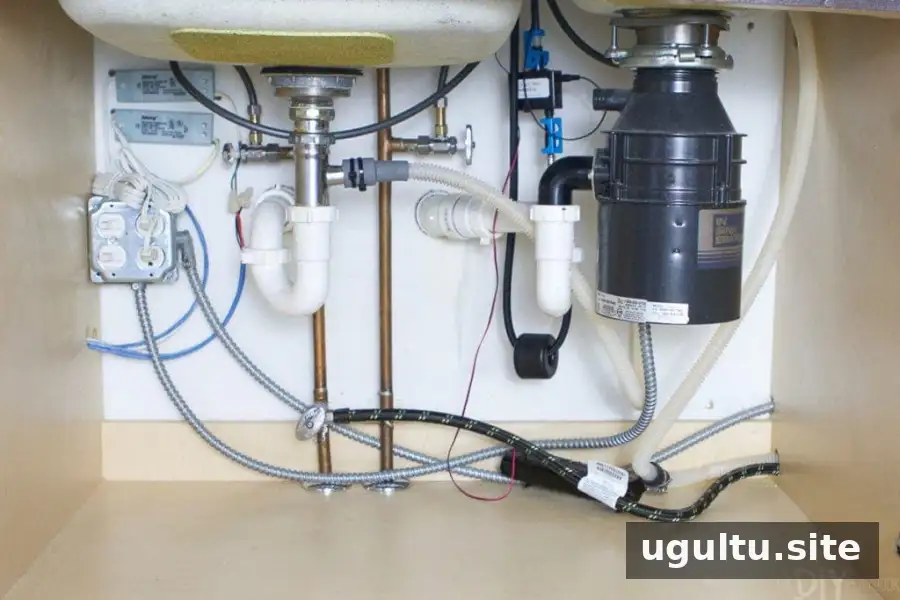
Allow about one hour for the replacement if the connections are compatible and the work area is accessible. Set aside more time if parts are corroded, pipes do not line up, or the electrical setup needs attention.
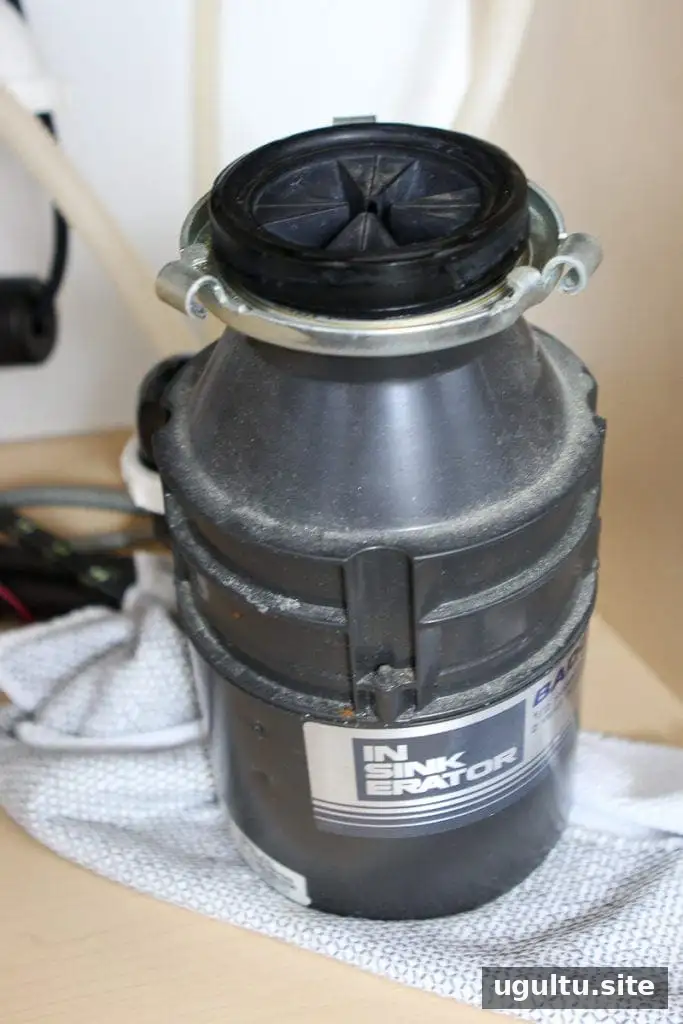
Project Overview: Tools and Supplies
Gather everything before starting so you do not have to leave a supported disposal hanging while looking for a tool.
- Supplies: A compatible new garbage disposal, a bucket, and towels.
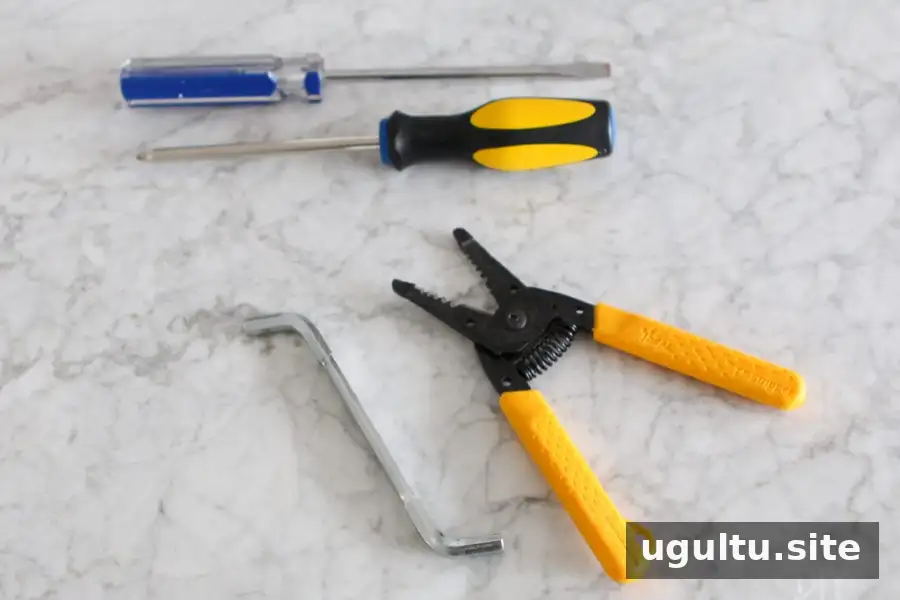
- Tools: Wire cutters, flat-head and Phillips screwdrivers, the wrenchette supplied with the new unit, and adjustable pliers.
Check the new unit’s instructions before beginning. Some models use different mounting parts or require a specific discharge-tube connection.
How to Replace a Garbage Disposal Step by Step
Important: This is a replacement guide, not instructions for adding a disposal where none exists. If there is no existing power supply and wiring under the sink, or if the wiring is damaged or unclear, stop and contact a licensed electrician or plumber as appropriate.
1. Choose a Compatible Disposal
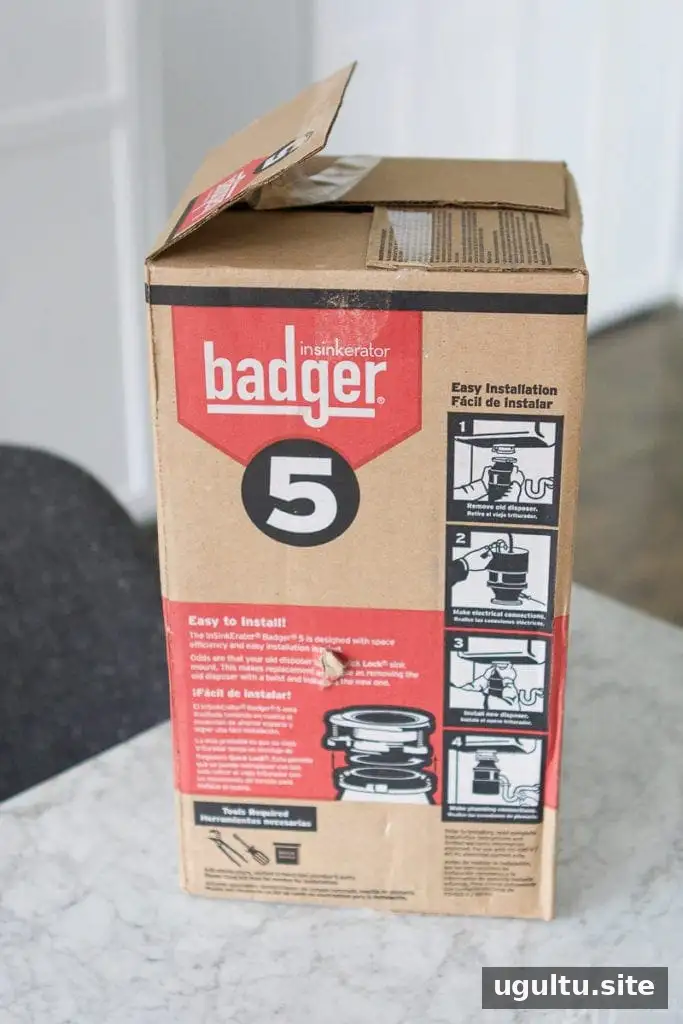
Before buying a replacement, photograph the existing unit and note its horsepower and mounting arrangement. Match the old unit’s 1/2 HP rating unless the manufacturer’s guidance and household needs support a different choice. Confirm that the new disposal fits the sink opening and existing plumbing connections.
2. Turn Off and Verify the Power
Switch off the disposal circuit at the breaker. Do not rely only on the wall switch. Check that the unit cannot start; for hardwired connections, use an appropriate voltage tester to verify that power is off before opening the electrical compartment. If you cannot safely confirm this, stop and get professional help.
3. Disconnect the Drain Trap
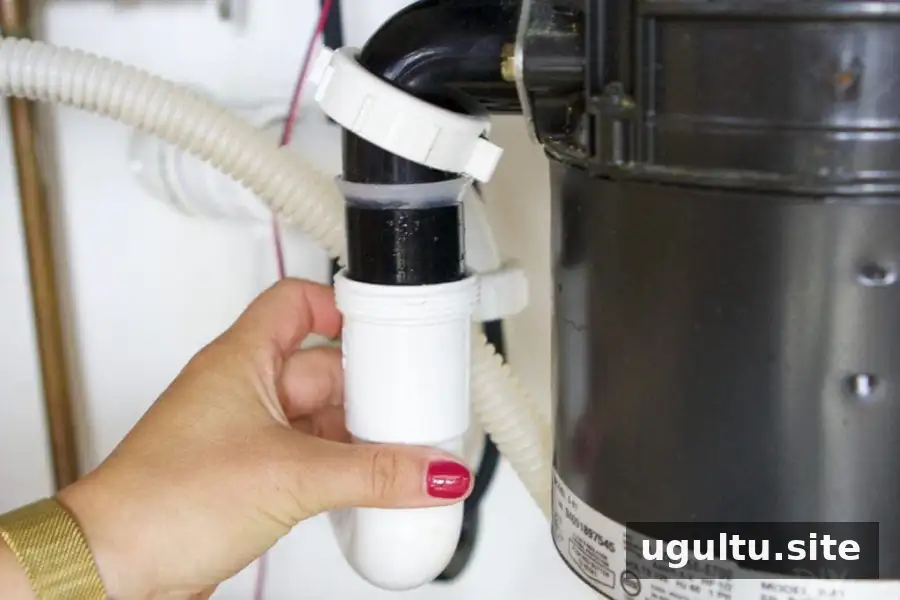
Clear the cabinet and place a bucket and towels beneath the plumbing. Loosen the drain-trap connections and detach the pipe from the disposal. A small amount of water or food residue may spill out. Set reusable pipes aside and inspect them for cracks or worn fittings.
4. Remove the Old Disposal
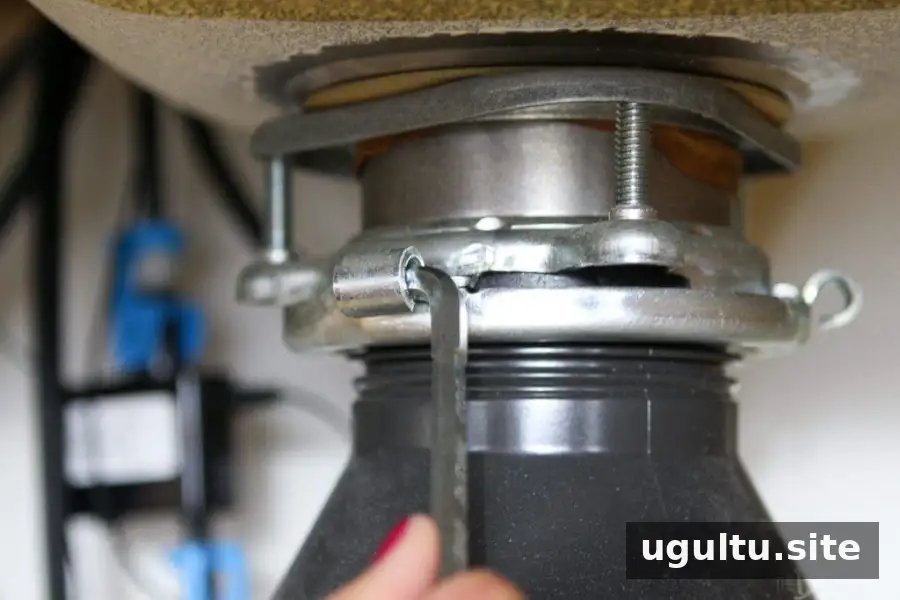
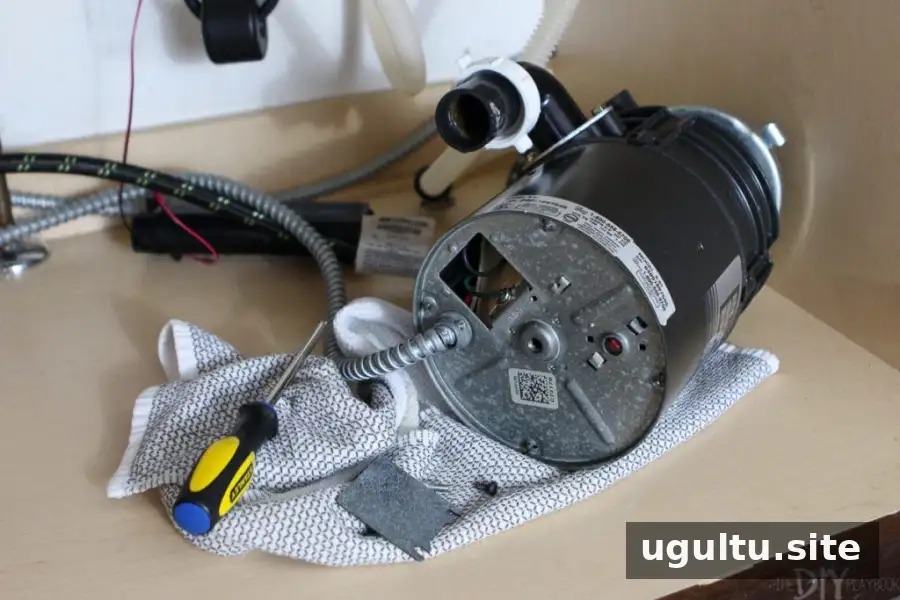
Support the disposal from below before releasing it; the unit can be heavy. Insert the wrenchette into a lug on the lower mounting ring and turn it to the left to release the assembly, following the unit’s instructions. Keep the old mounting screws and electrical clamp connector if the new unit requires them.
5. Disconnect the Electrical Wires
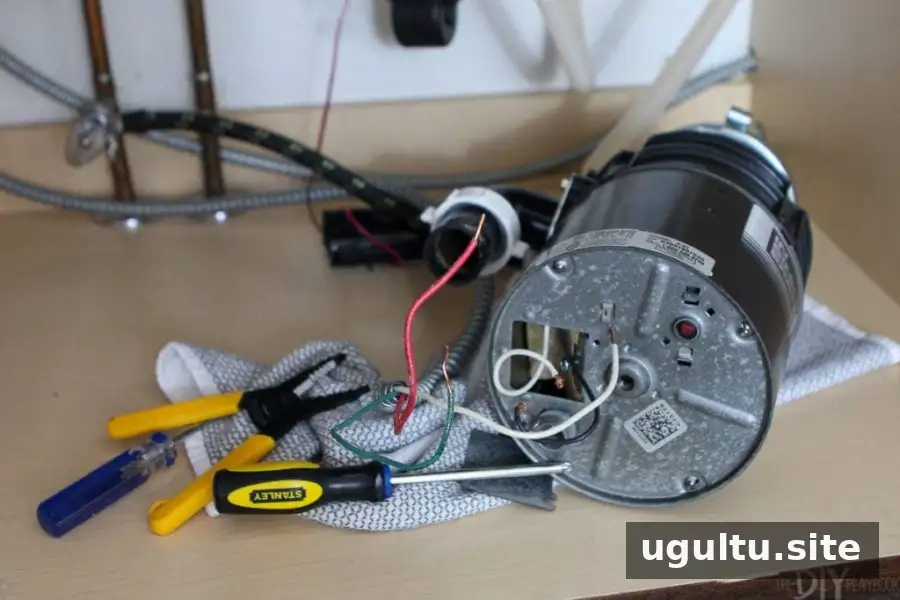
With the circuit confirmed off, remove the electrical cover plate and disconnect the wires according to the existing connection and the manufacturer’s instructions. Do not assume wire colors alone identify each conductor. Keep connectors and reusable hardware only if they are in good condition and approved for the new unit.
6. Connect the New Disposal’s Wiring
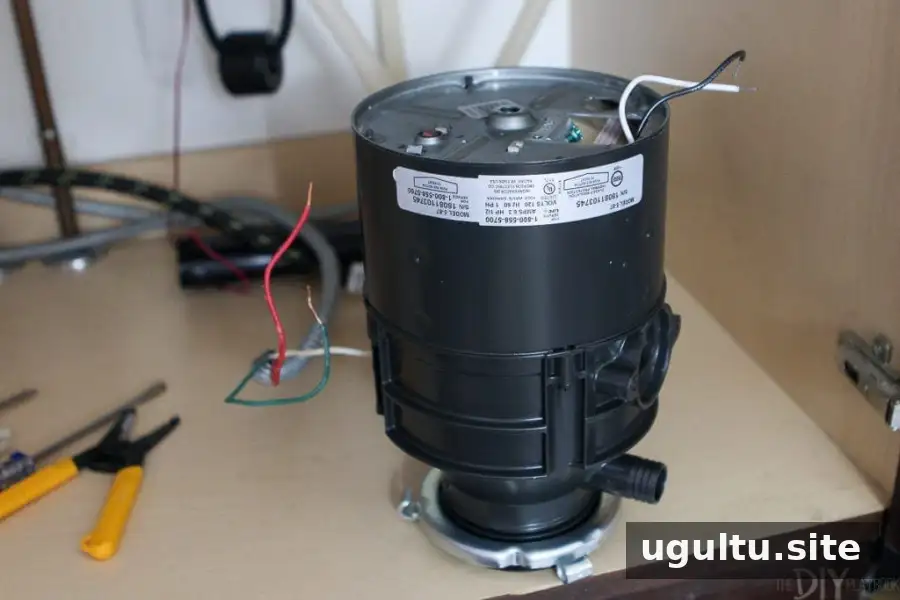
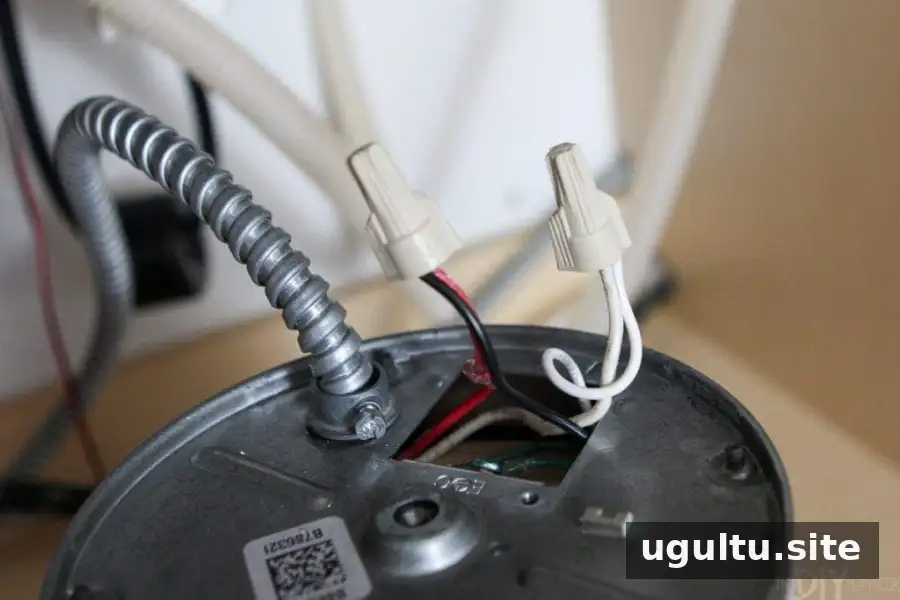
Remove the new unit’s electrical cover plate and route the cord or cable through the approved connector. Make the connections exactly as shown in the manufacturer’s wiring diagram, including the ground connection. Secure the connector, cap the conductors with suitable wire connectors, tuck them carefully into the compartment, and replace the cover. If the wiring does not match the diagram or you are uncertain, have an electrician complete this step.
7. Attach the Discharge Tube
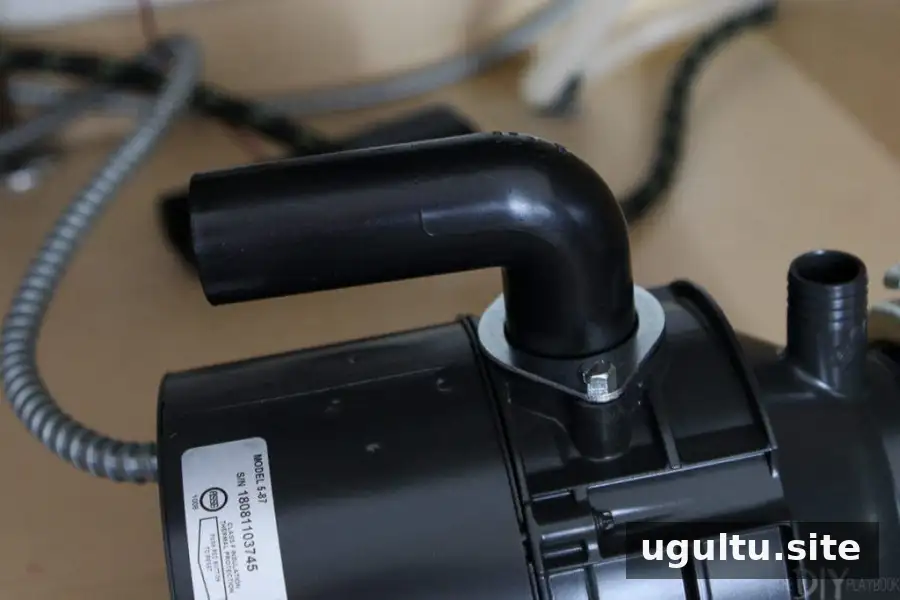
Fit the discharge tube to the side of the disposal using the supplied parts and instructions. Make sure the gasket is correctly positioned and the connection is secure, but avoid overtightening fittings that could be damaged.
8. Secure the Disposal to the Mounting Ring
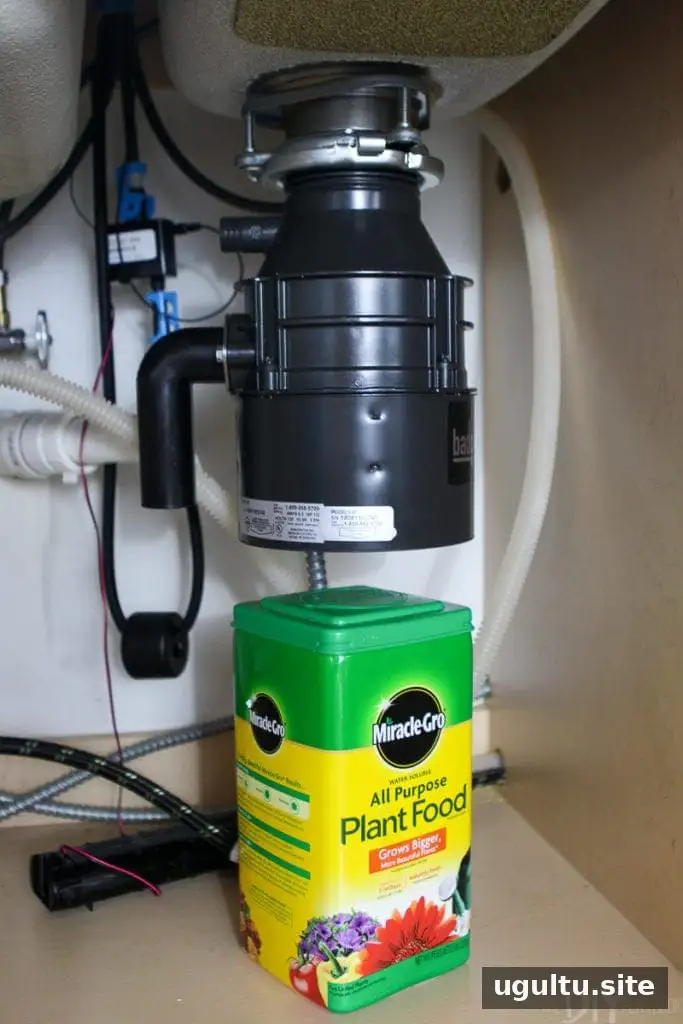
Support the unit while lifting it into position and align it with the mounting ring. Getting help from another person or using a stable support can make this step safer and easier. Lock the unit into place with the wrenchette, then check that it is firmly secured before letting go.
9. Reconnect the Discharge Tube and Drain
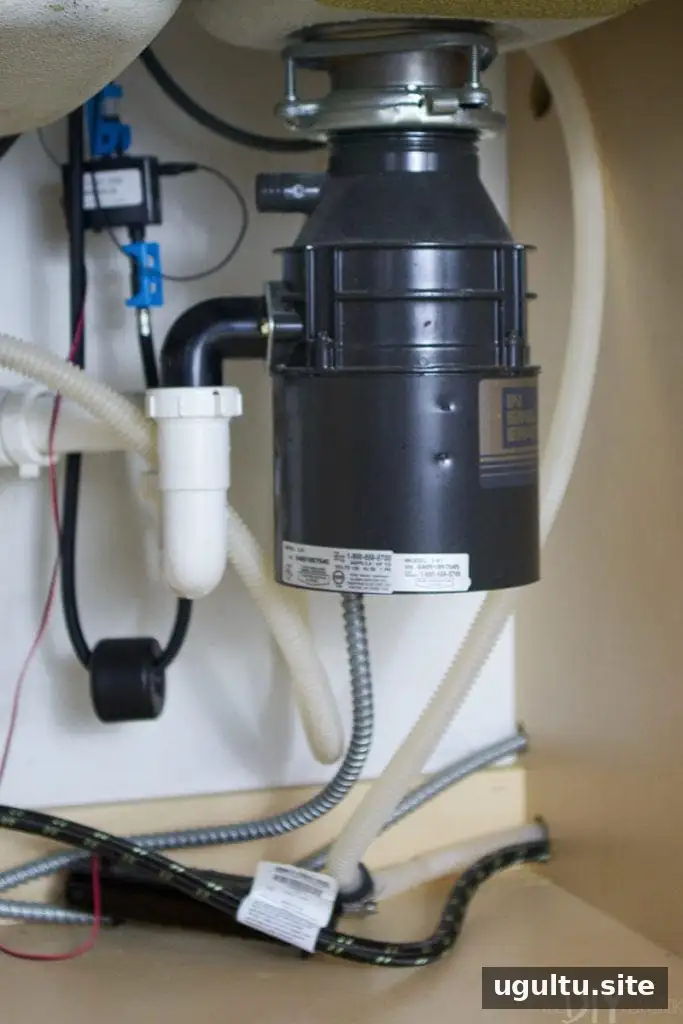
Reconnect the discharge tube to the drain line, reusing the existing pipe only if it is in good condition and fits correctly. Tighten the connections and make sure the pipe is not under strain or forced out of alignment.
10. Restore Power and Test for Leaks

With the wiring cover in place and all plumbing connected, restore power at the breaker. Run water into the sink, then switch on the disposal briefly. Check every plumbing connection for drips while the water is running and again after switching the unit off. If it leaks, cut power before inspecting or adjusting any connection.
Troubleshooting and FAQs
What if the disposal leaks from the bottom?
A leak coming from the disposal housing can indicate failed internal seals. In many cases, replacing the unit is more practical than repairing it. First confirm that the water is not actually coming from a pipe or connection above the disposal.
Is plumber’s putty needed on the sink flange?
A flange seal may use plumber’s putty or a rubber gasket, depending on the model and installation instructions. Follow the product directions and inspect the area around the sink opening for leaks after installation.
Does the dishwasher knockout plug need to be removed?
Remove the knockout plug only if the dishwasher drain hose connects to the disposal. Follow the disposal instructions, then retrieve the loose plug from inside the unit before connecting the hose. Leaving it inside can block the drain.
How long does a garbage disposal usually last?
Many disposals last about 10–12 years. Leaks, recurring clogs, or loud grinding can signal wear, but check for simple causes such as an obstruction before deciding the unit needs replacement.
What size disposal should I buy?
Consider the household’s needs and match the existing horsepower when seeking a straightforward replacement. A 1/3 HP unit may suit a single-person household, while families often choose 1/2 HP or 3/4 HP models. Larger households or frequent cooks may benefit from 1 HP or higher. Always check compatibility with the sink and plumbing.
Final Thoughts on How to Replace a Garbage Disposal

Replacing a disposal can be a manageable DIY project when the new unit is compatible, the existing connections are in good condition, and electrical safety is handled carefully. The most important steps are supporting the heavy unit, following the manufacturer’s wiring and mounting instructions, and checking for leaks before regular use. If the setup differs from the existing installation or any connection is uncertain, contact a qualified professional.
Casey