admin
Learning how to caulk can help you seal gaps, reduce drafts, and give trim and tile projects a cleaner finish. The key is choosing a caulk suited to the surface, preparing the joint properly, and applying a steady, controlled bead.
What Is Caulk and When Should You Use It?
Caulk is a flexible sealant used to close joints and gaps between materials such as wood, tile, masonry, concrete, windows, and doors. A properly applied seal helps keep out moisture, dirt, and debris, reducing the risk of water damage and mold or mildew growth in damp areas.
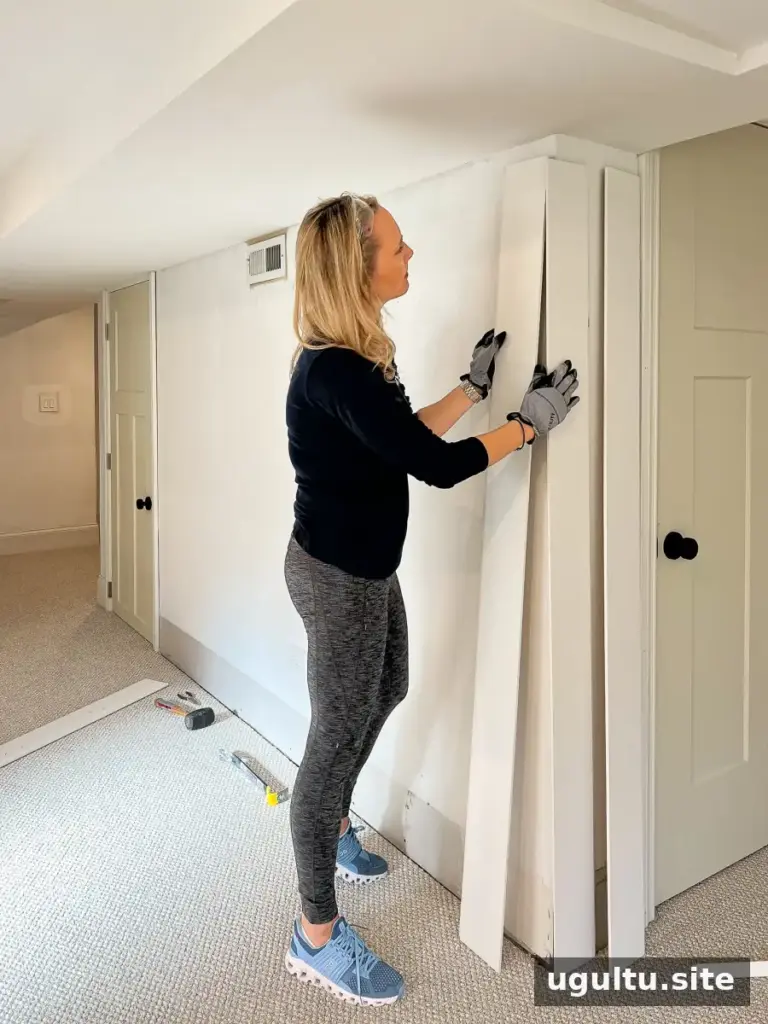
Caulk is commonly sold in tubes and applied with a caulking gun. It is useful around tubs, showers, kitchen counters, windows, and doors, as well as along interior trim. Homes can shift as temperature and humidity change, so small gaps may appear around baseboards, windows, and door frames. For trim projects, caulk can also fill narrow joints where pieces meet before painting.
Practical tip: Caulk is intended for joints that need a flexible seal. It is not a substitute for repairing damaged materials or filling a gap that is too large to support a bead on its own.


How to Caulk: Silicone vs. Acrylic Latex
The two common options for household projects are silicone sealant and acrylic latex caulk. Choose based on the location and whether the finished surface needs to be painted.
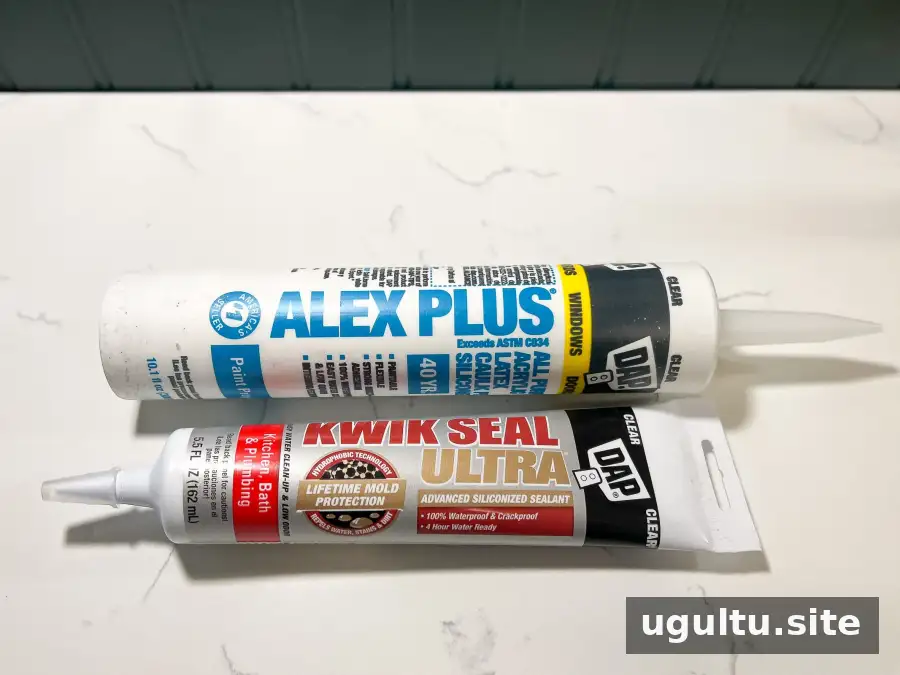
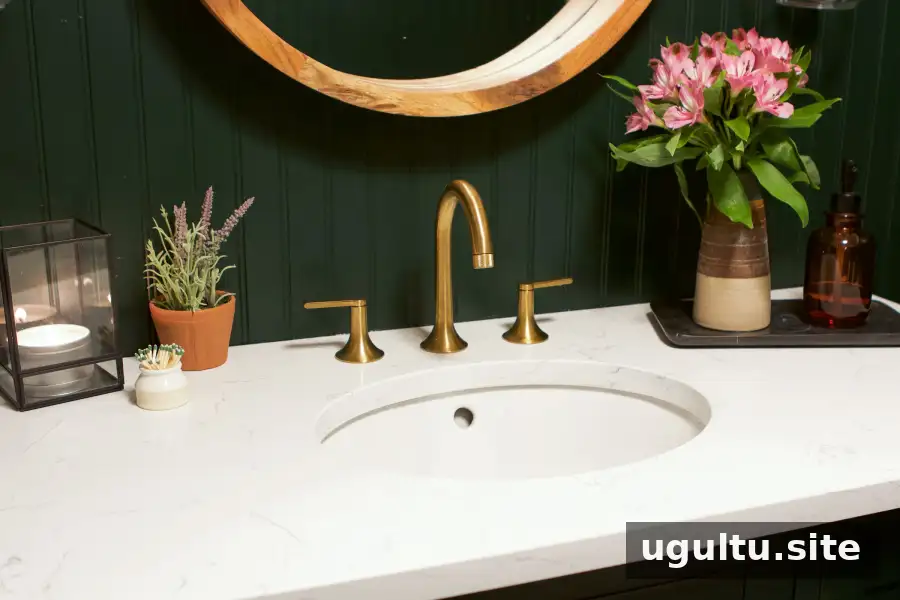
Silicone sealant
Silicone is a suitable choice for areas exposed to water, such as showers, bathtubs, kitchen surfaces, and some exterior joints. It creates a water-resistant seal and is available in clear and colored versions. Silicone is generally not paintable and can be more challenging to smooth neatly than acrylic latex, so careful application matters.
Acrylic latex caulk
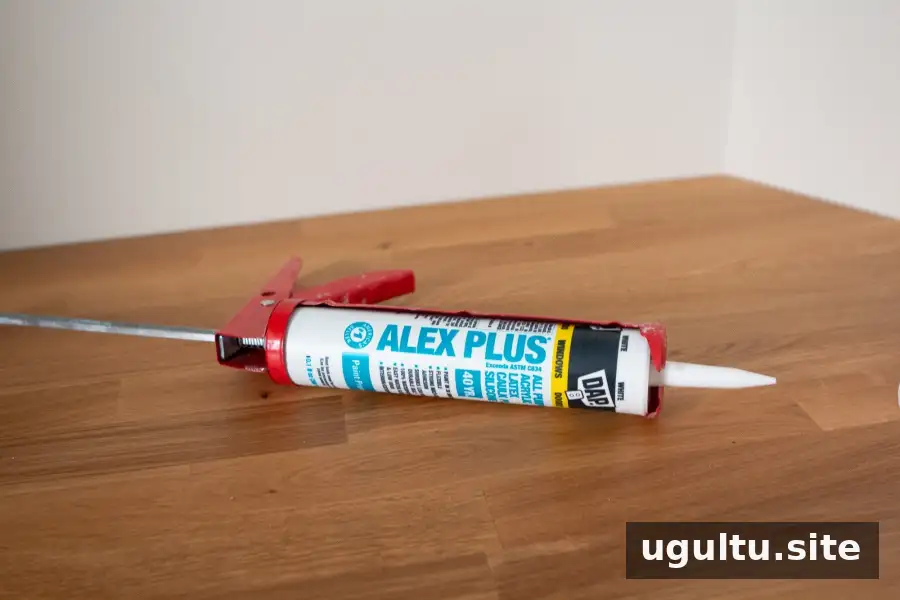
Acrylic latex caulk is often used for interior woodwork, including baseboards, crown molding, and window trim. It is paintable, making it useful when you want the sealed joint to blend into a painted surface. Check the product label to confirm that it is appropriate for the location and material.
Quick guide: Use a product labeled for wet areas around tubs and showers; choose paintable acrylic latex for many interior trim joints.
Caulking Supplies
Gathering tools before you begin makes it easier to work steadily and clean up excess material while it is still workable.
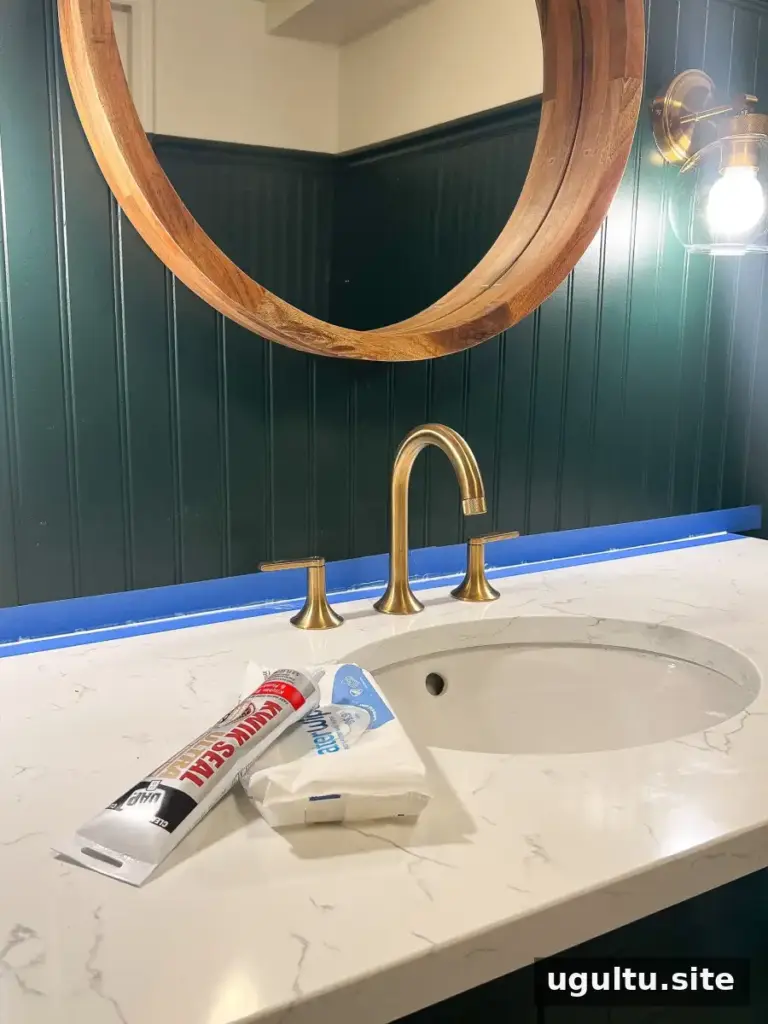
- Caulk appropriate for the project, such as silicone or acrylic latex
- Caulking gun
- Painter’s tape, especially for creating clean edges with silicone
- Backer rod for supporting caulk in larger gaps
- Caulk cap to help keep an opened tube from drying out
- Putty knife, scraper, or suitable caulk-removal tool for old sealant
- Cleaning cloths or wipes for smoothing and removing excess caulk
For large gaps, use backer rod as directed by its product instructions rather than filling the entire space with caulk. The rod provides support and helps the sealant form a more appropriate joint.
Tips for a Neat, Professional-Looking Bead
Work on a clean, dry surface and check the caulk label for temperature, preparation, and curing requirements. Remove loose or failing material before applying a fresh bead.
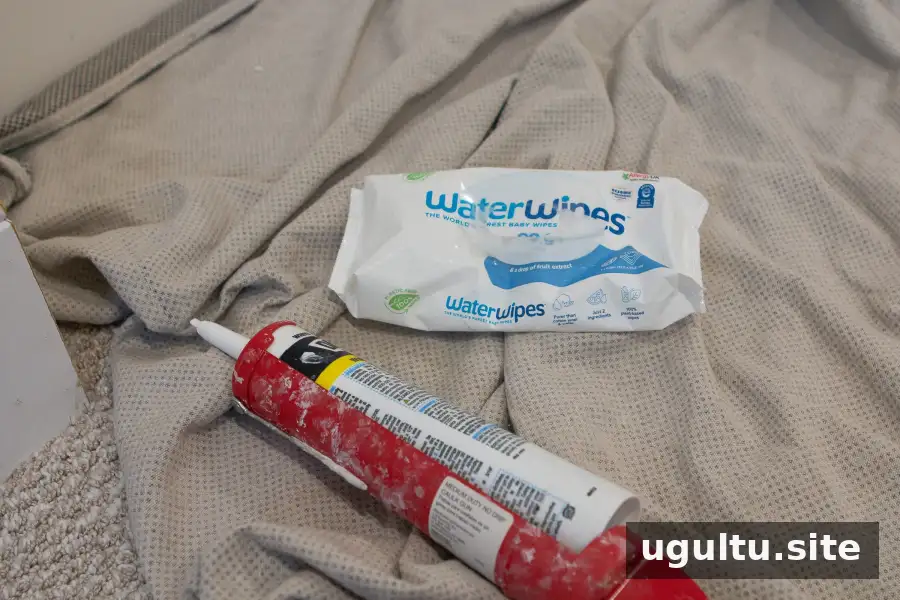
- Open the tube: Some tubes have an inner seal that must be punctured. Use the caulking gun’s puncture rod if available, and follow the tube’s instructions.
- Trim the nozzle carefully: Many nozzles have markings to guide the opening size. Start with a small opening; you can enlarge it if needed. Cutting at about a 45-degree angle helps the tip follow the joint.
- Apply steady pressure: Hold the gun at a consistent angle and move along the joint without stopping unnecessarily. A smaller bead is easier to control than one that is too large.
- Smooth in short sections: Work in sections of roughly three to five feet so the caulk does not begin to set before you finish smoothing it. Use a suitable smoothing tool or a protected finger, and remove excess material promptly.
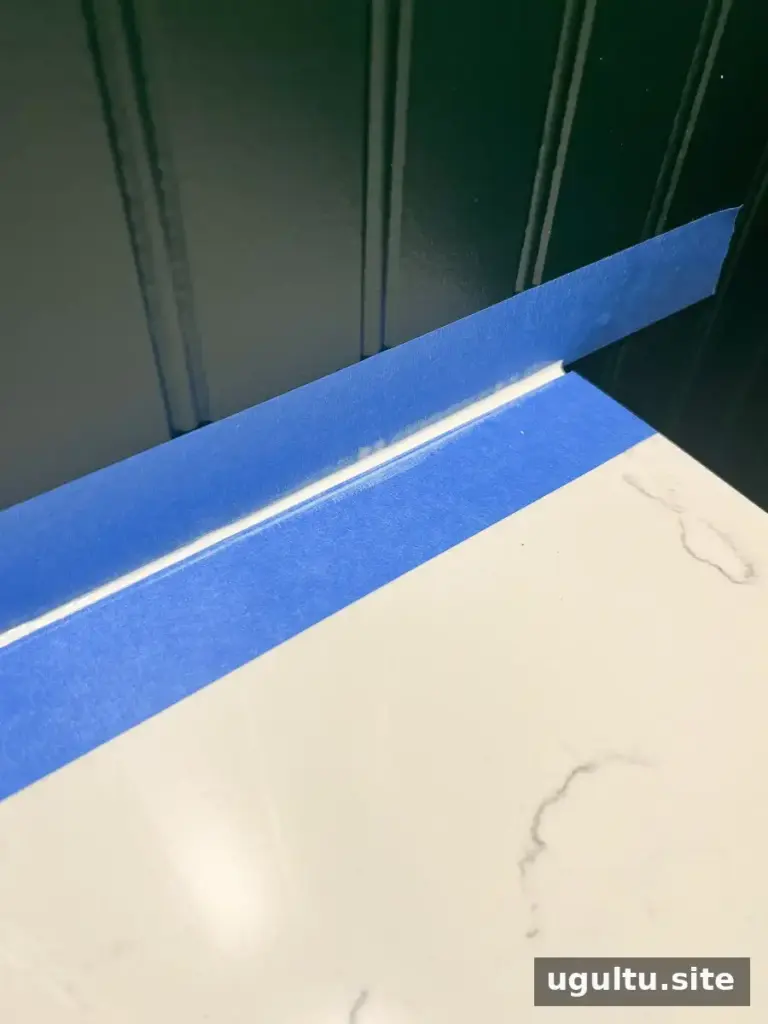
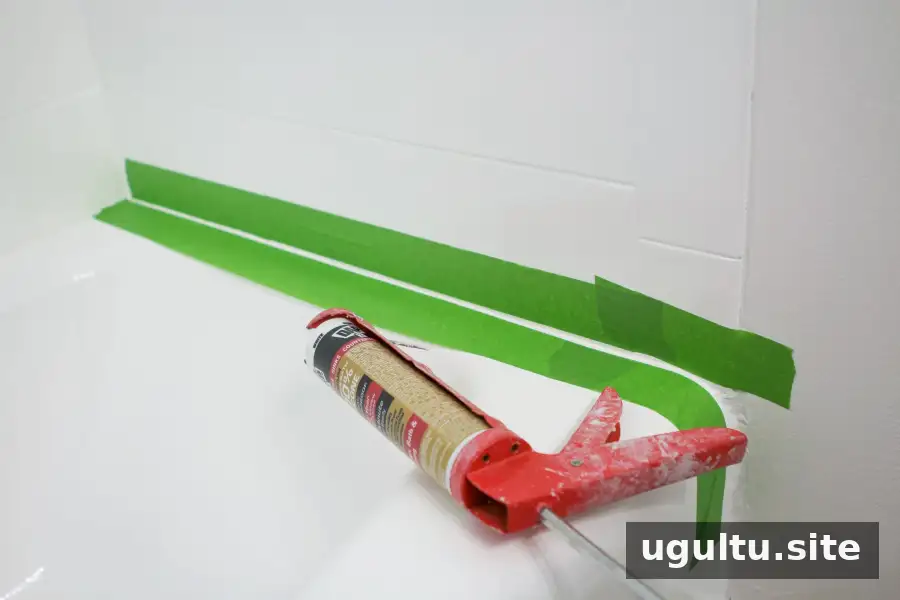
For silicone: Apply painter’s tape above and below the joint if you want crisp edges. Lay the bead, smooth it, and remove the tape immediately, before the sealant starts to set. Test your approach on a small area if you are unsure how the product will behave.
Frequently Asked Questions About Caulk
Can you caulk over grout?
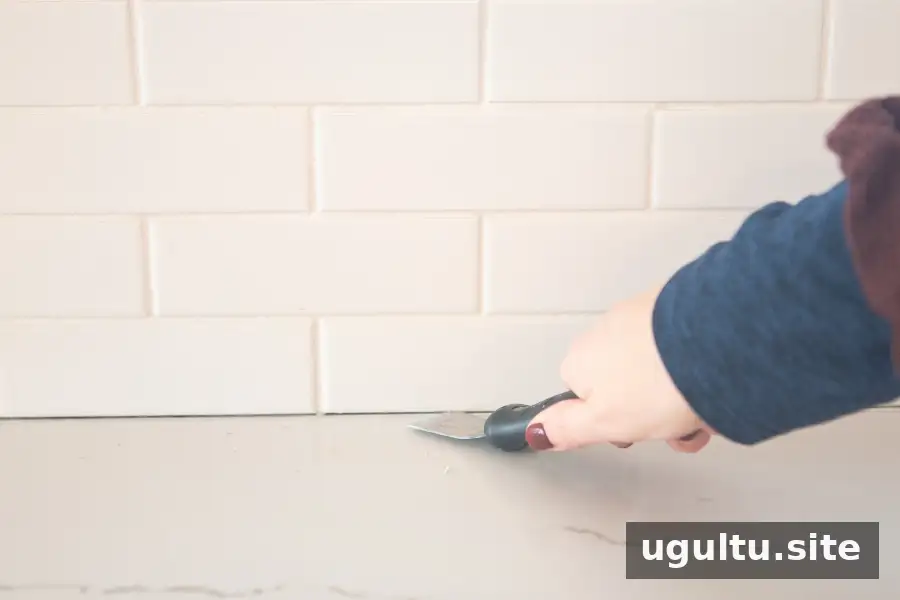
At joints where two surfaces meet and movement is expected, such as a tub-to-tile corner or a countertop backsplash joint, flexible caulk is generally more suitable than grout. Grout can crack in these locations. Do not simply cover failing grout with caulk; remove the old material and prepare the joint before applying a compatible sealant.
What caulk should you use when tiling?
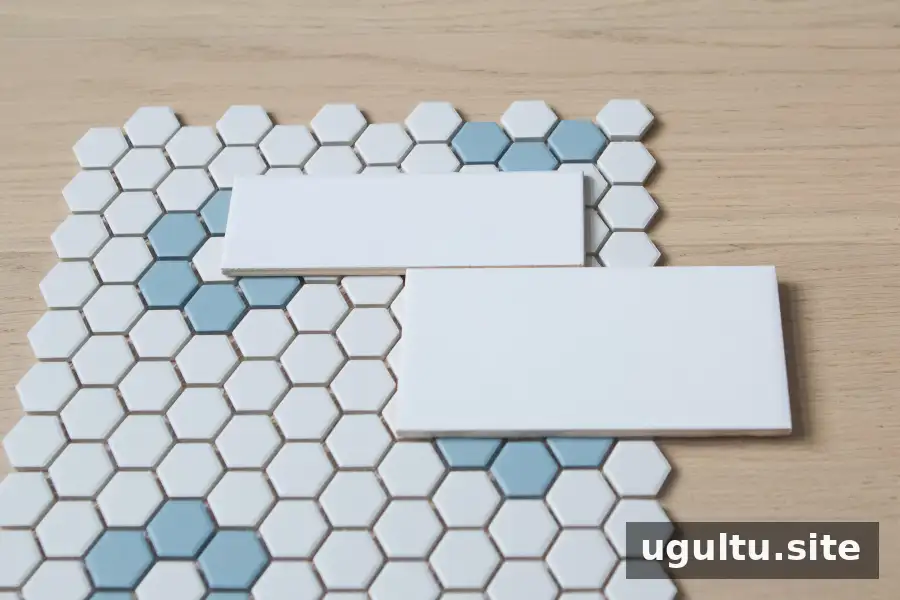
For tile edges and changes of plane, use a caulk or sealant approved for the location and compatible with the tile. In bathrooms and kitchens, silicone is commonly used. Color-matched options may be available, including versions designed to coordinate with grout. Follow the product instructions for the joint and surface.
How long does an opened tube last?
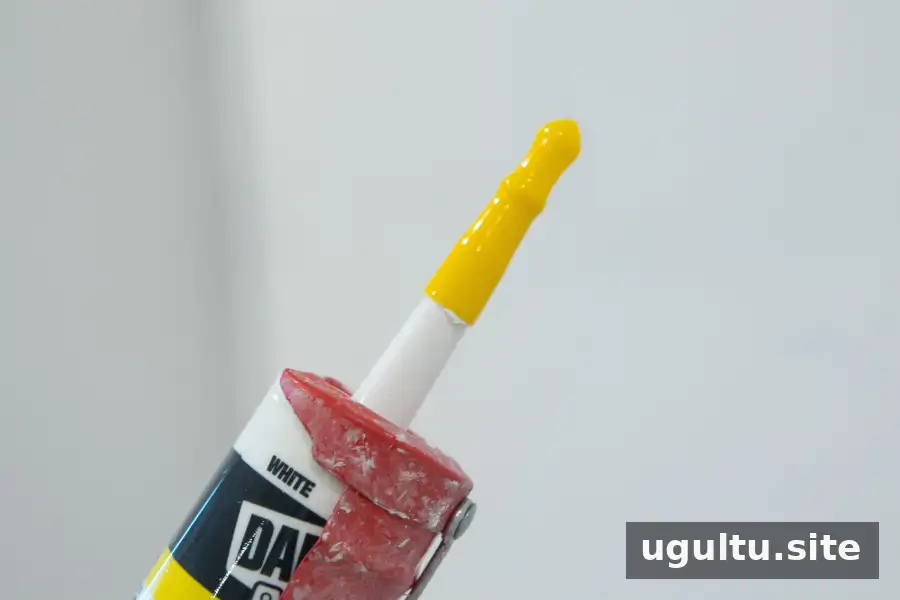
A cap can help keep an opened tube from drying out, but storage life varies by product and how well the nozzle is sealed. Store it as directed on the label and check the material before reuse. Discard caulk that has hardened or no longer applies smoothly.
Should you caulk where the baseboard meets the floor?
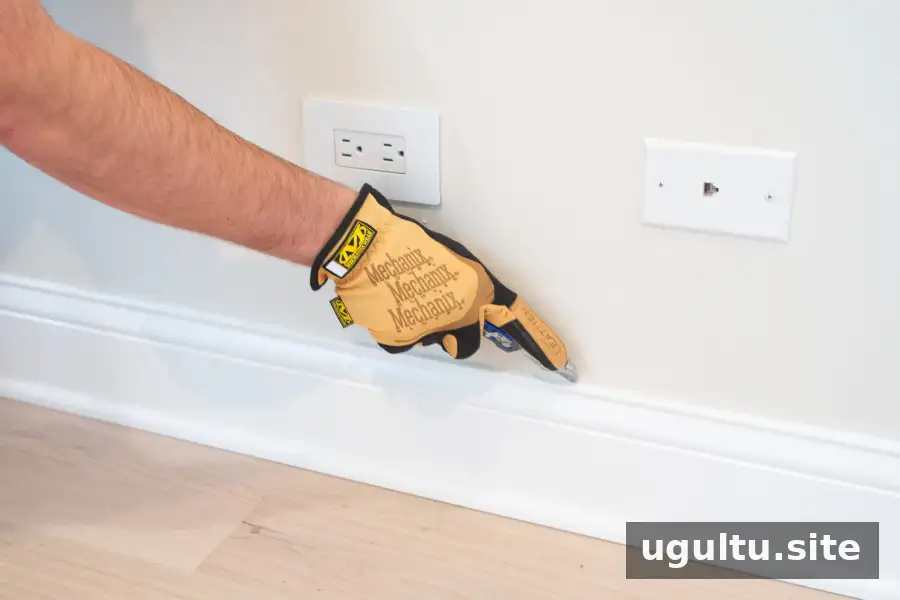
It is not always necessary. If a visible gap needs sealing, use a product suitable for the materials and location. Many trim projects focus on the joint between the top of the baseboard and the wall, especially when that joint will be painted.
When can you paint after caulking?

Check the tube for paintability and the recommended waiting time. Some paintable products may be ready after about an hour, but drying and curing times vary with the product and conditions. Do not paint silicone unless its label specifically says it is paintable.
Can you apply new caulk over old caulk?
For the best bond, remove old, loose, or damaged caulk and clean the joint first. Fresh acrylic latex may adhere over sound material in some situations, but adding a layer over silicone is generally not recommended; remove the old silicone before resealing.
What should you do about a large gap?
Backer rod can support caulk in a larger joint. Choose a size and installation method appropriate for the gap, then apply sealant over it according to the product directions.
Can caulk help with drafty windows and doors?
Caulk can seal suitable stationary joints around windows and doors and may help reduce drafts. Do not seal moving parts or drainage openings, and use a product intended for the surface and indoor or outdoor conditions.
Final Tips for How to Caulk
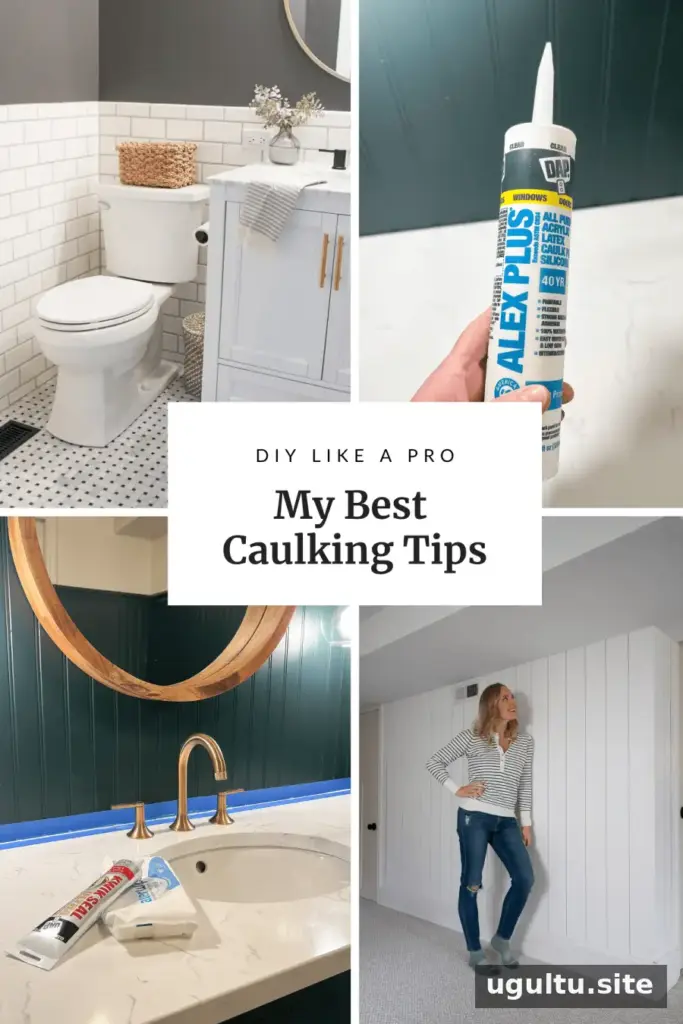
Successful caulking starts with the right sealant and a clean, prepared joint. Use silicone where a water-resistant flexible seal is needed, and paintable acrylic latex for many interior trim projects. Apply a controlled bead, smooth it before it sets, and follow the product label for curing and painting times. With these steps, how to caulk becomes a manageable DIY task for sealing gaps and finishing home improvement projects.