
 admin
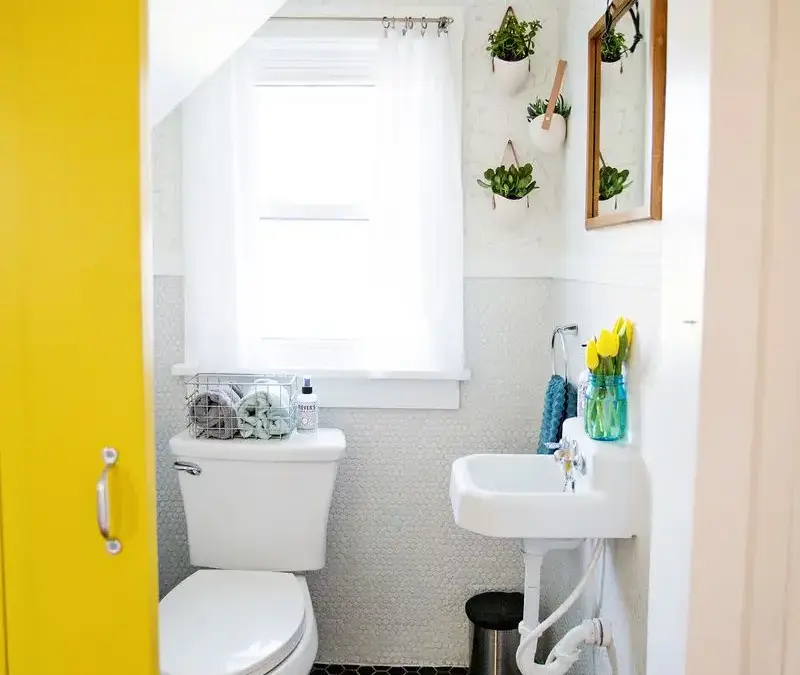
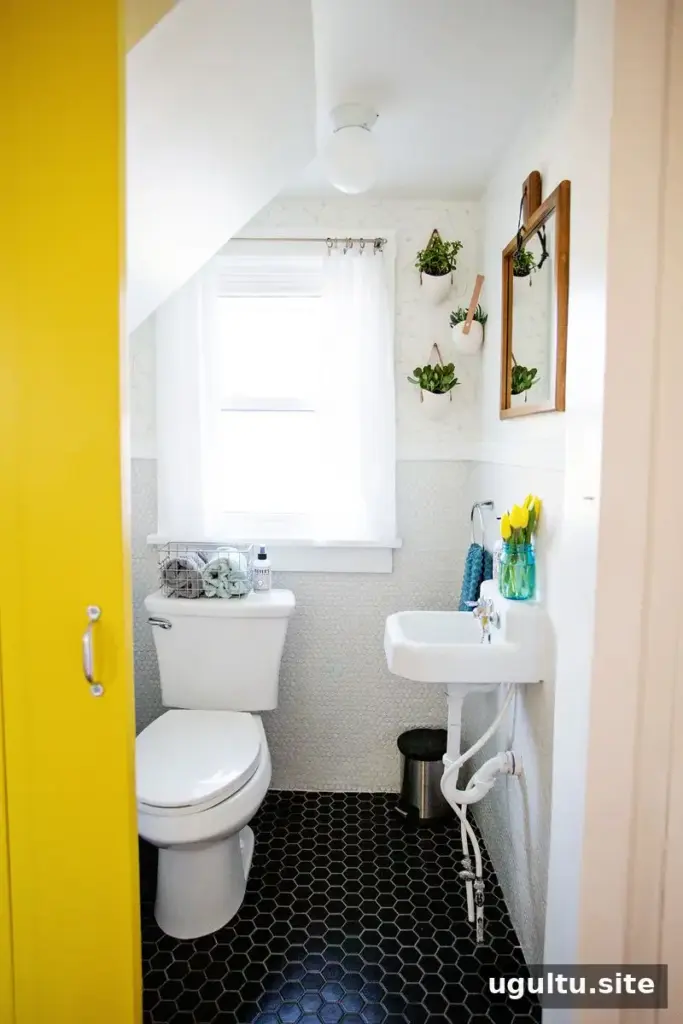
A tiny bathroom can be challenging to plan, especially when it sits beneath a staircase. This completed renovation shows how a thoughtful layout, durable finishes, and a few carefully chosen details can make a very small room feel brighter and more practical. The bathroom is comparable in size to an airplane bathroom, so making the most of every available inch was essential.
Tiny bathroom makeover: what needed attention
Before the renovation, the room had plastic-look tile, a seashell border, a water-damaged ceiling, and an unsecured linoleum floor. A pipe was partly hidden behind artificial ivy. Although the original plan was to paint it, the contractor, Mike, determined that relocating it inside the wall was just as straightforward.
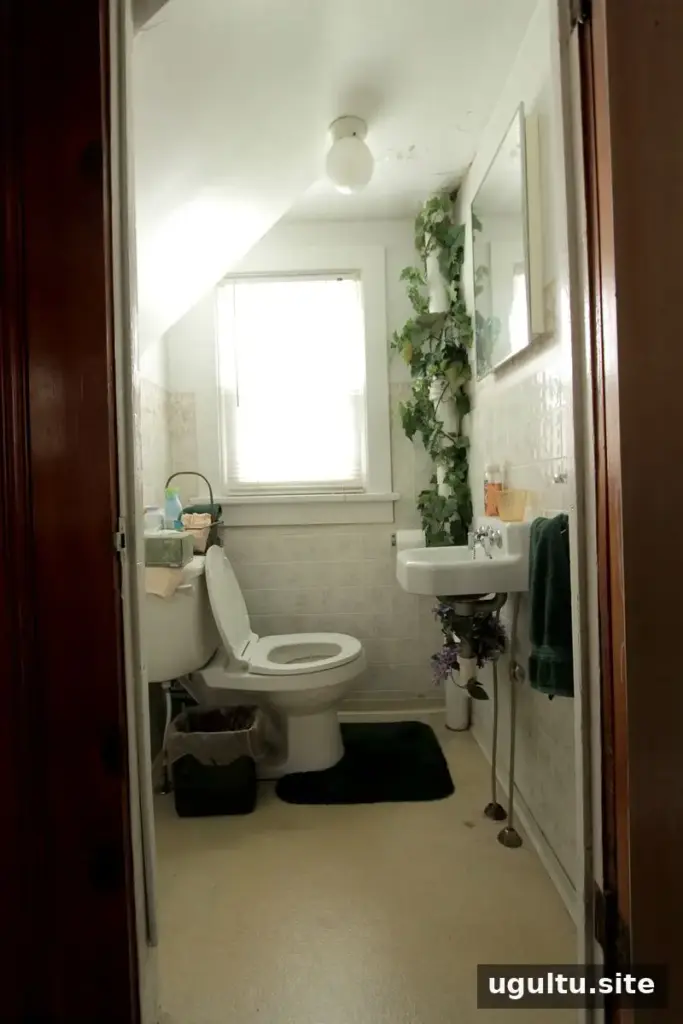
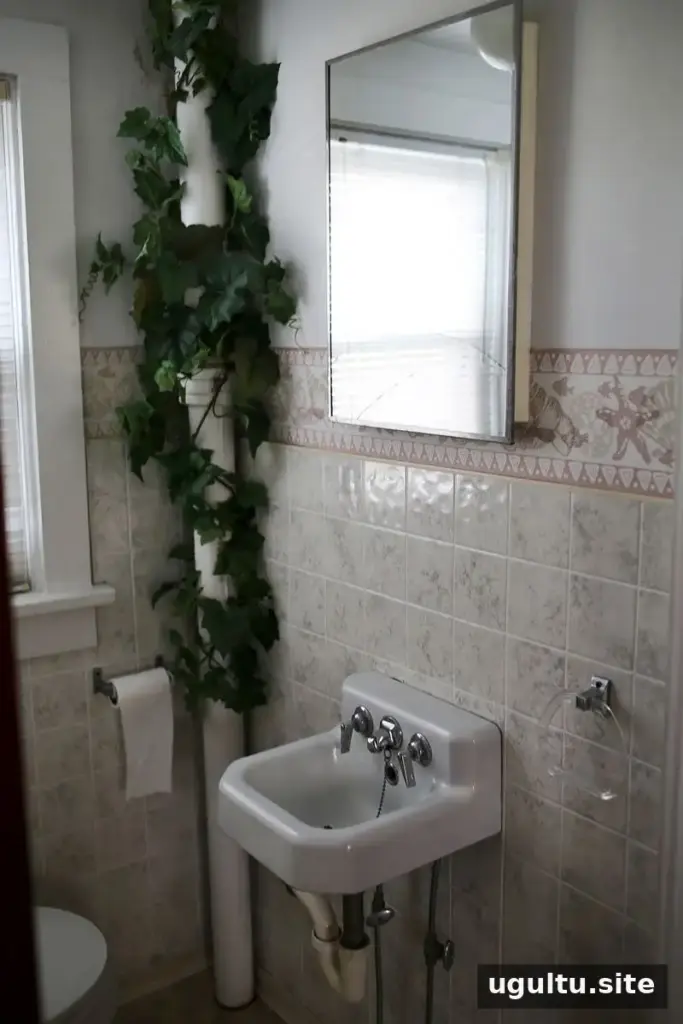
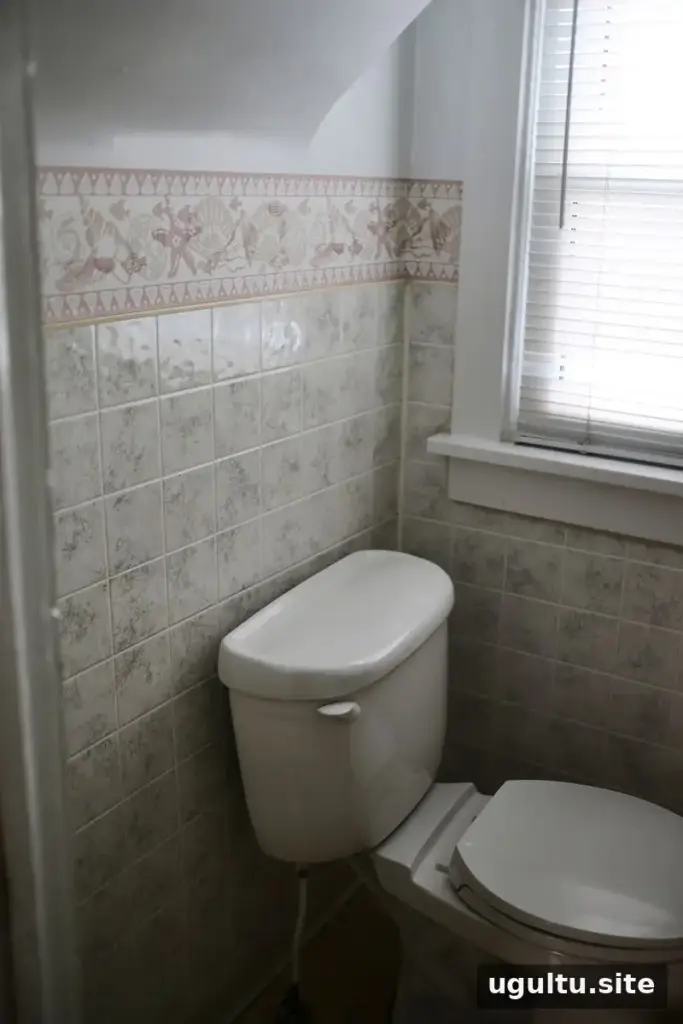
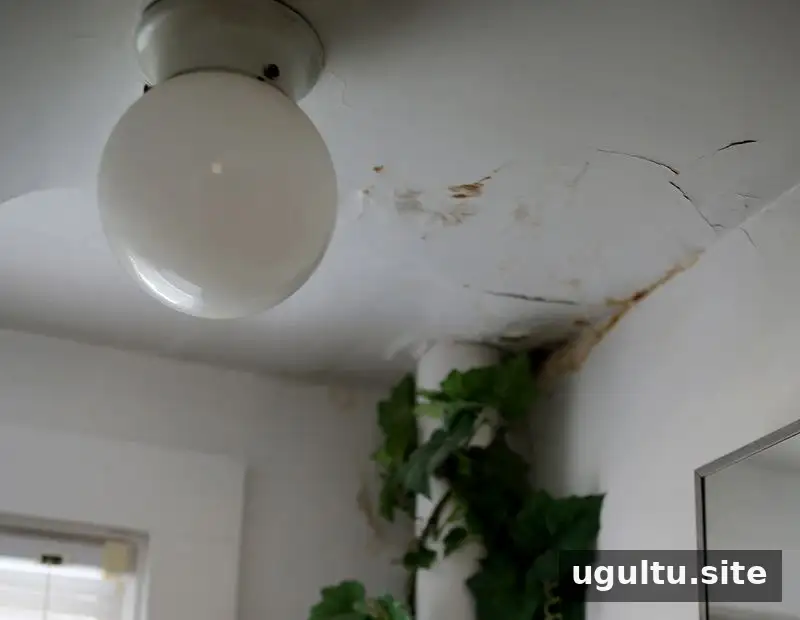
The initial condition made it clear that the room needed more than cosmetic updates. During the work, water damage proved more extensive than the home inspection had revealed, so a substantial part of the bathroom had to be rebuilt. If a small bathroom has signs of moisture damage, it is worth investigating the source before installing new finishes.
The original miniature sink was kept because it suited the room and a similarly small replacement was difficult to find. It works for handwashing, but is not intended for other tasks. In compact bathrooms, checking the scale and everyday function of fixtures before choosing them can help avoid wasted space.
A more useful layout and door
While the floor was being rebuilt, Mike suggested moving the toilet. Changing its position and relocating the pipe helped use the limited floor area more effectively. Even a modest adjustment to fixture placement can improve movement in a tight room, provided plumbing and building requirements are considered.
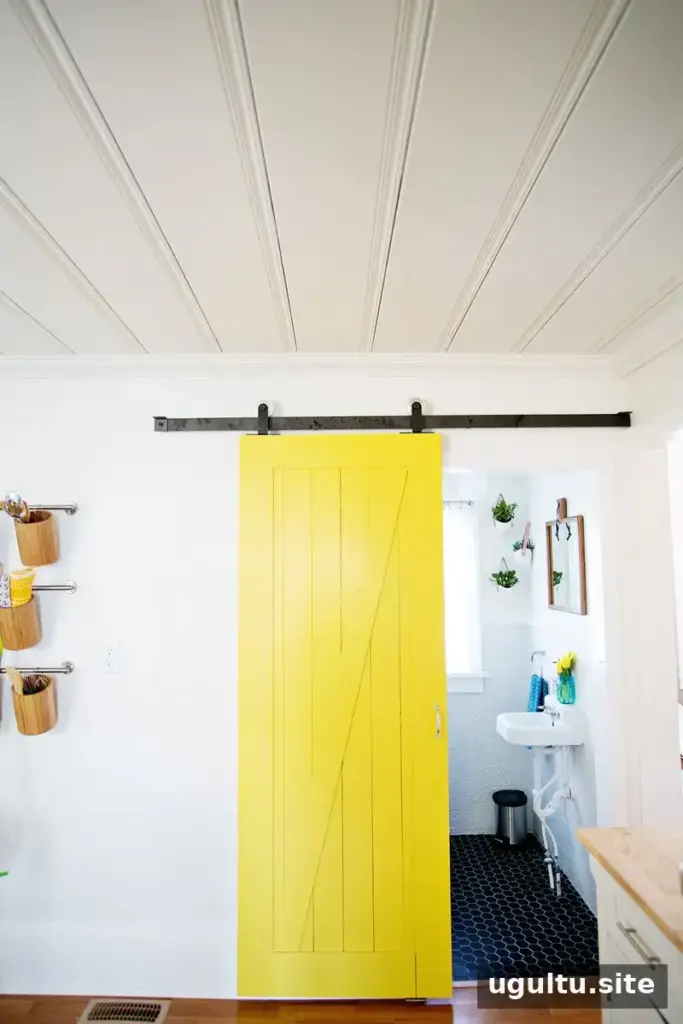
The bathroom opens off the kitchen, where a conventional door had swung into the kitchen and dining area. It was replaced with a sliding barn-style door, eliminating the clearance needed for a swinging door. Its bold color also adds a cheerful accent on both sides. Before choosing a sliding door, allow for wall space beside the opening and make sure the track can be installed securely.
Tile, color, and finishing details
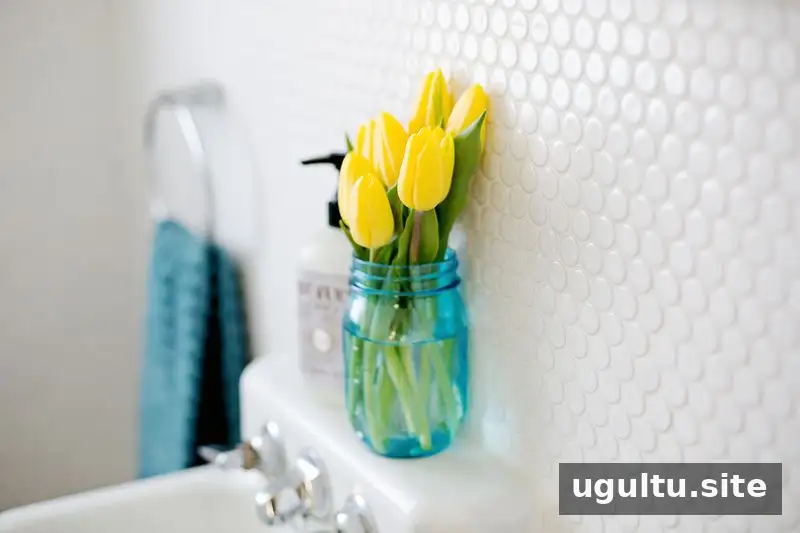
White penny tile with white grout was selected for the walls, while black hexagon tile with gray grout covers the floor. Wood flooring was considered as a continuation of the kitchen finish, but tile was chosen as a practical, bathroom-appropriate option. The light walls and darker floor create contrast without making the compact room feel visually busy.
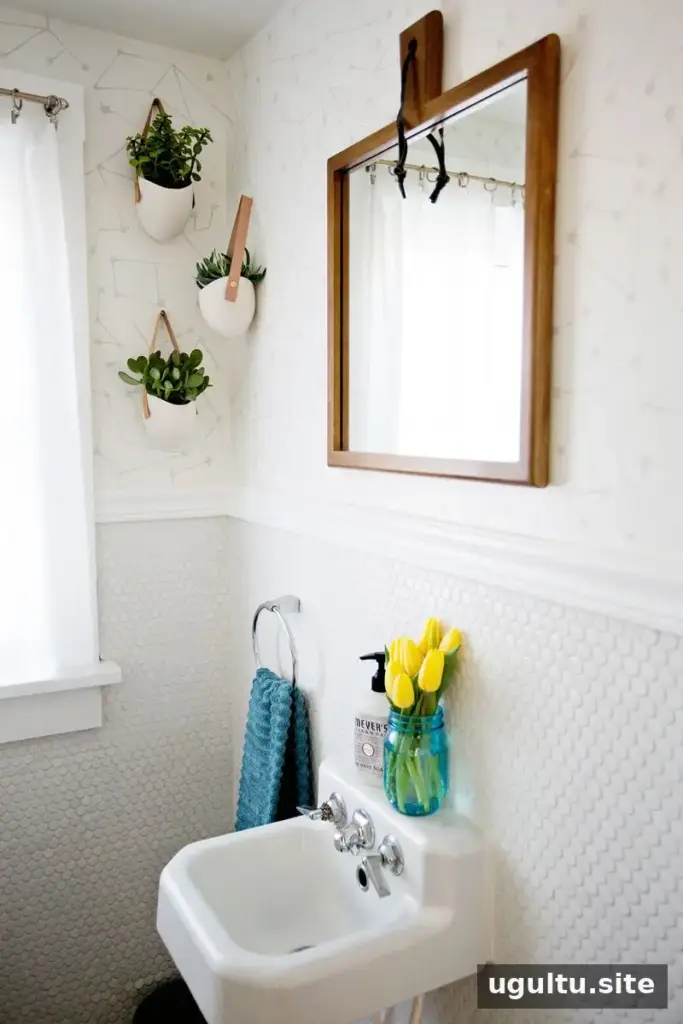
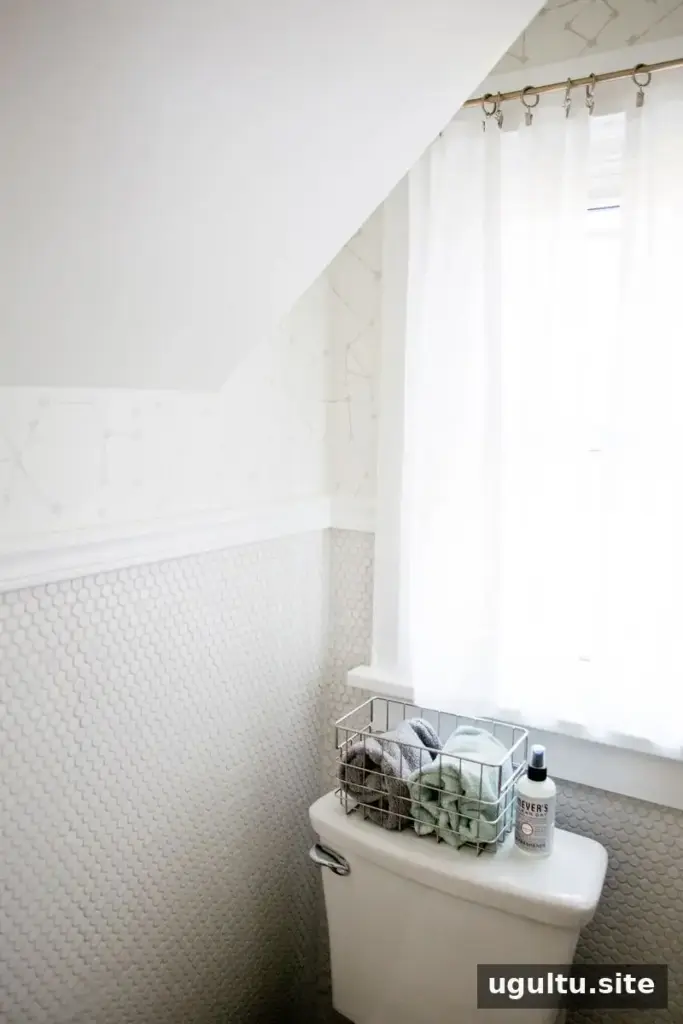
A subtle hand-printed wall design and simple no-sew curtains add finishing touches while keeping the overall look understated. The mirror completes the room and helps reflect light. In a small bathroom, a limited number of decorative elements can add character without crowding the available surfaces.
The goal was a fresh, airy, and simple interior. Neutral finishes keep the room bright, while sunny yellow and deep turquoise provide small, lively color accents.
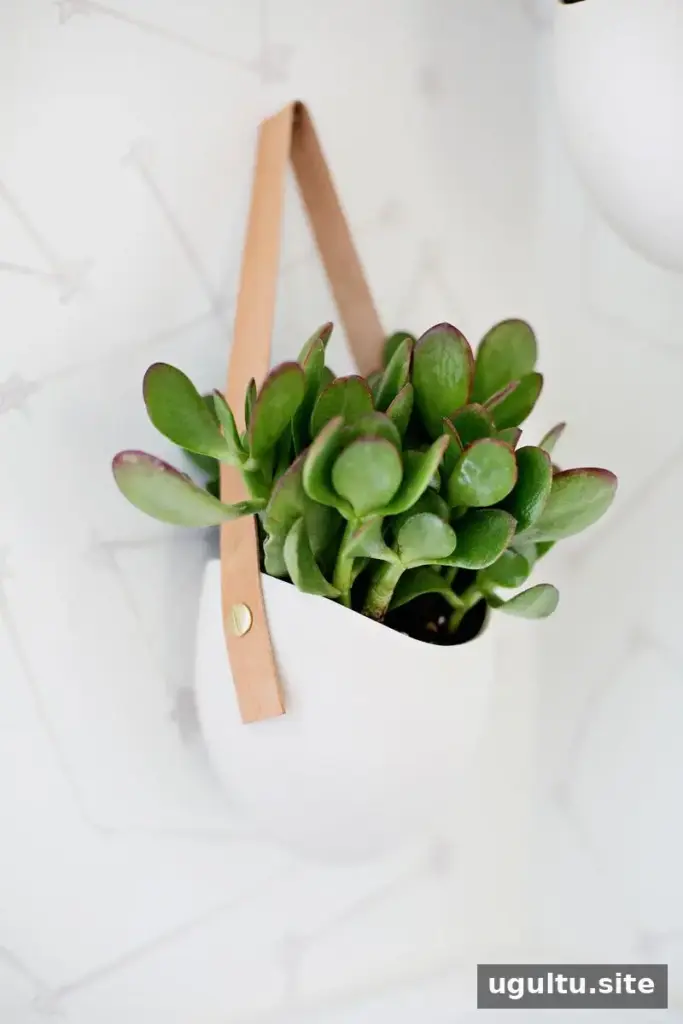
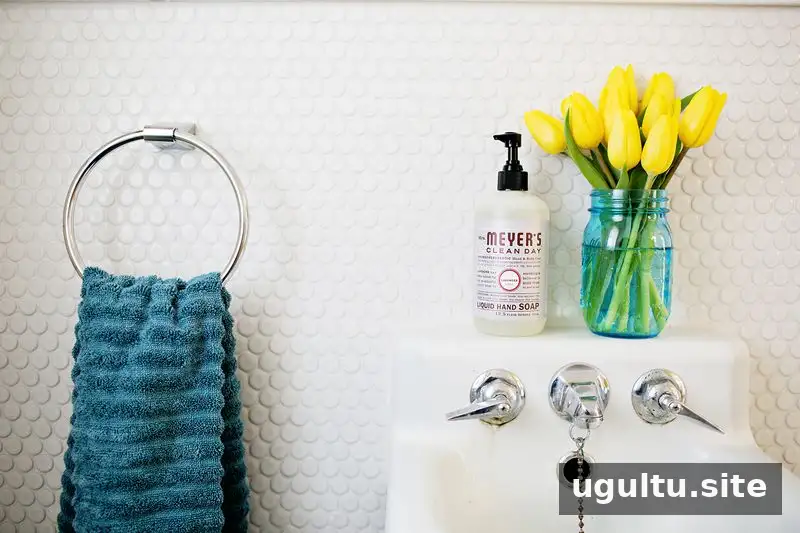

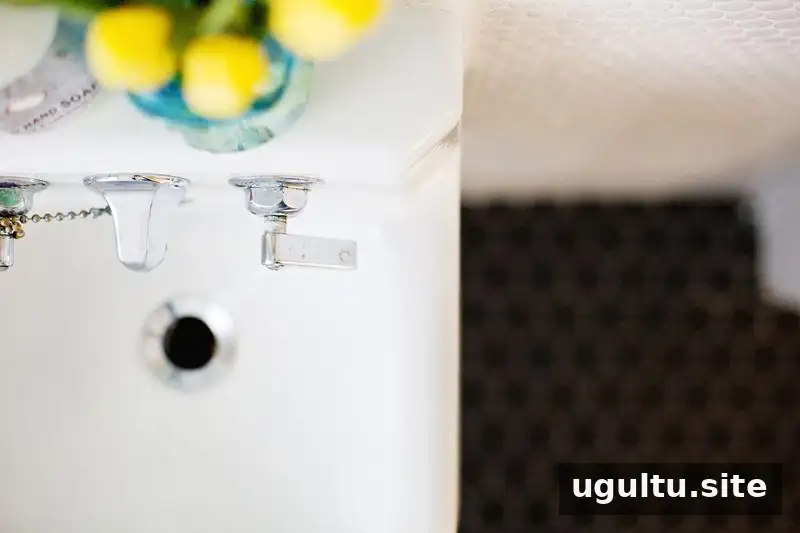
Small details can have an outsized effect in a compact space. Modern planters helped inspire the room’s look, showing how one modest accessory can guide a broader design palette. Choose accents that complement the main finishes, and avoid adding so many objects that the room becomes difficult to maintain.
Final thoughts on this tiny bathroom makeover
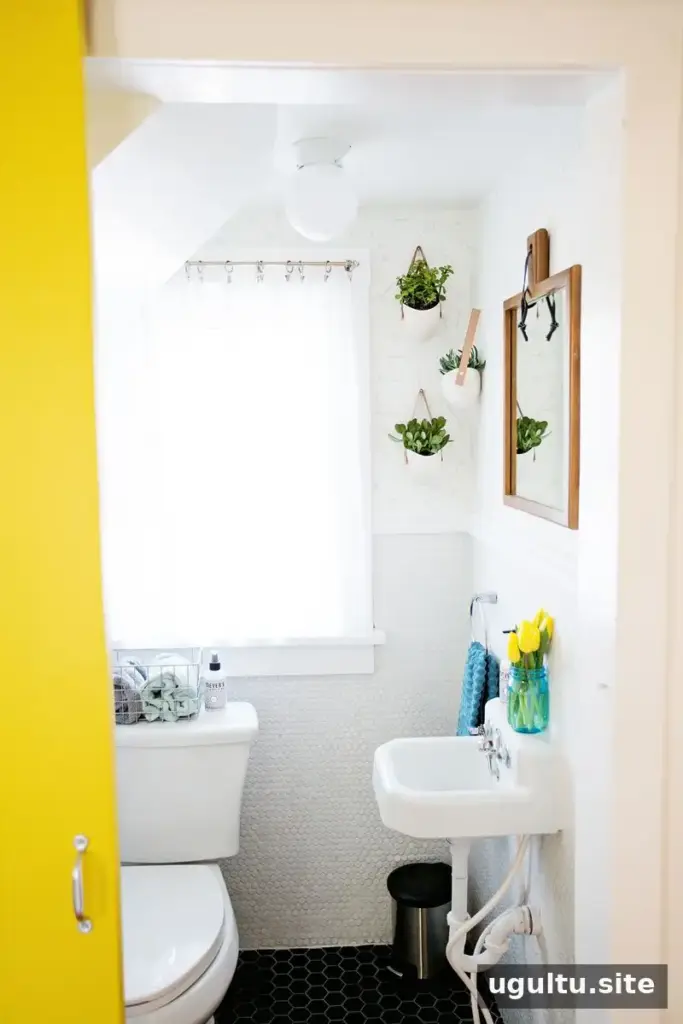
This tiny bathroom makeover combines a more efficient layout, a sliding door, contrasting tile, and restrained color to make a difficult space feel complete. The room may see small updates over time, but its renovation demonstrates a useful principle: in a compact bathroom, practical choices and carefully considered details work best together.
Project and writing by Elsie.


