admin
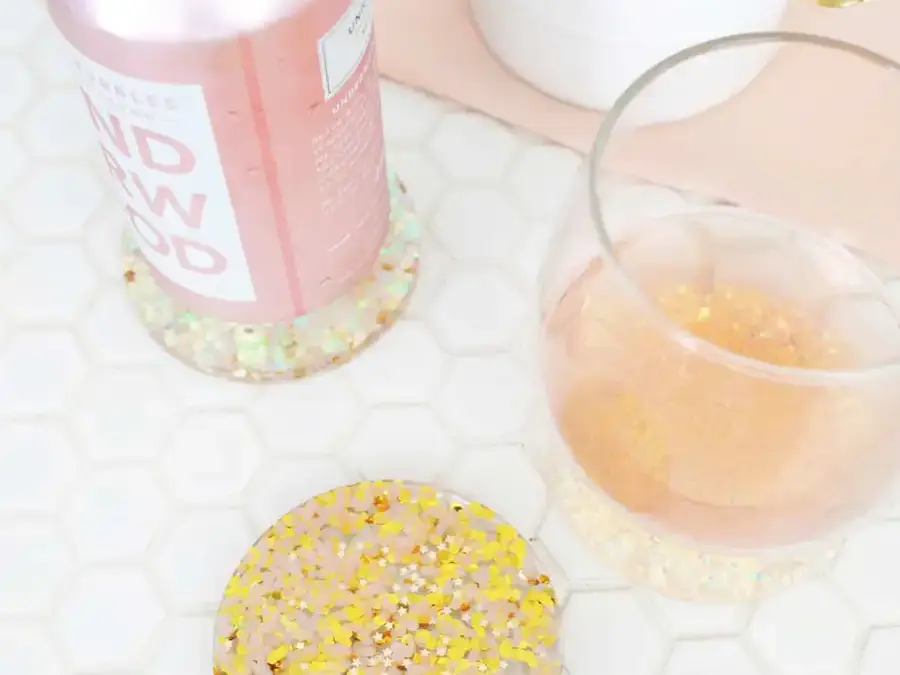
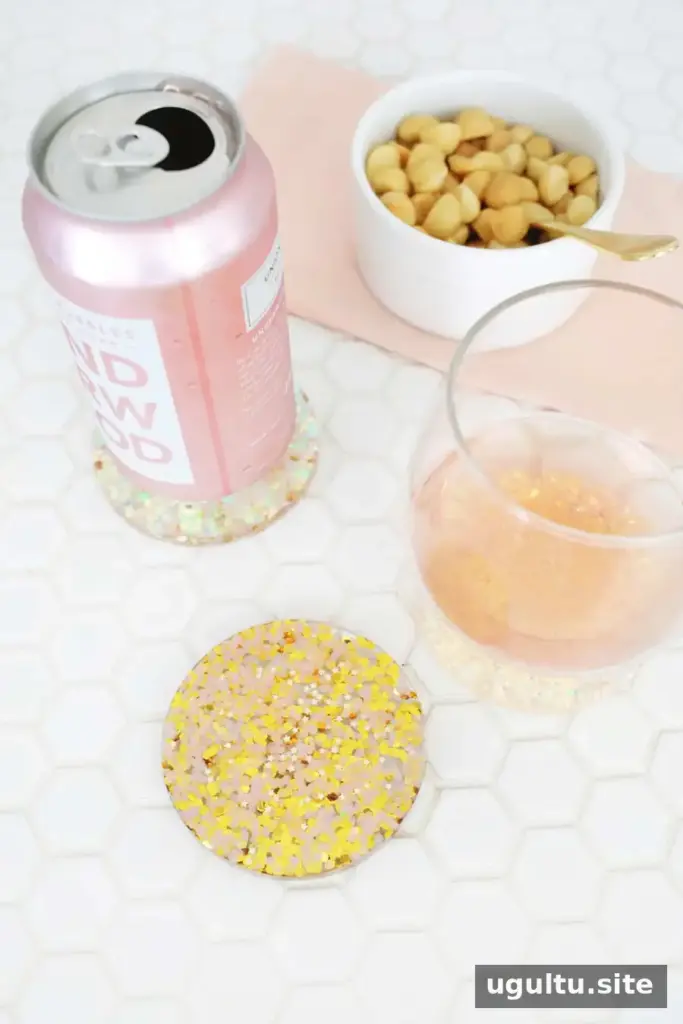
Glitter resin coasters are a simple way to add color and sparkle to a table or create a handmade gift. With a coaster mold, clear epoxy resin, and glitter, you can customize the look by choosing a single shade or combining different colors, textures, and shapes. Follow the resin kit’s instructions carefully, especially for mixing, safety, and curing time.
How to Make Glitter Resin Coasters
This project has a few straightforward steps, but preparation matters. Before you begin, protect your work surface and set up in a well-ventilated area. Check the product label for any additional precautions, since instructions can vary between resin kits.
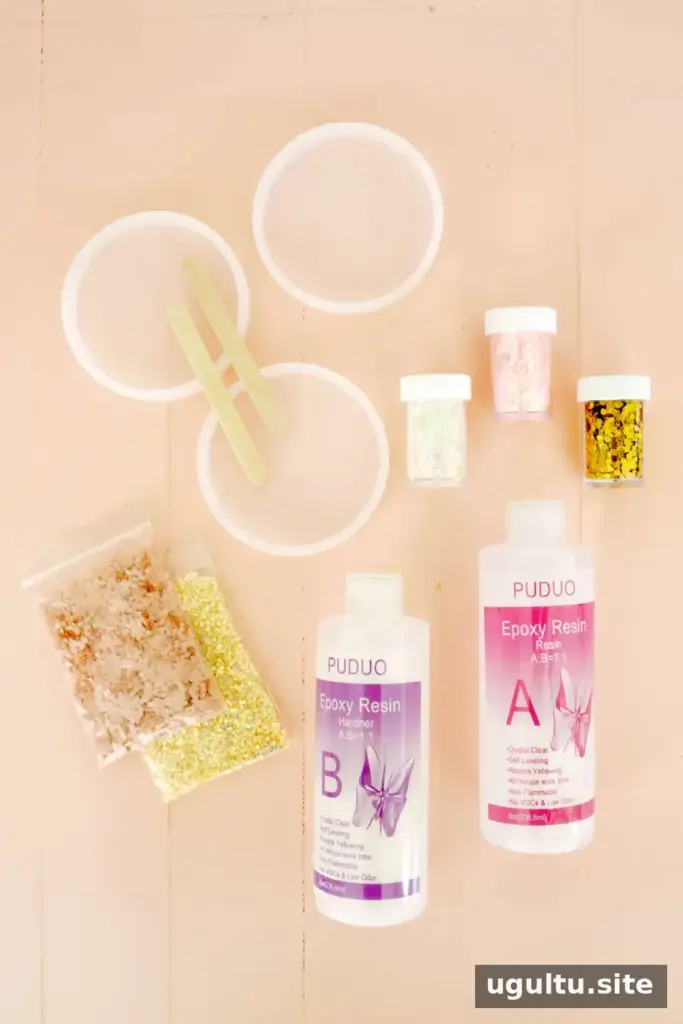
Supplies
- Coaster mold
- Clear epoxy resin kit
- Mixing cup
- Glitter of your choice
- Toothpick for adjusting glitter and popping bubbles
1. Add glitter to the mold
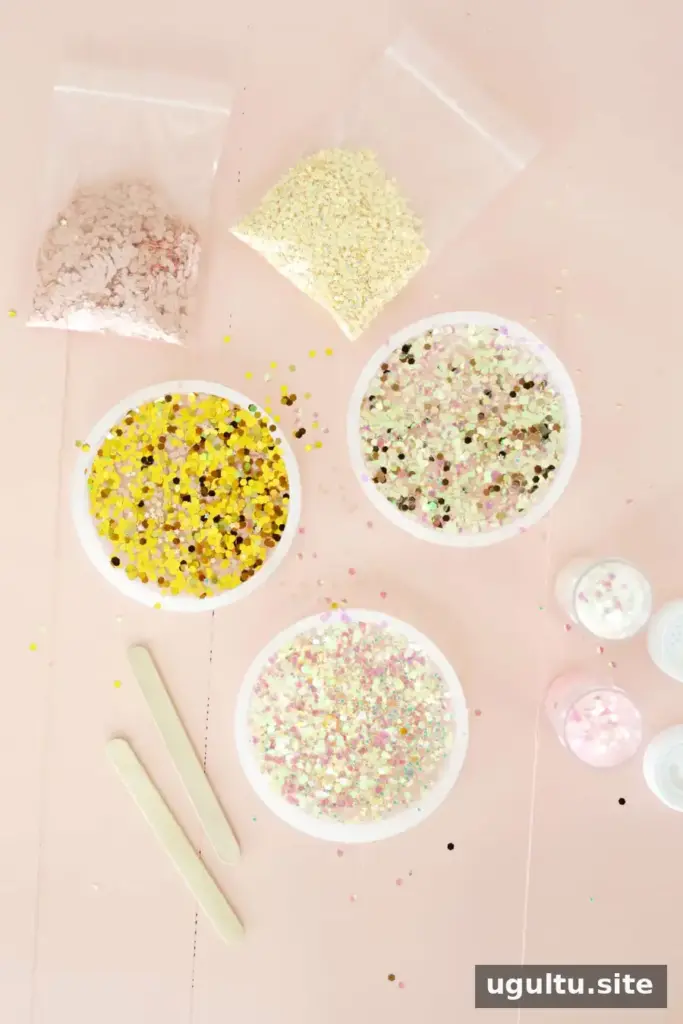
Choose the glitter colors and styles you want to use, then sprinkle them into the bottom of the coaster mold. For a design with clear areas, leave parts of the mold uncovered. For a denser, more fully glittered appearance, spread glitter across the entire base.
Consider how the glitter will look from the top of the finished coaster, and distribute it before adding resin. A toothpick can help move pieces into bare areas or spread out clusters.
2. Mix the epoxy resin
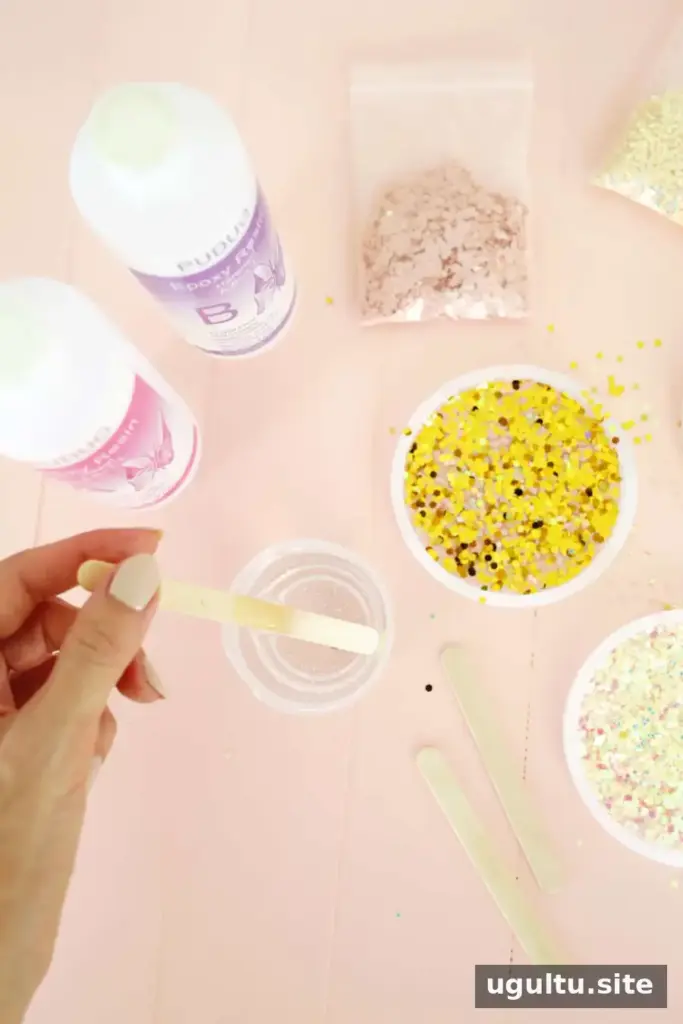
Prepare the epoxy according to the directions on its packaging. Measure and combine the components as instructed; correct mixing is important for the resin to set properly. Work in a well-ventilated space and wear the protective equipment specified by the manufacturer, including gloves when recommended. Keep resin away from furniture and other surfaces, as spills may damage them.
3. Pour the resin
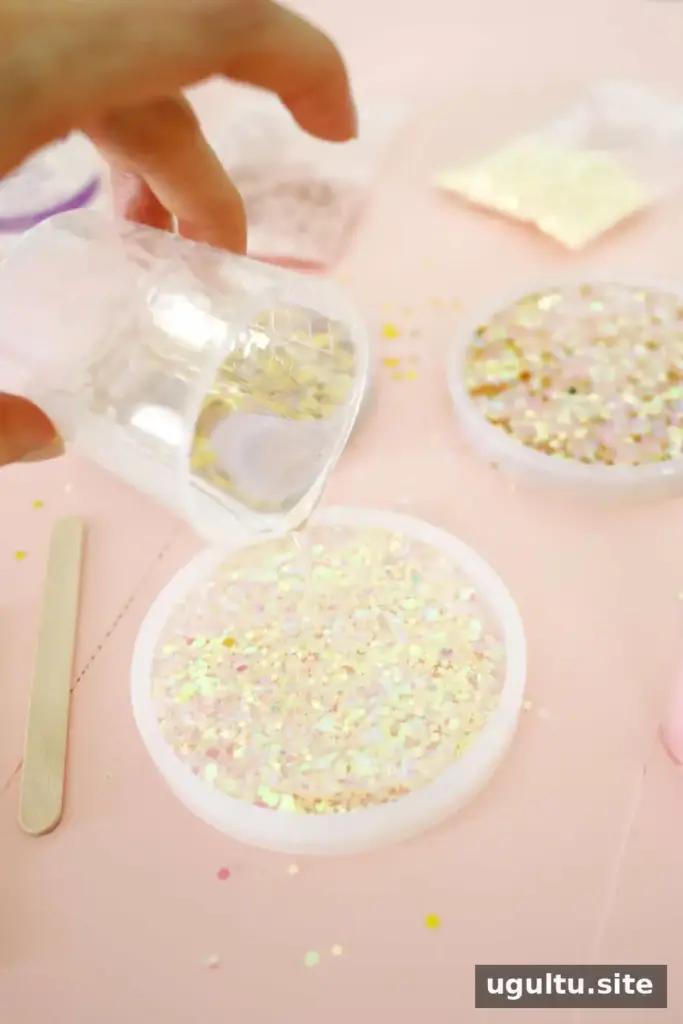
Slowly pour the mixed epoxy over the glitter. Fill the mold to just below its top edge so the resin does not overflow. Pouring steadily can help limit splashes and make it easier to control the fill level.
4. Remove bubbles and let the coasters cure
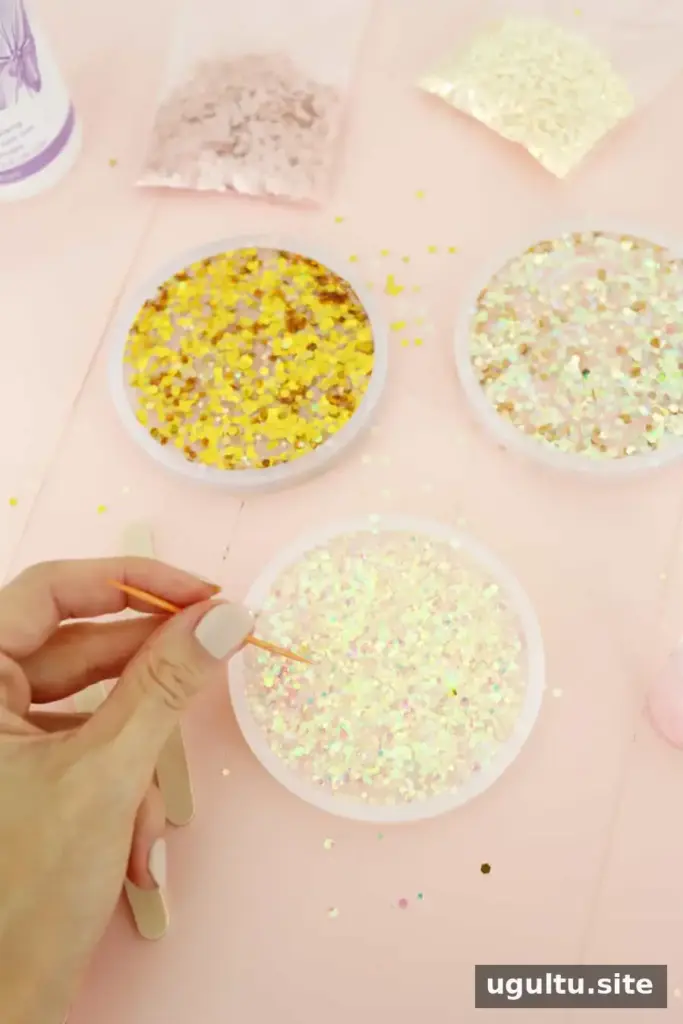
For the next 5–10 minutes, check the surface for bubbles and gently pop them with a toothpick. You can also reposition glitter during this time if you notice a sparse spot or an area that looks too concentrated.
Leave the coasters undisturbed to cure for 10–24 hours, or for the specific time recommended by your resin kit. Avoid moving or handling the mold while the resin sets. The manufacturer’s instructions take precedence if they recommend a different curing time.
5. Remove the finished coasters
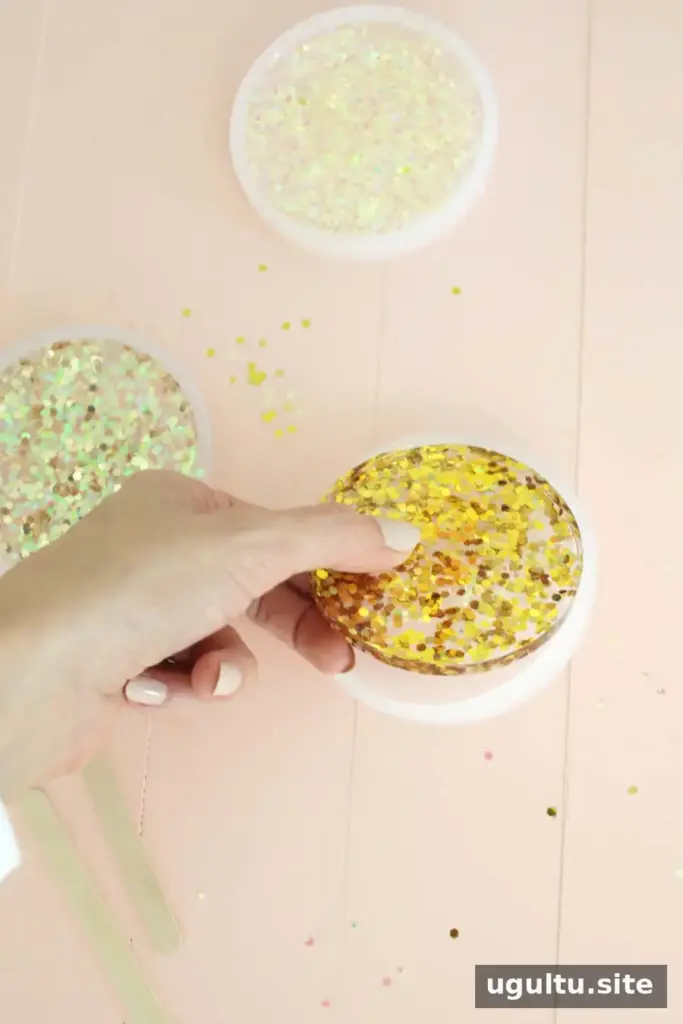
Once the resin has fully set, carefully release the coasters from the mold. Check that each piece is firm before using it, and follow the kit’s guidance if it needs additional curing time.
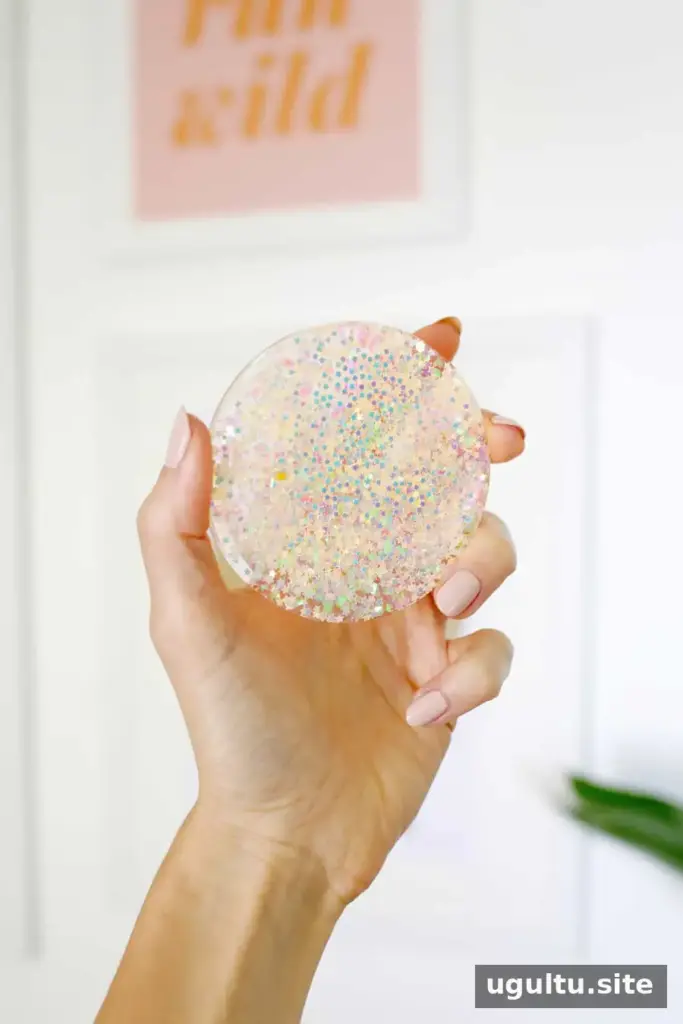
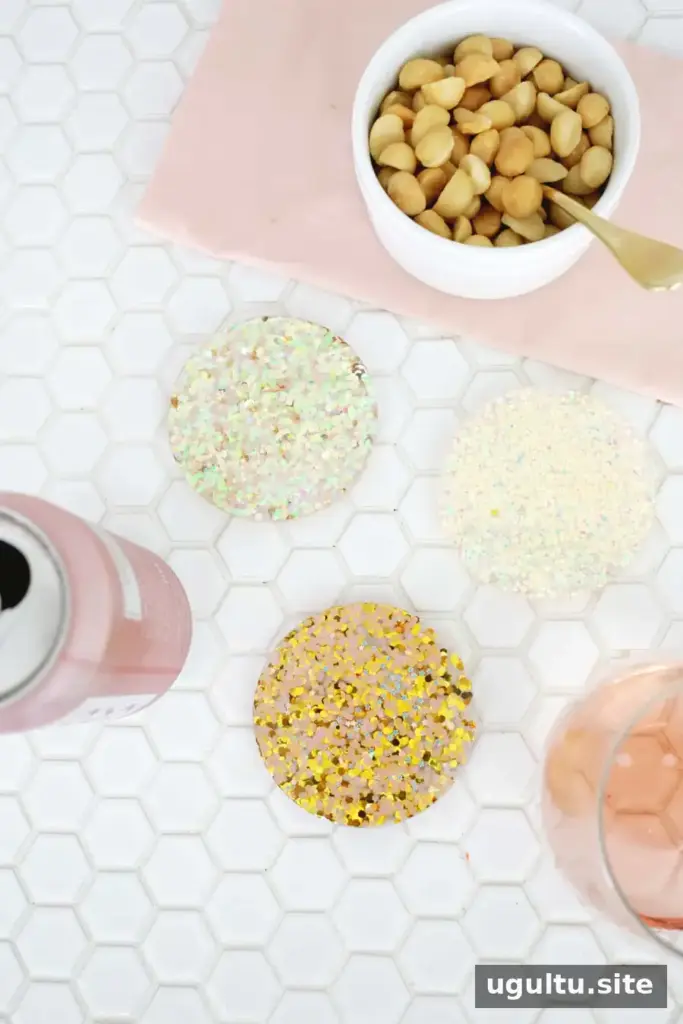
Tips for a polished result
- Plan the glitter coverage before pouring: uncovered areas create a more transparent look, while fuller coverage gives a bolder finish.
- Keep the mold on a level, protected surface while the resin cures.
- Use the ventilation and protective equipment specified on the resin packaging, and clean up spills according to the product instructions.
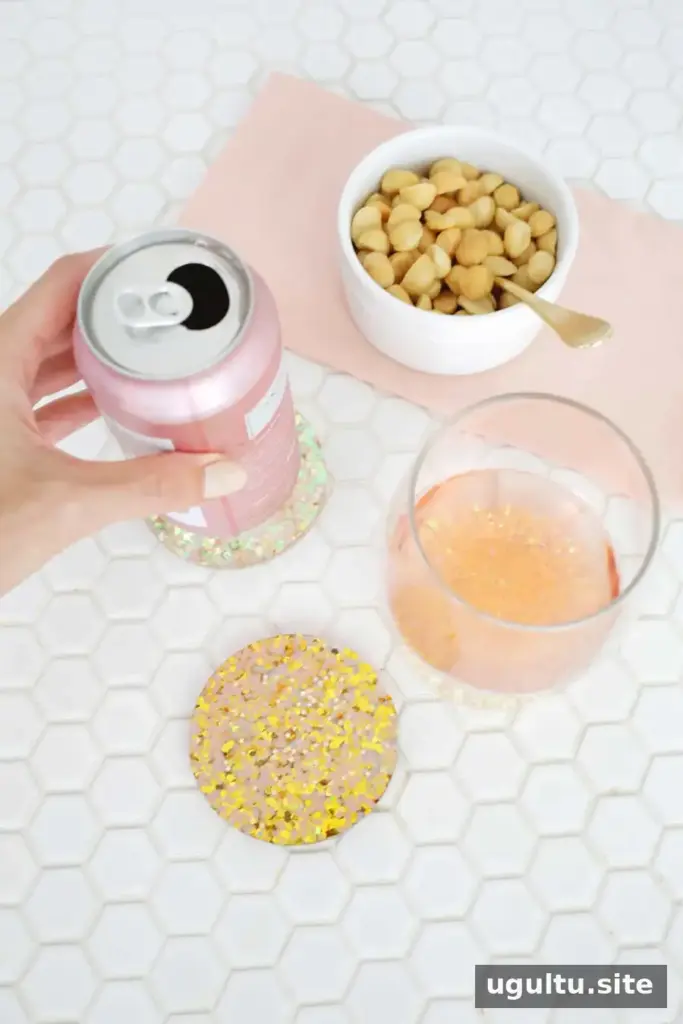
A set of four glitter resin coasters can make a thoughtful handmade gift. The same basic method also leaves plenty of room to experiment with different glitter combinations while keeping the resin and curing steps consistent.
Project by Laura.