
 admin

DIY vintage chair cushions can give a well-made secondhand chair a fresh look without replacing its original frame. This project uses the existing cushion covers as patterns, making it a practical introduction to upholstery sewing. With upholstery fabric, a zipper foot, and a little patience, you can create removable covers that fit the original inserts.

Why make DIY vintage chair cushions?
A vintage chair may have a sturdy frame but cushions covered in fabric that is worn, dated, or difficult to clean. Replacing the covers lets you choose a new color or print while keeping usable cushion inserts. The method below was used to refresh a replica of a 1970s Robin Day chair, but the same basic approach can work for other cushions with similar panel construction.
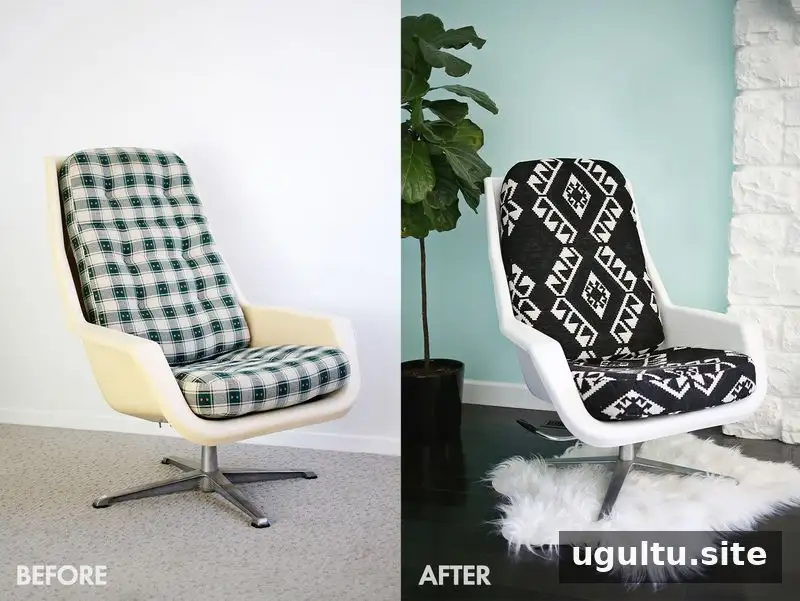
Before starting, check that the foam or cushion inserts are still in good condition. If they are misshapen or damaged, consider replacing them or adding suitable filling before fitting the new covers.
Materials and preparation
Supplies:
- Upholstery fabric
- Zippers
- Fabric scissors and pins
- A standard sewing machine with a zipper foot
- An iron, if you want to press the seams
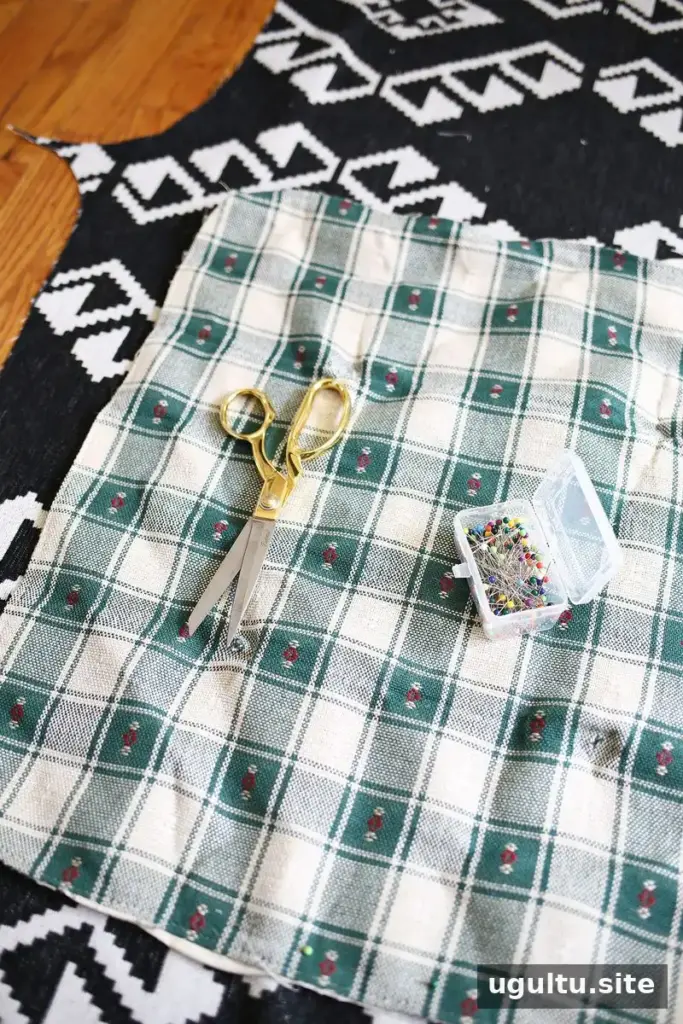
Use each original cover as a template. Carefully unpick the seams and separate the panels: typically, there is a top panel, a matching bottom panel, and a long side panel that joins them. The side section may be made from two pieces, with a zipper in one section so the insert can be removed.
If your cover has a different layout, measure each panel and add the seam allowance used by the original cover. Making a practice cover from scrap fabric is a useful way to check your measurements and sewing plan before cutting the upholstery fabric.
Cut and position the fabric
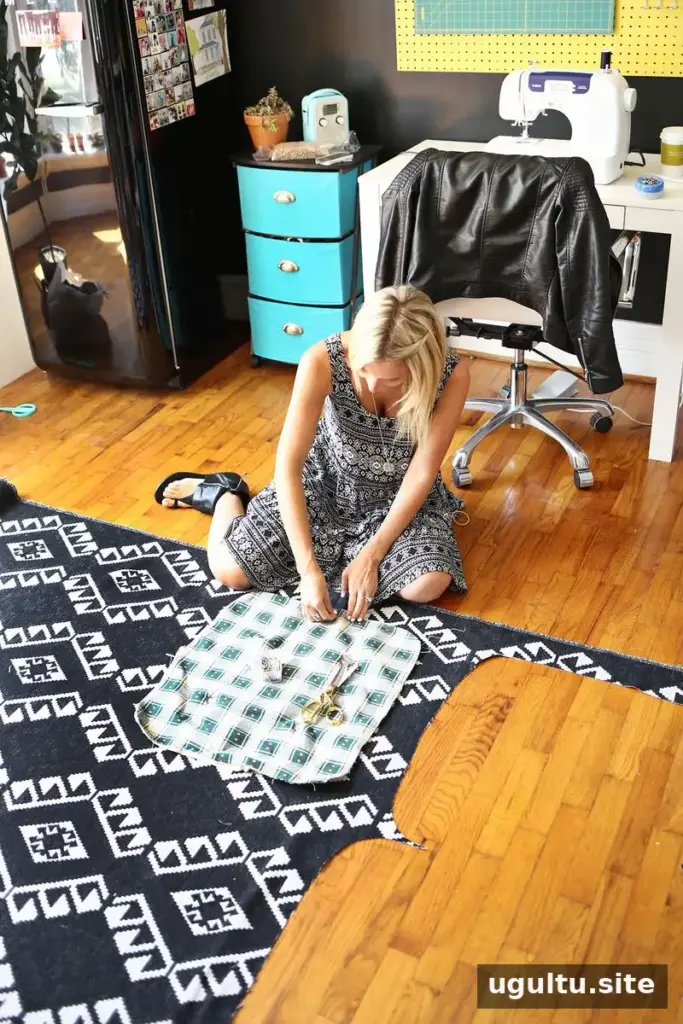
Arrange the original pattern pieces on the new fabric, pin them securely, and cut out the panels. For a printed fabric, take time to position the design where you want it on each cushion. Check that the print will align attractively across the top, bottom, and side pieces.
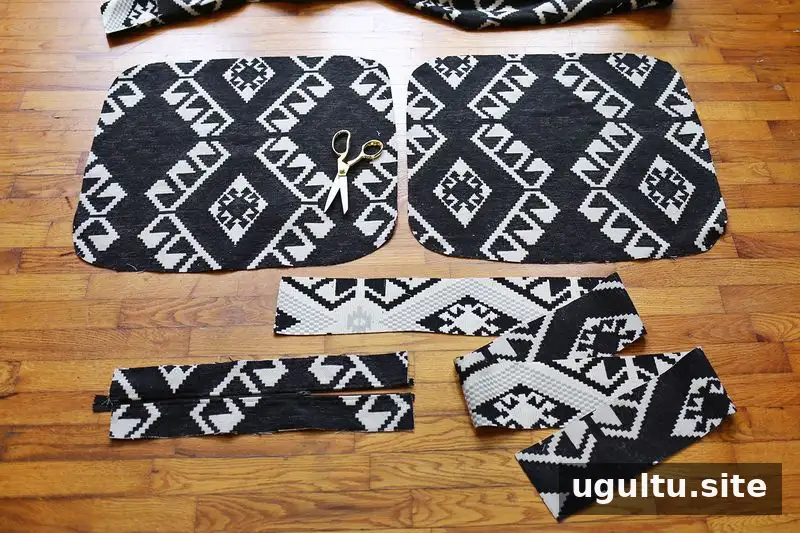
Install the zipper in the side panel
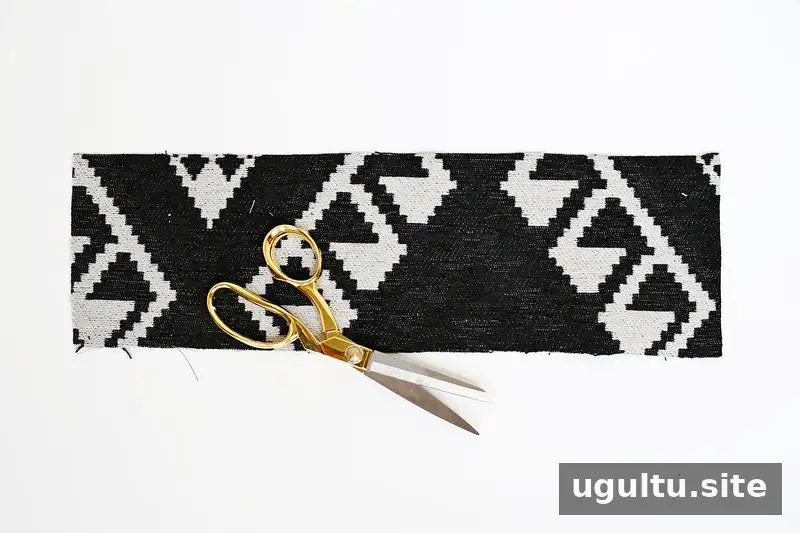
Cut the zipper section lengthwise into two pieces. The completed zipper panel should match the width of the other side panel. Include an extra 1 inch for the zipper seam allowance in the middle, as well as the usual seam allowance along the outer sides.
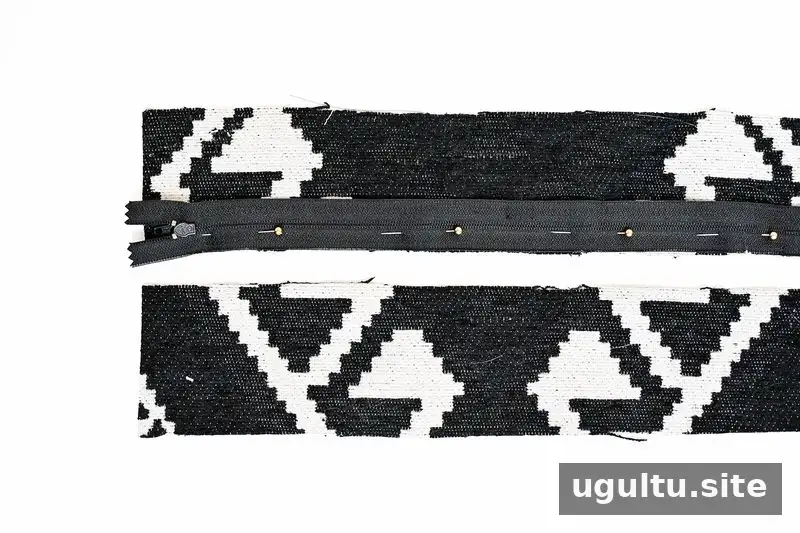
With the fabric right side up, place the zipper face down and align its left edge with the left edge of the right-hand fabric piece. Pin it in place, then sew along that edge with the zipper foot. Repeat for the other side of the zipper.
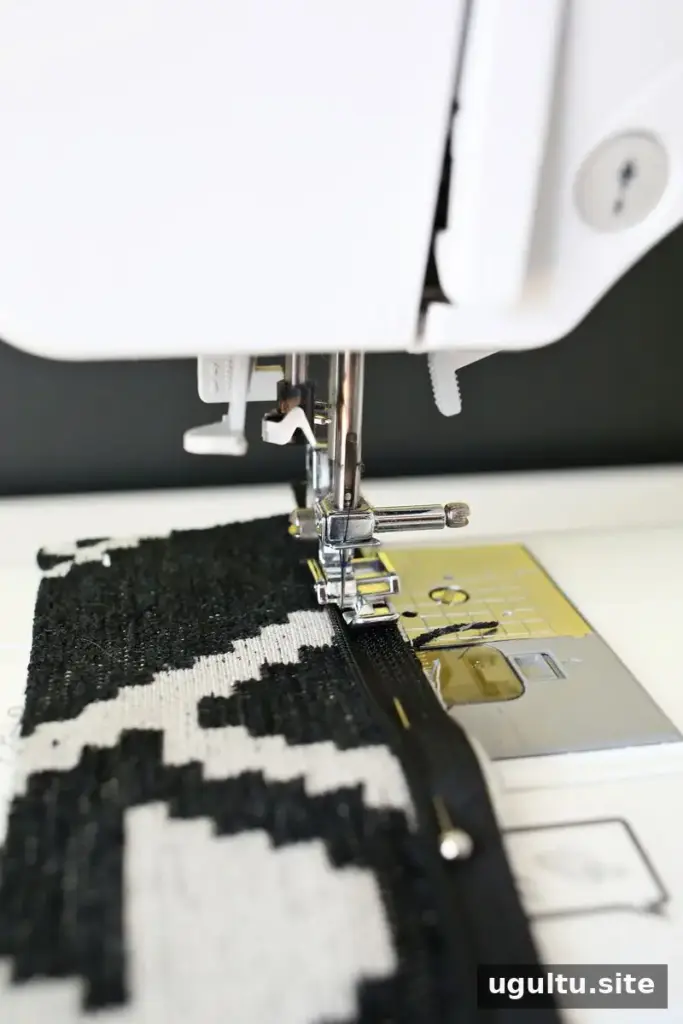
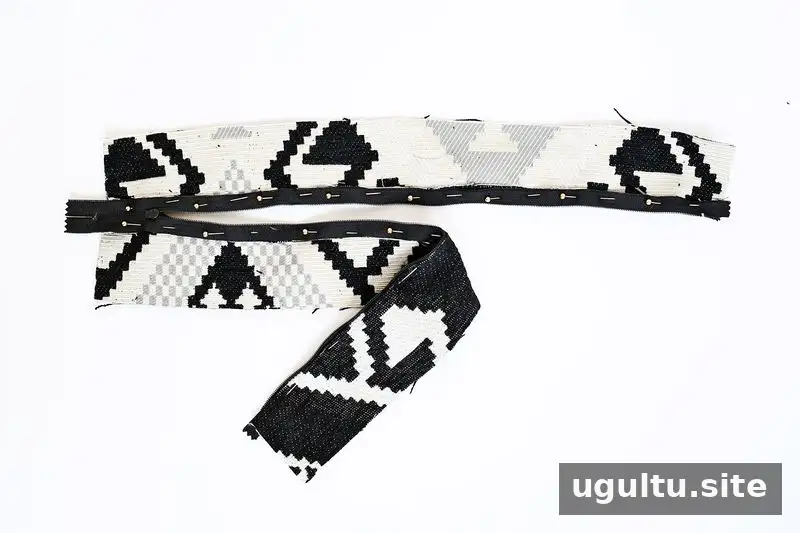
Fold the fabric back so the zipper teeth face one another, then press and pin the fold. Switch to a standard presser foot and sew about 1/4 inch from the zipper to hold the fold in place.
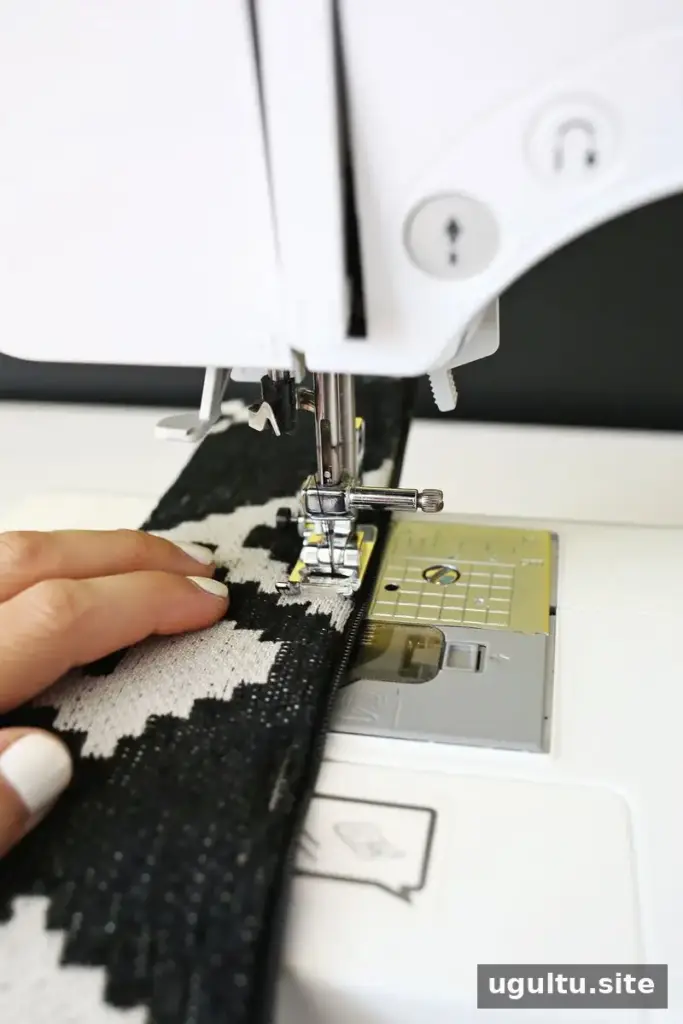
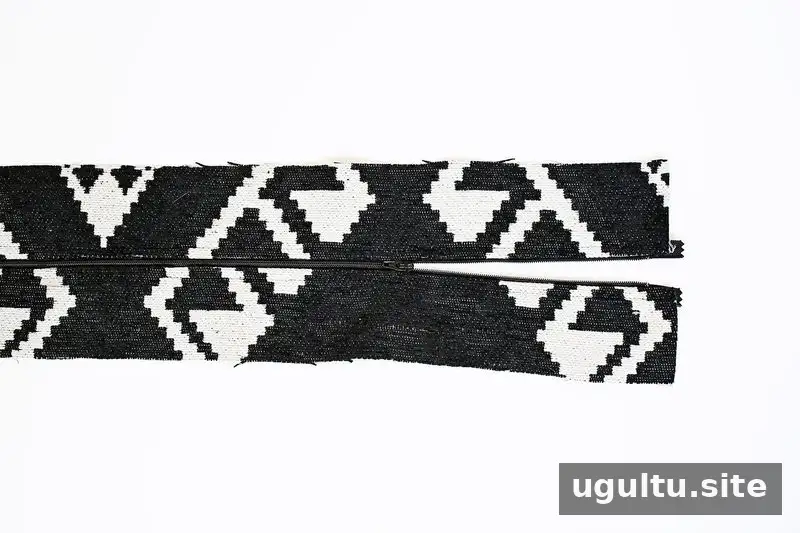
Check that the zipper opens and closes smoothly before attaching the remaining panels. This quick check can prevent having to unpick seams later.
Assemble the cushion cover
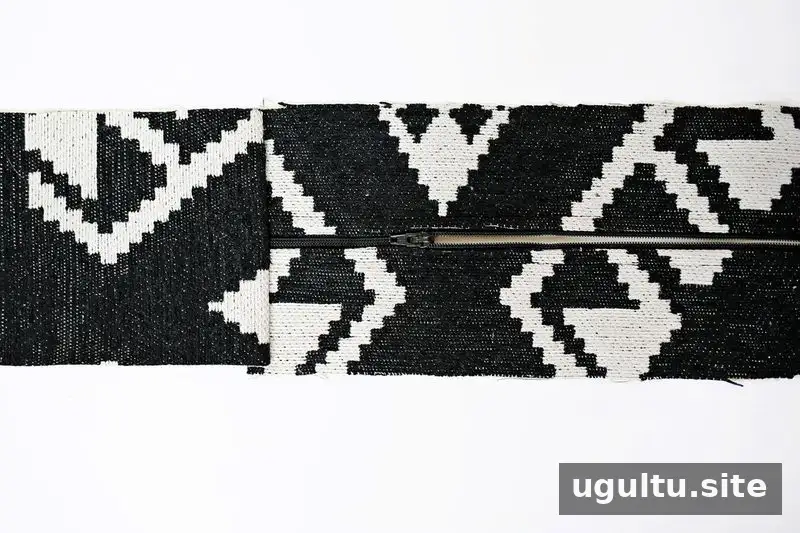
With right sides together, pin one end of the long side panel to the zipper panel and sew 1/2 inch from the edge. To avoid ending up with a side panel that is too long or too short, pin it around the bottom panel before sewing the remaining end.
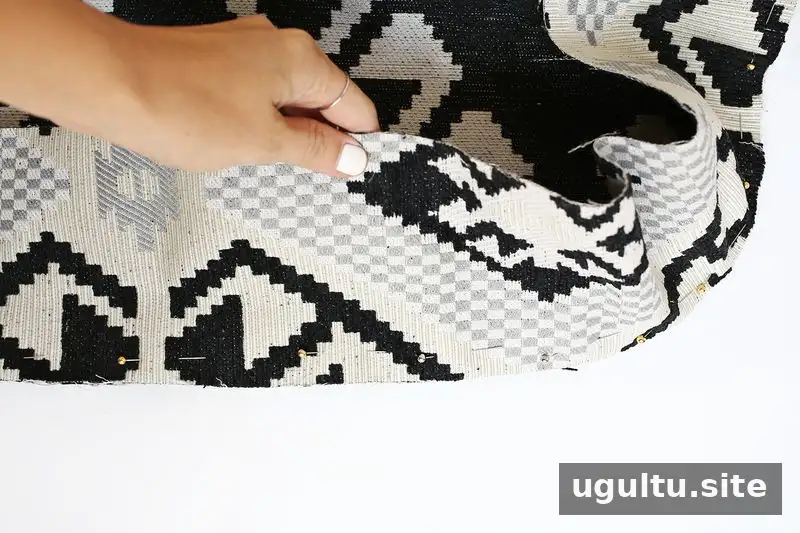
Match the middle of the long side panel to the middle front of the bottom panel. Pin the pieces together, working from the center toward one end, then return to the center and pin toward the other end. Once the fit is snug around the full edge, mark where the open end meets the zipper panel. Join those ends, trim excess seam allowance if needed, and pin the side section back in place.
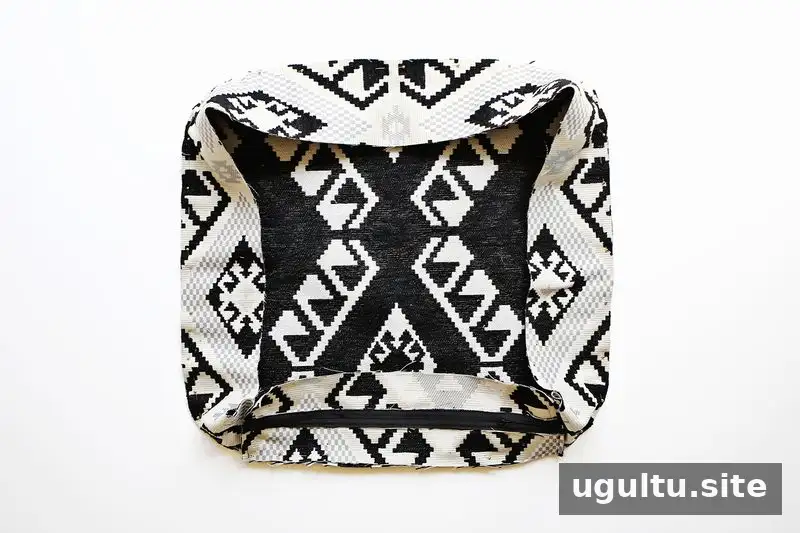
The fabric should now resemble a shallow pan. Sew around the attached edges using a 1/2-inch seam allowance, or follow the allowance on the original cover so the finished dimensions remain suitable for the insert.
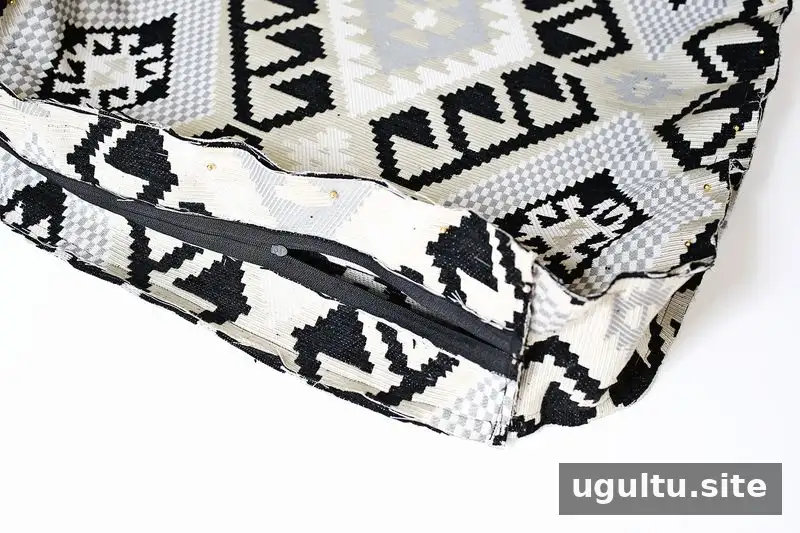
Match the center front of the top panel to the center front of the side section, pin the edges together, and sew them in place. Open the zipper partway before stitching the final seam; this leaves an opening for turning the cover right side out.
Fit the inserts and finish the chair
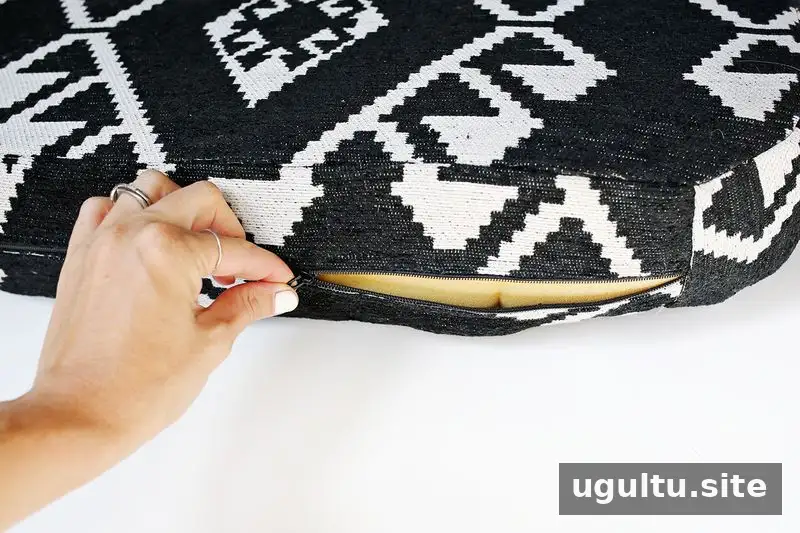
Press the seams flat if desired, then turn the cover right side out and insert the cushion. If the insert needs a little extra fullness, add small, even amounts of pillow stuffing or batting before closing the zipper. Avoid overfilling or bunching the material, which can leave the cushion looking uneven.
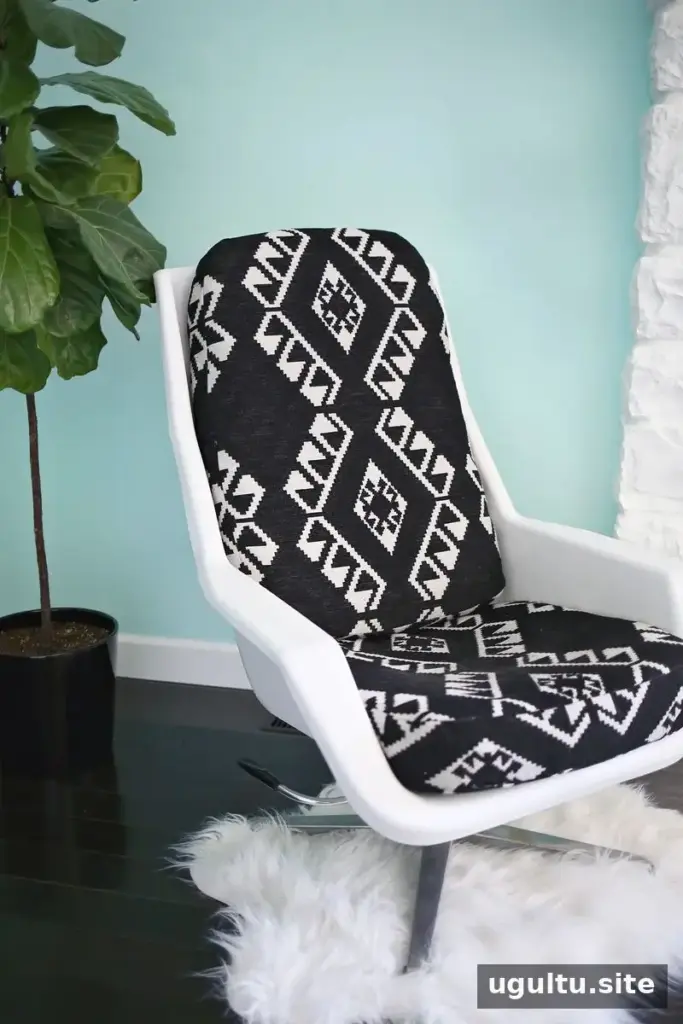
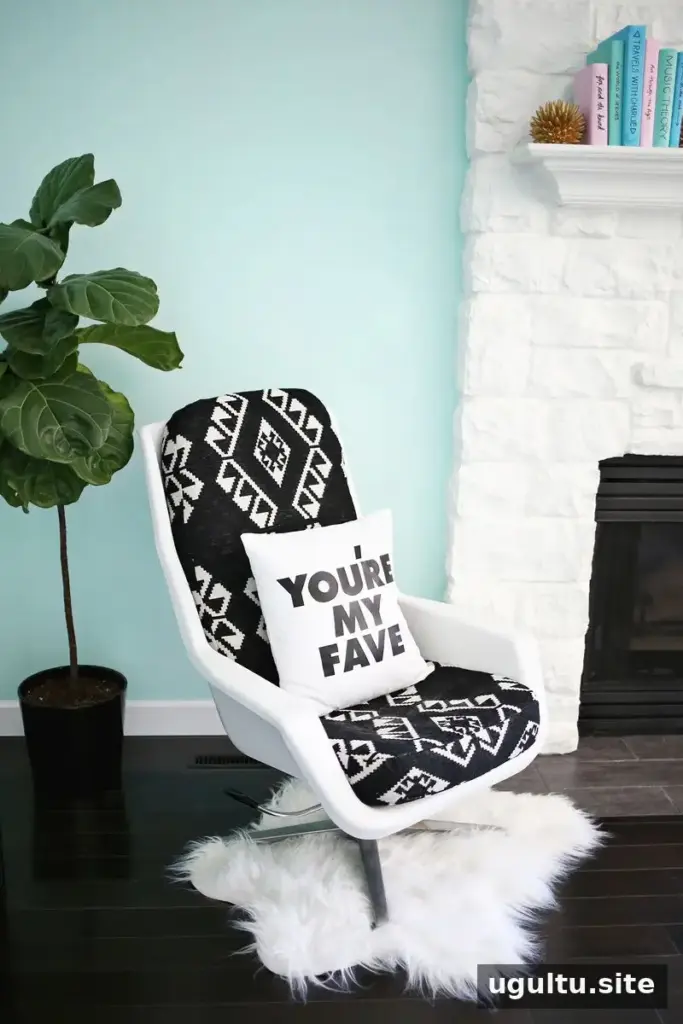


For this makeover, the chair shell also received a fresh coat of white spray paint formulated for plastic, and the chrome legs were cleaned. The new covers used different sections of the fabric print on the top and bottom panels, so each cushion could be flipped for a different look. A small coordinating pillow completed the update.
Conclusion: refresh a chair with DIY vintage chair cushions
DIY vintage chair cushions are a manageable upholstery project when the original covers can serve as patterns and the inserts are still usable. Measure carefully, test your fit with pins or a scrap-fabric cover, and check the zipper before finishing the seams. These steps help create removable covers that give a vintage chair a new look while preserving its existing cushions.
Project and original instructions by Laura.


