
 admin

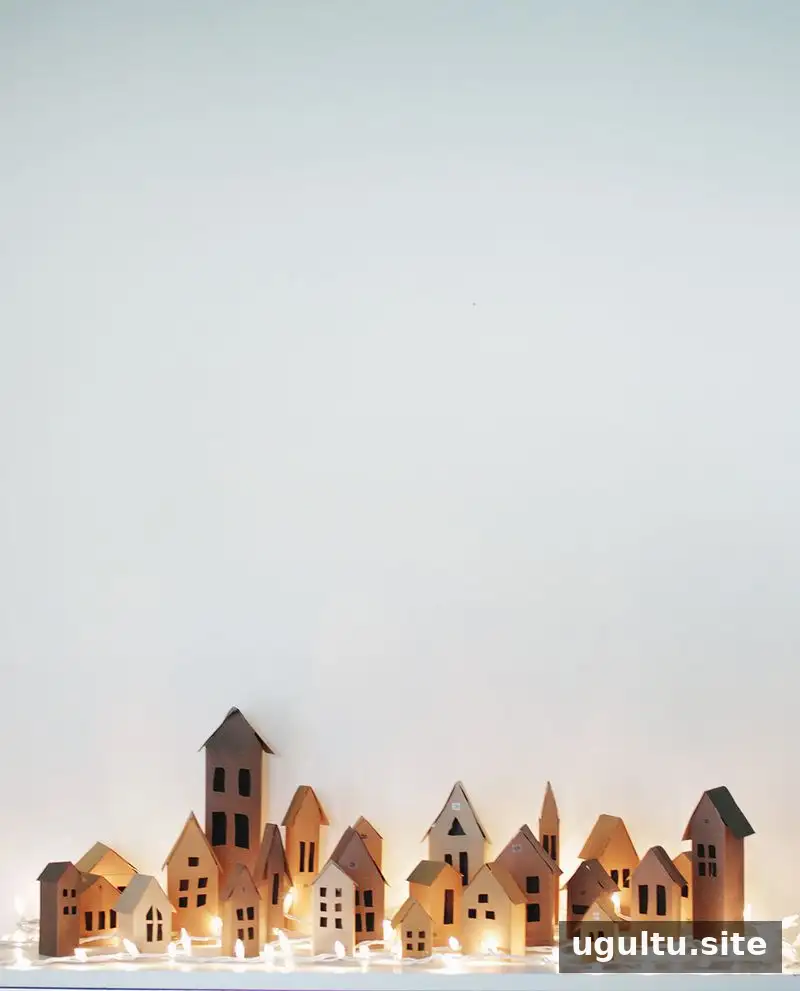
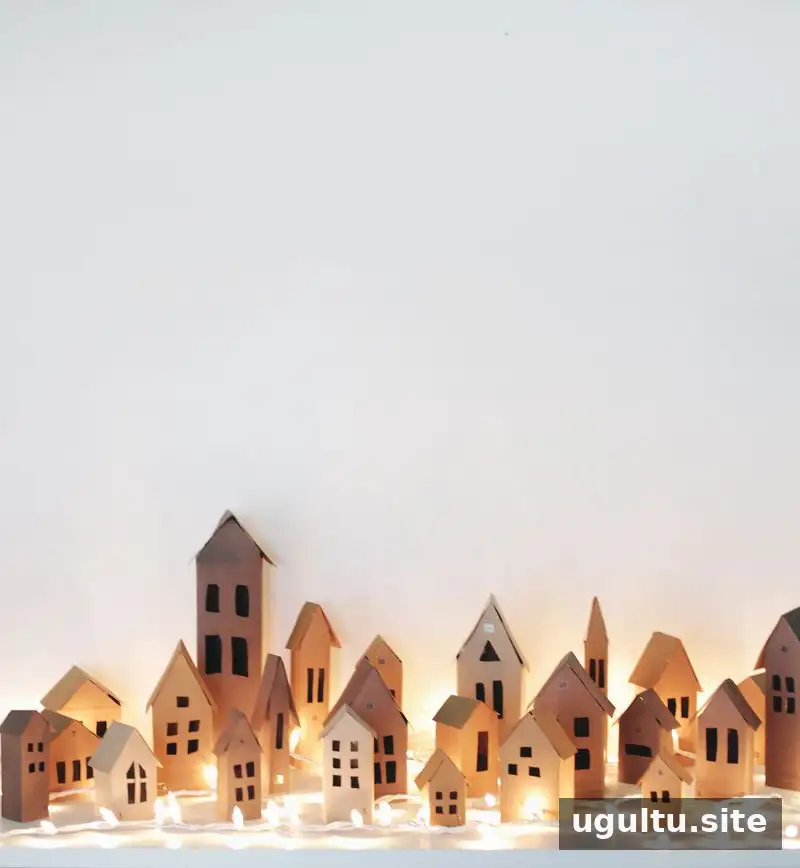
An Advent Village DIY project turns small gifts and activity cards into a festive countdown to Christmas. Each handmade paper building can hold a tiny surprise, while the finished village also makes a cheerful seasonal display. The sizes can vary to create a collection of houses with different shapes and heights.
Supplies for an Advent Village DIY
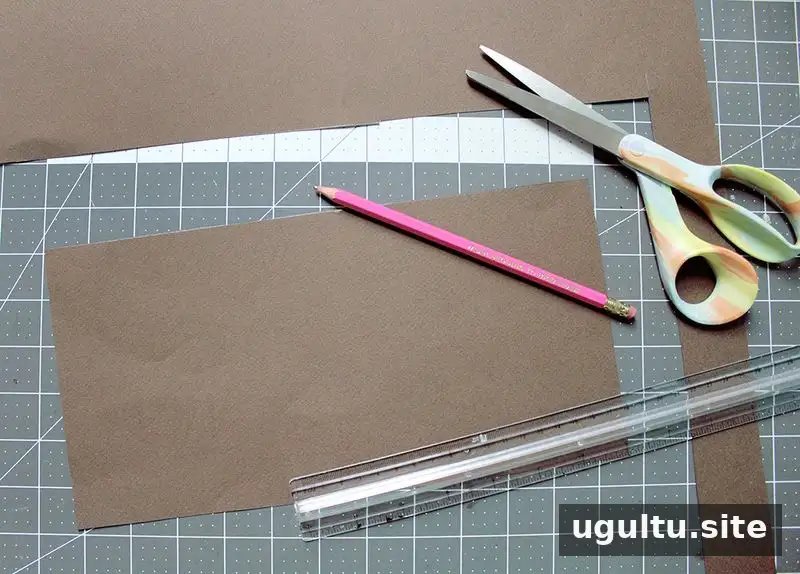
Gather the materials below before you begin. Having a cutting mat and ruler ready can make measuring and cutting easier, especially when making several buildings.
- Brown kraft paper or card stock
- Clear tape
- Ruler
- X-Acto knife and scissors
- Sticker numbers
- Cutting mat (optional)
- Tiny toys and treats
How to Make the Paper Advent Houses
1. Cut and fold the building shapes
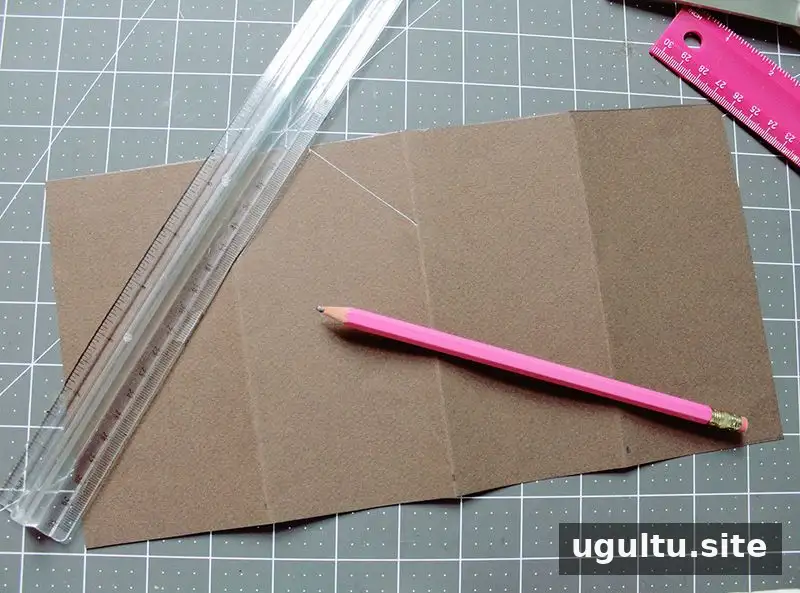
Cut the paper or card stock into rectangles. Choose the dimensions according to the size of the surprises and the space available for the display. For a village with varied buildings, cut rectangles in different sizes. Fold each rectangle into quarters. On the second and fourth sections, use a ruler to find the center and draw angled roof lines.
Tip: Make a sample house first to check that your folds and roof shape work before cutting the rest of the paper.
2. Cut windows and form each box
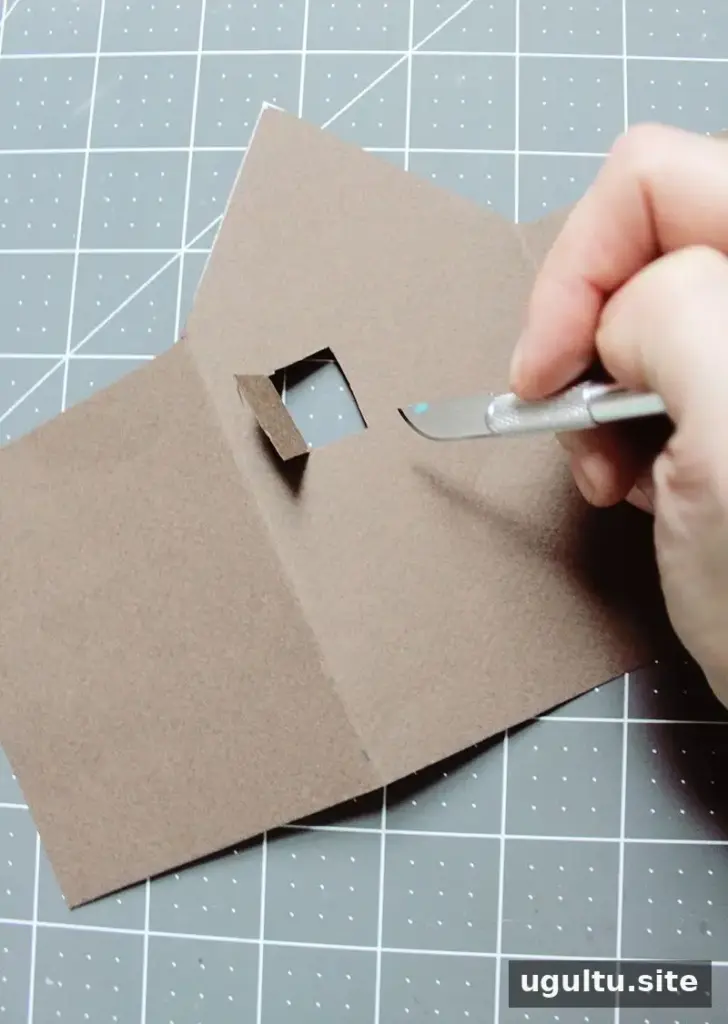
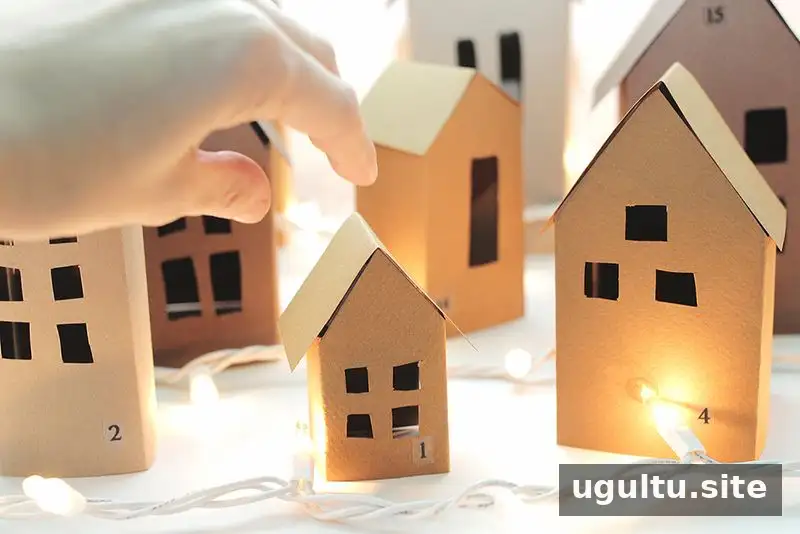
Use an X-Acto knife to cut small windows into the paper. Add as many or as few as you like, keeping the openings small enough to suit the design. Then bring the edges together and secure them with clear tape to form the building.
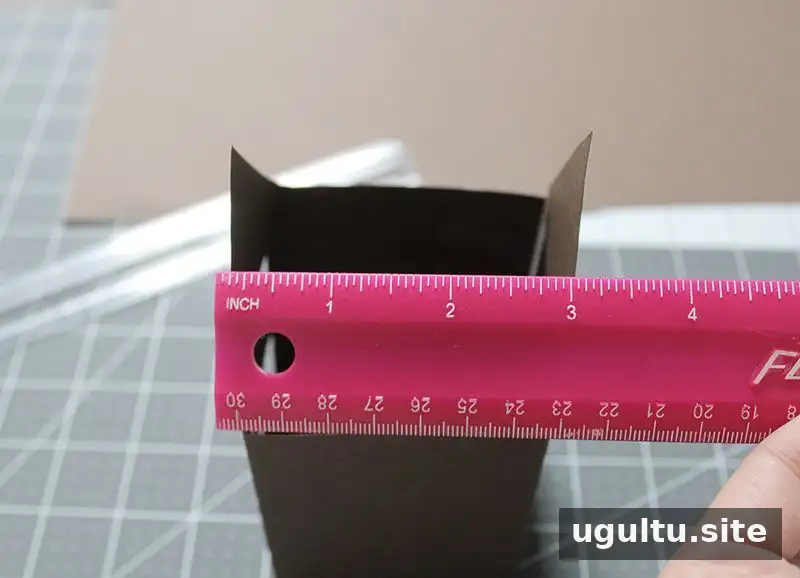
Safety note: Use the craft knife on a suitable cutting surface and handle it carefully. Keep sharp tools and small toys or treats away from young children.
3. Add the roof
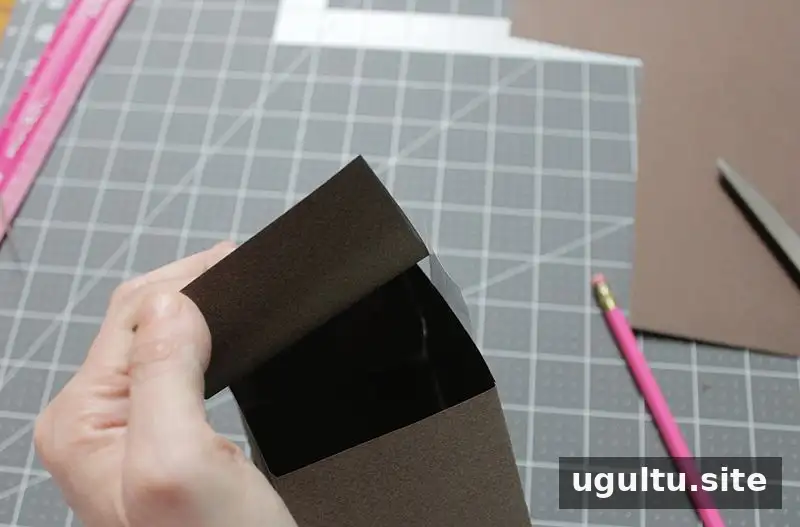
Measure the width across the top of the building where the roof will sit. Cut a strip of paper long and wide enough to cover that area, fold the strip in half, and tape it in place.
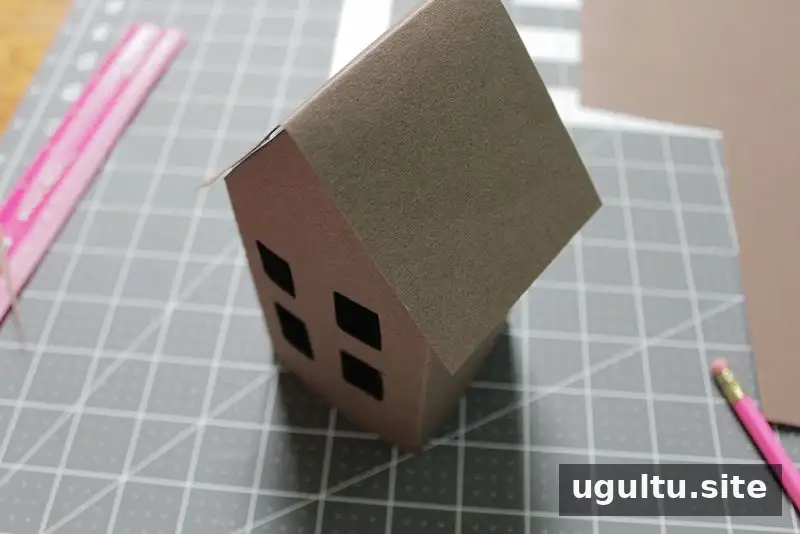
4. Number the houses and fill them
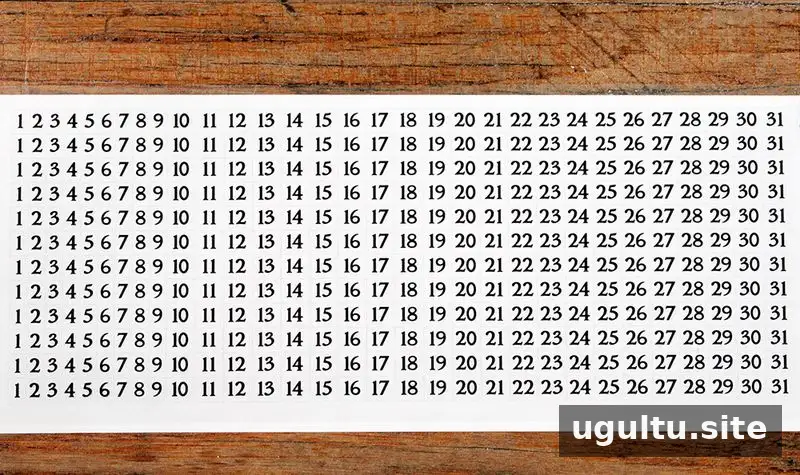
Place a number sticker on each finished building. Repeat the steps until you have made the full set: after the first house, make 23 more. Add a small toy, treat, or activity card to each house before arranging the village for display.
Displaying Your Advent Village
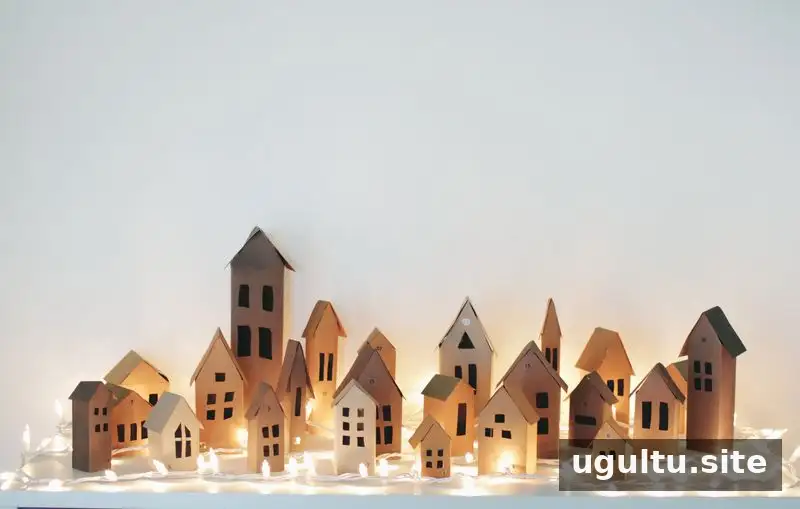
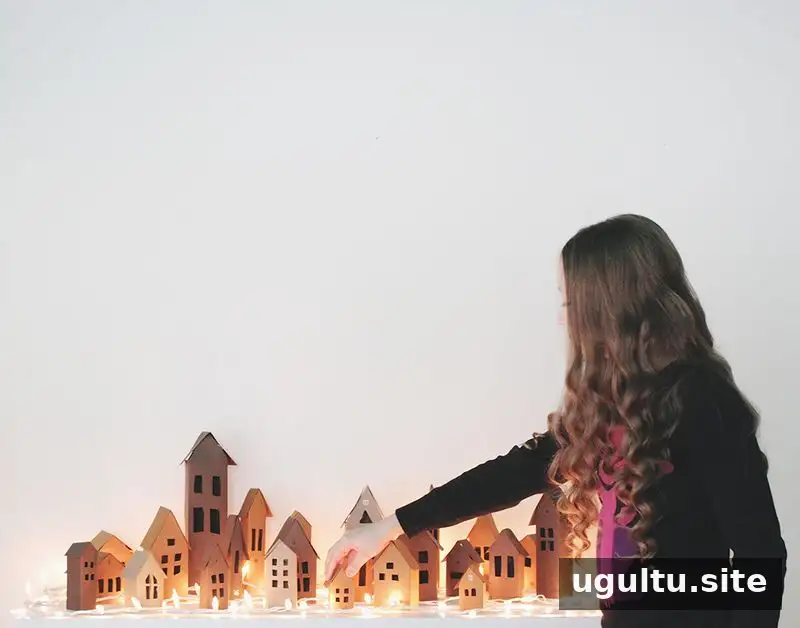
Arrange the completed houses together on a dresser or another stable surface. A row or a clustered layout can help the village fit the display area; leave enough room to open each building and retrieve its surprise. The project takes a few hours to assemble, not including the time needed to prepare and wrap the tiny presents.
This Advent Village DIY offers a handmade alternative to a traditional countdown calendar and can be customized with different building sizes, window patterns, and surprises. Project by Katie.


