
 admin
Peel and stick subway tile can refresh a laundry room without the mess and labor involved in installing traditional tile. For this project, adhesive tiles were used on the walls around the washer, dryer, and sink. Careful measuring and patient installation helped create a clean finish, while the lower cost made this approach worth considering for a lower-priority room.
Why Choose Peel and Stick Subway Tile?
Traditional tile installation can be expensive and disruptive. Adhesive tile offers a simpler alternative for homeowners who want to update a wall without a full renovation. In this laundry room, the finished surface looked fresh and was reported to be durable and easy to clean.
The project used about $600 worth of tile to cover two large walls. That was roughly half the cost of buying the least expensive subway tile and paying for professional installation. A smaller backsplash would require less material, but prices depend on the product and the area being covered.
How to Install Peel and Stick Subway Tile
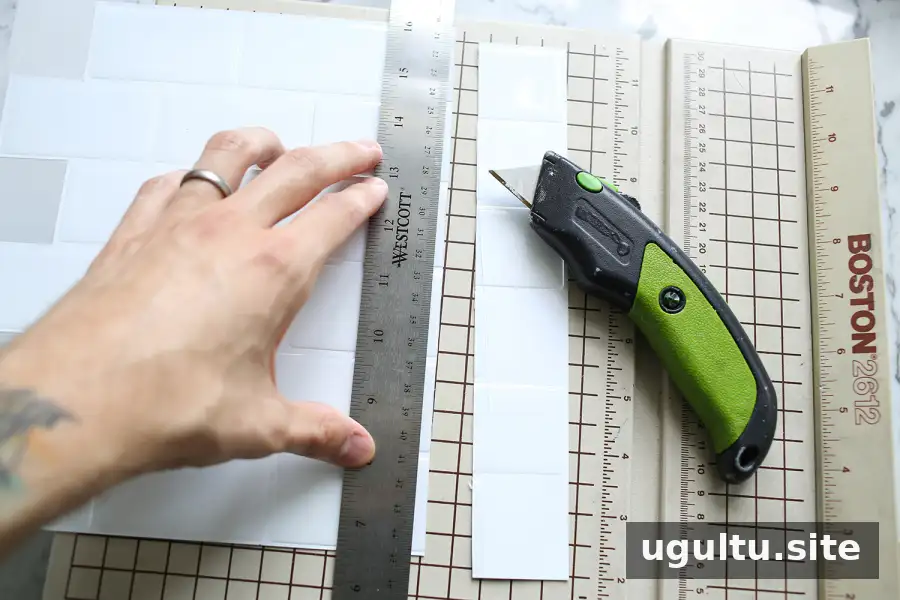
Cutting: Use a ruler, an X-Acto knife, and a cutting mat to mark and score each cut. Make repeated passes until the tile is cut through. Because the material is flexible and rubbery, hold it firmly and keep it straight while cutting. Work slowly to help prevent uneven edges.
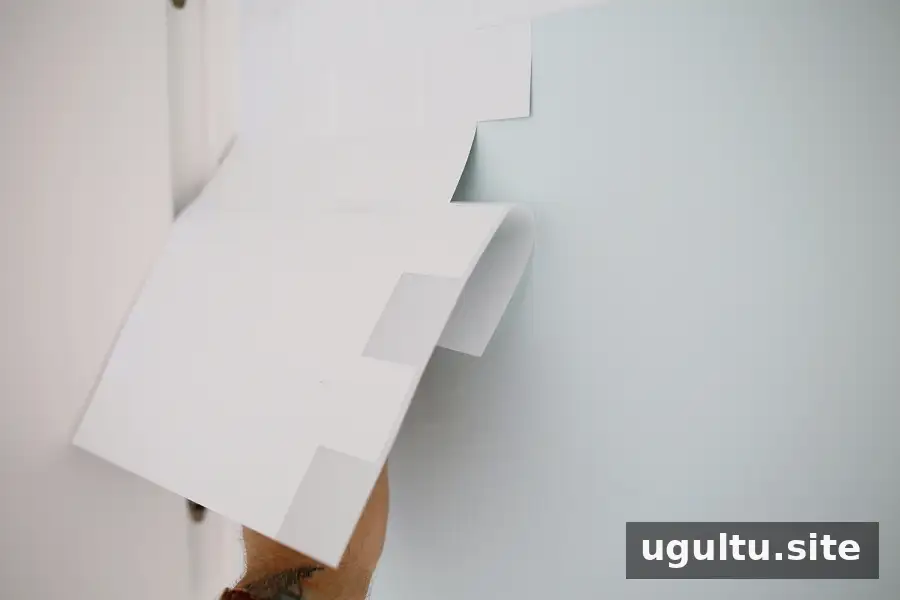
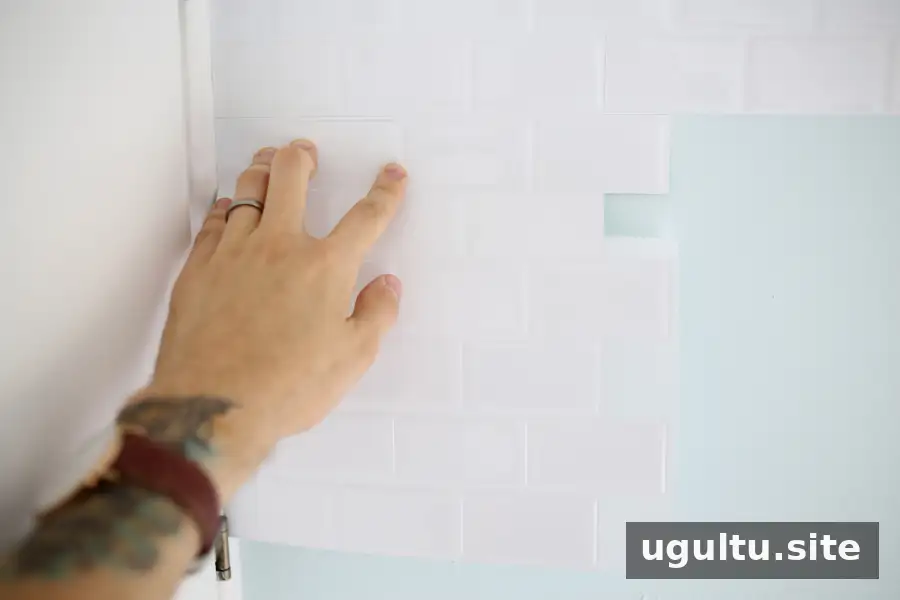
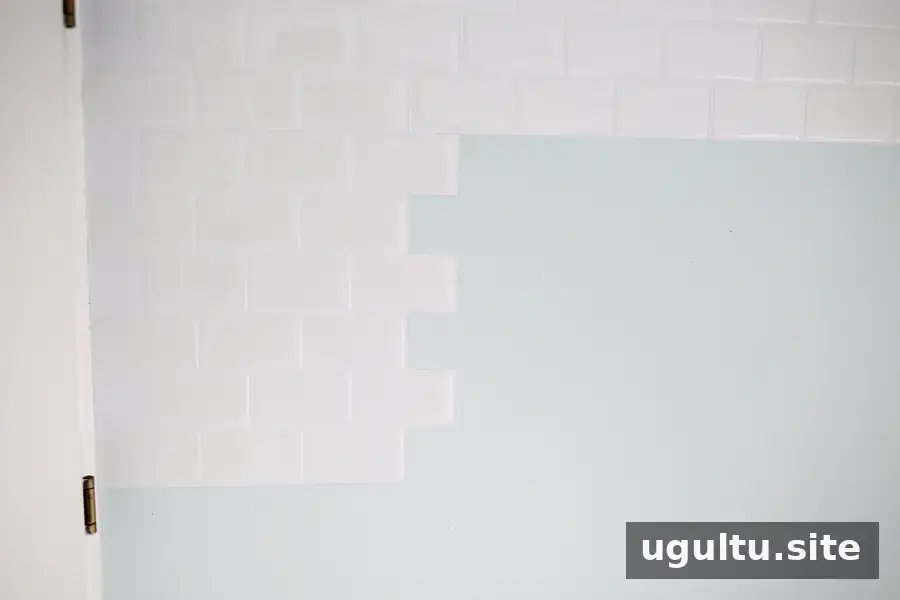
Applying the tile: Start at the top of the area. Peel back about an inch of the protective backing, align the tile, and press it into place. Continue removing the backing gradually as you work down the wall. Avoid exposing the entire adhesive surface at once, since that can make alignment harder to correct.
Seal Areas Near the Sink
Caulking: White, waterproof, silicone-based caulk was applied around the sink to help protect the edges from water and create a neater finish. Whether caulking is appropriate depends on the location and the tile manufacturer’s instructions. Check the product guidance before using adhesive tile in an area exposed to moisture.
Plan for Strong Adhesion
Important: The adhesive is very strong. Once pressed into place, the tiles may be difficult to remove and can damage drywall during removal. This project should not be considered renter-friendly unless the landlord has approved it and understands that the installation may be permanent.
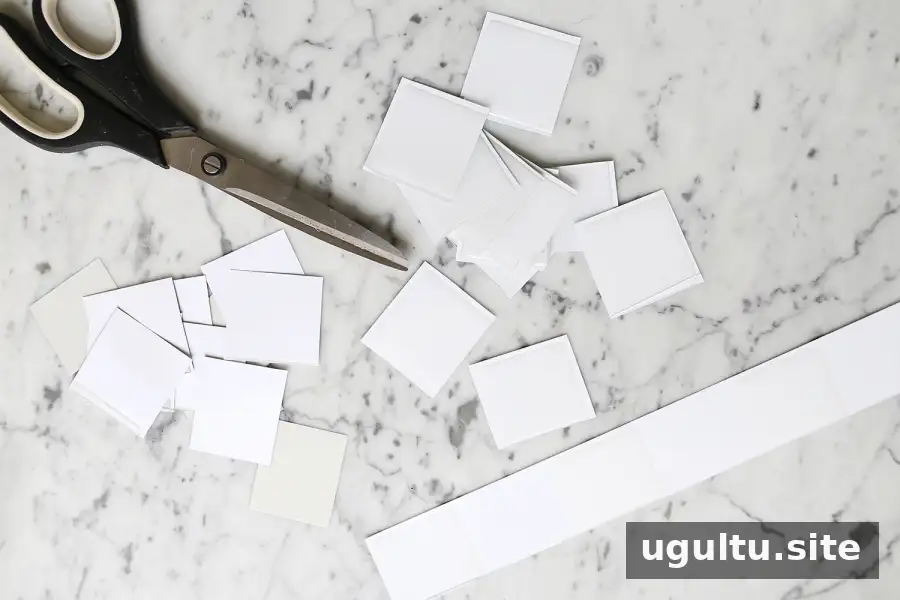
Measure before ordering: Each tile covered less than one square foot, so more material had to be ordered partway through the project. Check the exact coverage listed for the tile you choose, measure the wall, and calculate the quantity before purchasing. Allowing for cuts and mistakes can also help reduce the chance of running short.
Results and Cost Considerations
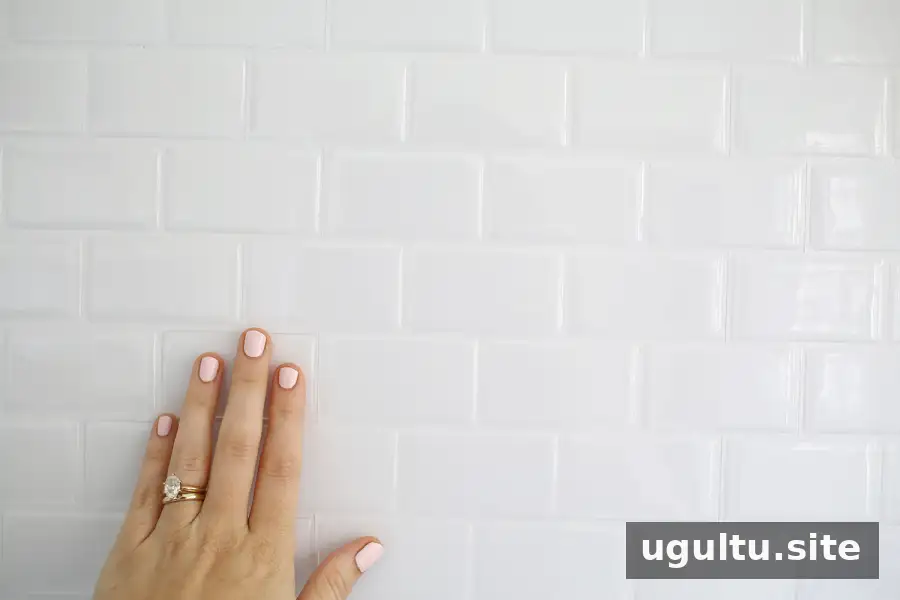
The completed walls gave the laundry room a clean, bright appearance. The surface felt durable and was easy to wipe clean during everyday use. However, performance varies by product, so review the manufacturer’s specifications for cleaning, heat, and moisture before installation.

For this project, the total was about $600 for two large walls. The cost would be lower for a small backsplash, but the total depends on the tile’s coverage and the size of the wall. Compare the price per covered area rather than relying only on the price per package.
Is Peel and Stick Subway Tile Right for Your Room?
Peel and stick subway tile may be a practical choice for a laundry room or another space where a quick visual update is the priority. It can save money compared with professional tile installation, but its strong adhesive makes future removal a key consideration. For a major renovation or a room where long-term durability is especially important, compare adhesive tile with traditional tile before deciding.
Overall, peel and stick subway tile worked well for this laundry room and offered a noticeable update at a lower installation cost. Measure carefully, apply it gradually, and confirm that the product suits the conditions in your space. The installation tips were provided by Collin, who installed the tile. — Elsie


