admin
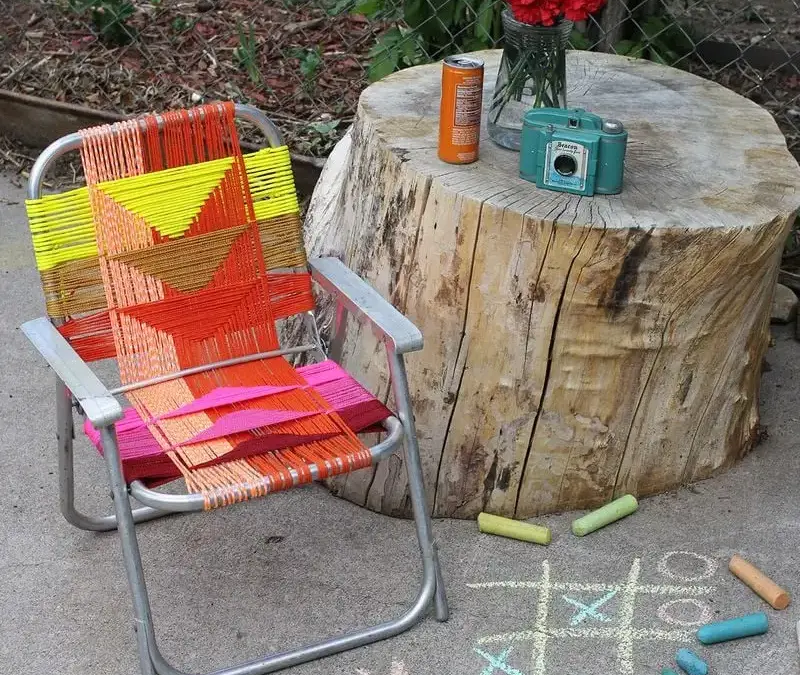
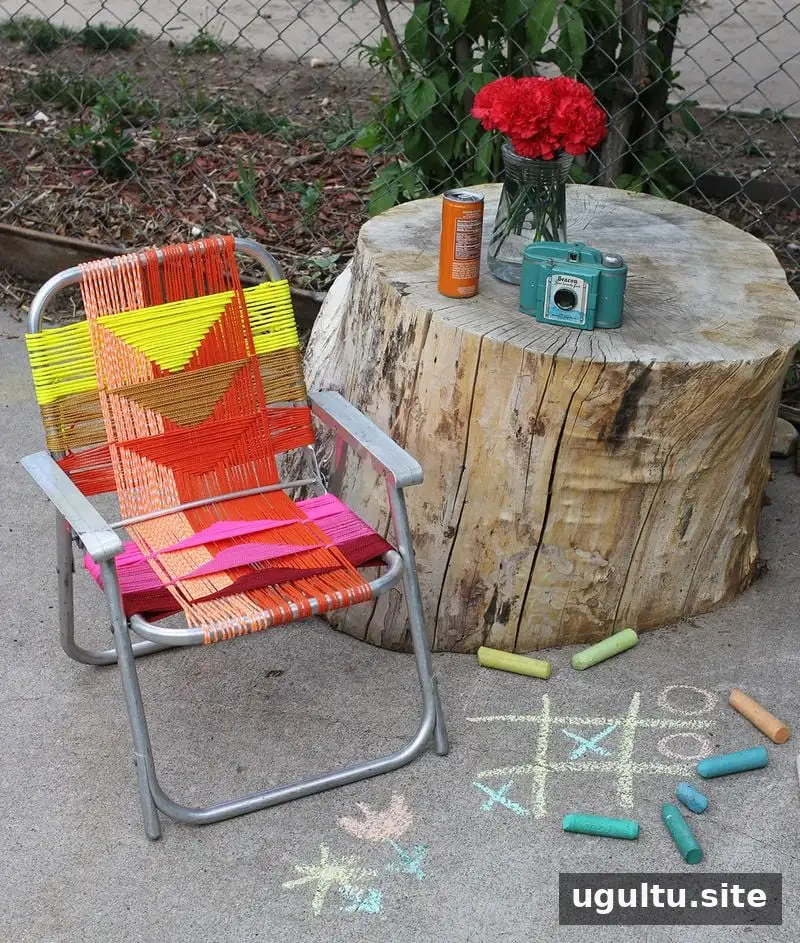
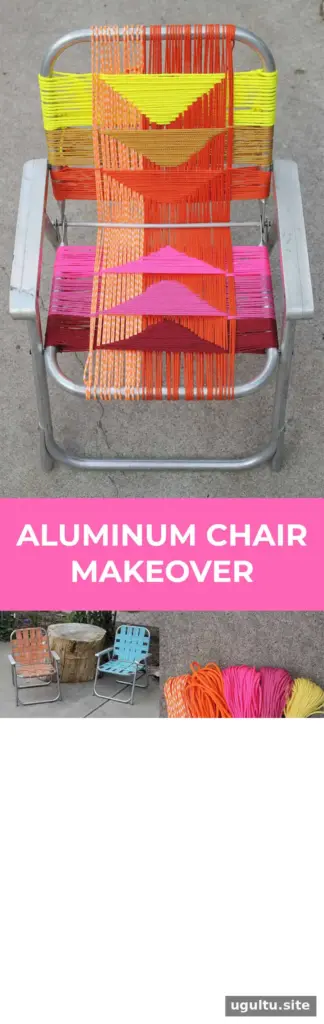
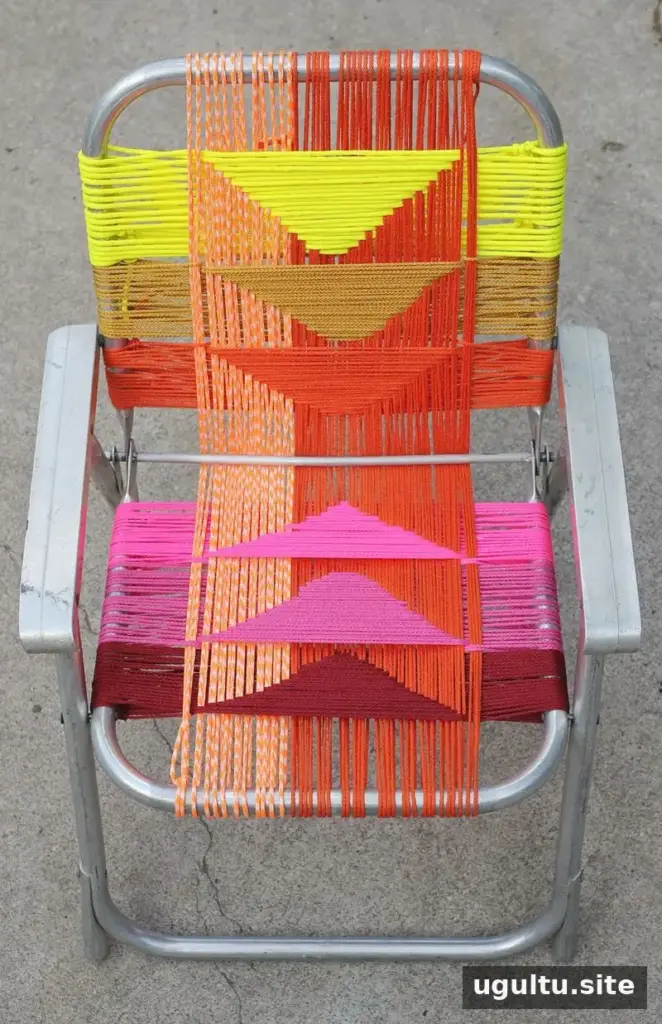
A vintage aluminum chair with worn or brittle webbing can often be refreshed with a new woven seat. This aluminum chair makeover uses paracord and macrame cord to create a geometric pattern in colors inspired by classic outdoor furniture. The project takes patience, but the basic weave can be adapted to different chair sizes.
Instead of tying a series of macrame knots, the cord is wrapped around the chair frame and woven back and forth. Before beginning, check that the frame is in good condition and choose cords that are similar in thickness so the finished rows sit more evenly.
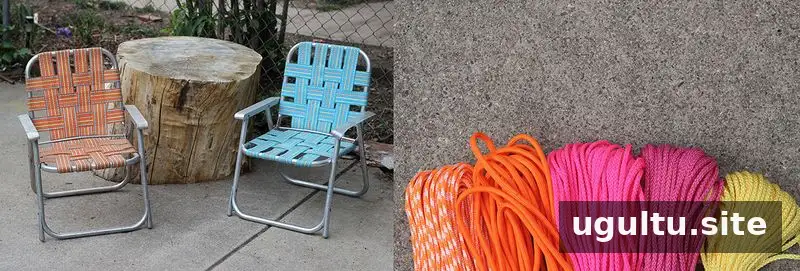
Supplies for an Aluminum Chair Makeover
Gather the following materials before removing the old seat. Cord needs vary with the size of the chair; the project uses approximately 150–200 feet in total.
- An aluminum chair (the example uses a child-sized chair)
- Paracord and macrame cord in several colors, with similar thickness
- Scissors
- Flathead screwdriver
- Rubber band, to keep the cords together while wrapping
How to Weave the Chair Seat
1. Remove the old webbing
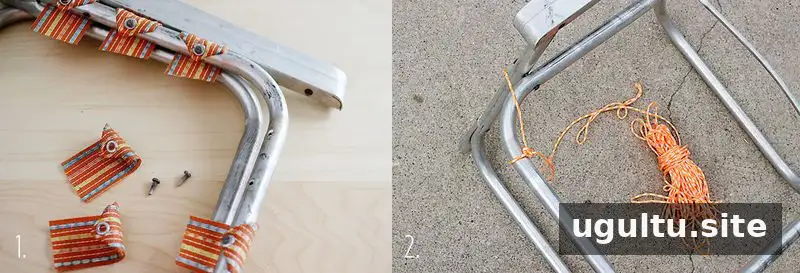
Cut through the existing straps, then use a flathead screwdriver to unscrew the posts on the back of the frame. Clear away the old webbing so the frame is ready for the new weave.
2. Secure the first cord
Choose a starting color and tie a double knot around the seat frame at the edge of its flat front section. Leave a tail of about 5 inches. A rubber band can loosely hold the paracord and macrame cord together as you work, helping prevent tangles.
3. Wrap the first rows
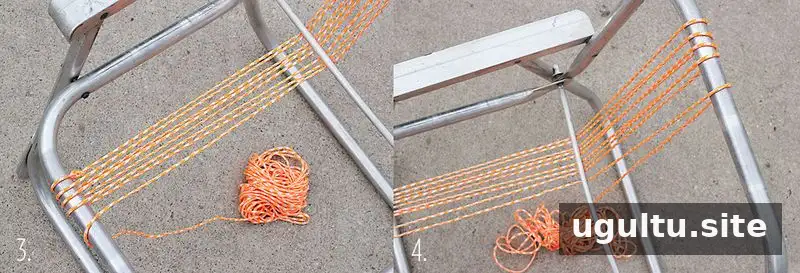
Take the cord under the central bar at the chair’s bend, then bring it up and over the top of the frame. Pass it back under the bend and wrap it over the bottom edge of the seat frame beside the starting point. Continue making rows that travel from the front and over the back edges of the frame.
Keep the rows evenly spaced and stop when you want to change colors or reach the end of the cord. Tie a double knot around the top or bottom frame edge, depending on where the cord ends. Leave enough length to tuck the tail inside. If changing colors, you can also tie the next strand to the previous one.
4. Weave toward the opposite end
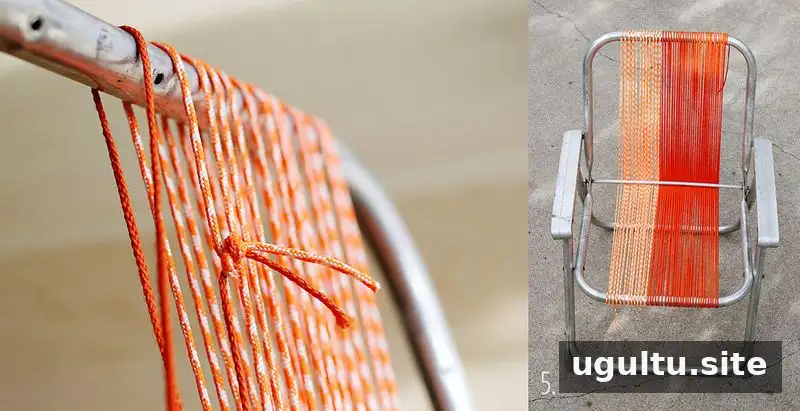
Continue weaving until you are close to the other end of the flat section. A small open area near the rounded corner is expected, so do not pull the rows toward the curve to try to fill it.
5. Build the triangular pattern
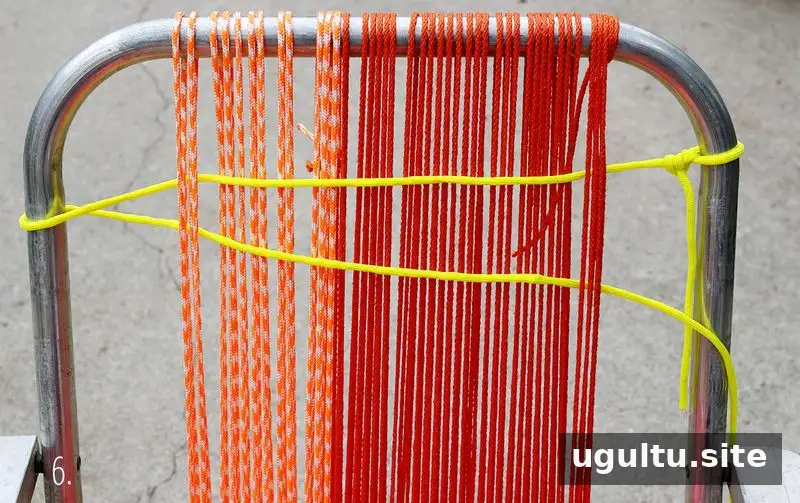
To begin weaving in the other direction, tie the cord to the side of the frame with a double knot and leave a tail of about 5 inches. For the first pass, take the cord under the first four rows—two from the top and two from the bottom—then bring it over the frame. Tuck it back under, leaving four rows at the opposite end, and wrap over the frame on that side to return along the same path.
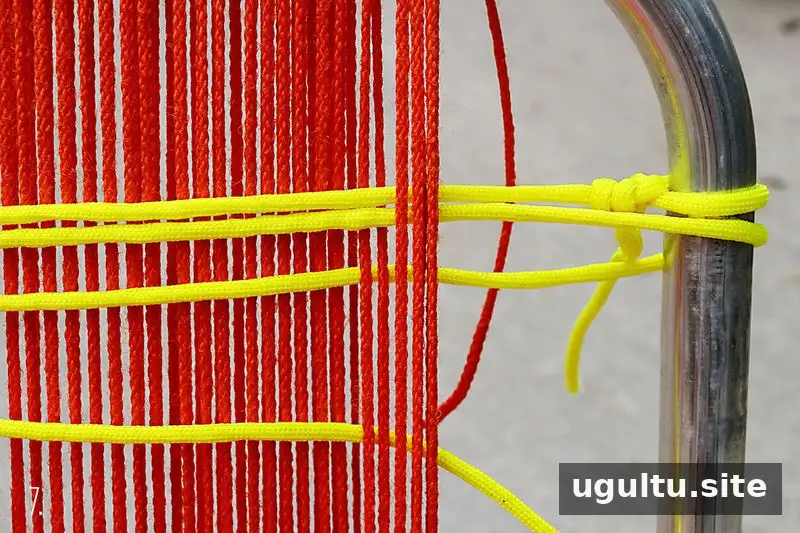
On the next pass, go under the first four rows and the next two, skipping six rows in total. Repeat the same spacing at the opposite end, then weave back in the direction you came from.
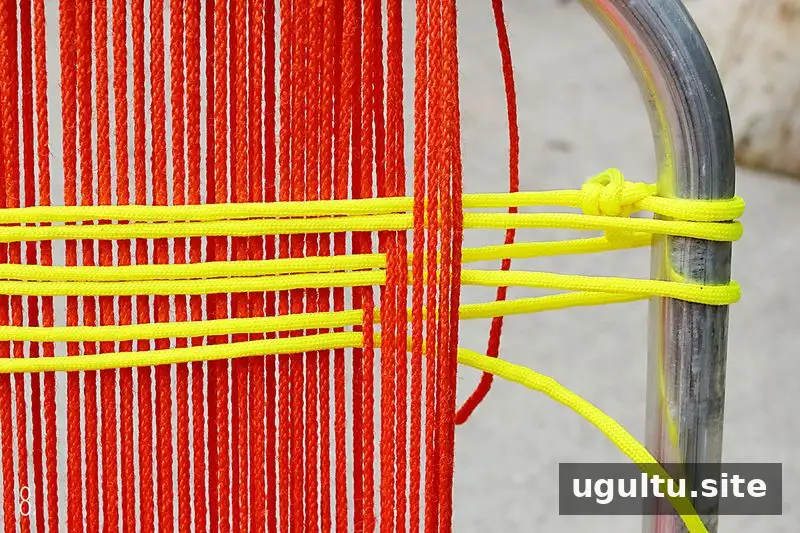
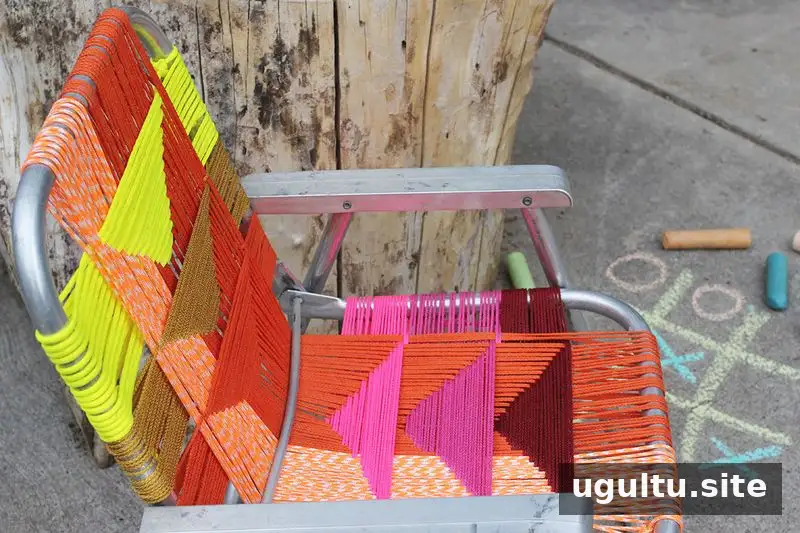
Continue the pattern, reducing the number of rows by two on each pass, and return along the same route each time. The changing gaps create the triangular design. Keep going until the cord runs out or the section is complete; tie on another length of the same color if needed.
6. Change colors and finish the ends
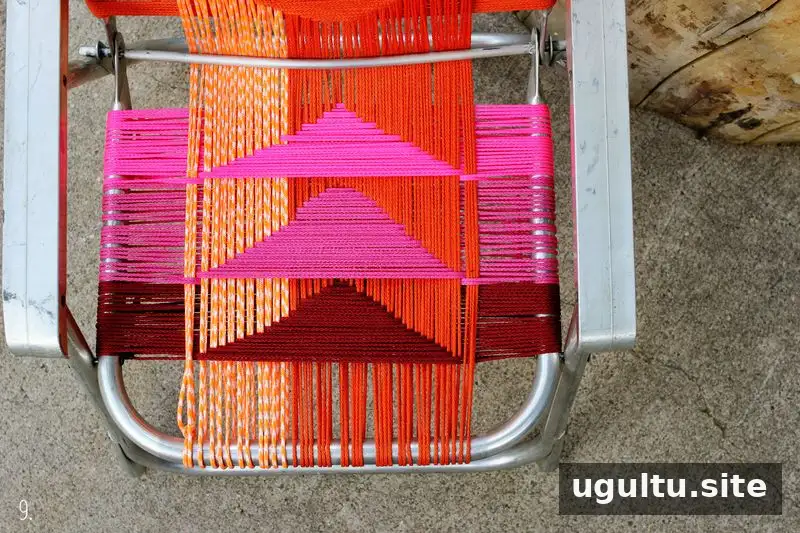
Changing colors for each new triangle creates a striped geometric effect. On the child-sized frame shown, the finished layout has three triangles on the bottom and three on the top. For an adult-sized chair, thicker macrame cord may reduce the number of rows and the time needed to weave them.
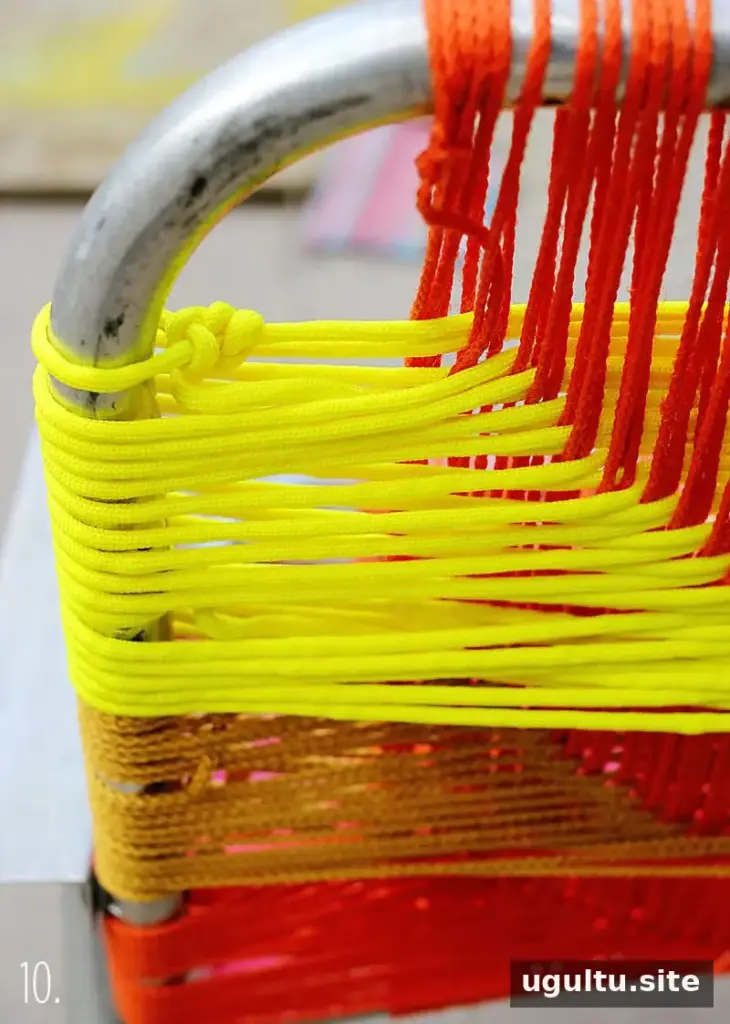
Trim loose tails only after the weave is complete, leaving enough length to tuck them inside the seat. This method focuses on weaving rather than decorative macrame knots, so the ends are tucked away instead of hidden with elaborate knotwork.
Tips for a Neat, Usable Finish
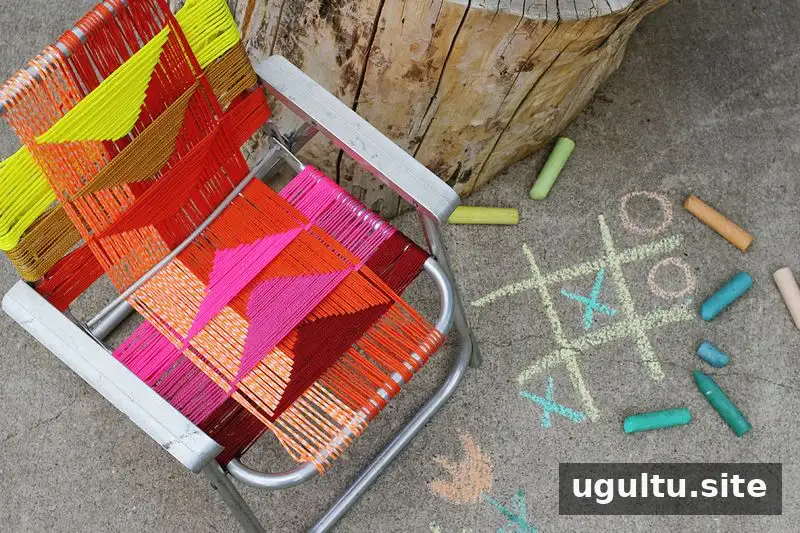
Avoid pulling the first rows too tightly. The second layer adds tension, and an overly tight initial weave can make it difficult for a folding chair to stay open. Check the chair’s movement as you work and adjust the tension before continuing.
Keep the rows away from the rounded edges of the frame. If they sit too close to the curves, they can slide out of position and disrupt the spacing. Thin cord is available in a wider range of colors, but it requires more rows; thicker cord can be a practical choice for a larger frame.
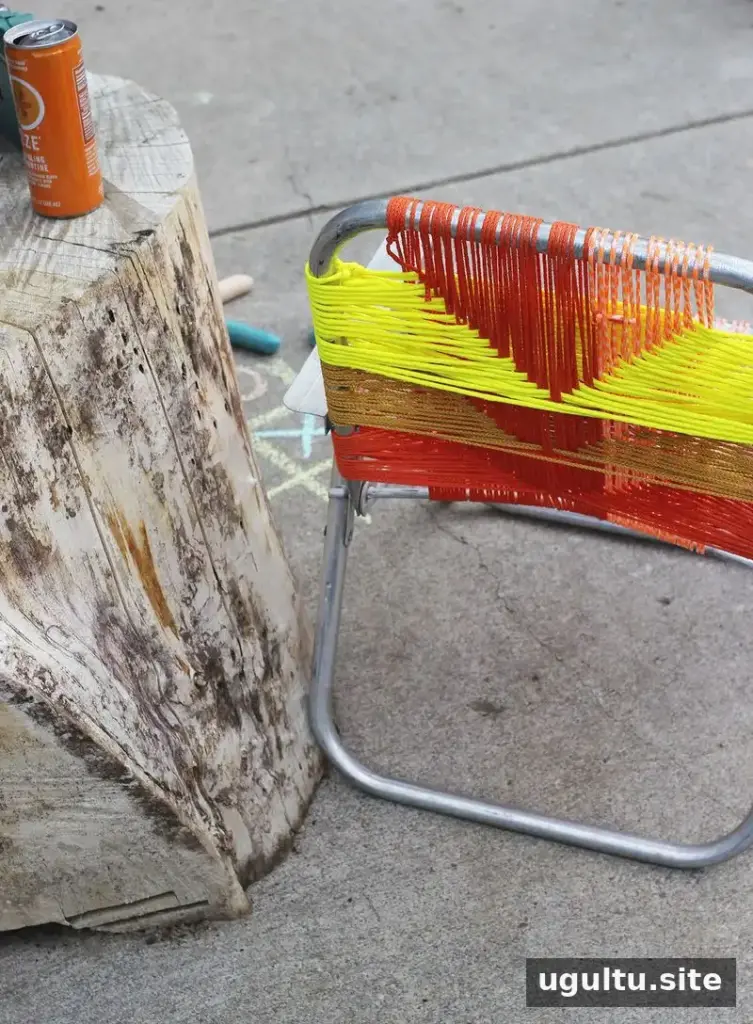

A woven seat is a way to give a worn vintage frame a fresh appearance, but the final result depends on careful spacing and balanced tension. With a sound frame, suitable cord and a little patience, this aluminum chair makeover can create a colorful geometric seat. — Racel