
 admin
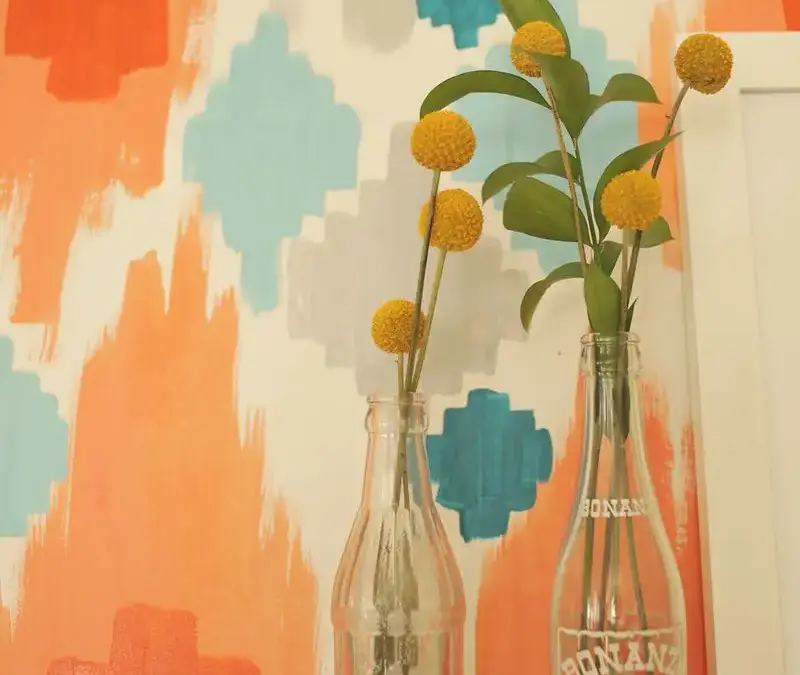
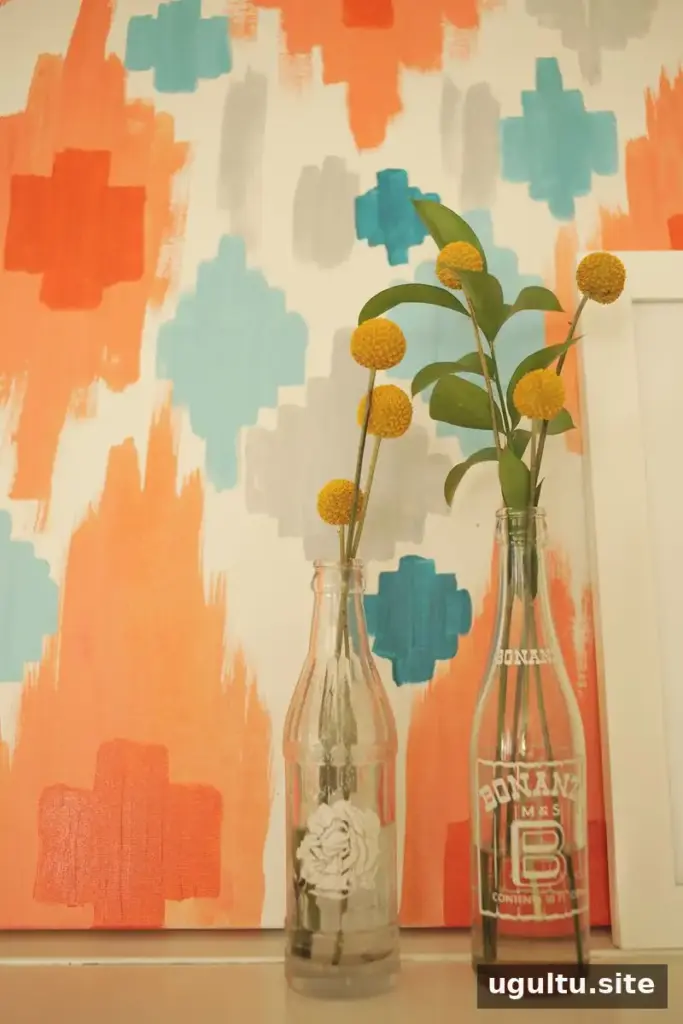
A DIY abstract painting is a simple way to add color to a room and create wall art that suits your space. You don’t need advanced painting skills: choose a palette you enjoy, build up a few layers of loose shapes, and let each color dry before adding the next. The process is flexible, so you can adjust the composition as you go.
Plan your DIY abstract painting
Start with a canvas and at least four acrylic paint colors that work well with your room or personal style. Acrylics are a practical choice for a first large painting, and mixing your own shades gives you room to fine-tune the palette before applying paint.
- Choose colors that complement one another, with a mix of lighter and darker tones.
- Set out your paints and brushes before you begin so you can work comfortably.
- Try a small amount of each mixed color on a spare surface first if you want to check how the shades look together.
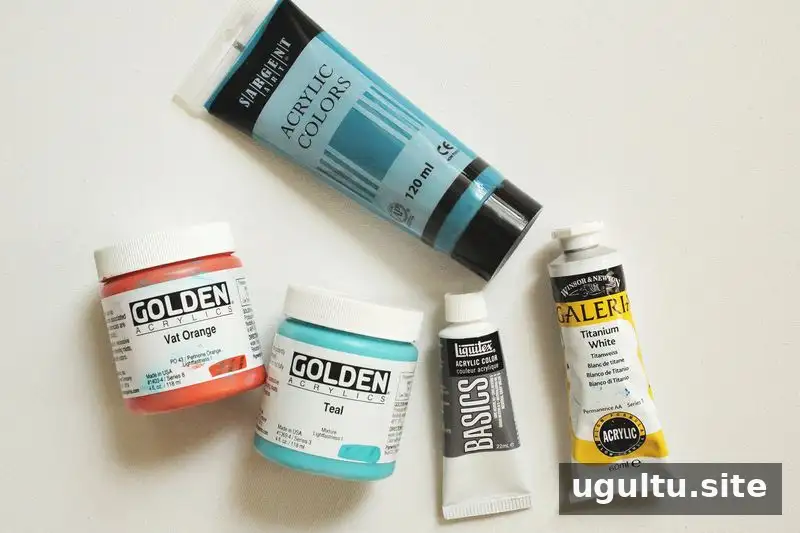
Mix shades before painting
Mixing colors is a useful part of the creative process. Take the time you need to make tones you like, and keep the palette consistent as you work. You can mix additional shades later, but having a few colors ready makes it easier to build a balanced painting.
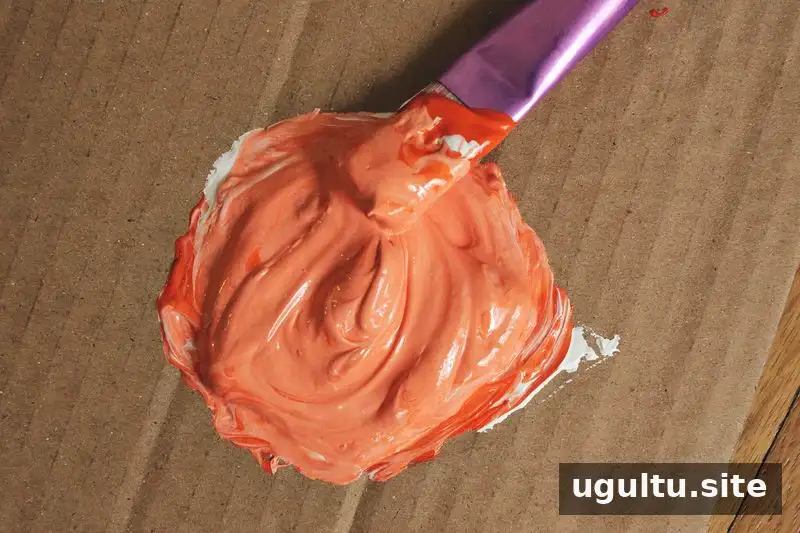
Build the first layer of shapes
Use a damp paintbrush to place small dabs of your first color at spaced intervals across the canvas. From each dab, pull the paint into a long vertical line. Along the outer sides of each line, add strokes that extend the shape outward, making each new stroke smaller than the one before it.
Continue the pattern across the canvas, including the outer edges. Covering the canvas evenly helps the composition feel connected rather than leaving isolated patches of color. Let this layer dry completely before applying another color; working over wet paint can blur the shapes and mix colors unintentionally.
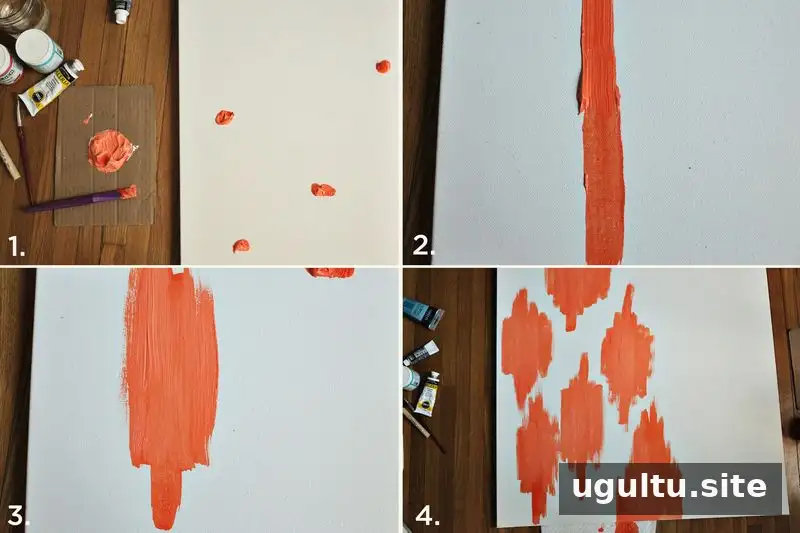
Add smaller shapes and details
Once the first color is dry, add smaller, loosely formed shapes in a second color. These shapes can be more irregular than the larger forms beneath them. Keep some of the first layer visible so the painting retains depth and contrast.
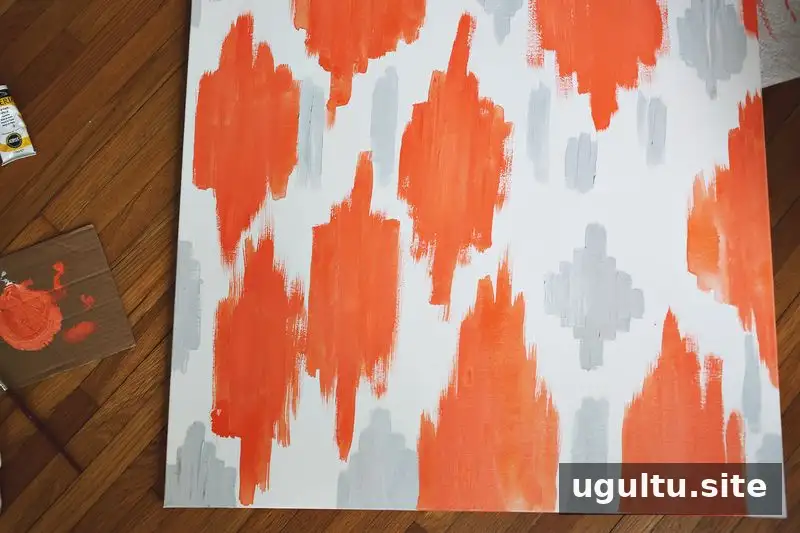
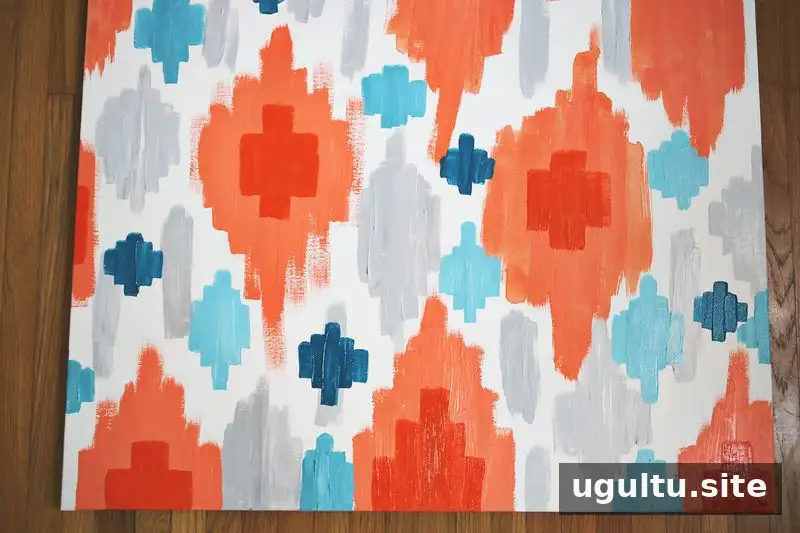
Add a few more colors in small areas, balancing light and dark shades across the canvas. Then use a coordinating color to add details within some of the largest shapes. For a more cohesive result, repeat a color in several places instead of concentrating it in just one area.
Let it dry and protect the finished artwork
Allow the painting to dry completely before applying an acrylic sealing spray. Use the spray outdoors and follow the product’s label directions. When the finish is dry, sign and date the back or front of the canvas, depending on the look you prefer.
Make the design your own
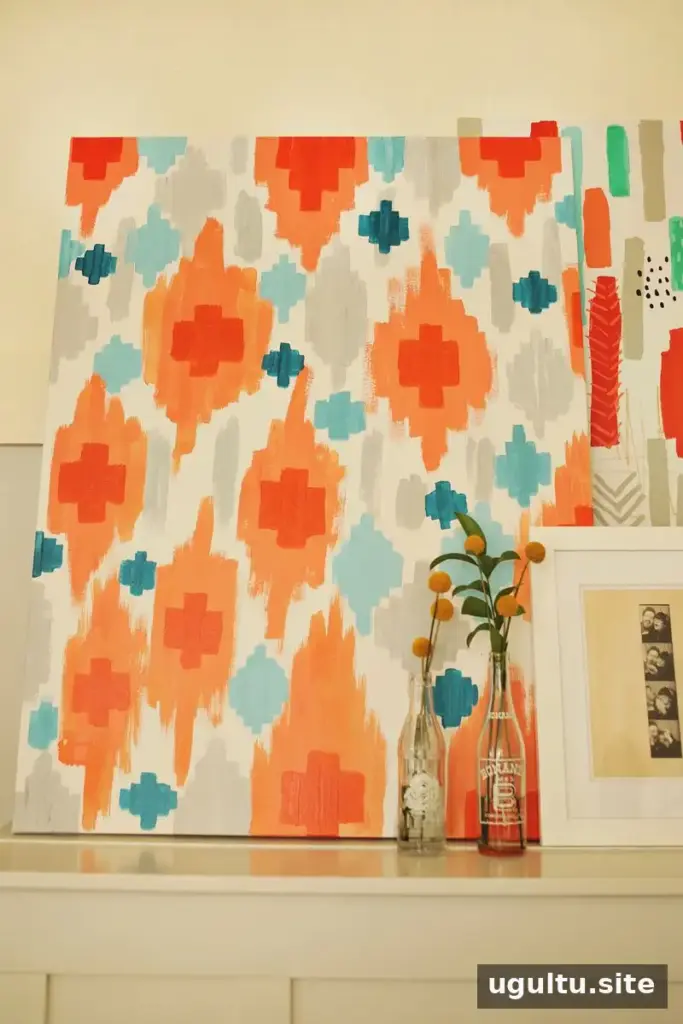
This DIY abstract painting method is a starting point, not a strict template. Change the colors, vary the size of the shapes, or add fewer details to suit your space. If a section feels too busy, let it dry and layer another color over part of it. Give each layer time to dry, and step back occasionally to see how the overall composition is coming together.
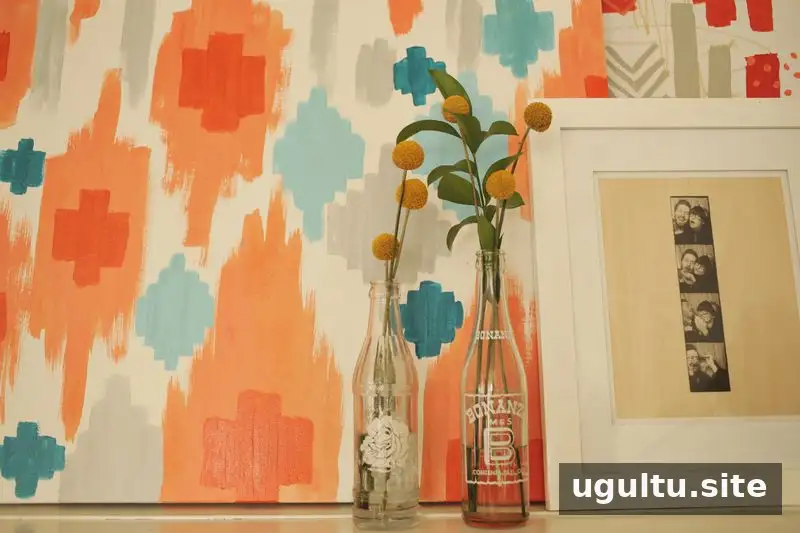
With a few acrylic colors and a simple repeating pattern, a DIY abstract painting can become personalized wall art without requiring a complicated technique. Choose shades you love, work in dry layers, and make adjustments until the canvas feels right for your home.
— Elsie


